
1. Introduction
This manual provides essential information for the proper setup, operation, and maintenance of your InnoView 2K Portable Monitor (Model INVPM502). Please read this manual thoroughly before using the product to ensure optimal performance and safety.
Key Features:
- 18.5-inch 2560x1440p QHD IPS Display
- 120Hz Refresh Rate with FreeSync Technology
- 100% sRGB Color Gamut and HDR Support
- Multiple Connectivity Options: 2x USB-C, 1x Standard HDMI, 1x DP Port
- Integrated Stand and VESA Wall Mount Compatibility (75x75mm)
- Dual Built-in Speakers

Image: The 18.5-inch InnoView portable monitor offers a larger display area compared to 14-inch and 15.6-inch models.
2. Important Safety Information
- Do not expose the monitor to rain or moisture to prevent fire or shock hazards.
- Do not open the monitor casing. There are no user-serviceable parts inside. Refer all servicing to qualified service personnel.
- Place the monitor on a stable, flat surface to prevent it from falling.
- Avoid placing the monitor near heat sources or in direct sunlight.
- Use only the power adapter and cables provided or recommended by the manufacturer.
- Disconnect the power plug from the outlet if the monitor will not be used for an extended period.
3. Package Contents
Verify that all items listed below are included in your package:
- InnoView 18.5" 120Hz Portable Monitor x 1
- Standard HDMI Cable x 1
- USB-C Full-Featured Cable x 1
- USB-C Power Charging Cable x 1
- 30W Power Adapter x 1
- User Manual x 1 (This document)
- Storage Bag x 1
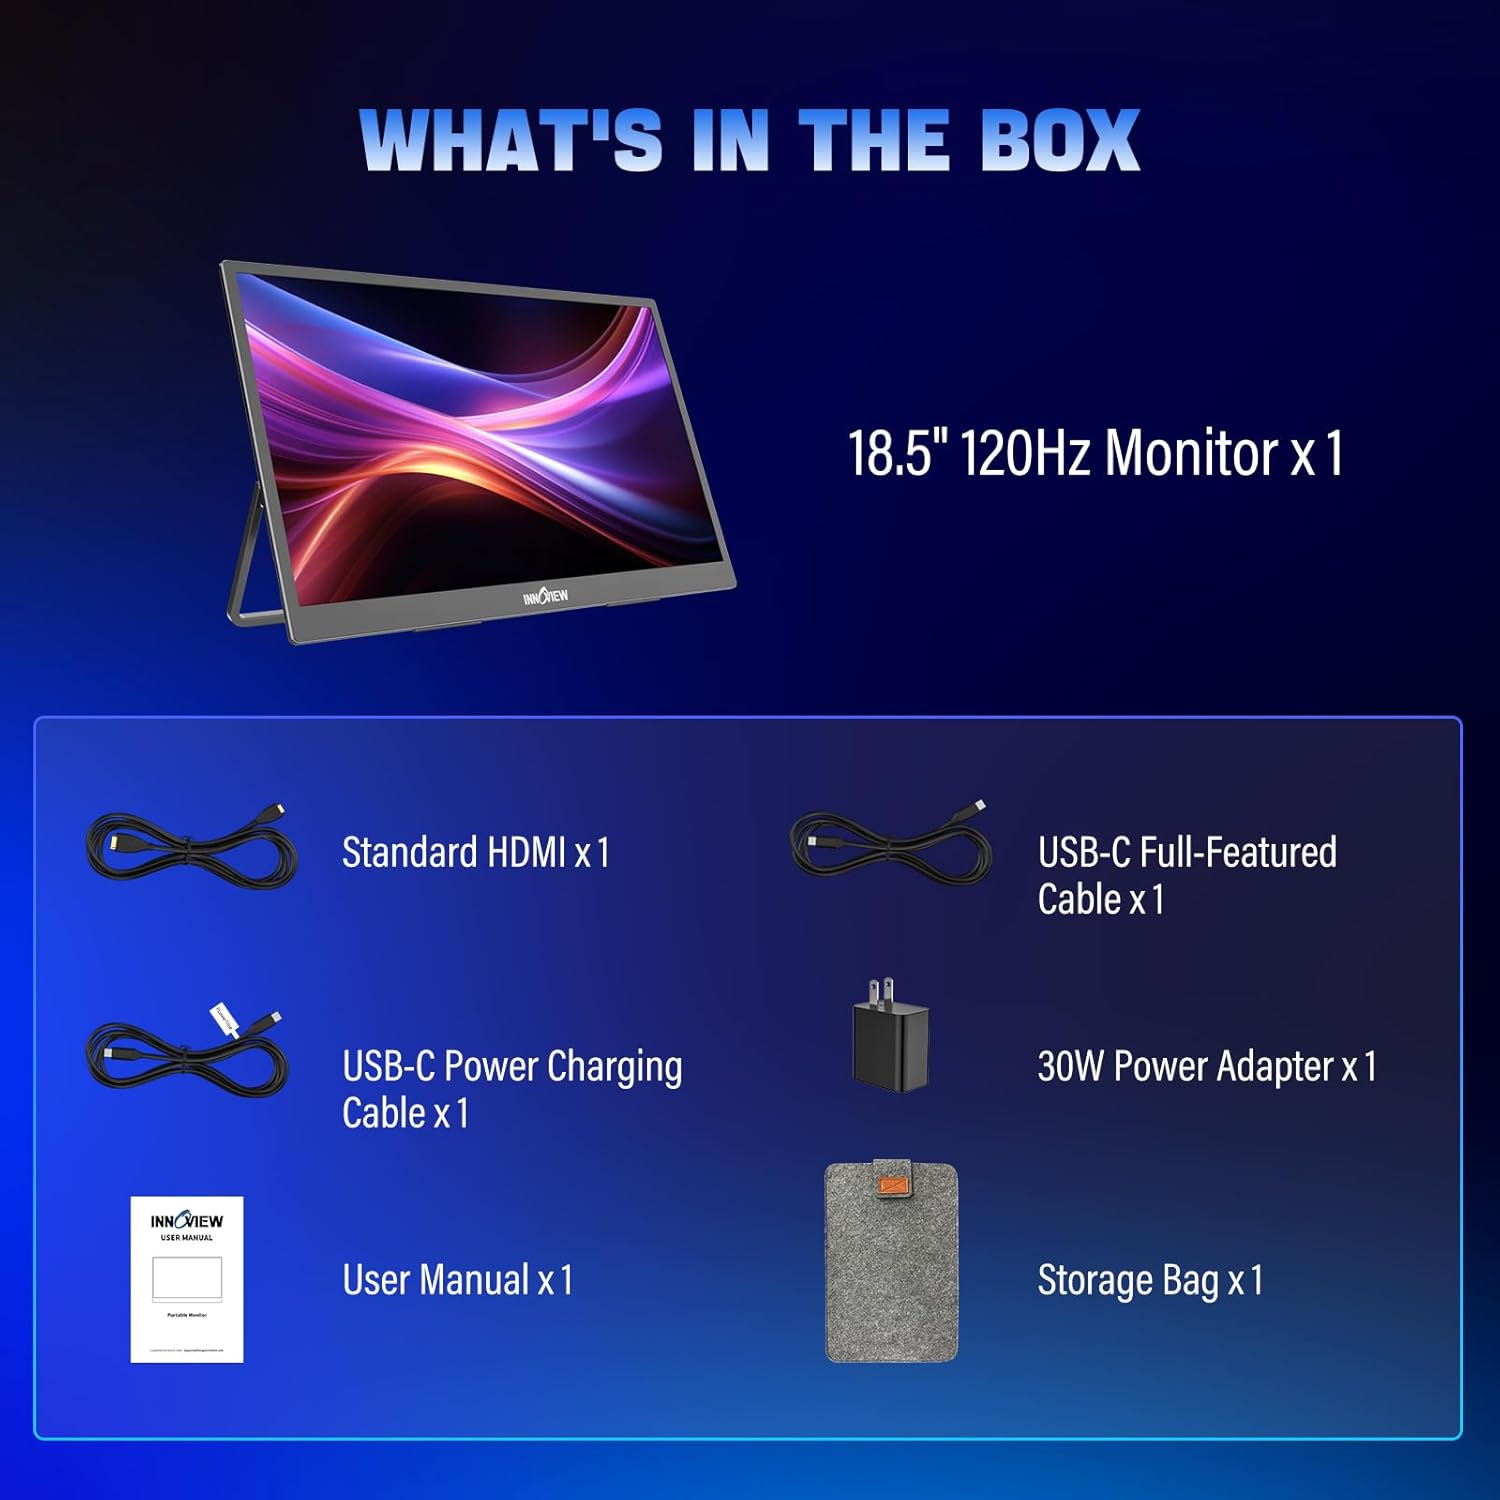
Image: All items included in the InnoView portable monitor package.
4. Setup Guide
4.1 Physical Setup
The monitor features an integrated stand for desktop use and is compatible with VESA wall mounts for flexible placement.
- Integrated Stand: The monitor includes a built-in stand that can be adjusted from 0 to 180 degrees to achieve your desired viewing angle.
- VESA Wall Mount: For wall or arm mounting, the monitor supports a 75x75mm VESA standard. Ensure you use appropriate mounting hardware (not included) and follow the VESA mount instructions.
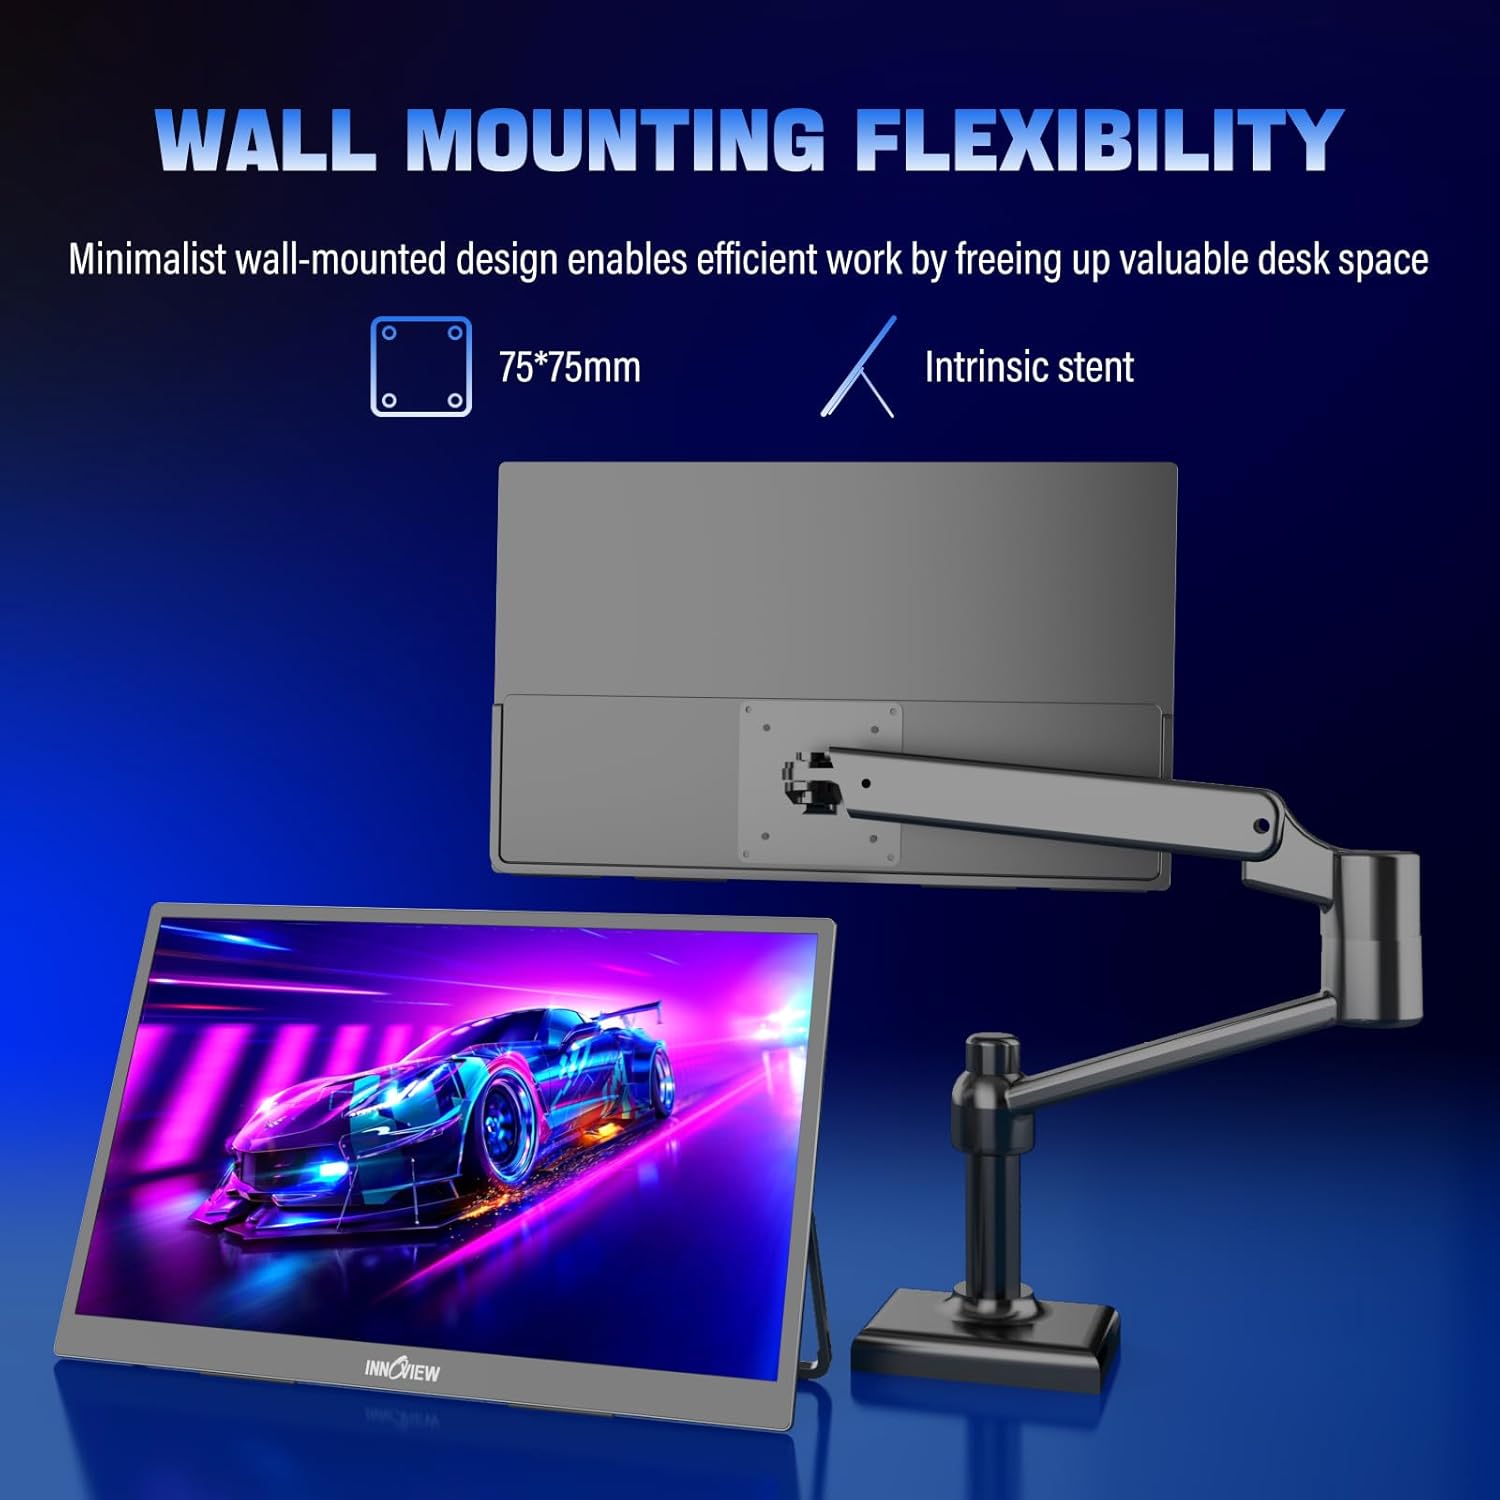
Image: The monitor offers both an integrated stand and VESA wall mounting options.
4.2 Connecting Your Monitor
The InnoView portable monitor offers versatile connectivity for various devices.
Port Overview:

Image: Overview of the monitor's ports and control buttons.
- Power Button: Turns the monitor on/off.
- Volume Key: Adjusts audio output.
- Menu Button: Accesses the On-Screen Display (OSD) menu.
- 3.5mm Earphone Jack: For connecting headphones or external speakers.
- Type-C 3.1 Ports (x2): For video, audio, data, and power delivery.
- DP 1.4 Port: For DisplayPort video input.
- Standard HDMI 2.0 Port: For HDMI video input.
Connection Methods:
To connect your monitor, you will typically need one video cable (USB-C, HDMI, or DP) and a power source.
- USB-C Connection (Full-Featured):
If your device (laptop, phone) has a full-featured USB-C port (supporting DisplayPort Alternate Mode and Power Delivery), you can use a single USB-C to USB-C cable for both video signal and power. Look for symbols like those shown in the 'Quick Guide' image to identify compatible USB-C ports.
Image: Identify compatible USB-C ports on your device using these symbols.
Note: If your device's USB-C port does not provide sufficient power (e.g., less than 30W), or if the screen flickers, you will need to connect the monitor to an external power adapter (30W or more) using the USB-C power charging cable. - HDMI or DP Connection:
For devices using HDMI or DisplayPort, connect the appropriate cable (Standard HDMI or DP) from your device to the monitor. In this setup, external power is always required. Connect the provided 30W power adapter to one of the monitor's USB-C ports using the USB-C power charging cable.

Image: Example connection setup for the portable monitor.
Video: A demonstration of the InnoView 18.5-inch 2K 120Hz portable monitor, showcasing its features and connectivity.
5. Operating Instructions
5.1 Power On/Off
Press the Power Button located on the side of the monitor to turn it on. Press and hold the Power Button for a few seconds to turn it off.
5.2 On-Screen Display (OSD) Menu
Use the Menu Button to access the OSD menu. Navigate through the options using the Volume Key (up/down) and confirm selections with the Menu Button.
5.3 Adjusting Display Settings
Within the OSD menu, you can adjust various settings:
- Brightness/Contrast: Adjust these to suit your viewing environment.
- Volume: Control the output level of the built-in speakers or connected earphones.
- Color Settings: Fine-tune color temperature, hue, and saturation.
- Refresh Rate: The monitor supports up to 120Hz. Ensure your connected device is configured to output at the desired refresh rate for optimal performance, especially for gaming.
- HDR (High Dynamic Range): Enable or disable HDR for enhanced contrast and color.
- FreeSync: Activate FreeSync for tear-free gaming with compatible graphics cards.
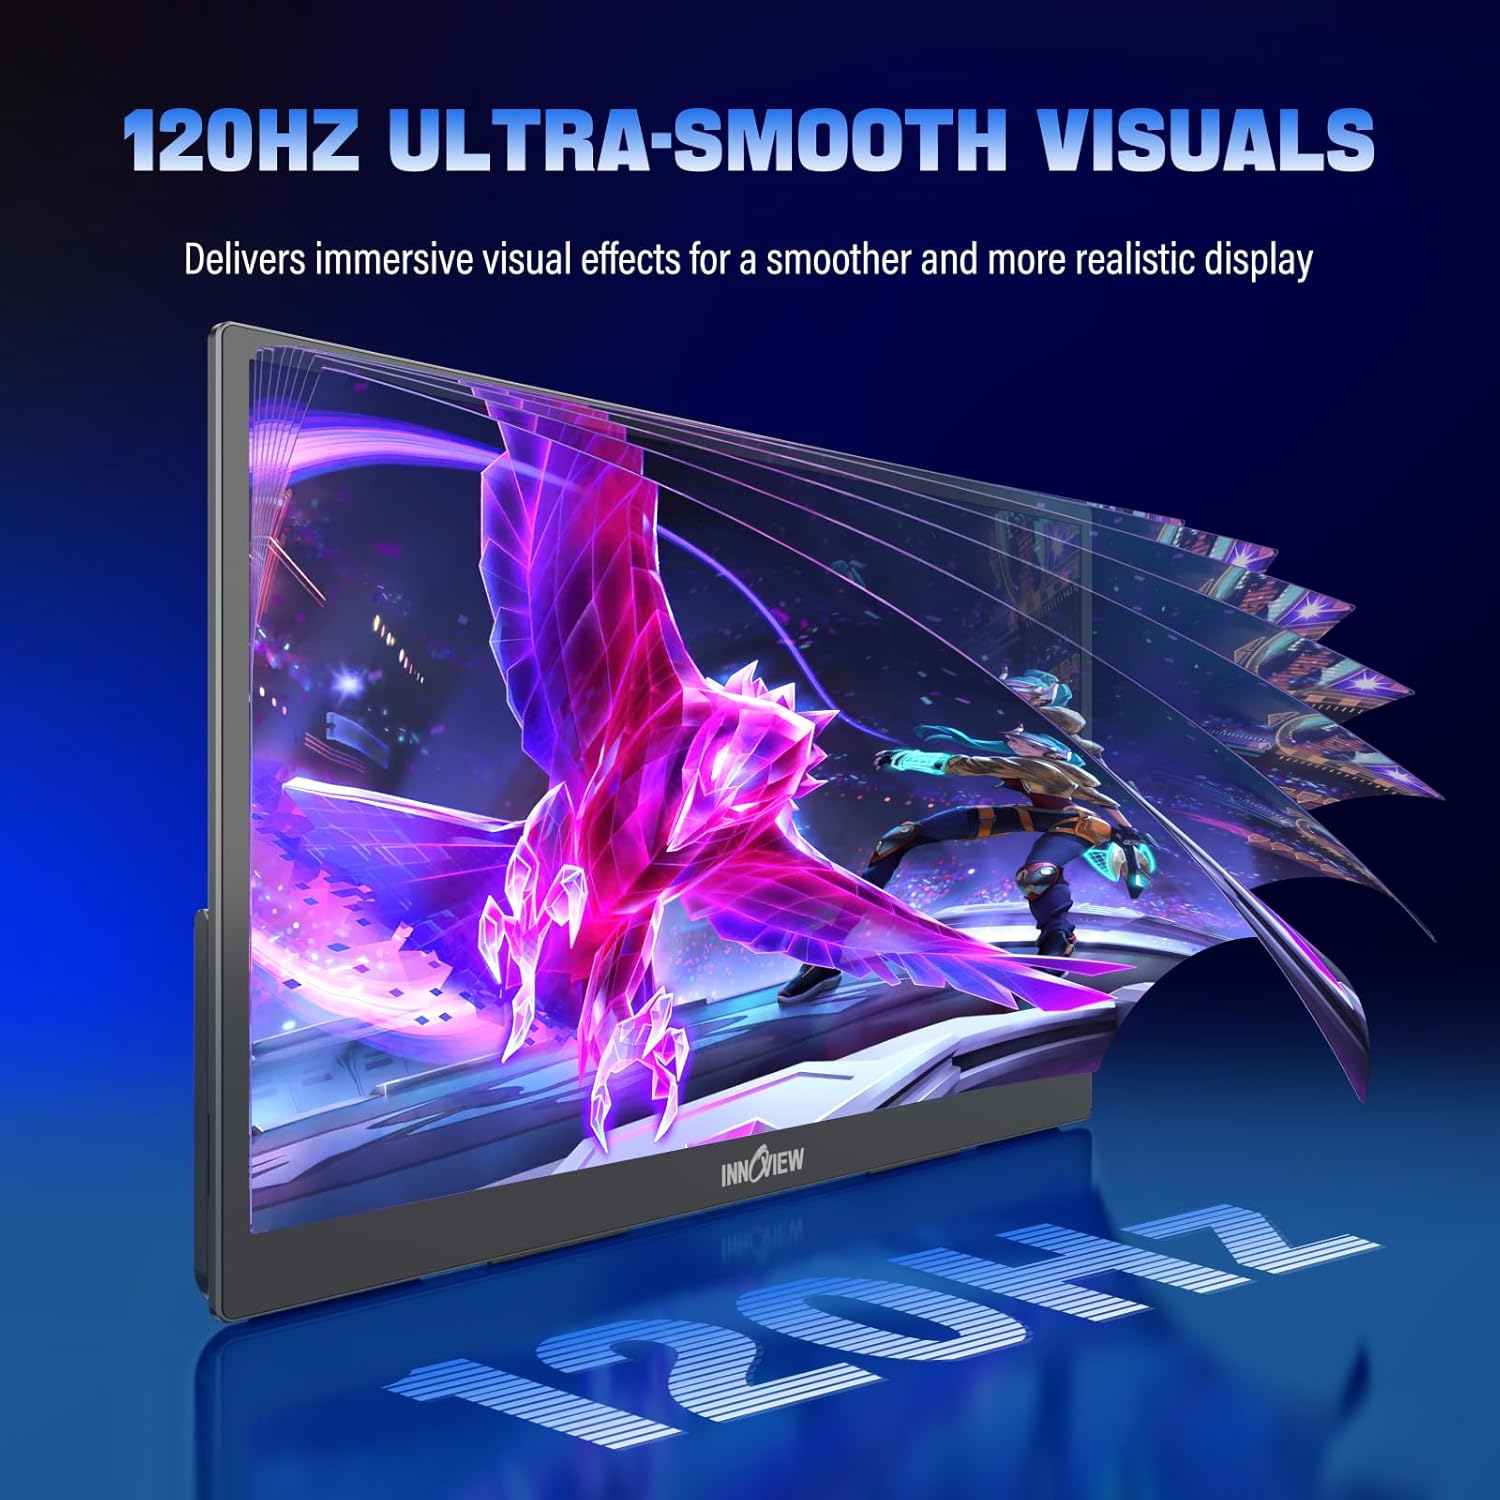
Image: The 120Hz refresh rate provides ultra-smooth visuals.
5.4 Device Compatibility
The monitor is compatible with a wide range of devices:
- Laptops (MacBook, Surface, PC)
- Desktop PCs
- Gaming Consoles (Xbox, PlayStation 5, Nintendo Switch)
- Smartphones and Tablets (with full-featured USB-C output)

Image: The monitor supports low latency for an enhanced gaming experience.
6. Maintenance
6.1 Cleaning the Monitor
- Always unplug the monitor before cleaning.
- Use a soft, lint-free cloth lightly dampened with water or a mild, non-abrasive screen cleaner.
- Do not spray cleaner directly onto the screen.
- Avoid using harsh chemicals, solvents, or abrasive materials.
6.2 Storage
When not in use, store the monitor in its protective storage bag in a cool, dry place away from direct sunlight and extreme temperatures.
7. Troubleshooting
If you encounter issues with your monitor, refer to the following common solutions:
| Problem | Possible Cause | Solution |
|---|---|---|
| No display / "No Signal" message | Incorrect cable connection, insufficient power, incorrect input source. | Ensure all cables (video and power) are securely connected. Verify your device's USB-C port supports video output. Connect the external 30W power adapter. Check the OSD menu to select the correct input source (USB-C, HDMI, DP). |
| Screen flickers or brightness is low | Insufficient power supply from the connected device. | Connect the monitor to the external 30W power adapter using the USB-C power charging cable. This ensures stable power delivery for full brightness and prevents flickering. |
| No sound or low volume | Monitor volume is too low, device volume is too low, or audio output is misconfigured. | Adjust the monitor's volume using the Volume Key. Check the audio settings on your connected device. Ensure the monitor is selected as the audio output device. |
| Monitor does not turn on | No power, faulty power adapter/cable. | Ensure the power adapter is securely plugged into a working outlet and the monitor. Try a different power outlet or cable if available. |
| Image is distorted or incorrect resolution | Incorrect display settings on the connected device. | Adjust the display resolution on your connected device to 2560x1440. Check the refresh rate settings. |
8. Technical Specifications
| Feature | Specification |
|---|---|
| Brand | InnoView |
| Model Number | INVPM502 |
| Screen Size | 18.5 inches |
| Resolution | 2560 x 1440 (QHD Wide 1440p) |
| Aspect Ratio | 16:9 |
| Refresh Rate | 120 hertz |
| Response Time | 3 milliseconds |
| Display Type | IPS |
| Screen Surface | Matte |
| Color Gamut | 100% sRGB |
| Picture Quality Enhancement | HDR, FREESYNC |
| Connectivity | 2x USB Type-C, 1x Standard HDMI, 1x DP Port |
| Audio Output | 3.5mm Earphone Jack, Dual Built-in Speakers |
| Mounting Options | Integrated Stand, VESA 75x75mm |
| Item Dimensions (D x W x H) | 16.7"D x 0.57"W x 10.2"H |
| Color | Black |
9. Warranty and Support
9.1 Product Warranty
Your InnoView 2K Portable Monitor (Model INVPM502) is covered by an 18-month warranty from the date of purchase. This warranty covers manufacturing defects and malfunctions under normal use. It does not cover damage caused by misuse, accidents, unauthorized modifications, or external damage.

Image: 18-month warranty coverage.
9.2 Customer Support
For technical assistance, warranty claims, or any questions regarding your InnoView portable monitor, please contact our customer support team. Refer to the contact information provided on the InnoView official website or your purchase documentation.


