
1. Introduction
Thank you for choosing the YISSVIC Foldable Electric Fly Swatter. This device is designed to effectively eliminate flying insects such as mosquitoes, flies, and gnats using a high-voltage electric grid. It features a versatile design, allowing for both handheld and standing use, and includes a UV light to attract insects. Please read this manual thoroughly before use to ensure safe and optimal operation.
2. Safety Information
This product operates with electricity and carries a risk of electric shock. Adhere to the following safety precautions:
- Keep the device out of reach of children and pets at all times.
- Do not touch the electric grid with your fingers or any metal objects, even when the device is off, as residual charge may remain.
- Do not use the device near flammable liquids or gases.
- Do not use the device in wet environments or allow it to come into contact with water.
- Do not attempt to modify or repair the device. Contact customer support for assistance.
- Ensure the device is fully charged before first use.
Proper handling and storage are crucial for safety.
3. Product Features
- 4000V High-Voltage Grid: Delivers a powerful electric shock to eliminate various flying insects instantly.
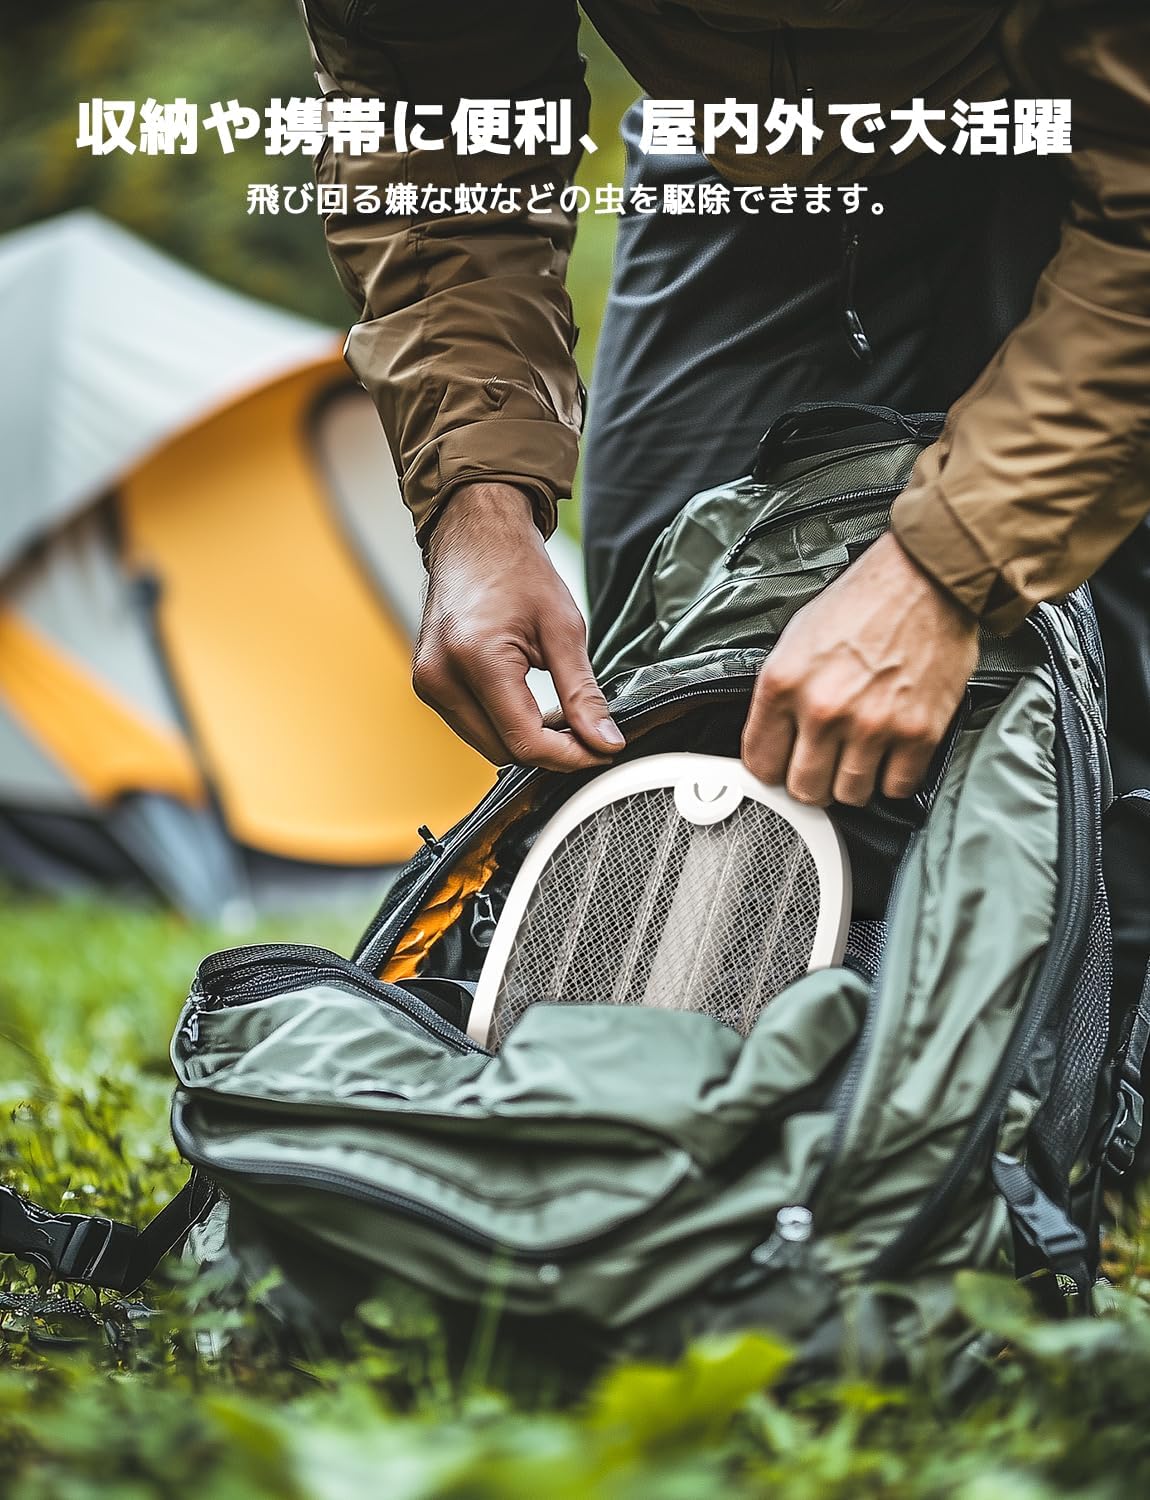
- 180° Foldable Design: Allows for compact storage and easy portability.
- Dual-Mode Operation: Functions as a handheld swatter or a standing insect trap with UV light.
- UV Attractant Light: Integrated 365nm UV light in auto mode attracts insects for effective elimination.
- Rechargeable Battery: Built-in 1800mAh battery with USB Type-C charging, eliminating the need for disposable batteries.
- Battery Level Indicator: LED lights display the remaining battery charge.
- Three-Layer Safety Net: Designed with two outer insulating layers and an inner high-voltage grid to prevent accidental contact.
- Chemical-Free: Provides insect control without the use of harmful chemicals or sprays.
4. Components
The YISSVIC Electric Fly Swatter consists of the following main components:
- Swatter Head: Contains the three-layer electric grid and UV light.
- Handle: Ergonomic handle for handheld use, houses the battery and controls.
- Power Switch: Slide switch to select operating modes (OFF, Handheld, Auto).
- Activation Button: Located on the handle, pressed to activate the high-voltage grid in handheld mode.
- Battery Indicator Lights: LEDs on the handle showing battery charge status.
- USB Type-C Charging Port: Located at the base of the handle.
- Charging Base (Optional/Included): For standing mode and convenient charging.

5. Setup
- Unpack: Carefully remove the electric fly swatter and any accessories from the packaging.
- Initial Charge: Before first use, fully charge the device. Connect the provided USB Type-C cable to the charging port on the handle and plug the other end into a 5V/1A AC adapter (not included). The battery indicator lights will show charging progress.
- Unfold (if applicable): If the device is in folded state, gently unfold the swatter head until it clicks into its open position.

6. Operating Instructions
The YISSVIC Electric Fly Swatter offers two operating modes:
6.1 Handheld Mode
- Ensure the swatter is unfolded and the power switch is set to the handheld mode position (usually indicated by a specific icon or text).
- Press and hold the activation button on the handle. A red indicator light will illuminate, signifying the grid is active.
- Swing the swatter towards the insect. Upon contact with the electric grid, the insect will be zapped.
- Release the activation button after use.
6.2 Auto Mode (Standing)
- Place the swatter upright on its charging base or a stable flat surface.
- Slide the power switch to the auto mode position.
- The integrated UV light will turn on, attracting insects to the grid. The high-voltage grid will remain active.
- For optimal performance in auto mode, it is recommended to use the device while it is connected to a power source.

7. Charging
To charge your YISSVIC Electric Fly Swatter:
- Locate the USB Type-C charging port at the bottom of the handle.
- Connect the provided USB Type-C cable to the device.
- Plug the other end of the USB cable into a 5V/1A AC adapter (not included) or a compatible USB power source.
- The battery indicator lights on the handle will show the charging status. All lights illuminated indicate a full charge.
- It is recommended to use a 5V/1A AC adapter. Using an adapter with excessive current may damage the product's charging performance.

8. Maintenance
Proper maintenance ensures the longevity and effectiveness of your device:
- Cleaning: Ensure the device is turned OFF and completely discharged before cleaning. Use a soft, dry brush to gently remove any insect debris from the electric grid. Do not use water or any liquids to clean the grid.
- Storage: When not in use, store the electric fly swatter in a cool, dry place, away from direct sunlight and moisture. The foldable design allows for compact storage.
- Battery Care: To prolong battery life, avoid fully discharging the battery frequently. Recharge the device regularly, even if not in constant use.

9. Troubleshooting
If you encounter issues with your electric fly swatter, refer to the following common problems and solutions:
| Problem | Possible Cause | Solution |
|---|---|---|
| Device does not turn on. | Battery is low or depleted. | Charge the device fully. |
| Device does not turn on. | Power switch is in the OFF position. | Slide the power switch to Handheld or Auto mode. |
| No electric zap in handheld mode. | Activation button not pressed. | Ensure the activation button is pressed and held during use. |
| Device is not charging. | Charging cable or adapter issue. | Check if the USB-C cable is securely connected. Try a different 5V/1A AC adapter. |
| Reduced effectiveness. | Insect debris on the grid. | Clean the electric grid with a dry brush (ensure device is off and discharged). |
10. Specifications
| Feature | Specification |
|---|---|
| Brand | YISSVIC |
| Model Number | WD-9002 |
| Color | White |
| Voltage | 4000V |
| Battery Capacity | 1800mAh |
| Charging Port | USB Type-C |
| Recommended Charger | 5V/1A AC Adapter |
| Handheld Dimensions (L x W) | 50.7 cm x 21.7 cm |
| Folded Dimensions (L x W) | 27.2 cm x 21.7 cm |
| UV Wavelength | 365nm |
| Country of Origin | China |

11. Warranty and Support
YISSVIC products are designed for quality and reliability. For warranty information, technical support, or any questions regarding your product, please refer to the contact information provided with your purchase or visit the official YISSVIC website. Please have your model number (WD-9002) and purchase details ready when contacting support.


