
1. Safety Information
Read and understand all instructions before installing or operating this product. Failure to follow these instructions could result in serious injury or death.
- Always disconnect power to the pump before performing any service or maintenance.
- Ensure the pump is installed on a solid, level surface to prevent tipping.
- Do not operate the pump if the power cord is damaged. Contact qualified service personnel for repair.
- Keep children away from the pump and filter system during operation.
- This pump is designed for above-ground pools only. Do not use for in-ground pools or other applications.
- Never run the pump dry. Ensure the pump is primed with water before starting.
- Always turn off the pump before changing the multi-port valve's position.
2. Package Contents
Verify that all components are present before beginning installation:
- Sand Filter Tank (12-inch)
- Pump Unit (1/2HP, 3000 GPH)
- 7-Way Multi-Port Valve
- Pressure Gauge
- Hose Adapters (for 1.25" and 1.5" hoses)
- Hose Clamps
- Filter Media (200g filter balls included, or use sand)
- Base Platform
- Drain Valve Assembly
- Internal Filter Assembly (laterals, standpipe)
- O-rings and Gaskets
- Connecting Hoses
Video: FOTING Sand Filter Pump Installation Video (0:03 - 0:05) showing all parts included in the package.
3. Specifications
| Feature | Detail |
|---|---|
| Brand | FOTING |
| Model Number | FT-CLP2502 |
| Tank Size | 12 inch |
| Horsepower (HP) | 1/2 HP |
| Max Flow Rate | 3000 GPH |
| Recommended Pool Size | Up to 8,000 Gallons |
| Sand Capacity | 44 lbs (or 200g filter balls) |
| Multi-Port Valve | 7-Way |
| Timer | 24-hour Dual-Mode Smart Timer |
| Hose Compatibility | 1.25" or 1.5" |
| Waterproof Rating | IPX4 |
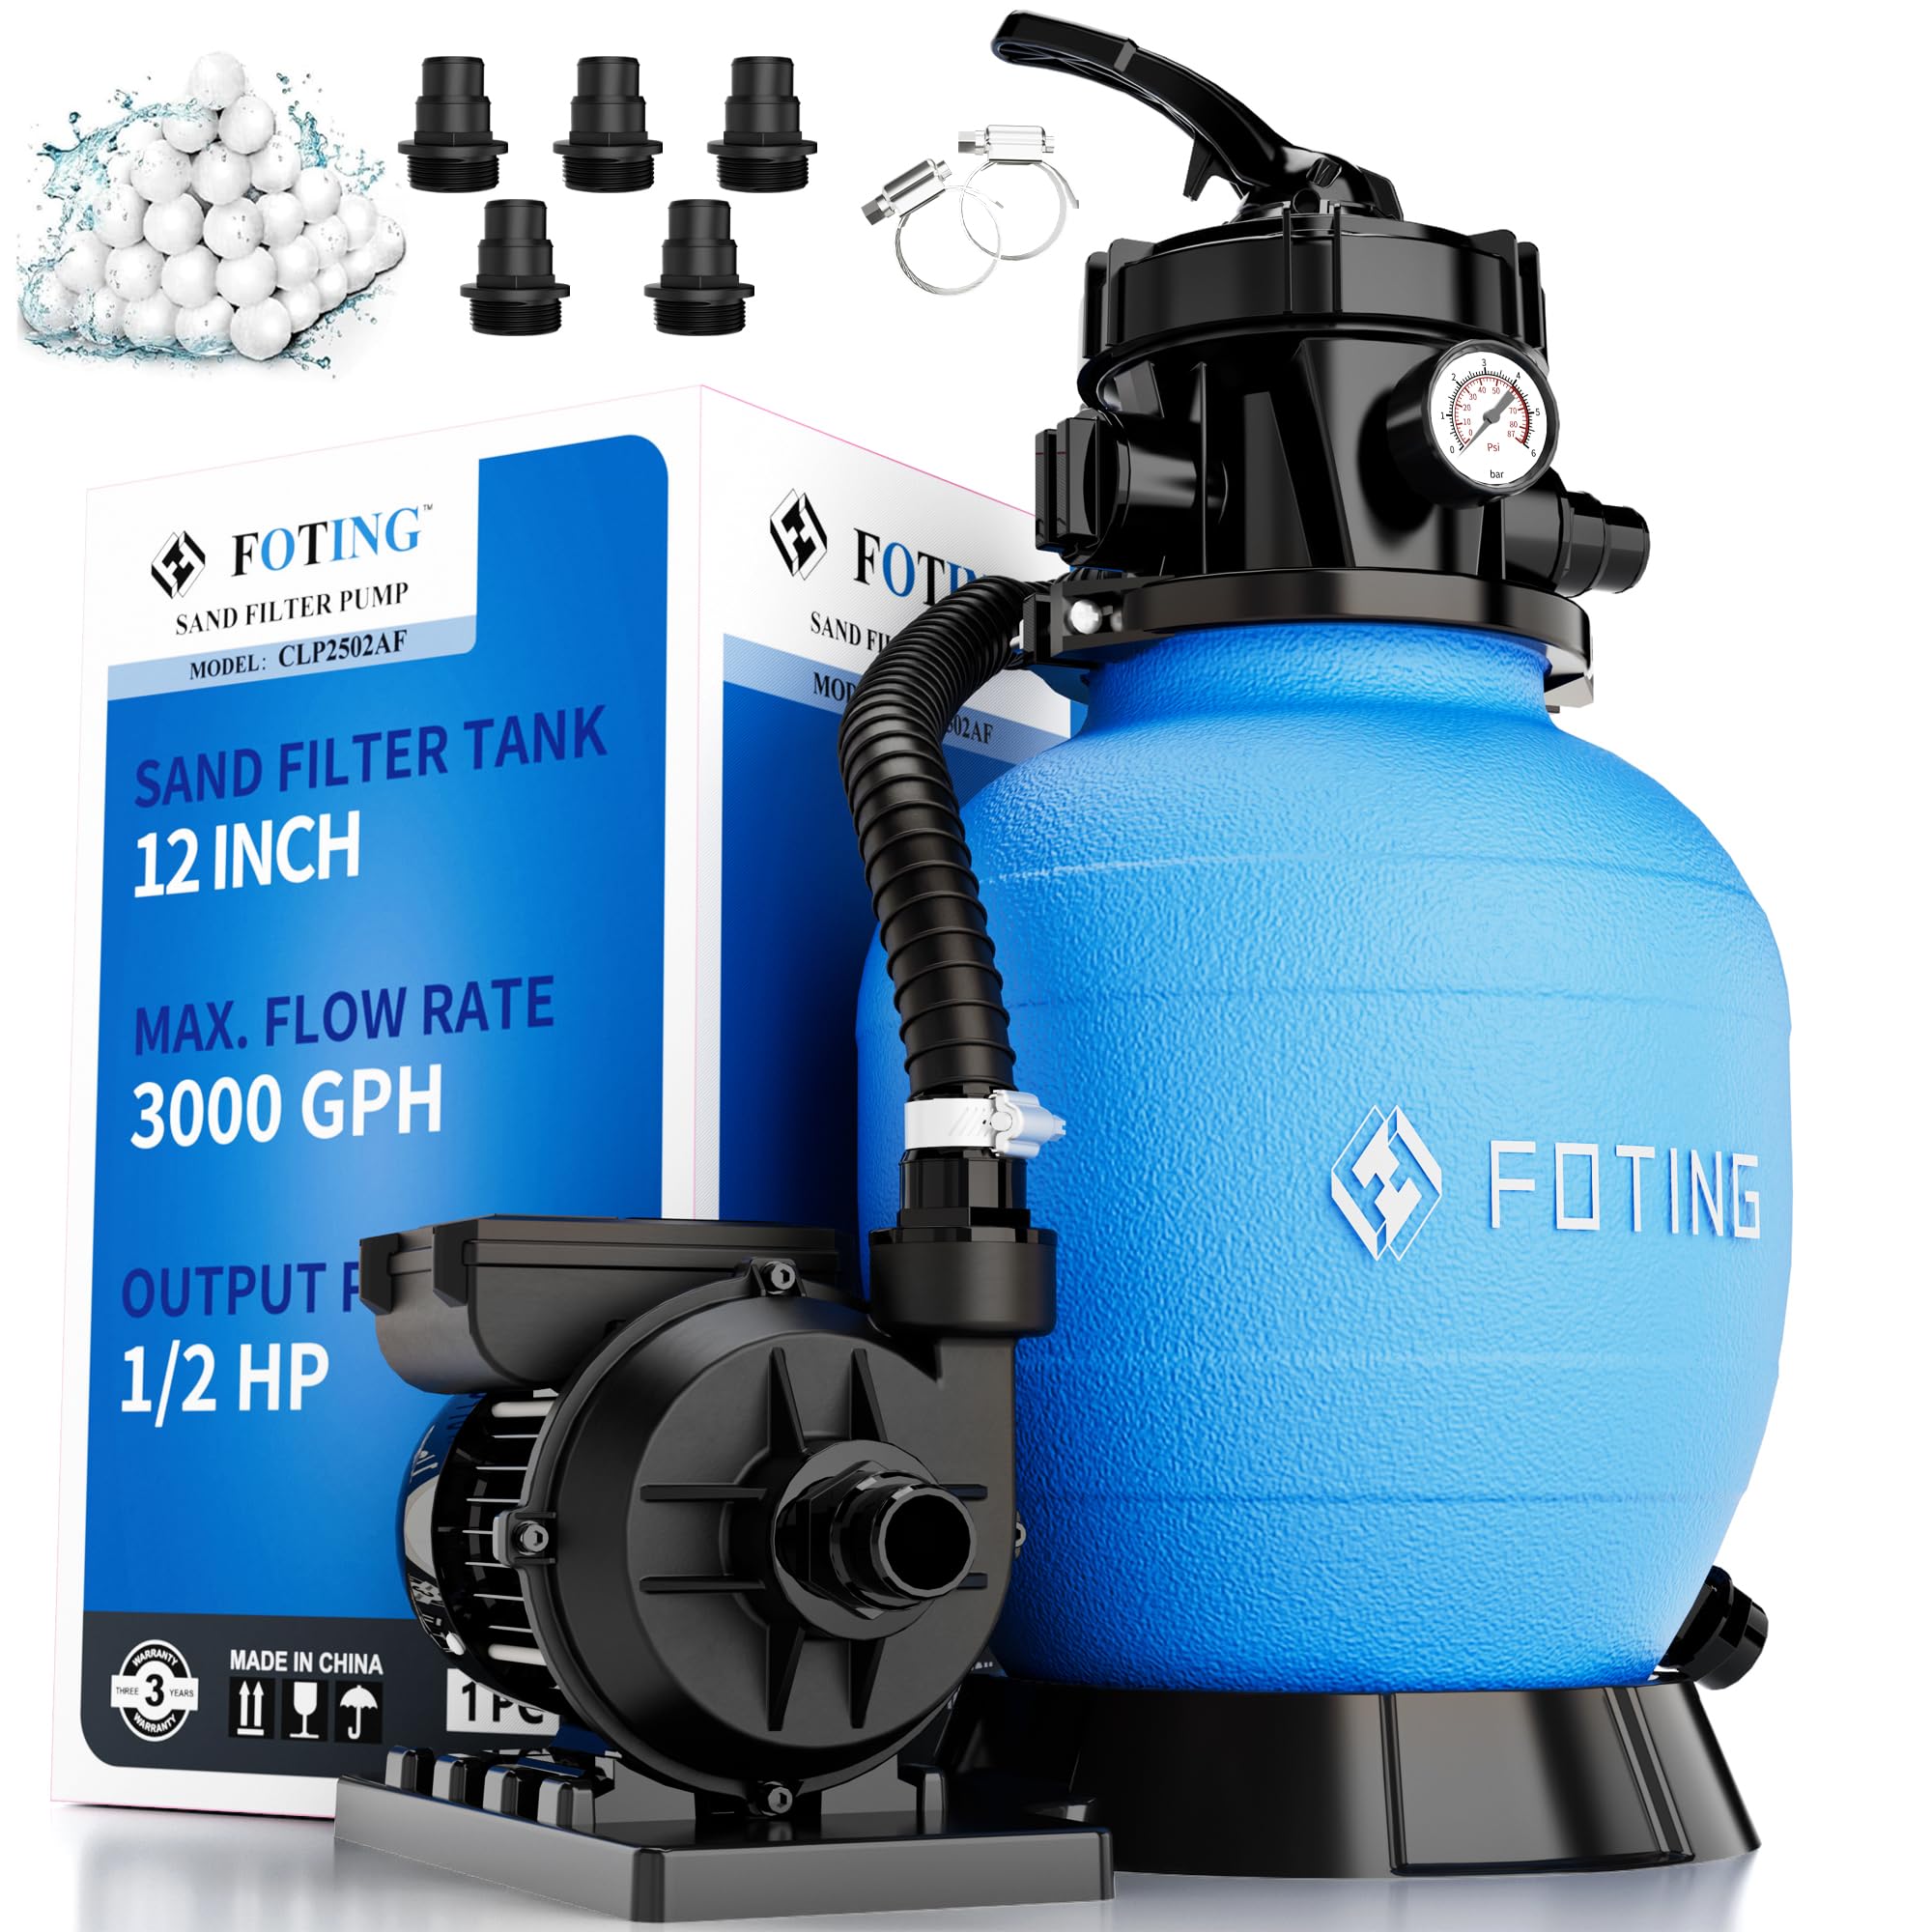
Image: FOTING 12-inch Sand Filter Pump showing key specifications like 1/2 HP, 3000 GPH, and 8000 GAL pool capacity.
4. Setup and Installation
Follow these steps for proper installation of your FOTING Sand Filter Pump:
4.1 Assemble the Filter Tank
- Secure the Base and Sand Filter Tank: Place the blue filter tank onto the black base platform. Ensure it is stable.
- Secure the Drain Valve: Install the drain valve at the bottom of the filter tank. Ensure the O-ring is properly seated for a watertight seal.
- Insert Filter Assembly: Carefully place the internal filter assembly (with laterals and standpipe) into the sand filter tank.
- Secure the Neck Fitting: Place the neck fitting over the standpipe opening. This prevents filter media from entering the water pipe.
- Add Filter Media: Carefully add the filter media (sand or filter balls) into the tank. For this 12-inch model, use 44 lbs of sand or the included 200g filter balls.
- Install the Multi-Port Valve: Remove the neck fitting. Ensure the O-ring is correctly placed on the valve. Carefully place the 7-way multi-port valve onto the filter tank, aligning the "align" arrows on the valve and the tank.
- Secure the Flange Clamp: Place the flange clamp around the valve and tank connection. Tighten the screws securely to create a tight seal.
- Install the Pressure Gauge: Screw the pressure gauge into its designated port on the multi-port valve.
Video: FOTING Sand Filter Pump Installation Video (0:07 - 0:10) demonstrating how to secure the tank to the base.
Video: FOTING Sand Filter Pump Installation Video (0:11 - 0:26) showing drain valve installation.
Video: FOTING Sand Filter Pump Installation Video (0:27 - 0:29) demonstrating filter assembly insertion.
Video: FOTING Sand Filter Pump Installation Video (0:30 - 0:31) showing neck fitting installation.

Image: Filter balls being added to the filter tank. The tank can hold 44 lbs of sand or 200g of filter balls.
Video: FOTING Sand Filter Pump Installation Video (0:32 - 0:36) demonstrating adding filter media.
Video: FOTING Sand Filter Pump Installation Video (0:37 - 0:45) showing valve installation.
Video: FOTING Sand Filter Pump Installation Video (0:46 - 1:03) demonstrating flange clamp installation.
Video: FOTING Sand Filter Pump Installation Video (1:04 - 1:12) showing pressure gauge installation.
4.2 Prepare the Pump Unit
- Apply Teflon Tape: Wrap all threaded connections on the hose adapters with Teflon tape for a tight seal.
- Install Hose Adapters: Install the hose adapters with O-rings at the pump inlet and outlet.
- Install Plug with O-ring: Install the plug with an O-ring into the appropriate port on the multi-port valve.
- Secure Pump on Base: Place the pump unit onto the base platform, ensuring it is securely seated.
Video: FOTING Sand Filter Pump Installation Video (1:13 - 1:21) demonstrating Teflon tape application.
Video: FOTING Sand Filter Pump Installation Video (1:31 - 1:38) showing hose adapter installation.
Video: FOTING Sand Filter Pump Installation Video (1:25 - 1:30) showing plug installation.
Video: FOTING Sand Filter Pump Installation Video (1:39 - 1:40) demonstrating pump placement on the base.
4.3 Connect Hoses
- Connect Hoses: Connect the provided hoses between the pump and the multi-port valve, and from the pump/valve to your pool's inlet and outlet. Use hose clamps to secure all connections.

Image: A person connecting hoses to the sand filter pump system, illustrating the standard connection process.
Video: FOTING Sand Filter Pump Installation Video (1:41 - 1:48) showing hose connection and tightening.
5. Operating Instructions
5.1 Multi-Port Valve Functions
The 7-way multi-port valve allows for various operational modes. Always turn off the pump before changing the valve position.
- Filter: Standard operation for cleaning pool water.
- Backwash: Reverses water flow to clean the filter media.
- Rinse: Used after backwashing to flush debris from the valve.
- Waste: Drains pool water directly, bypassing the filter.
- Closed: Stops water flow to the filter. Never use while the pump is running.
- Recirculate: Mixes pool water without filtering.
- Winter: Prevents the filter valve from freezing during winter storage.

Image: Detailed view of the 7-way multi-port valve, explaining each function (Filter, Backwash, Rinse, Waste, Closed, Recirculate, Winter).
5.2 24-Hour Dual-Mode Smart Timer
The built-in timer allows for automated filtration cycles.
- Single-Cycle Mode: Customize the duration for a single filtration operation.
- Continuous-Cycle Mode: The pump will automatically turn on/off daily according to your set schedule.

Image: The pump's control panel, highlighting the 24-hour dual-mode smart timer for setting filtration schedules.
Video: Sand Filter Pump for Above Ground Pool (0:09 - 0:13) showing the timer in use.
6. Maintenance
- Regular Backwashing: Perform backwashing when the pressure gauge reading is 8-10 PSI above the clean filter pressure, or when water flow decreases significantly.
- Rinse After Backwashing: Always rinse the filter after backwashing to prevent dirty water from returning to the pool.
- Filter Media Replacement: Replace sand filter media every 3-5 years, or filter balls as needed based on condition and performance.
- Winterization: Before storing the pump in winter, unscrew the bottom drain plug to remove all remaining water. This prevents freezing damage.
- Pump Basket Cleaning: Periodically clean the pump's strainer basket to remove large debris and maintain optimal flow.
Video: FOTING Sand Filter Pump Installation Video (1:49 - 1:52) showing how to unscrew the bottom drain plug for winter storage.
7. Troubleshooting
| Problem | Possible Cause | Solution |
|---|---|---|
| Pump not starting | No power, tripped breaker, motor issue. | Check power supply, reset breaker. Consult a qualified electrician if motor issues persist. |
| Low water flow | Clogged strainer basket, dirty filter media, air leak in suction line. | Clean strainer basket. Backwash/rinse filter. Check all connections for air leaks. |
| Water not clearing | Insufficient filtration time, dirty filter media, incorrect chemical balance. | Increase filtration time. Backwash/rinse filter. Test and adjust pool chemicals. |
| Water leaking from connections | Loose connections, worn O-rings/gaskets, insufficient Teflon tape. | Tighten all connections. Inspect and replace O-rings/gaskets if damaged. Reapply Teflon tape. |
| Pump making unusual noise | Air in the system, cavitation, debris in impeller. | Bleed air from the system. Ensure adequate water supply to pump. Inspect impeller for obstructions. |
8. Warranty and Support
FOTING products are manufactured with quality and durability in mind. For specific warranty details, please refer to the warranty card included with your product or contact FOTING customer service.
FOTING customer service provides professional technical support to ensure your water system remains stable and worry-free.
For assistance, please visit the official FOTING website or contact their support team directly.