
1. Introduction
This manual provides essential information for the safe and efficient operation, maintenance, and troubleshooting of your MZK ET2603 Pressure Washer. Please read this manual thoroughly before operating the unit and retain it for future reference.
1.1 Safety Information
WARNING: Failure to follow these instructions may result in serious injury or property damage.
- Always wear appropriate personal protective equipment, including safety glasses, hearing protection, and protective footwear.
- Never point the spray gun at people, pets, or electrical devices. The high-pressure spray can cause severe injury.
- Ensure all connections are secure before starting the pressure washer.
- Do not operate the unit in an enclosed space. Ensure adequate ventilation.
- Keep children and pets away from the operating area.
- Always disconnect the power supply before performing any maintenance or cleaning.
- Use only clean water for operation. Do not use flammable liquids or solvents.
- Protect the unit from freezing temperatures during storage.
1.2 Package Contents
Verify that all items listed below are included in your package. If any parts are missing or damaged, contact customer support.
- MZK ET2603 Pressure Washer Unit
- High-Pressure Hose (21 Feet)
- Pro-Style Steel Wand
- Spray Nozzles (various degrees)
- Detachable Foam Cannon
- Garden Hose Adapter
- Nozzle Cleaning Pin
- Instruction Manual
2. Setup
Follow these steps to assemble and prepare your pressure washer for first use.
2.1 Assembly
- Attach the High-Pressure Hose: Connect one end of the high-pressure hose to the outlet on the pressure washer unit. Ensure it is securely tightened.
- Connect the Spray Wand: Attach the other end of the high-pressure hose to the spray gun. Then, connect the Pro-Style Steel Wand to the spray gun.
- Insert Spray Nozzle: Select the desired spray nozzle and insert it into the end of the steel wand until it clicks into place. For foam application, attach the Detachable Foam Cannon instead of a nozzle.
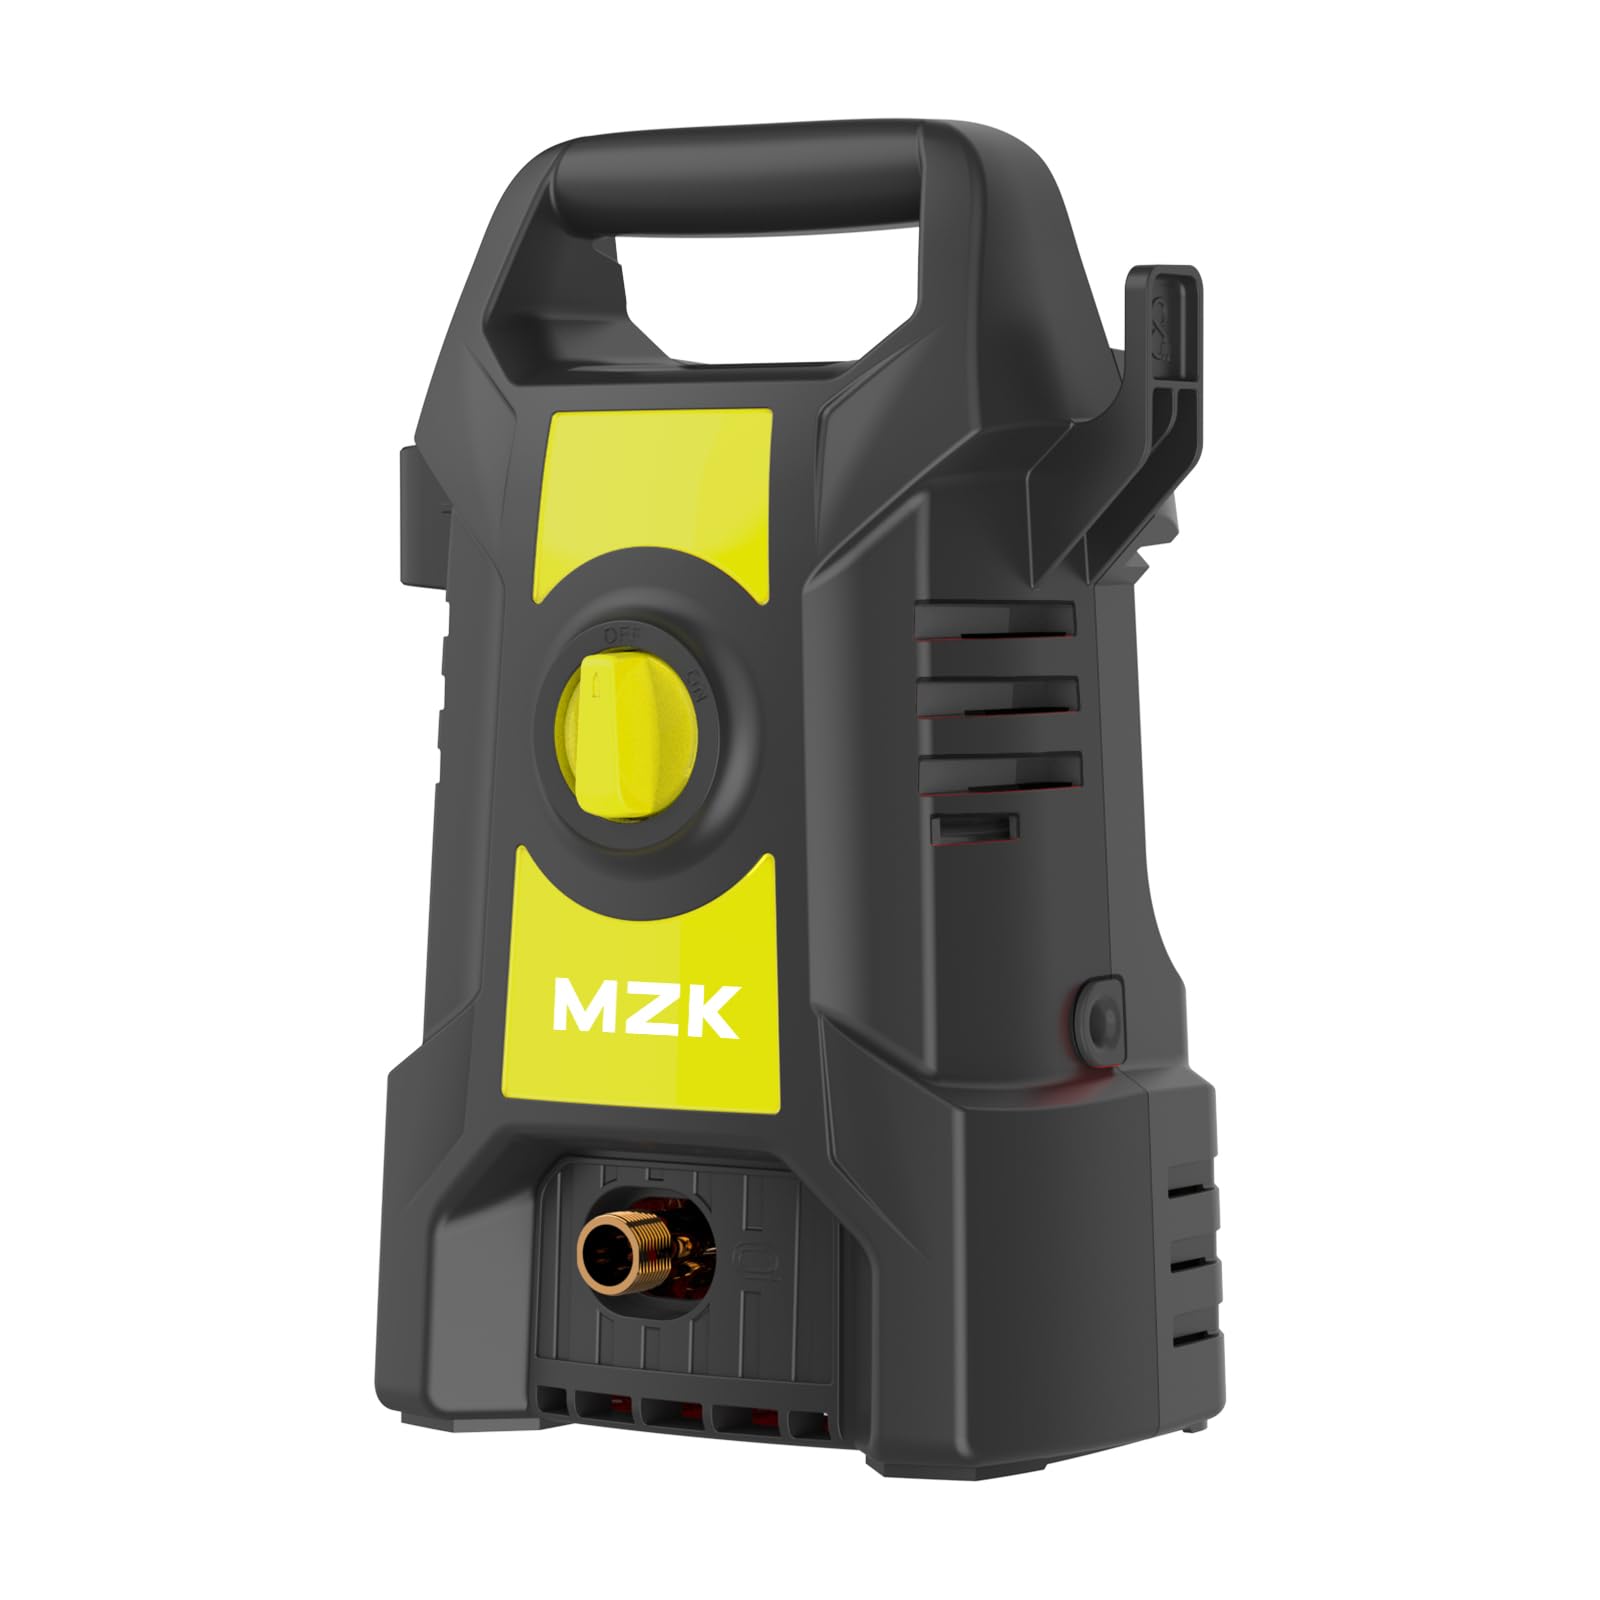
Image 1: MZK ET2603 Pressure Washer assembled with hose and wand. This image illustrates the main unit, high-pressure hose, and spray wand connected, ready for water and power supply.
2.2 Water Connection
- Connect Garden Hose: Attach a standard garden hose (not included) to the water inlet on the pressure washer unit. Ensure the connection is tight to prevent leaks.
- Turn on Water Supply: Fully open the water faucet to ensure a steady flow of water to the pressure washer.
- Purge Air: Squeeze the trigger on the spray gun for approximately 30 seconds to purge any air from the pump and hose. This prevents damage to the pump.
2.3 Power Connection
Ensure your power outlet meets the electrical requirements of the pressure washer.
- Plug the power cord into a grounded electrical outlet.
- Do not use extension cords unless absolutely necessary, and if used, ensure they are rated for outdoor use and the correct gauge for the power requirements.
3. Operation
This section details how to operate your MZK ET2603 Pressure Washer effectively and safely.
3.1 Starting the Unit
- Ensure the water supply is fully open and air has been purged from the system.
- Turn the power switch on the pressure washer to the "ON" position. The motor will start.
- Squeeze the trigger on the spray gun to begin spraying. The motor will run continuously while the trigger is pressed.
3.2 Using Spray Nozzles
The MZK ET2603 comes with various spray nozzles for different cleaning tasks:
- 0° (Red) Nozzle: Provides a concentrated, high-impact stream for tough stains and hard-to-reach areas. Use with extreme caution.
- 15° (Yellow) Nozzle: Offers a narrow, powerful spray for intensive cleaning of small areas.
- 25° (Green) Nozzle: A versatile, medium-fan spray for general cleaning of most surfaces.
- 40° (White) Nozzle: Provides a wide, gentle spray for delicate surfaces and rinsing.
- Soap (Black) Nozzle: Used for applying detergent or soap at low pressure.
To change nozzles, turn off the pressure washer and release any residual pressure by squeezing the trigger. Pull back the collar on the wand, remove the current nozzle, and insert the new one until it clicks securely.
3.3 Using the Foam Cannon
- Fill the foam cannon reservoir with an appropriate pressure washer detergent.
- Attach the foam cannon to the spray gun in place of a standard nozzle.
- Start the pressure washer and squeeze the trigger to apply foam. Adjust the foam cannon's dial for desired foam thickness.
- After applying foam, detach the foam cannon and reattach a rinsing nozzle (e.g., 25° or 40°) to rinse the surface.
3.4 Shutting Down
- Turn the power switch to the "OFF" position.
- Turn off the water supply.
- Squeeze the trigger on the spray gun to release any remaining pressure in the system.
- Disconnect the garden hose and high-pressure hose.
4. Maintenance
Regular maintenance ensures optimal performance and extends the lifespan of your pressure washer.
4.1 Cleaning
- Nozzle Cleaning: If a nozzle becomes clogged, use the provided nozzle cleaning pin to clear any debris.
- Water Inlet Filter: Periodically check and clean the water inlet filter to prevent debris from entering the pump.
- Unit Exterior: Wipe down the exterior of the pressure washer with a damp cloth. Do not use harsh chemicals.
4.2 Storage
- Drain all water from the pump, hoses, and spray gun before storing.
- Store the pressure washer in a dry, frost-free environment.
- Coil the high-pressure hose and power cord neatly.
4.3 Winterization
If storing the unit in an area where temperatures may drop below freezing, winterize the pressure washer to prevent damage:
- Disconnect all hoses and drain water as described in "4.2 Storage".
- Pour a non-toxic antifreeze (RV antifreeze) into the water inlet.
- Briefly turn on the pressure washer (for 1-2 seconds) until antifreeze exits the high-pressure outlet. Do not run for extended periods without water.
- Store the unit.
5. Troubleshooting
Refer to this section for common issues and their solutions.
| Problem | Possible Cause | Solution |
|---|---|---|
| Unit does not start | No power supply; tripped circuit breaker; faulty switch. | Check power connection; reset circuit breaker; contact support if switch is faulty. |
| Low or no pressure | Insufficient water supply; clogged nozzle; air in pump; leaky connections. | Ensure water faucet is fully open; clean nozzle; purge air from system; tighten all connections. |
| Motor cycles on and off | Air in pump; leaky connections; restricted water flow. | Purge air from system; tighten connections; check water inlet filter for clogs. |
| Water leaks | Loose connections; damaged O-rings. | Tighten all hose connections; inspect and replace damaged O-rings. |
6. Specifications
Technical details for the MZK ET2603 Pressure Washer.
- Model: ET2603
- Brand: MZK
- Power Source: AC
- Maximum Pressure: 2100 PSI (Pound per Square Inch)
- Hose Length: 21 Feet
- Product Dimensions (L x W x H): 11.02" x 7.68" x 11.02"
- Item Weight: 18 Pounds
- Color: Yellow
7. Warranty and Support
For warranty information or technical assistance, please contact MZK customer support. Keep your purchase receipt as proof of purchase.
Customer Support: Refer to the contact information provided with your product packaging or visit the official MZK website for support options.
Note: Warranty terms and conditions may vary. Please consult your warranty card for specific details.