
Introduction
This manual provides detailed instructions for the setup, operation, and maintenance of your COTINSE Wireless Driveway Alarm Motion Sensor. This system is designed to enhance security and convenience by alerting you to motion within its detection range. It features 58 melodies, 5 adjustable volume levels, and a wireless range of up to 500 feet.
Package Contents
Please ensure all components are present before proceeding with installation:
- 1 x Receiver (Door Chime)
- 1 x Motion Sensor (Transmitter)
- 1 x Mounting Base
- 2 x AAA Batteries (for Motion Sensor)
- Mounting Screws
- User Manual

Image: Components included in the COTINSE Wireless Driveway Alarm package.
Setup
1. Powering the Devices
Receiver (Door Chime): Plug the receiver into a standard electrical outlet. It will power on automatically.
Motion Sensor (Transmitter): The motion sensor can be powered by 2 AAA batteries (included) for portability or via a Type-C USB cable for continuous operation. To install batteries, open the battery compartment, insert the batteries, and close the compartment. Ensure the ON/OFF switch on the sensor is set to 'ON'.
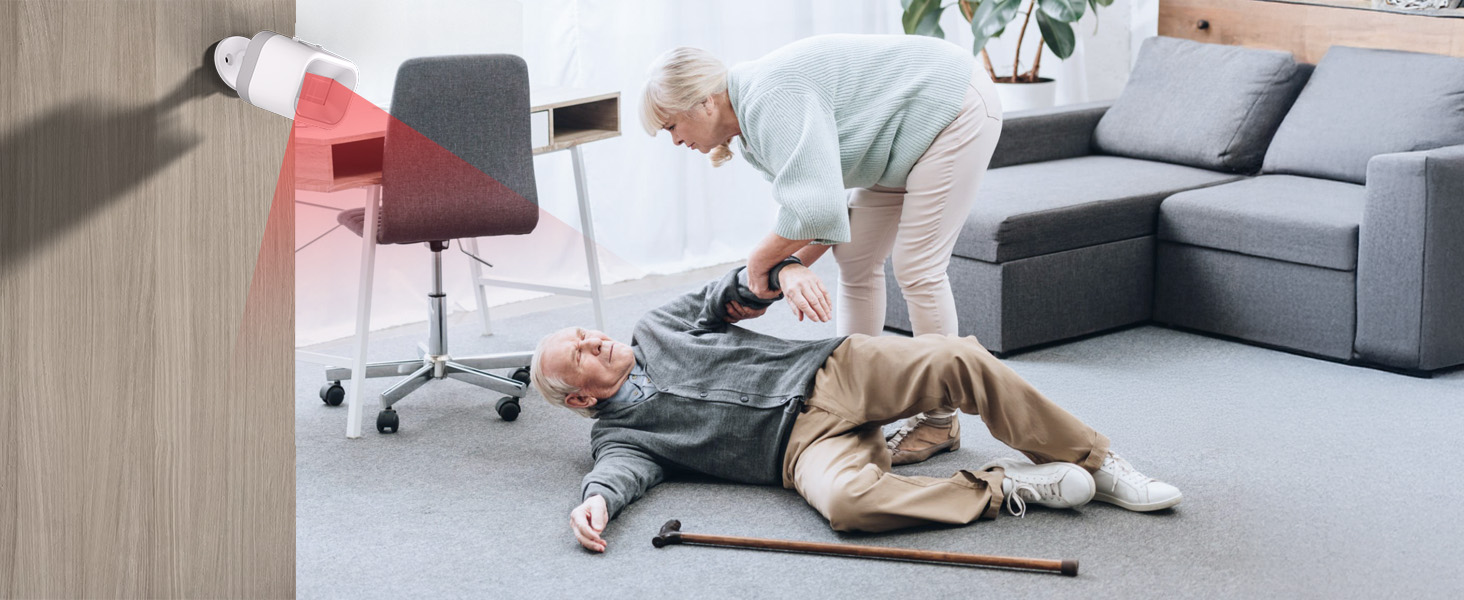
Image: Powering options for the receiver and motion sensor.
2. Mounting the Motion Sensor
The motion sensor can be mounted on walls, door frames, or ceilings using the included mounting base and screws. The mounting base allows for 360° rotation to optimize the detection angle.
- Attach the mounting base to your desired location using the provided screws.
- Secure the motion sensor onto the mounting base.
- Adjust the sensor's angle for optimal coverage. The detection angle is 45° vertical and 15° horizontal.

Image: Installation of the motion sensor on an exterior wall.
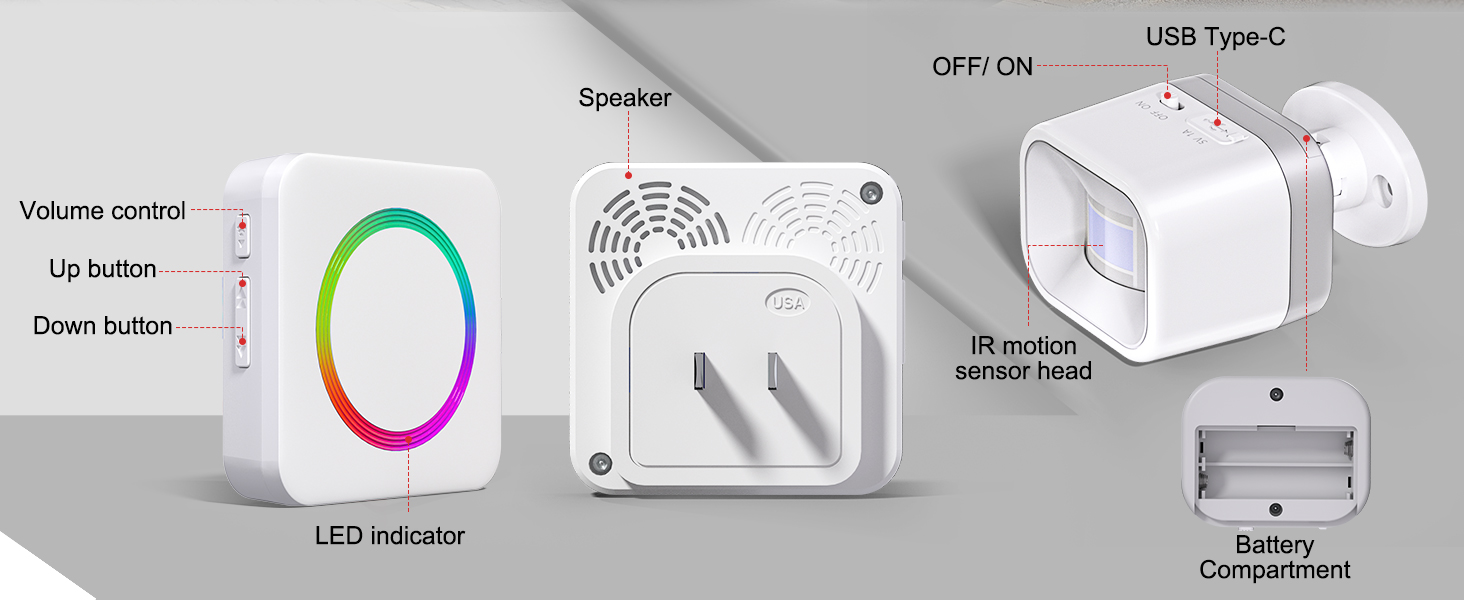
Image: Motion sensor with 360° rotation and detection angle illustration.
3. Pairing Additional Transmitters (Motion Sensors)
The system is expandable, allowing you to pair multiple motion sensors with a single receiver (up to 58 sensors). Follow these steps to pair an additional transmitter:
- Ensure the first transmitter is already paired and working with the receiver.
- Press and hold both the "Volume" and "Down" buttons on the receiver simultaneously until you hear a ring. This puts the receiver into pairing mode.
- Trigger the new transmitter by waving your hand in front of it. You will hear the receiver ring, indicating successful pairing.
Video: Instructions on how to add another transmitter pairing to the receiver.
Operating Instructions
1. Selecting a Ringtone
The receiver offers 58 unique chimes and ringtones. To select your preferred ringtone:
- Press the "Up" or "Down" button on the side of the receiver to cycle through the available ringtones.
- Once you hear your desired ringtone, press and hold the "Volume" button for 5 seconds, or briefly press both "Volume" and "Down" buttons until the receiver "dings" and the LED flashes.
- Wave your hand in front of the motion sensor to confirm the new ringtone is set.
Video: Guide on how to choose your favorite ringtone for the door chime.
2. Adjusting Volume Levels
The receiver has 5 adjustable volume levels, ranging from 0dB (silent) to 110dB (loud). Use the "Volume" button on the side of the receiver to cycle through the volume settings.
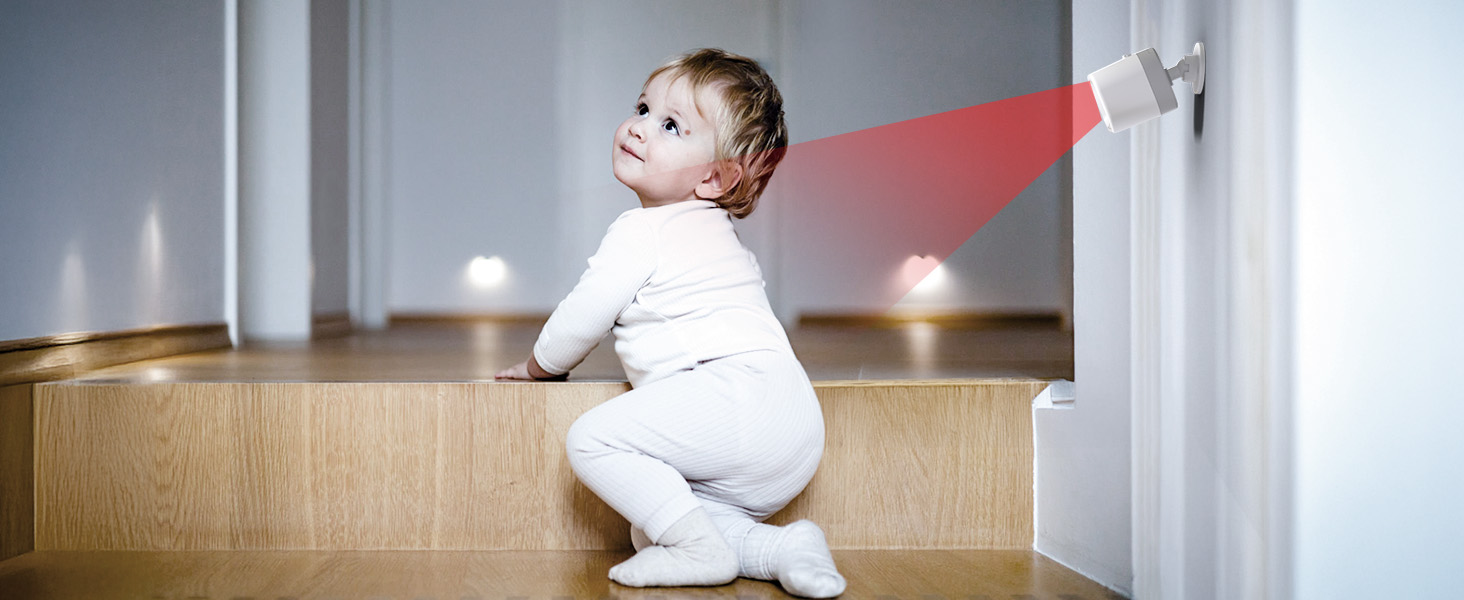
Image: Receiver with volume control and ringtone options.
3. Motion Detection
The motion sensor detects movement within its range (9.8 to 19.7 feet) and angle (45° vertical, 15° horizontal). Upon detection, it sends a signal to the receiver, which then plays the selected ringtone and illuminates its colorful LED indicator.
A smart 5-second interval between detections prevents continuous ringing from a single person or pet, ensuring efficient alerts.

Image: Driveway alert scenario with motion sensor and receiver.

Image: Receiver displaying colorful LED indicator and sound options.
4. Versatile Applications
This system is suitable for various monitoring scenarios:
- Business Entry Alert: Welcome customers in retail stores.
- Driveway Alarm: Alert to approaching vehicles.
- Elderly Care Monitor: Provide alerts for monitoring elderly or dementia patients.
- Child Safety: Monitor children's movement in restricted areas.
- Home Security: Detect intruders.
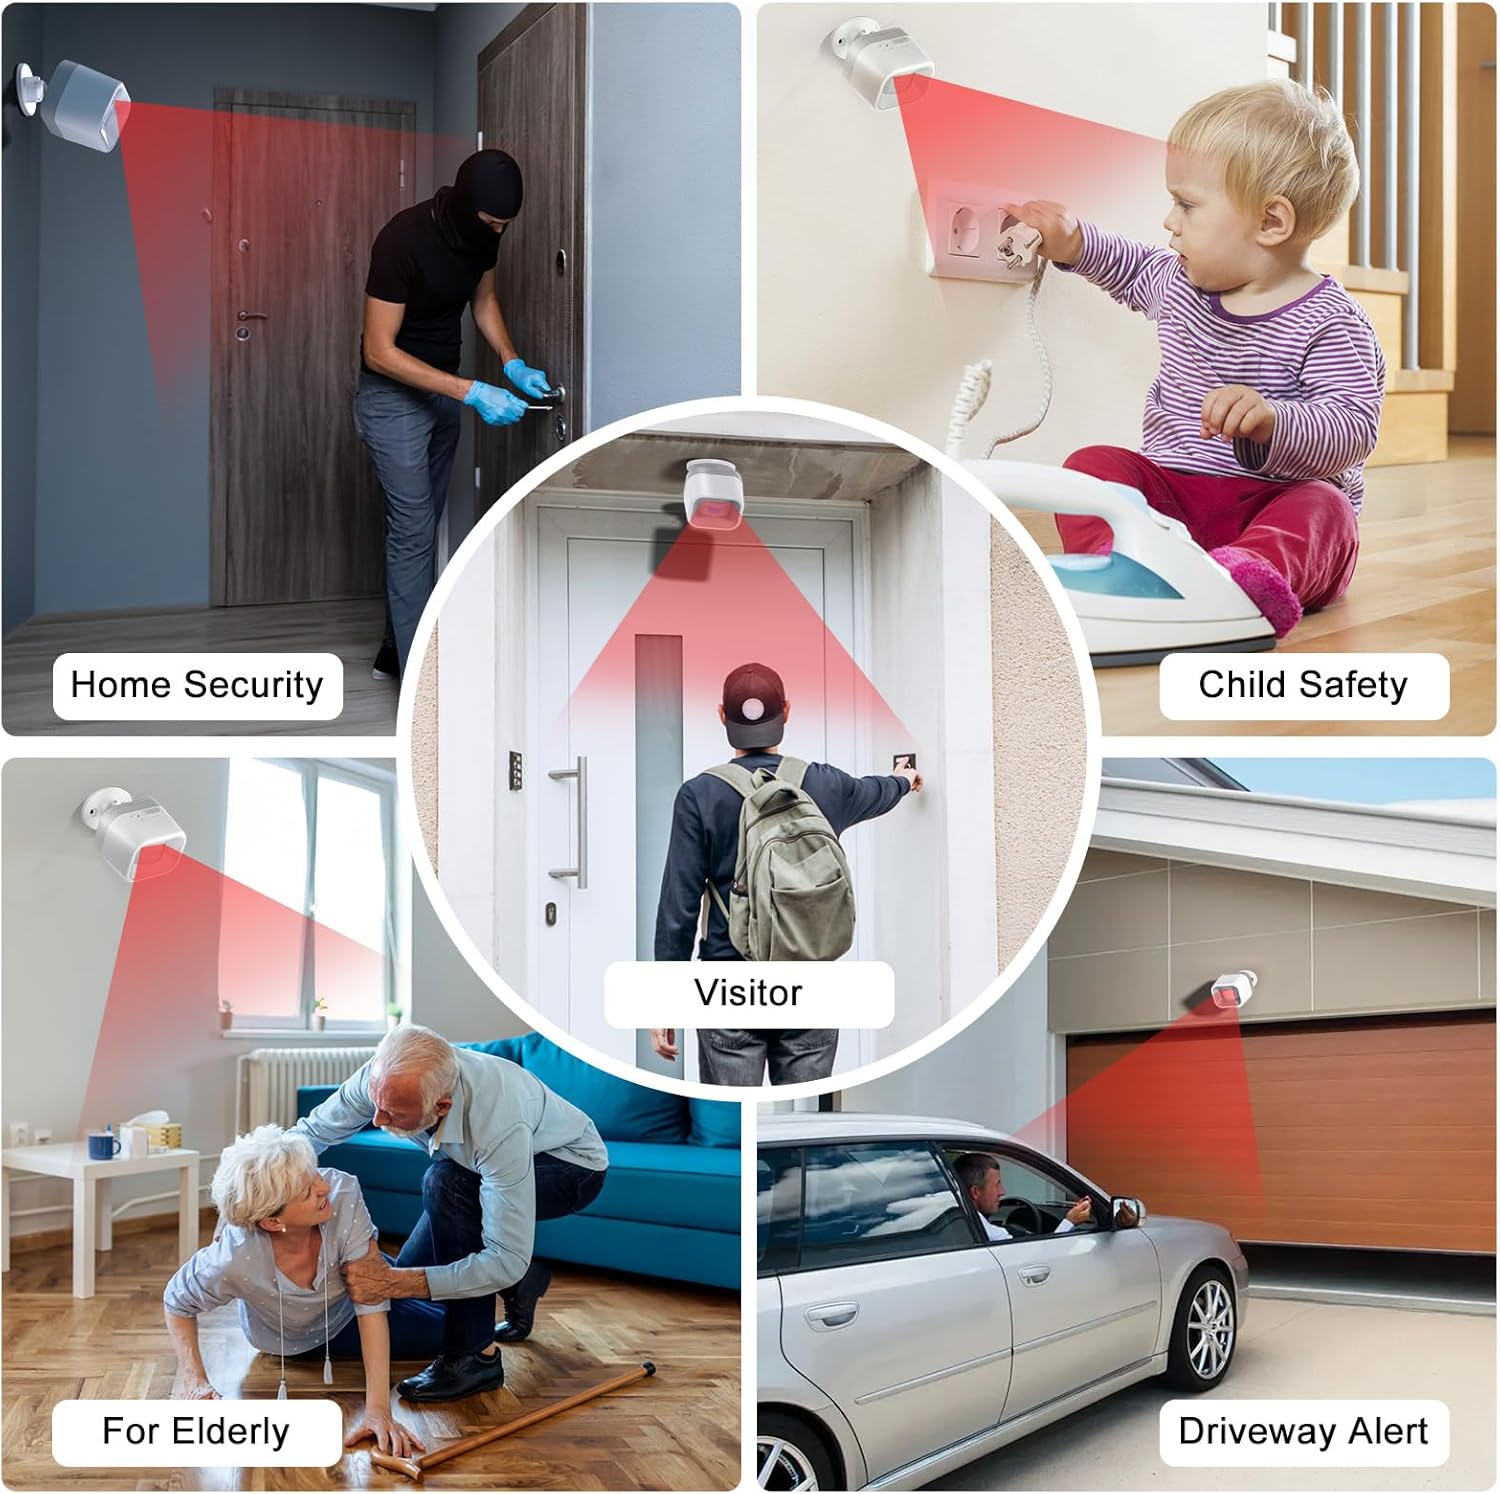
Image: Diverse applications of the motion sensor system.
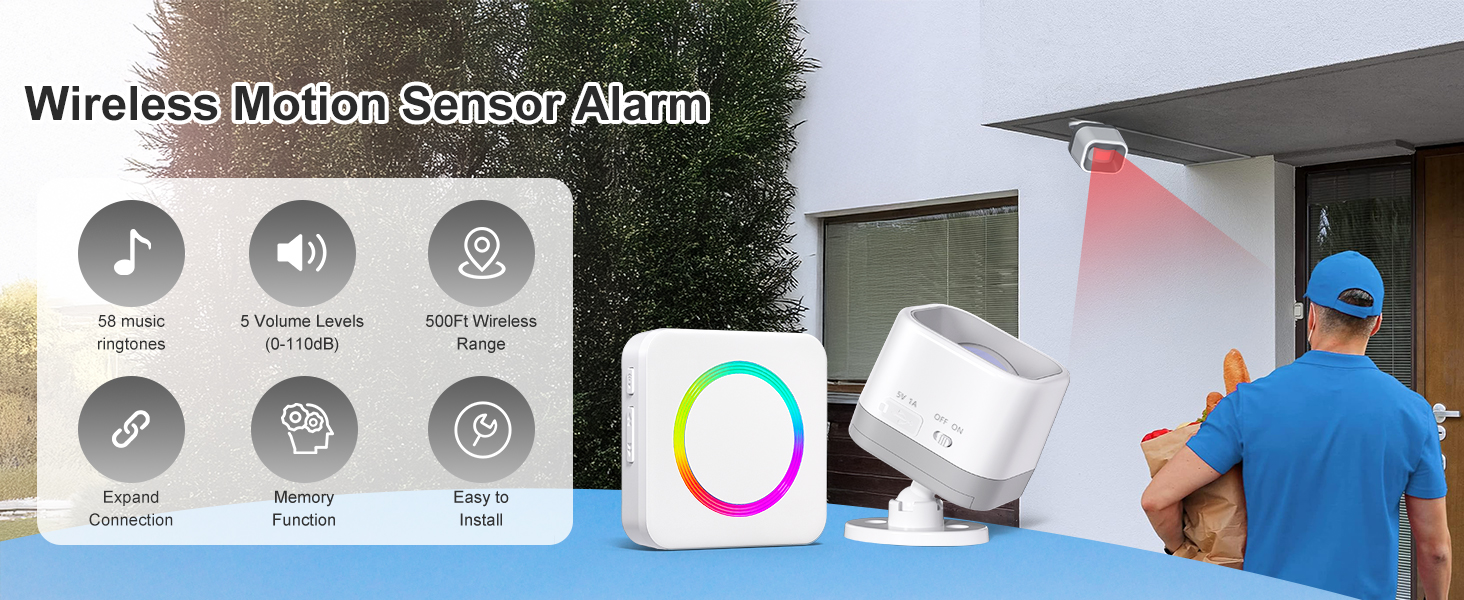
Image: Specific use cases for the motion sensor alarm.
Maintenance
1. Battery Replacement
When the motion sensor's battery is low, its performance may be affected. Replace the 2 AAA batteries as needed. Ensure correct polarity when inserting new batteries.

Image: Instructions for battery replacement and sensor installation.
2. Cleaning
Wipe the devices with a soft, dry cloth. Do not use liquid cleaners or abrasive materials.
Troubleshooting
1. Sensor Not Triggering Alarm
- Ensure the motion sensor is powered on and has fresh batteries or is connected via USB.
- Verify the sensor is within the 500ft wireless range of the receiver.
- Check for obstructions between the sensor and the receiver.
- Confirm the sensor is properly paired with the receiver (refer to Setup section).
- Adjust the sensor's angle to ensure motion is within its detection zone (45° vertical, 15° horizontal).
2. Resetting the Doorbell and Transmitter
If you experience persistent issues or wish to clear all pairings, you can reset the system:
- Plug the receiver into an outlet and ensure it has power.
- Trigger the transmitter with your hand to confirm it is currently ringing the doorbell.
- Press and hold the "Down" button on the receiver for approximately 5 seconds until you hear the doorbell ring. This indicates a successful reset.
- Trigger the transmitter again. The doorbell should no longer ring, confirming the reset.
Video: Instructions on how to reset the doorbell and transmitter.
Specifications
| Feature | Detail |
|---|---|
| Brand | COTINSE |
| Model Number | IR10 |
| Item Weight | 5.9 ounces |
| Product Dimensions | 3.35 x 3.35 x 3.35 inches |
| Power Source (Sensor) | 2 AAA Batteries (included) / USB Type-C |
| Power Source (Receiver) | AC Plug-in |
| Wireless Range | Up to 500 feet (150 meters) |
| Motion Detection Range | 9.8 - 19.7 feet (3-6 meters) |
| Motion Detection Angle | 45° Vertical, 15° Horizontal |
| Ringtones | 58 melodies |
| Volume Levels | 5 (0dB to 110dB) |
| Expandability | Up to 58 sensors per receiver |

Image: Detailed view of the product components and dimensions.
Warranty and Support
For warranty information and technical support, please refer to the product packaging or contact COTINSE customer service directly. Keep your purchase receipt for warranty claims.