
1. Safety Information
Read this manual thoroughly before operating your INTERGREAT 123B-10 safe. Failure to follow these instructions may result in injury or damage to the safe or its contents.
- Always store firearms unloaded and locked.
- Keep keys and access codes in a secure location, away from children and unauthorized individuals.
- Do not store flammable materials or aerosols inside the safe.
- Ensure the safe is securely mounted to a wall or floor to prevent tipping and unauthorized removal.
- Never allow children to play with or around the safe.
- Verify the door is fully closed and locked after each use.
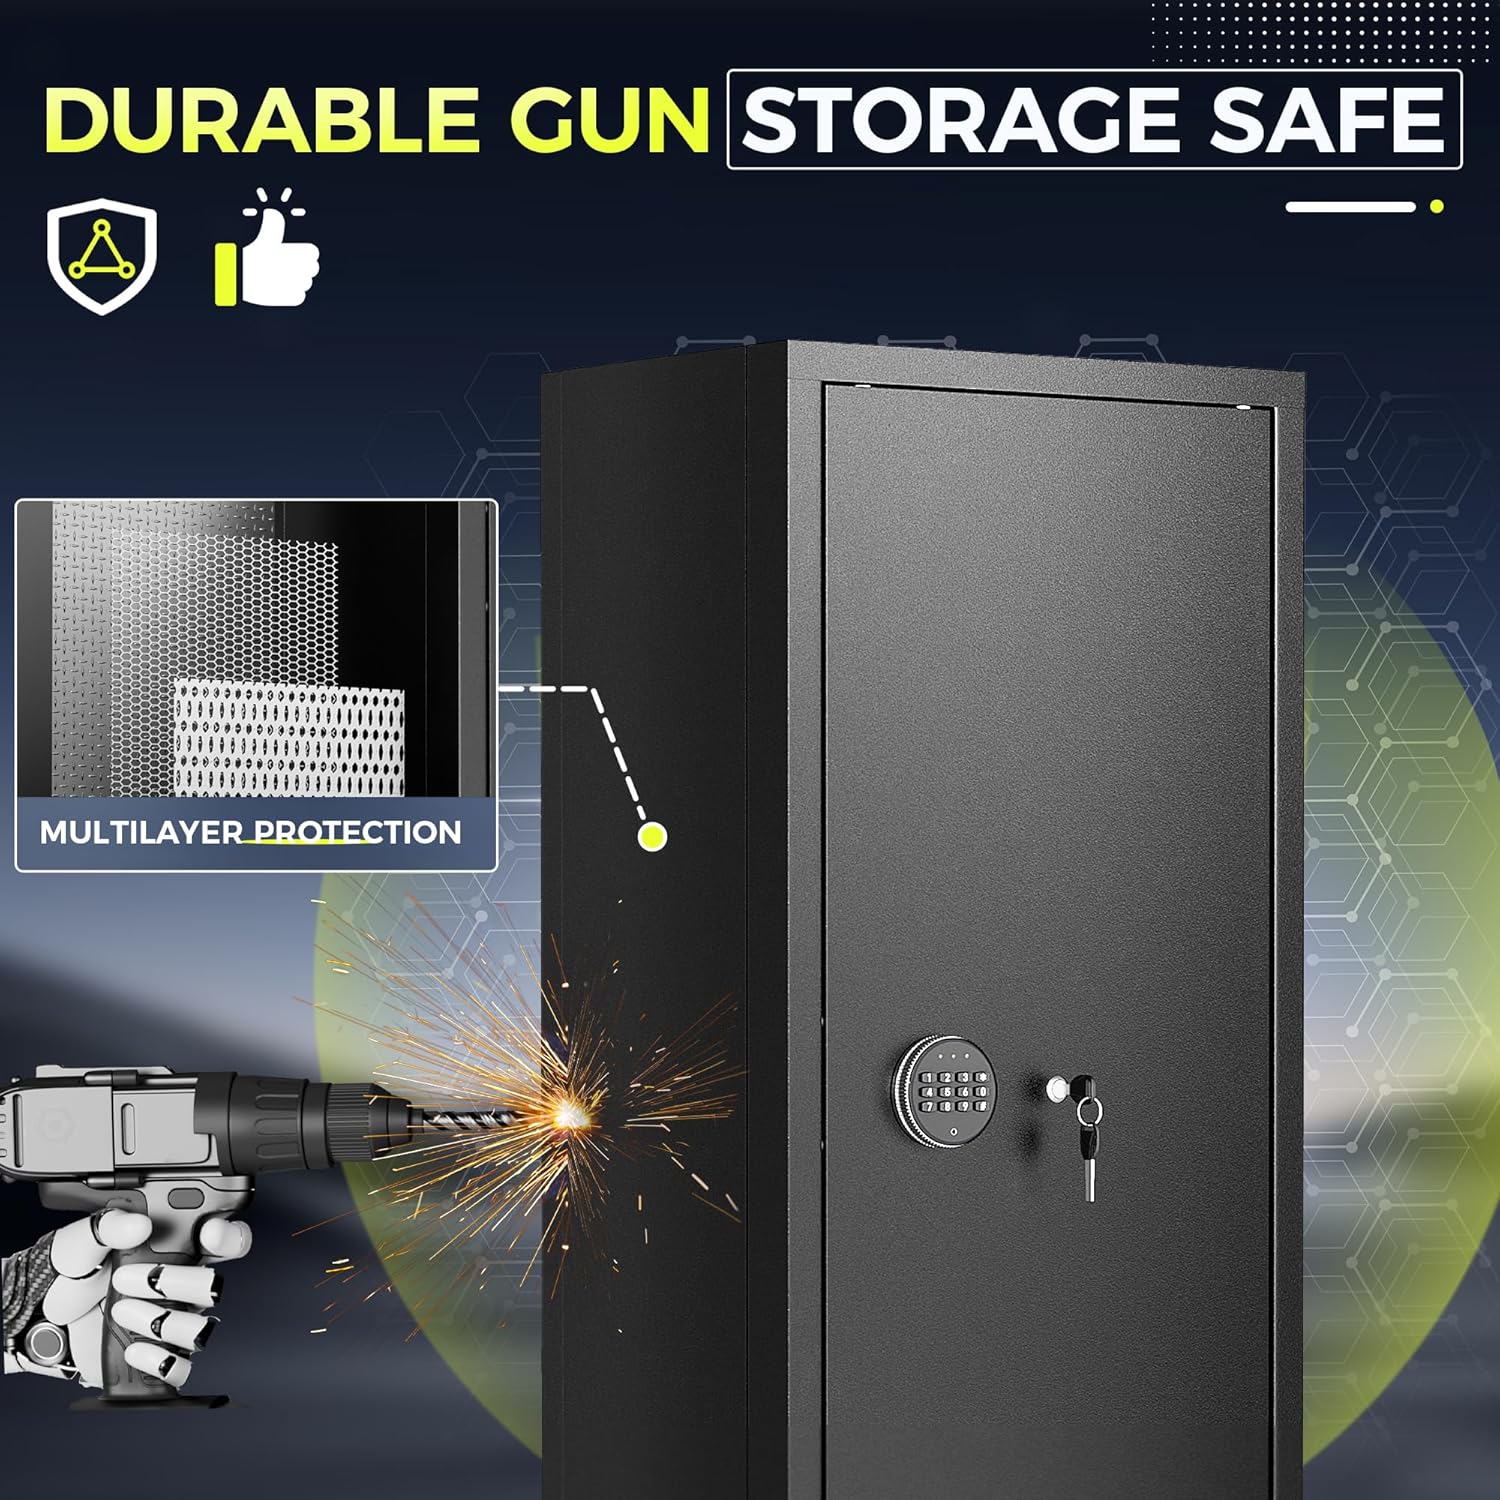
Figure 1: The safe features multilayer protection for enhanced durability against tampering.
2. Product Overview
The INTERGREAT 123B-10 is a large rifle and pistol safe designed for secure storage of firearms and valuables. It features a robust construction and multiple access options.
Key Features:
- Spacious Interior: Dimensions of 55.2" H x 21" W x 15.2" D, offering ample storage for 8-12 firearms.
- Adjustable Storage: Features two layers of storage space with a removable middle partition and adjustable gun racks to accommodate various firearm lengths.
- Multiple Access Methods: Digital keypad with knob, traditional key with knob, and emergency battery box with knob for reliable access.
- Security Features: Silent mode for discreet access and a lockout system that activates after 5 incorrect code entries.
- Additional Storage: Includes a separate top storage compartment for handguns or other valuables, along with internal storage bags and bullet storage.
- Easy Assembly: Designed for quick assembly and disassembly for convenience.

Figure 2: Exterior dimensions and interior capacity of the safe.

Figure 3: Interior features including adjustable racks and storage compartments.
3. Setup and Installation
3.1 Unpacking and Initial Inspection
Carefully remove all packaging materials. Inspect the safe for any signs of damage. Report any damage to customer service immediately.
3.2 Assembly
The safe is designed for quick assembly. Follow the detailed instructions provided in the separate assembly guide included with your purchase. Ensure all panels are correctly aligned and secured with the provided screws.
3.3 Mounting the Safe
For maximum security, it is highly recommended to fix the safe to a wall or floor using the included anchor bolts. This prevents unauthorized removal or tipping.
- Choose a suitable location for the safe, ensuring it is level and stable.
- Mark the drilling points on the wall or floor through the pre-drilled holes in the back or bottom of the safe.
- Drill pilot holes using an appropriate drill bit for your wall/floor material.
- Align the safe with the drilled holes and insert the anchor bolts.
- Tighten the anchor bolts securely until the safe is firmly fixed.

Figure 4: Steps for securely mounting the safe using anchor bolts.
4. Operating Instructions
4.1 Opening the Safe
Your safe offers three methods for opening:
- Digital Keypad + Knob: Enter your programmed digital code on the keypad, then turn the knob to open the door.
- Key + Knob: Insert the backup key into the keyhole, turn it, then turn the knob to open the door.
- Emergency Battery Box + Knob: If the batteries are depleted, connect the emergency battery box to the external power port, enter your digital code, then turn the knob.

Figure 5: Digital keypad and backup key access points.
4.2 Setting/Changing the Digital Code
Refer to the specific instructions provided in your safe's detailed user manual for programming and changing the digital access code. Typically, this involves pressing a reset button inside the safe, entering a new code, and confirming it.
4.3 Silent Mode
To activate silent mode, press and hold the "*" (asterisk) button on the digital keypad. This will disable keypad sounds for discreet operation.
4.4 Lockout System
If an incorrect digital code is entered 5 consecutive times, the safe's lockout system will activate, temporarily preventing further access via the keypad. Wait for the lockout period to expire or use a backup key to open the safe.
5. Maintenance
- Cleaning: Wipe the exterior of the safe with a soft, damp cloth. Avoid abrasive cleaners or solvents.
- Battery Replacement: Replace the batteries in the digital keypad regularly (e.g., annually) or when the low battery indicator appears. Use high-quality alkaline batteries.
- Key Storage: Store backup keys in a secure location separate from the safe.
- Internal Care: Periodically check the interior for moisture and ensure the protective pad is in place.
6. Troubleshooting
| Problem | Possible Cause | Solution |
|---|---|---|
| Safe does not open with digital code. | Incorrect code entered, dead batteries, keypad malfunction. | Verify code, replace batteries, use emergency battery box, or use backup key. |
| Keypad is unresponsive. | Dead batteries. | Replace batteries or use the emergency battery box. |
| Safe is in lockout mode. | Too many incorrect code attempts. | Wait for the lockout period to expire (refer to specific manual for duration) or use the backup key. |
| Door does not close properly. | Obstruction, misalignment. | Check for obstructions, ensure safe is level and properly assembled. |
7. Specifications
| Feature | Detail |
|---|---|
| Brand | INTERGREAT |
| Model Number | 123B-10 |
| Product Dimensions (D x W x H) | 15.2" x 21" x 55.2" |
| Material | Alloy Steel, Metal |
| Color | Black |
| Capacity | 8-12 guns |
| Lock Type | Digital Keypad, Key Lock |
| Special Features | Alarm System, Anti-Theft, Removable Shelf, Scratch Resistant, Silent Mode |
| Number of Shelves | 1 (removable/adjustable) |
| Included Components | 1 x rifle gun safe cabinet, 2 x backup keys, 4 x anchor bolts for mounting, 1 x emergency battery pack, 1 x instruction manual, other screw accessories. |
8. Warranty and Support
For warranty information and customer support, please refer to the warranty card included with your product or contact INTERGREAT customer service directly. Our customer service team is available to assist with any questions or issues you may encounter.
Contact information can typically be found on the manufacturer's website or on the product packaging.