
1. Introduction
This manual provides essential instructions for the safe and efficient operation, setup, maintenance, and troubleshooting of the Signal fire AI-6A Automatic Intelligent FTTH Optical Fiber Fusion Splicer. Please read this manual thoroughly before using the device to ensure proper functionality and to prevent damage or injury.
2. Safety Information
Always observe the following safety precautions to prevent electric shock, fire, or personal injury:
- Do not operate the splicer in wet or damp conditions.
- Ensure the power adapter is correctly connected to a grounded outlet.
- Avoid direct exposure to the arc discharge during splicing, as it emits intense light and heat.
- Handle optical fibers with care; they are fragile and can cause splinters.
- Keep the device clean and free from dust and debris.
- Only use accessories and replacement parts approved by Signal fire.
3. What's in the Box
Verify that all components are present upon unpacking:

Image: All components included in the Signal fire AI-6A Fusion Splicer package.
- Signal fire AI-6A Fusion Splicer (Main Engine)
- S07 Fiber Cleaver
- Wire Stripping Pliers
- Toolbox Strap
- Power Adapter
- Key
- Alcohol Bottle
- Miller Stripper
- Brush
- Belt
- Inner Hexagon Wrench
- User's Manual
- Quality Certificate
- Warranty Card
4. Product Features
- Faster Splicing and Heating: Features a high-speed motor for an 8-second splicing time and an 18-second heating time, supporting approximately 240 continuous cycles.
- 3-in-1 Fiber Holder: Compatible with SM (G.652&G.657), MM (G.651), DS (G.657), NZDS (G.655) bare fiber, pigtail, rubber-insulated cable, and multi-fiber types.
- Smart Interaction: Connects to a mobile application with ten language options: English, French, Russian, Italian, Portuguese, Polish, Spanish, Thai, and Arabic.
- Detachable Toolbox: The toolbox design allows it to be converted into a stool for user comfort.
- Clear LCD and Long Standby: Equipped with a 5-inch high-resolution LCD screen offering up to 300x magnification. The 5200mAh battery provides extended operation with a charging time under 3.5 hours.
5. Product Overview
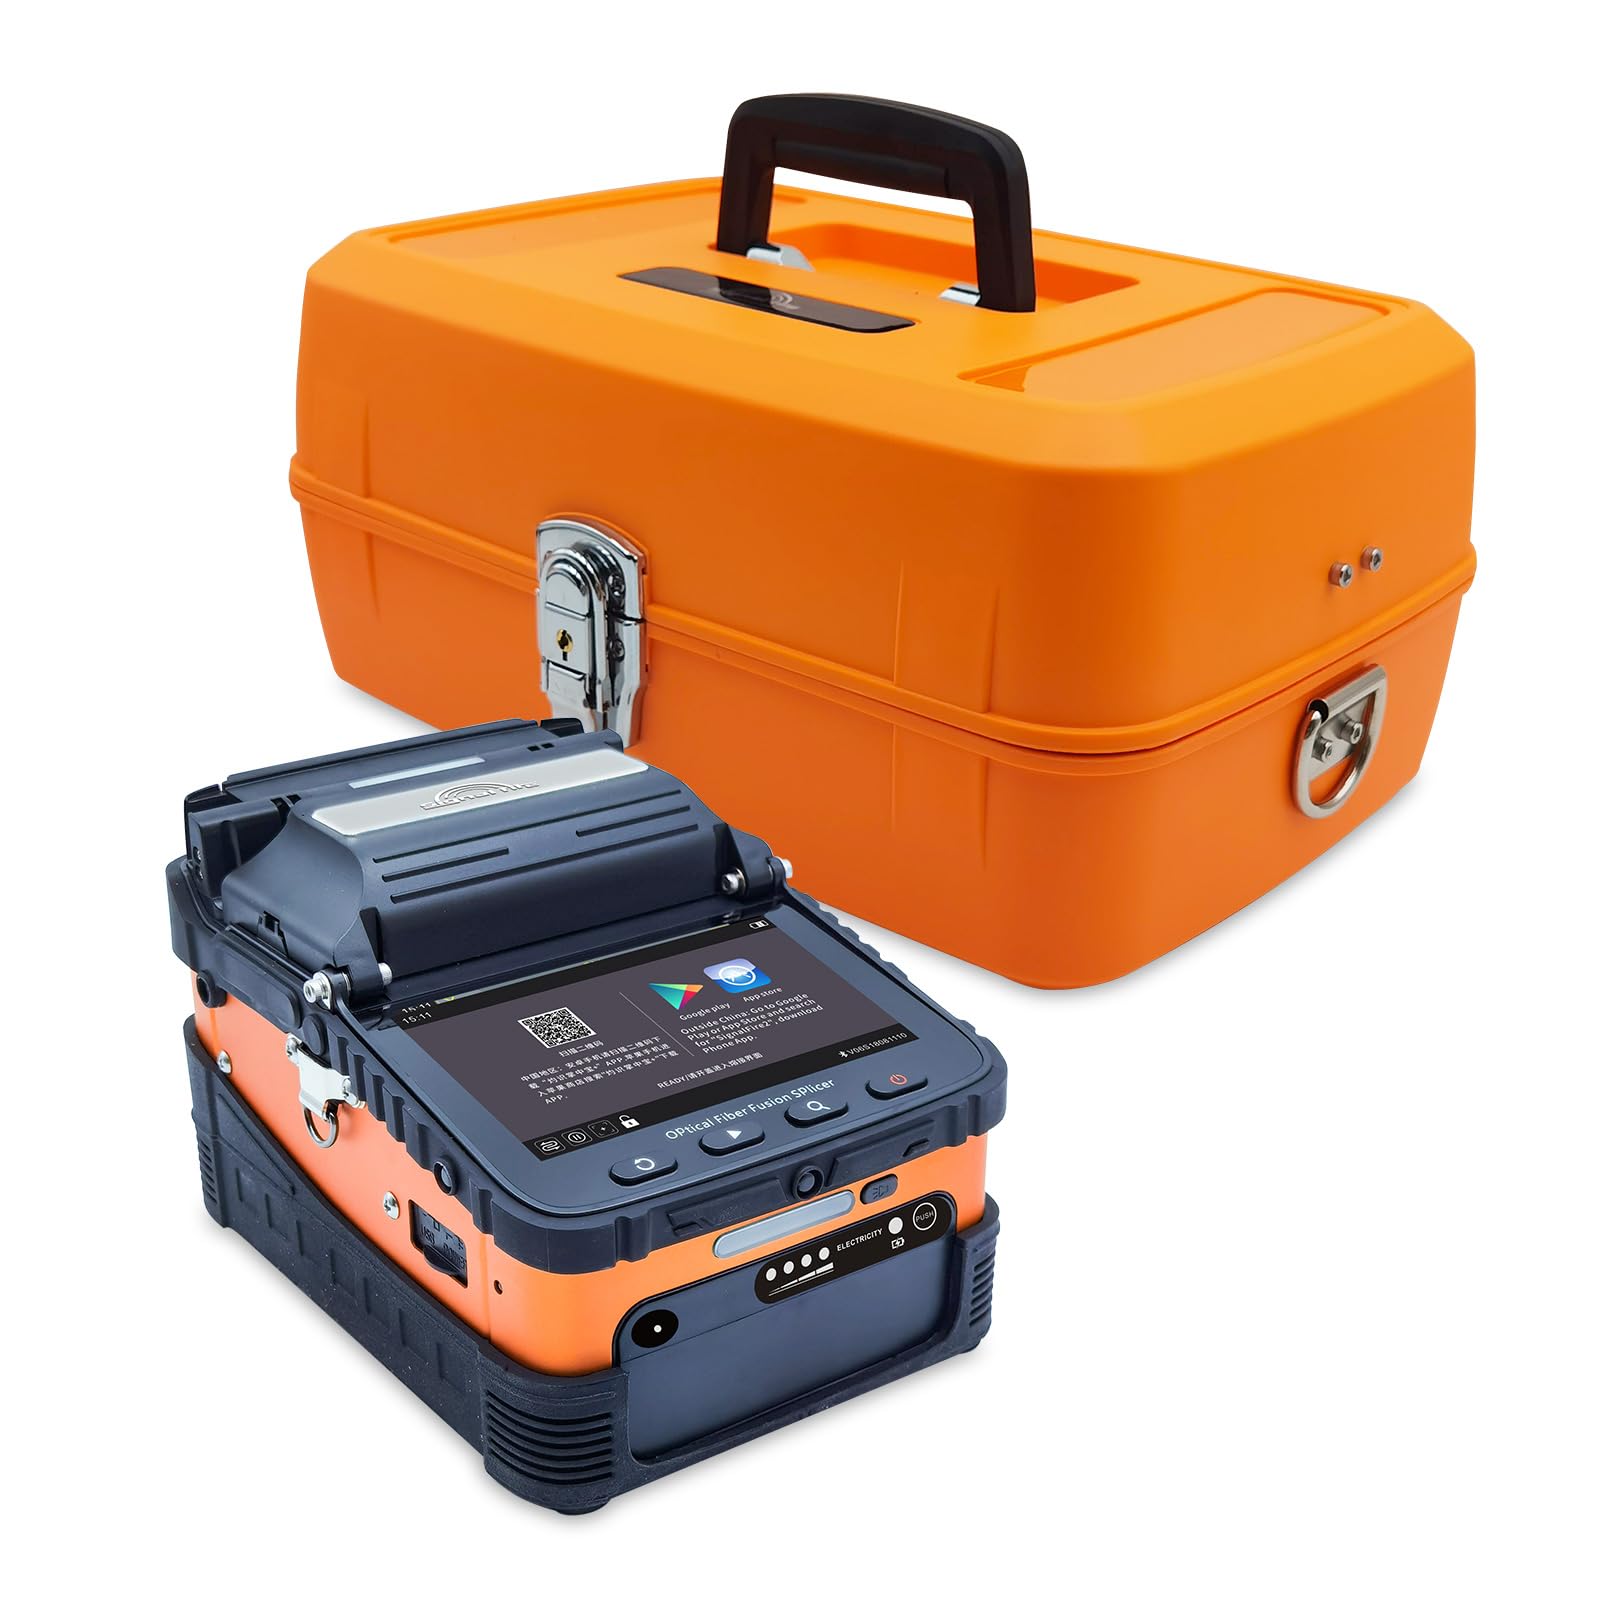
Image: Front view of the Signal fire AI-6A Fusion Splicer.

Image: Front, back, left, and right views of the splicer, highlighting ports and features.

Image: Close-up details of the LED light, USB port, and protective case features.

Image: The splicer with its LED light activated, useful for low-light conditions.
Key Components:
- LCD Display: 5-inch high-resolution screen for viewing fiber alignment and splice results.
- Control Buttons: Intuitive buttons for navigation and operation.
- Fiber Holders: 3-in-1 design for various fiber types.
- Heating Oven: For heat-shrinking splice protection sleeves.
- Electrodes: For arc discharge splicing.
- LED Light: Integrated for illumination during night operation.
- USB Port: For charging external devices.
- Protective Case: Durable casing for device protection.
6. Setup
- Unpack and Inspect: Carefully remove all components from the packaging and inspect for any damage.
- Charge the Battery: Connect the power adapter to the splicer and a power outlet. Allow the battery to fully charge before first use (less than 3.5 hours).
- Power On: Press and hold the power button to turn on the device.
- Language Selection: If necessary, navigate through the menu to select your preferred language (English, French, Russian, Italian, Portuguese, Polish, Spanish, Thai, Arabic).
- Initial Calibration: Perform any initial calibration steps as prompted by the device or as described in the detailed user manual for optimal performance.
7. Operating Instructions
Fiber Preparation:
- Strip the Fiber: Use the Miller stripper to remove the fiber coating to the required length.
- Clean the Fiber: Use the alcohol bottle and a clean wipe to thoroughly clean the bare fiber.
- Cleave the Fiber: Place the cleaned fiber into the S07 Fiber Cleaver and perform a precise cleave. Ensure the cleaved end is perfectly flat and perpendicular.
Splicing Process:
- Place Fibers: Open the splicer's cover and carefully place the prepared fibers into the V-grooves of the 3-in-1 fiber holder. Ensure the fiber ends are positioned correctly near the electrodes.
- Close Cover: Close the splicer cover. The device will automatically align the fibers.
- Start Splicing: The splicer will initiate the arc discharge and complete the fusion splice. Monitor the process on the LCD display.
- Inspect Splice: After splicing, the device will display the splice loss. Visually inspect the splice for quality.
Heat Shrinking:
- Position Sleeve: Slide a splice protection sleeve over the spliced fiber.
- Place in Oven: Carefully place the fiber with the protection sleeve into the heating oven.
- Start Heating: Close the oven cover. The device will automatically heat the sleeve.
- Cool Down: Once heating is complete, remove the fiber and allow the sleeve to cool and harden.
8. Maintenance
- Clean Electrodes: Regularly clean the electrodes with a cotton swab and alcohol to ensure consistent arc discharge. Replace electrodes when worn.
- Clean V-Grooves and Lenses: Use a soft brush and alcohol to clean the V-grooves and observation lenses to maintain accurate fiber alignment.
- Battery Care: Charge the battery regularly, even when not in use, to prolong its lifespan. Avoid fully discharging the battery.
- Software Updates: Check the manufacturer's website or mobile application for any available software updates to ensure optimal performance and new features.
- Storage: Store the splicer in its protective case in a dry, dust-free environment when not in use.
9. Troubleshooting
If you encounter issues, refer to the following common problems and solutions:
| Problem | Possible Cause | Solution |
|---|---|---|
| High splice loss | Dirty fiber ends, poor cleave, worn electrodes, dirty V-grooves. | Reclean and recleave fibers. Clean electrodes and V-grooves. Replace electrodes if necessary. |
| Splicer not powering on | Low battery, faulty power adapter, device malfunction. | Charge the battery. Check power adapter connection. Contact support if issue persists. |
| Fiber not aligning | Dirty V-grooves, damaged fiber holders, fiber not placed correctly. | Clean V-grooves. Ensure fibers are seated properly. |
| Heating oven not working | Oven door not closed properly, heating element fault. | Ensure oven door is fully closed. Contact support if issue persists. |
10. Specifications
| Feature | Detail |
|---|---|
| Manufacturer | Signal fire |
| Model Number | AI-6A |
| Item Weight | 5.78 Kilograms |
| Package Dimensions | 41 x 31.8 x 27 cm |
| Batteries | 1 Lithium Ion battery required (included) |
| Power Source Type | Battery Powered |
| Measurement Accuracy | 0.01 |
| Battery Type | Lithium Ion |
| First Available Date | February 4, 2026 |
11. Warranty and Support
The Signal fire AI-6A Fusion Splicer comes with a warranty as detailed in the included Warranty Card. For technical support, service, or warranty claims, please refer to the contact information provided in your product documentation or visit the official Signal fire website. Keep your purchase receipt as proof of purchase.


