
Introduction
This manual provides detailed instructions for the setup, operation, maintenance, and troubleshooting of your MINISFORUM N5 Air 5-Bay NAS Barebone. Please read this manual thoroughly before using the device to ensure proper functionality and to maximize its performance and longevity.

Figure 1: Overview of the MINISFORUM N5 Air NAS Barebone highlighting its compact design, powerful processor, DDR5 memory, storage capacity, expansion options, and cooling system.
Setup
1. Unpacking and Inspection
Carefully remove all components from the packaging. Verify that all items listed in the packing list are present and undamaged. If any items are missing or damaged, contact your retailer immediately.
2. Installing Storage Drives (HDDs and M.2 SSDs)
The N5 Air supports up to five 3.5-inch SATA HDDs and three M.2 NVMe SSDs.
- For 3.5-inch HDDs: Slide each HDD into an available drive bay until it clicks into place. Ensure a secure connection.
- For M.2 NVMe SSDs: Locate the M.2 slots on the motherboard. Insert the M.2 SSD at an angle and secure it with the provided screw.

Figure 2: Illustration of the N5 Air's storage capacity, detailing the five 3.5-inch HDD bays and three M.2 SSD slots for a total capacity of up to 174TB.
3. Installing RAM (DDR5 SO-DIMM)
The N5 Air is a barebone system and does not include RAM. It features two DDR5 SO-DIMM slots, each supporting up to 48GB for a total of 96GB.
- Open the chassis to access the SO-DIMM slots.
- Align the notch on the DDR5 SO-DIMM module with the key in the slot.
- Insert the module firmly at a 45-degree angle and push down until the clips on both sides lock into place.

Figure 3: Visual representation of DDR5 SO-DIMM memory modules, highlighting the expandable memory feature of the N5 Air.
4. Connecting Peripherals and Power
Connect your network cables, display (if needed for initial setup), and other peripherals.
- Network: Connect one or both Ethernet cables to the 10GbE and 5GbE ports.
- Display: Use the HDMI 8K port for display output during initial setup or for maintenance.
- USB Devices: Connect USB keyboards, mice, or external storage to the available USB ports (USB4, USB 3.2 Gen2, USB 2.0).
- Power: Connect the included power adapter to the DC IN 19V port and then to a power outlet.

Figure 4: Detailed view of the N5 Air's front and rear interfaces, including power button, NIC LEDs, HDD LEDs, USB4 ports, HDMI, 10GbE, 5GbE, and PCIe x16 slot.
5. Initial Power On
Press the power button on the front of the device. The system will boot up. The N5 Air comes with a 64GB eMMC drive pre-configured with Minicloud OS.
Operating Instructions
1. Minicloud OS Overview
The MINISFORUM N5 Air is equipped with Minicloud OS on its internal 64GB eMMC storage. This operating system is designed for network-attached storage functionalities. Refer to the Minicloud OS documentation for specific software features and configurations.
2. Network Configuration
The N5 Air features one 10GbE and one 5GbE network port. These ports support link aggregation, allowing for combined speeds of up to 15 Gbps for enhanced data transfer rates.
- Access the network settings within the Minicloud OS interface.
- Configure IP addresses (DHCP or static) for each network interface.
- If your network infrastructure supports it, enable link aggregation (LACP) to combine the bandwidth of both ports.

Figure 5: Visual demonstrating the ultra-fast data transfer capabilities of the N5 Air, showing the 10GbE and 5GbE ports and their combined 15Gbps speed through link aggregation.
3. Storage Management and RAID
The N5 Air supports various RAID configurations (RAID 0, RAID 1, RAID 5/RAIDZ1, RAID 6/RAIDZ2) to optimize data security and performance.
- Access the storage management section in Minicloud OS.
- Create storage pools using your installed HDDs and SSDs.
- Select the desired RAID level based on your needs for redundancy and performance.
- Configure shared folders and user access permissions.

Figure 6: Image illustrating the data protection features of the N5 Air, including a fully offline account system, isolated user data, and multiple RAID levels for data recovery.
4. Advanced Expansion (USB4 and PCIe)
The N5 Air offers advanced expansion capabilities through its two USB4 ports and a PCIe x16 slot.
- USB4 Ports: These ports support Thunderbolt Ethernet for high-speed external connectivity up to 20 Gbps.
- PCIe x16 Slot: This slot can be used to install 10GbE Network Interface Cards (NICs), dedicated graphics cards, or SSD cache arrays to further enhance performance and functionality.
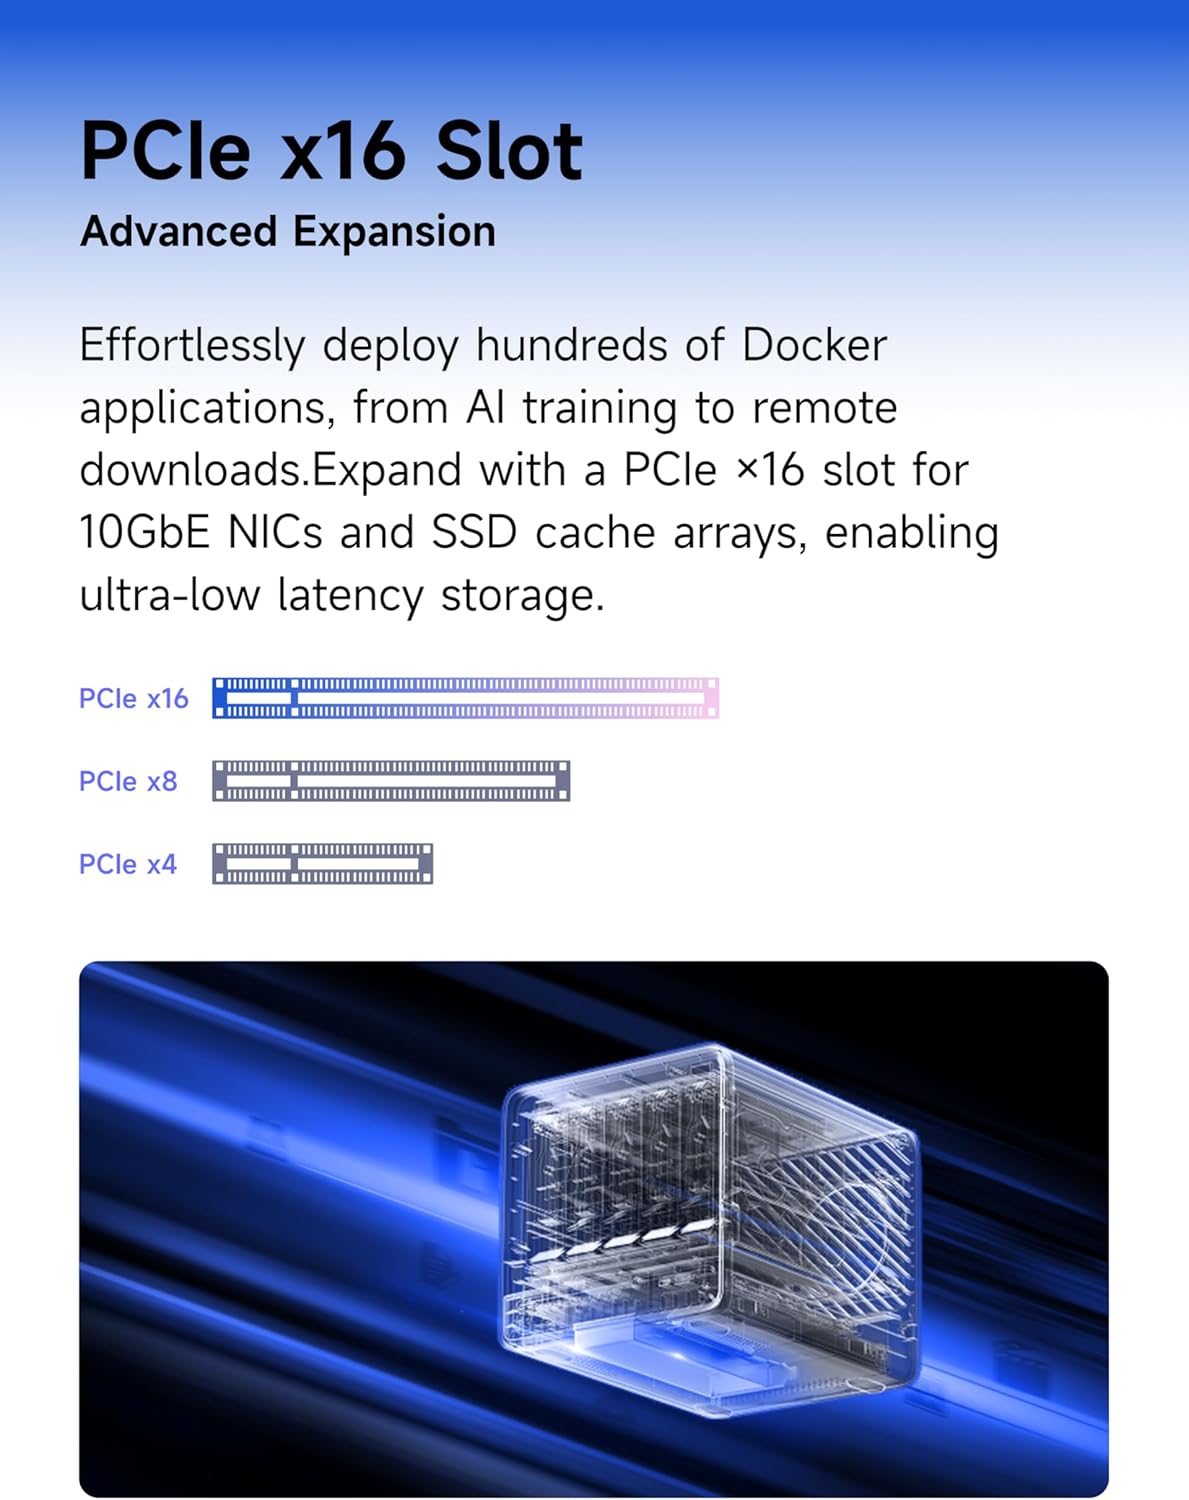
Figure 7: Diagram illustrating the PCIe x16 slot, emphasizing its advanced expansion capabilities for various add-on cards like 10GbE NICs or SSD cache arrays.
Maintenance
1. Cooling System
The N5 Air is equipped with four cooling fans to maintain optimal operating temperatures. Ensure that the ventilation openings are not obstructed to allow for proper airflow. Regularly clean any dust accumulation from the vents using compressed air.
2. Software Updates
Periodically check for and install updates for the Minicloud OS and any installed applications. Software updates often include performance improvements, security patches, and new features.
3. Data Backup
While RAID configurations provide data redundancy, they are not a substitute for a comprehensive backup strategy. Regularly back up critical data to an external storage device or cloud service to prevent data loss from unforeseen events.
Troubleshooting
If you encounter issues with your MINISFORUM N5 Air, refer to the following common troubleshooting steps.
- No Power:
- Ensure the power adapter is securely connected to both the device and a working power outlet.
- Verify the power outlet is functional by plugging in another device.
- Network Connectivity Issues:
- Check that Ethernet cables are properly connected to the NAS and your network switch/router.
- Verify network settings within Minicloud OS.
- Restart your router/switch and the NAS.
- Storage Drive Not Detected:
- Ensure HDDs and M.2 SSDs are correctly installed and seated firmly in their bays/slots.
- Check the drive status indicators (LEDs) on the front panel.
- Access storage management in Minicloud OS to check drive status.
- System Instability/Crashes:
- Ensure RAM modules are correctly installed.
- Check for overheating; ensure ventilation is clear.
- Update Minicloud OS to the latest version.
For further assistance, please contact MINISFORUM technical support.
Specifications
| Model | N5A-H255 |
| Processor | AMD Ryzen 7 255 (8 Cores, 16 Threads, up to 4.9 GHz) |
| Graphics | AMD Radeon 780M (12 Cores, 2600 MHz) |
| Memory (RAM) | 2x DDR5 SO-DIMM slots, expandable up to 96GB (5600 MT/s) |
| Storage Capacity | Up to 174 TB (5x 3.5" SATA HDD bays, 3x M.2 NVMe SSD slots) |
| Network Ports | 1x 10GbE, 1x 5GbE (supports link aggregation) |
| USB Ports | 2x USB4 (8K, Thunderbolt Ethernet up to 20 Gbps), USB 3.2 Gen2, USB 2.0 |
| Video Output | HDMI 8K |
| Expansion Slot | 1x PCIe x16 (OCuLink compatible) |
| Operating System | Minicloud OS (pre-installed on 64GB eMMC) |
| Material | Plastic |
| Included Components | Power Adapter |
Warranty and Support
Warranty Information
The MINISFORUM N5 Air NAS Barebone comes with a 2-year warranty from the date of purchase. This warranty covers manufacturing defects and malfunctions under normal use. It does not cover damage caused by misuse, accidents, unauthorized modifications, or improper installation. Please retain your proof of purchase for warranty claims.
Technical Support
For technical assistance, troubleshooting, or warranty inquiries, please contact MINISFORUM customer support. You can typically find contact information on the official MINISFORUM website or through your retailer.
Before contacting support, please have your product model number (N5A-H255) and a detailed description of the issue ready.


