
1. Introduction
Thank you for choosing the LoraTap RR500W WiFi Smart Switch. This intelligent module allows you to upgrade your traditional lighting switches to smart control, enabling remote operation, voice control, and scheduling through the Smart Life application, Amazon Alexa, and Google Home. This manual provides essential information for safe installation, setup, and operation of your device.
2. Safety Information
- Electrical Work: Installation must be performed by a qualified electrician or a person with a thorough understanding of electrical systems. Always disconnect power at the circuit breaker before installation, maintenance, or removal of the device.
- Voltage and Current: Ensure the device's voltage and current ratings (100-250VAC, 10A, 2200W) are compatible with your electrical system and connected load. Overloading can cause damage or fire.
- Environment: Do not install in damp or wet locations. Ensure proper ventilation.
- Children: Keep the device and packaging materials out of reach of children.
- Compliance: This product is CE and RoHS certified.
3. Installation
The LoraTap RR500W module is designed for flush mounting and can be integrated into existing wall switch boxes or directly into luminaires. A minimum wall box depth of 55mm is required for installation with an existing switch.
3.1 Physical Installation Options

Image 3.1: The LoraTap RR500W module can be installed either within a wall switch box (requiring a minimum depth of 55mm) or directly attached to a light fixture.
The compact design allows for flexible placement. When installing in a wall box, ensure sufficient space for the module and wiring. The module dimensions are approximately 47mm x 48mm x 18mm.
3.2 Wiring Diagrams
Always ensure the main power supply is OFF before performing any wiring. Connect the module according to the appropriate diagram for your setup.

Image 3.2: Detailed wiring diagrams for three common installation scenarios: integrating with an existing wall switch, standalone installation without a traditional switch, and a double-switch setup for two-way control.
- With Existing Wall Switch: Connect the module in parallel with your traditional switch to enable both manual and smart control. This configuration supports two-way (va-et-vient) functionality.
- Without Existing Wall Switch: The module can directly control the light fixture, relying solely on app or voice commands.
- Double Switch Commutation: For advanced two-way control setups, follow the specific diagram to integrate with two traditional switches.
Ensure all connections are secure and insulated. The module requires both Live (L) and Neutral (N) connections for power.
4. Device Setup and App Pairing
To unlock the full potential of your LoraTap RR500W Smart Switch, you need to pair it with the Smart Life application and integrate it with voice assistants.
4.1 Smart Life App Connection

Image 4.1: The LoraTap RR500W module enables smart control through the Smart Life app, Google Assistant, and Amazon Alexa, offering features like timing, group control, remote access, and voice commands.
- Download App: Download the "Smart Life" app from your smartphone's app store (available for Android and iOS).
- Register/Login: Create an account or log in to your existing Smart Life account.
- Add Device: In the app, tap the "+" icon to add a new device. Select "Electrical Switch" or "Switch (Wi-Fi)".
- Pairing Mode: Power on the LoraTap RR500W module. The indicator light on the module should blink rapidly, indicating it's in pairing mode. If not, press and hold the reset button on the module for 5-10 seconds until it blinks rapidly.
- Connect to Wi-Fi: Ensure your smartphone is connected to a 2.4GHz Wi-Fi network. Enter your Wi-Fi password in the app.
- Complete Pairing: The app will search for and connect to the device. Once connected, you can rename the switch for easy identification.
4.2 Voice Assistant Integration (Alexa/Google Home)
After successfully pairing with the Smart Life app, you can link your device to Amazon Alexa or Google Home for voice control.
- Open Voice Assistant App: Open the Amazon Alexa app or Google Home app on your smartphone.
- Enable Skill/Action:
- For Alexa: Go to "Skills & Games" and search for "Smart Life". Enable the skill and link your Smart Life account.
- For Google Home: Go to "Works with Google" and search for "Smart Life". Link your Smart Life account.
- Discover Devices: Once linked, ask Alexa or Google Home to "Discover devices" or manually add devices through the app. Your LoraTap switch will appear.
- Assign to Rooms: Assign the switch to a specific room for better organization and control.
5. Operating Instructions
The LoraTap RR500W Smart Switch offers multiple ways to control your lighting.
5.1 Manual Control
If installed with a traditional wall switch, you can continue to use the physical switch to turn the light on or off. The smart module will synchronize its status with the manual operation.
5.2 Remote Control via Smart Life App
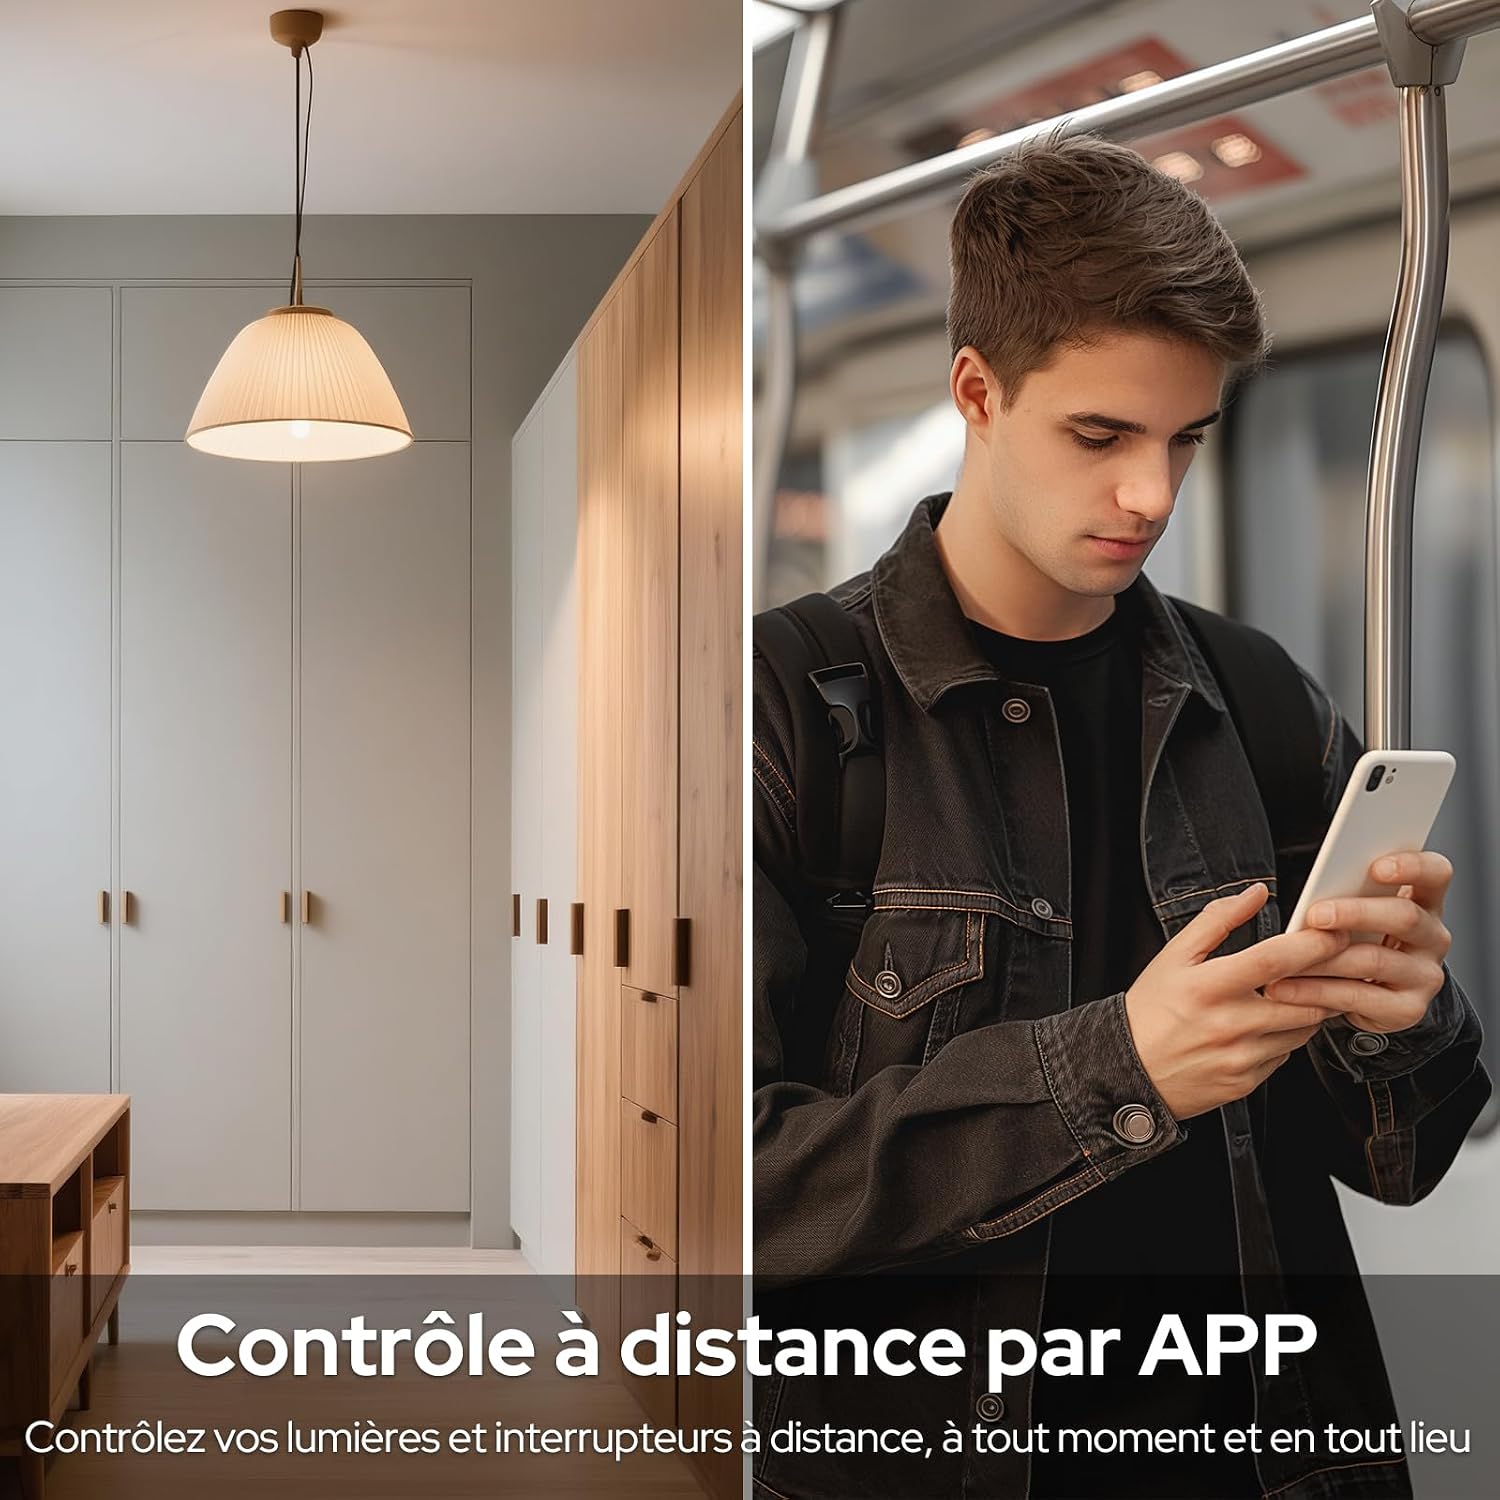
Image 5.1: Control your lights and appliances remotely from anywhere using the Smart Life app on your smartphone, ensuring you never leave lights on unintentionally.
Open the Smart Life app, select your LoraTap switch, and tap the power icon to turn the light on or off from anywhere with an internet connection.
5.3 Voice Control

Image 5.2: Use simple voice commands with Amazon Alexa or Google Assistant to control your lights, providing hands-free convenience.
Once integrated with Alexa or Google Home, use commands such as:
- "Alexa, turn on [Switch Name]"
- "Hey Google, turn off [Switch Name]"
5.4 Scheduling and Timer Functions

Image 5.3: Configure custom schedules, countdown timers, and circulation settings within the Smart Life app to automate your lighting based on your daily routine.
The Smart Life app allows you to set various automation features:
- Schedule: Set specific times for the switch to turn on or off daily or on selected days.
- Countdown: Set a timer for the switch to turn off after a specified duration.
- Circulate: Create recurring on/off cycles.
- Inching: Set the switch to automatically turn off after a short, configurable period (e.g., 1 second to 60 minutes) after being turned on.
5.5 Group Control

Image 5.4: Manage multiple LoraTap smart switches across different rooms simultaneously with a single tap in the app, streamlining your smart home management.
You can group multiple LoraTap switches in the Smart Life app to control them simultaneously. This is useful for controlling all lights in a room or an entire floor with one command.
- In the Smart Life app, go to the main screen.
- Tap on one of the devices you wish to group.
- Look for the "Create Group" option (often found in the settings or by long-pressing a device icon).
- Select the devices you want to include in the group and confirm.
5.6 Device Sharing
Share control of your LoraTap smart switch with family members. The primary account holder can grant access to other users through the Smart Life app.

Image 5.5: The Smart Life app allows the main account holder to easily share control of smart devices with family members, providing convenient access for everyone.
- In the Smart Life app, select the device you want to share.
- Go to the device settings (usually an icon in the top right corner).
- Select "Share Device" or "Device Sharing".
- Enter the Smart Life account details (email or phone number) of the person you wish to share with.
6. Maintenance
The LoraTap RR500W Smart Switch requires minimal maintenance.
- Cleaning: Ensure the device is powered off before cleaning. Use a soft, dry cloth to wipe the exterior. Do not use liquid cleaners or sprays.
- Firmware Updates: Periodically check the Smart Life app for available firmware updates to ensure optimal performance and security.
- Wi-Fi Stability: Ensure your Wi-Fi network is stable and the signal strength is adequate where the module is installed to prevent connectivity issues.
7. Troubleshooting
| Problem | Possible Cause | Solution |
|---|---|---|
| Device not pairing with app. | Incorrect Wi-Fi network (not 2.4GHz), incorrect password, device not in pairing mode, weak Wi-Fi signal. | Ensure your phone is on a 2.4GHz Wi-Fi network. Verify Wi-Fi password. Reset the module by holding the reset button until the indicator blinks rapidly. Move closer to the Wi-Fi router or consider a Wi-Fi extender. |
| Device frequently disconnects from Wi-Fi. | Weak Wi-Fi signal, interference, router issues. | Improve Wi-Fi signal strength near the device. Ensure the router is functioning correctly. Avoid placing the module near large metal objects or other sources of interference. |
| Voice control not working. | Smart Life skill/action not enabled, account not linked, device not discovered by voice assistant. | Verify that the Smart Life skill/action is enabled and linked in your Alexa/Google Home app. Ask the voice assistant to "Discover devices" again. Ensure the device name is recognized. |
| Physical switch not responding or light flickering. | Incorrect wiring, loose connections, incompatible load. | Turn off power at the circuit breaker. Recheck all wiring connections against the diagrams in Section 3.2. Ensure connections are secure. Confirm the connected load (e.g., light bulb type) is compatible with the switch. |
| Module does not fit in wall box. | Wall box is too shallow. | The module requires a minimum wall box depth of 55mm. If your box is shallower, you may need to replace it with a deeper one or consider alternative installation methods if feasible and safe. |
8. Specifications
| Feature | Detail |
|---|---|
| Model | RR500W |
| Brand | LoraTap |
| Connectivity Type | Wi-Fi (2.4GHz only) |
| Input Voltage | 100-250VAC |
| Max Current Rating | 10 A |
| Max Power Rating | 2200 Watts |
| Operating Mode | Manuel / App Control / Voice Control |
| Mounting Type | Flush Mounting |
| Minimum Switching Voltage | 100 Volts |
| Number of Terminals | 2 |
| Certifications | CE, RoHS |
| Material | RoHS Compliant Material |
9. Warranty and Support
The LoraTap RR500W WiFi Smart Switch comes with a 3-year warranty from the date of purchase. This warranty covers manufacturing defects and ensures the product functions as described under normal use.
For technical support, troubleshooting assistance, or warranty claims, please contact LoraTap customer service through the retailer where you purchased the product or visit the official LoraTap website for contact information.
Please retain your proof of purchase for warranty purposes.