
1. Introduction
Thank you for choosing the PXNQMTJM 48V 6.2KW Hybrid Photovoltaic Inverter. This manual provides essential information for the safe and efficient installation, operation, and maintenance of your inverter. Please read this manual thoroughly before installation and keep it for future reference.
This hybrid inverter is designed to integrate solar power, utility power, and battery power to provide continuous power supply. It features an advanced MPPT (Maximum Power Point Tracking) controller to maximize solar energy harvesting and a UPS (Uninterruptible Power Supply) function for reliable backup power.
2. Safety Instructions
Please observe the following safety precautions to prevent injury and damage to the inverter:
- Qualified Personnel: Installation and maintenance should only be performed by qualified personnel with knowledge of electrical systems and safety regulations.
- Disconnect Power: Always disconnect all power sources (solar, battery, utility) before performing any installation or maintenance.
- Proper Grounding: Ensure the inverter is properly grounded according to local electrical codes.
- Ventilation: Install the inverter in a well-ventilated area to prevent overheating. Maintain adequate clearance around the unit.
- Environment: Avoid installing the inverter in direct sunlight, near flammable materials, or in areas with excessive dust, moisture, or corrosive substances.
- Battery Safety: Handle batteries with care. Wear protective eyewear and gloves. Do not short-circuit battery terminals.
- No User Serviceable Parts: Do not attempt to open or repair the inverter. Refer all servicing to qualified service personnel.
3. Package Contents
Upon unpacking, please verify that all items are present and undamaged:
- PXNQMTJM 48V 6.2KW Hybrid Photovoltaic Inverter Unit
- User Manual
- Communication Cable (if applicable)
- Mounting Hardware (screws, anchors)
If any items are missing or damaged, please contact your supplier immediately.
4. Product Overview
The PXNQMTJM 48V 6.2KW Hybrid Photovoltaic Inverter is a robust solution for managing power from multiple sources. It features a clear display for monitoring system status and various connection ports for solar panels, batteries, utility grid, and loads.
4.1 Front and Side View
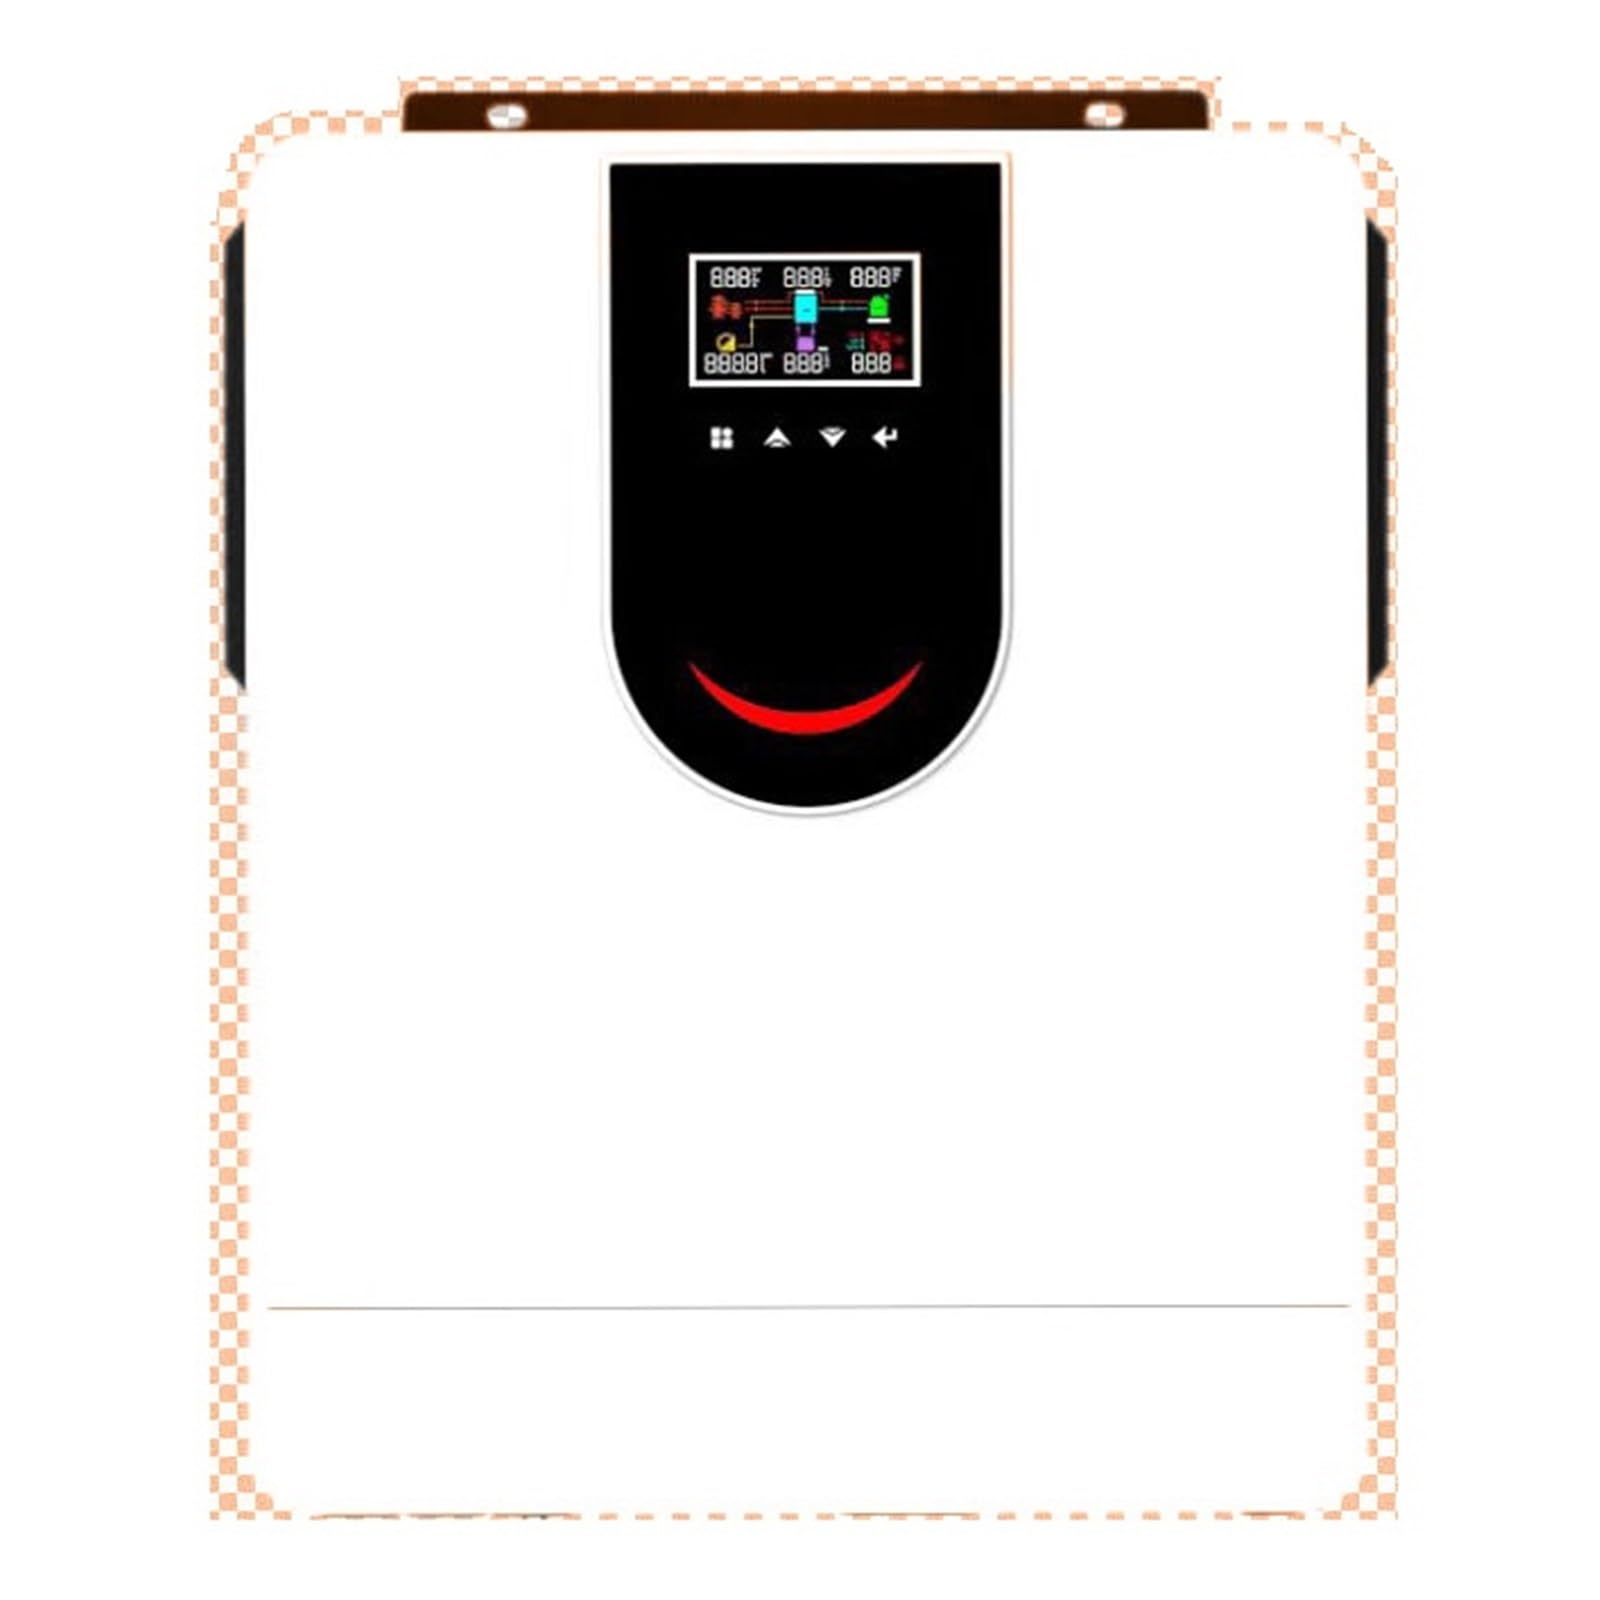
This image shows the overall design of the PXNQMTJM 48V 6.2KW Hybrid Photovoltaic Inverter, highlighting its compact form factor and integrated display panel on the top surface. The side panels feature ventilation grilles for heat dissipation.
4.2 Rear Connection Panel

The rear panel of the inverter provides all necessary connection terminals. These include AC input (utility grid), AC output (to loads), battery terminals (positive and negative), and PV input terminals (from solar panels). Communication ports are also visible for system monitoring and control.
5. Setup and Installation
Proper installation is crucial for the safe and efficient operation of your inverter. It is highly recommended that installation be performed by a certified electrician or solar professional.
5.1 Mounting the Inverter
- Choose a suitable location: indoors, well-ventilated, away from direct sunlight, moisture, and flammable materials.
- Ensure the mounting surface can support the weight of the inverter.
- Use the provided mounting hardware to securely fasten the inverter to the wall. Leave adequate clearance (at least 20 cm) around all sides for proper airflow.
5.2 Wiring Connections
WARNING: Ensure all power sources are disconnected before making any electrical connections.
- Battery Connection: Connect the battery bank to the inverter's battery terminals. Ensure correct polarity (positive to positive, negative to negative). Use appropriate cable gauges and fuses.
- PV (Solar Panel) Connection: Connect the solar panel array to the PV input terminals. Observe correct polarity and ensure the open-circuit voltage (Voc) and short-circuit current (Isc) of the array are within the inverter's specifications.
- AC Input (Utility Grid) Connection: Connect the utility grid power to the AC input terminals. This connection allows the inverter to charge batteries and supply power to loads when solar power is insufficient.
- AC Output (Load) Connection: Connect your household loads or critical loads to the AC output terminals.
- Grounding: Connect the inverter's ground terminal to a reliable earth ground.
5.3 Initial Startup
- Double-check all wiring connections for correctness and tightness.
- Turn on the battery breaker/switch.
- Turn on the PV array breaker/switch.
- Turn on the AC input breaker (if connected to utility).
- Turn on the inverter's power switch.
- Observe the display for startup sequence and system status.
6. Operating Instructions
Once installed and powered on, the inverter will automatically begin operation based on its configured settings. The integrated LCD display provides real-time information about the system's performance.
6.1 LCD Display and Buttons
The LCD display shows various parameters such as input voltage, output voltage, battery charge level, load percentage, and operational mode. Use the navigation buttons (typically 'Up', 'Down', 'Enter', 'Esc') to browse through menus and adjust settings.
6.2 Operational Modes
The inverter typically supports several operational modes, which can be configured via the LCD panel:
- Solar First: Prioritizes solar power to supply loads and charge batteries. Utility power is used only when solar is insufficient.
- Utility First: Prioritizes utility power. Solar power is used to charge batteries or supply loads when utility is unavailable.
- Battery First: Prioritizes battery power. Utility or solar charges batteries, and batteries supply loads until a low voltage threshold is reached.
Refer to the inverter's display menu for detailed configuration options and monitoring data.
7. Maintenance
Regular maintenance ensures the longevity and optimal performance of your inverter.
- Cleaning: Periodically clean the inverter's exterior with a dry, soft cloth. Ensure ventilation openings are free from dust and debris. Do not use liquid cleaners.
- Connections Check: Annually, inspect all electrical connections for tightness and signs of corrosion. Tighten any loose connections.
- Environmental Check: Ensure the installation environment remains within specified temperature and humidity ranges.
- Battery Inspection: If using lead-acid batteries, check electrolyte levels and terminal condition as per battery manufacturer guidelines.
WARNING: Disconnect all power sources before performing any maintenance.
8. Troubleshooting
This section provides solutions to common issues. For problems not listed here, contact technical support.
8.1 Common Issues and Solutions
- Inverter Not Turning On:
- Check battery connections and voltage.
- Ensure the inverter's power switch is ON.
- Verify AC input and PV input breakers are ON.
- No AC Output:
- Check AC output wiring and circuit breakers.
- Verify battery voltage is above the low voltage disconnect threshold.
- Check for overload conditions on the inverter.
- Low Solar Charging:
- Inspect solar panels for shading or dirt.
- Check PV input voltage and current on the display.
- Ensure PV connections are secure and correct.
- Error Codes on Display:
- Refer to the specific error code in the detailed manual (if available) or contact support with the code.
9. Specifications
| Feature | Specification |
|---|---|
| Brand | PXNQMTJM |
| Model Name | PXNQMTJM |
| Power Source | Battery Powered |
| Wattage | 1 kWh (Nominal, specific model is 6.2KW) |
| Item Weight | 1.76 ounces |
| Package Dimensions | 0.39 x 0.39 x 0.39 inches |
| ASIN | B0GHF18TJ6 |
| Date First Available | January 17, 2026 |
Note: Specific electrical parameters (e.g., input/output voltage ranges, current, MPPT voltage range) are typically detailed on the product label or in a more comprehensive technical specification sheet. Always refer to those documents for precise electrical ratings.
10. Warranty and Support
The PXNQMTJM 48V 6.2KW Hybrid Photovoltaic Inverter comes with a standard manufacturer's warranty. Please refer to your purchase documentation or contact your retailer for specific warranty terms and conditions.
For technical support, troubleshooting assistance, or warranty claims, please contact your point of purchase or the manufacturer's customer service. Have your product model number (PXNQMTJM) and purchase date ready when contacting support.