
1. Introduction
This manual provides essential information for the safe and efficient operation of your PXNQMTJM UD10048 8000W/48V Industrial Frequency Photovoltaic Inverter. This integrated off-grid solar inverter and controller is designed to convert DC power from solar panels and batteries into stable AC power for various applications. Please read this manual thoroughly before installation and use, and retain it for future reference.
2. Safety Instructions
Adhering to these safety guidelines is crucial to prevent personal injury and damage to the inverter or connected equipment.
- Electrical Hazard: This device operates with high voltages and currents. Installation and maintenance should only be performed by qualified personnel.
- Disconnect Power: Always disconnect all power sources (solar, battery, AC input) before performing any wiring or maintenance.
- Proper Grounding: Ensure the inverter is properly grounded according to local electrical codes.
- Ventilation: Install the inverter in a well-ventilated area to prevent overheating. Do not block ventilation openings.
- Environment: Avoid installing the inverter in direct sunlight, near flammable materials, or in areas with excessive dust, moisture, or corrosive gases.
- Battery Safety: Connect batteries with correct polarity. Wear protective eyewear and gloves when working with batteries.
- Overload Protection: Do not exceed the inverter's rated output power.
3. Product Overview
The PXNQMTJM UD10048 is an industrial frequency off-grid inverter designed for robust performance in solar power systems. It integrates an inverter and a charge controller, providing a comprehensive solution for converting solar energy into usable AC power and managing battery charging.
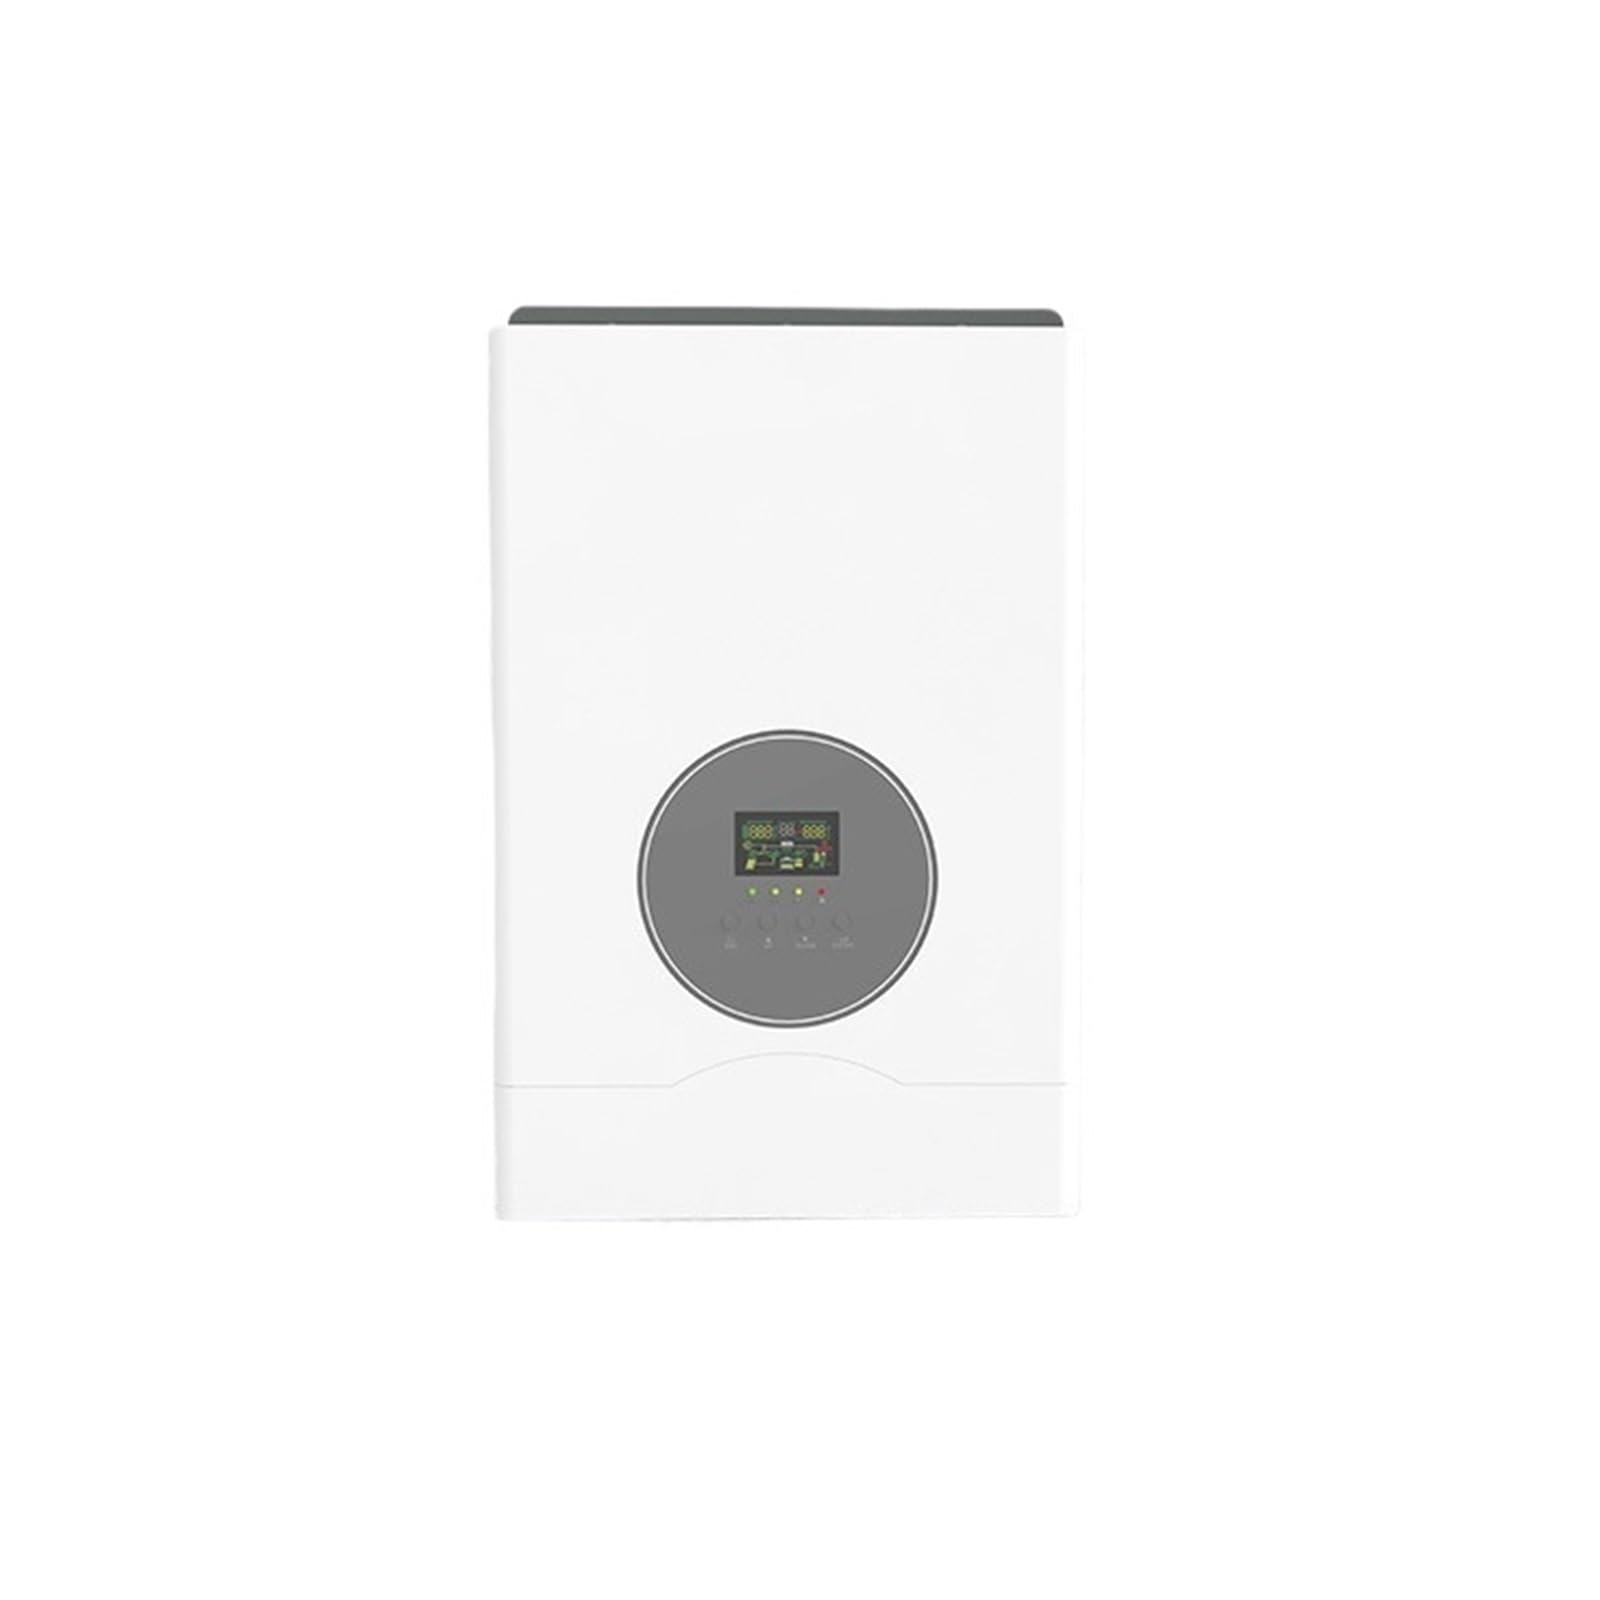
This image shows the front panel of the PXNQMTJM UD10048 inverter, featuring a central circular display unit and ventilation grilles on the side. The display provides real-time operational status and system parameters.
Key Features:
- Integrated inverter and solar charge controller.
- Industrial frequency design for stable output.
- Off-grid operation for independent power supply.
- Supports 8000W continuous output power.
- 48V DC input voltage.
- 110V/220V AC output voltage (model dependent).
4. Setup
Proper installation is critical for the inverter's performance and safety. It is highly recommended that installation be performed by a certified electrician or solar professional.
4.1. Mounting the Inverter
- Choose a suitable location that is dry, well-ventilated, and protected from direct sunlight, rain, and dust.
- Ensure there is sufficient clearance around the inverter for proper airflow (at least 20 cm on all sides).
- Mount the inverter vertically on a sturdy wall using appropriate fasteners.
4.2. Wiring Connections
Before making any connections, ensure all power sources are disconnected.
- Battery Connection: Connect the battery bank (48V) to the inverter's DC input terminals. Ensure correct polarity (+ to + and - to -). Use appropriately sized cables and fuses.
- Solar Panel Connection: Connect the solar panel array to the inverter's PV input terminals. Verify that the solar array's voltage and current are within the inverter's specifications.
- AC Output Connection: Connect your AC loads or distribution panel to the inverter's AC output terminals. Ensure proper grounding.
- Grounding: Connect the inverter's chassis ground terminal to a reliable earth ground.
5. Operating
Once all connections are securely made and verified, you can proceed with powering on the inverter.
5.1. Powering On
- Ensure all circuit breakers for AC output are in the OFF position.
- Connect the battery bank. The inverter may power on automatically or require a button press.
- Connect the solar panels. The inverter will begin charging the batteries if conditions allow.
- Turn on the AC output circuit breakers to power your loads.
5.2. Display and Settings
The front panel display provides real-time information about the system status, including battery voltage, solar input, AC output, and error codes. Refer to the detailed display section in the full manual for specific icon meanings and navigation instructions. Use the buttons below the display to navigate menus and adjust settings as needed.
6. Maintenance
Regular maintenance ensures the longevity and optimal performance of your inverter.
- Cleaning: Periodically clean the inverter's exterior and ventilation openings to remove dust and debris. Use a dry, soft cloth. Do not use liquids.
- Connections: Annually check all electrical connections for tightness and corrosion. Loose connections can cause overheating and damage.
- Ventilation: Ensure the area around the inverter remains clear and well-ventilated.
- Battery Health: Monitor battery voltage and performance regularly. Follow the battery manufacturer's maintenance guidelines.
7. Troubleshooting
This section outlines common issues and potential solutions. For complex problems, contact technical support.
| Problem | Possible Cause | Solution |
|---|---|---|
| Inverter not powering on | No battery connection or low battery voltage | Check battery connections and ensure battery voltage is above the minimum operating level. |
| No AC output | AC output breaker off, overload, or fault | Check AC output breaker. Reduce load. Check display for error codes. |
| Low solar charging | Shaded panels, dirty panels, or incorrect PV wiring | Inspect solar panels for shading or dirt. Verify PV wiring and voltage. |
| Overload warning | Connected loads exceed inverter capacity | Reduce the total power consumption of connected devices. |
8. Specifications
- Model: UD10048
- Brand: PXNQMTJM
- Rated Power: 8000W
- DC Input Voltage: 48V
- AC Output Voltage: 110V/220V (depending on model configuration)
- Power Source: Battery Powered
- ASIN: B0GHDG4126
9. Warranty and Support
For warranty information, please refer to the specific warranty card included with your product or contact the manufacturer directly. Technical support can be reached through the vendor or manufacturer's official contact channels for assistance with installation, operation, or troubleshooting beyond the scope of this manual.