
ClosetMaid 10000-07116
ClosetMaid Modular Adjustable Divided Storage Shelving Unit Organizer
Model: 10000-07116
Important Safety Information
Read all instructions carefully before assembly and use. Keep these instructions for future reference.
- Ensure all hardware is securely tightened during assembly.
- Do not overload shelves. Distribute weight evenly.
- This unit is designed for indoor use only.
- Wall mounting is recommended for stability, especially in homes with children or pets. Anti-tip hardware may be included or sold separately.
- Keep small parts away from children during assembly.
Package Contents
Verify that all components are present before beginning assembly.
- Main shelving unit panels (sides, top, bottom, backer)
- Adjustable shelves (14 included)
- Shelf pins
- Assembly hardware (screws, dowels, etc.)
- Decorative trim pieces
Note: A Phillips head screwdriver and hammer (not included) are required for assembly.
Setup and Assembly Instructions
Follow these steps to assemble your ClosetMaid Modular Adjustable Divided Storage Shelving Unit.
Step 1: Unpack and Identify Parts
Carefully remove all components from the packaging. Lay them out on a clean, soft surface to prevent scratching. Identify each part using the included parts list (if provided in physical manual).
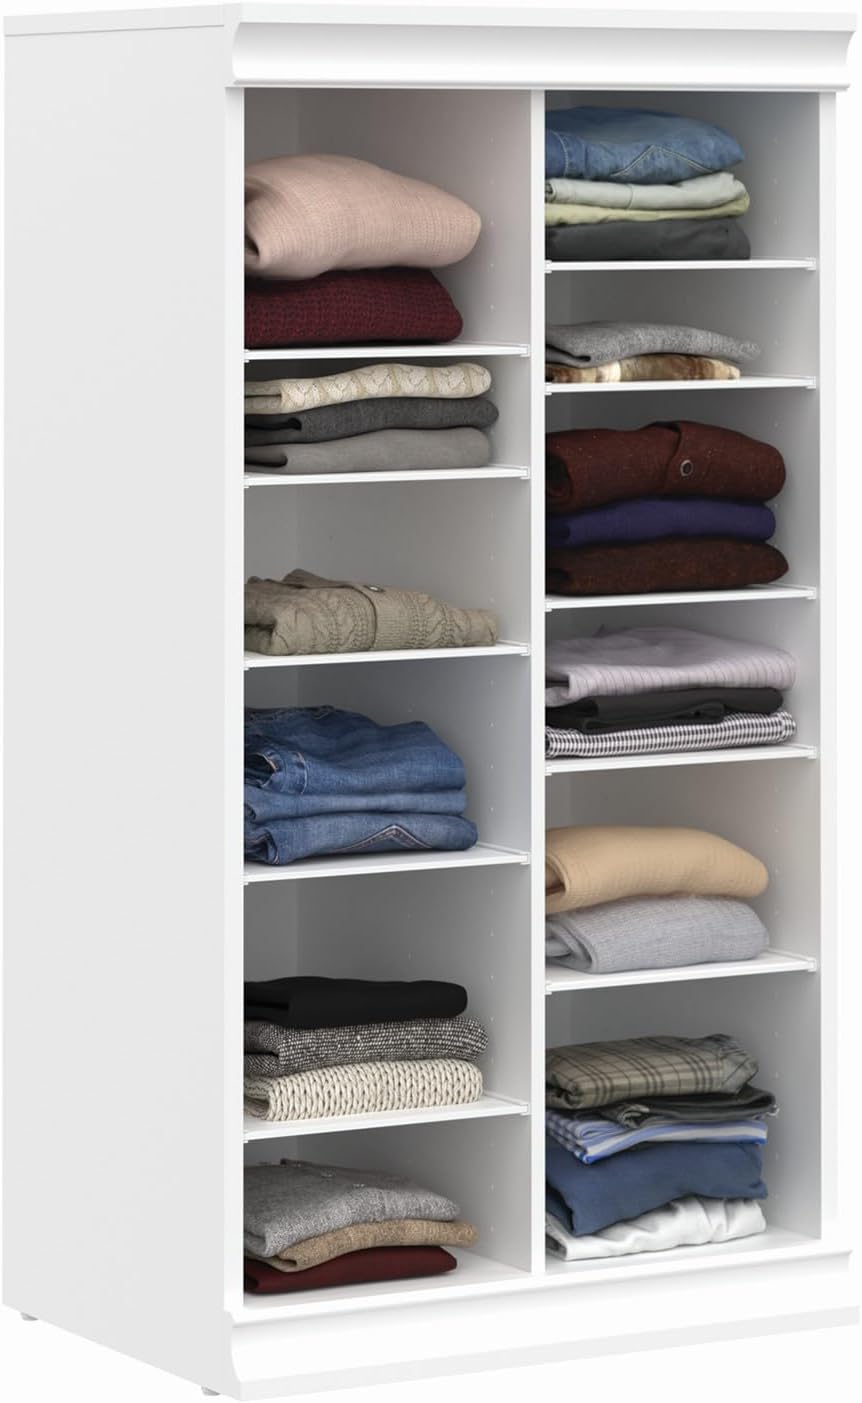
Image: All components of the shelving unit laid out on a floor, ready for assembly.
Step 2: Assemble the Main Frame
Attach the side panels to the base and top panels using the provided screws and dowels. Ensure all connections are secure and flush.

Image: Assembled main frame of the shelving unit, showing the top, bottom, and side panels connected.
Step 3: Install the Backer Panel
Align the full backer panel with the rear of the assembled frame. Secure it using small nails or screws, ensuring the unit is square.

Image: Diagram highlighting the full back panel and decorative trim of the shelving unit.
Step 4: Insert Shelf Pins and Shelves
Determine your desired shelf heights. Insert the shelf pins into the pre-drilled holes at the corresponding levels. Place the adjustable shelves onto the pins.

Image: Diagram showing the dimensions of the shelving unit, including height, width, depth, and interior shelf dimensions.
Step 5: Attach Decorative Trim
Secure the decorative trim pieces to the top and bottom of the unit as per the instructions. This provides a finished, custom look.
Step 6: Secure to Wall (Recommended)
For added stability and safety, especially in households with children or pets, it is highly recommended to secure the unit to a wall using appropriate anti-tip hardware (may be included or sold separately).
Operating Instructions
Adjusting Shelves
The unit features 14 adjustable shelves. To adjust a shelf:
- Remove all items from the shelf you wish to adjust.
- Carefully lift the shelf to remove it from the shelf pins.
- Remove the shelf pins from their current holes.
- Insert the shelf pins into the desired new holes, ensuring they are level and securely seated.
- Place the shelf back onto the pins.
This allows for customization to store various items such as folded clothes, sweaters, pants, jeans, shoes, blankets, towels, books, crafts, or decorative items.
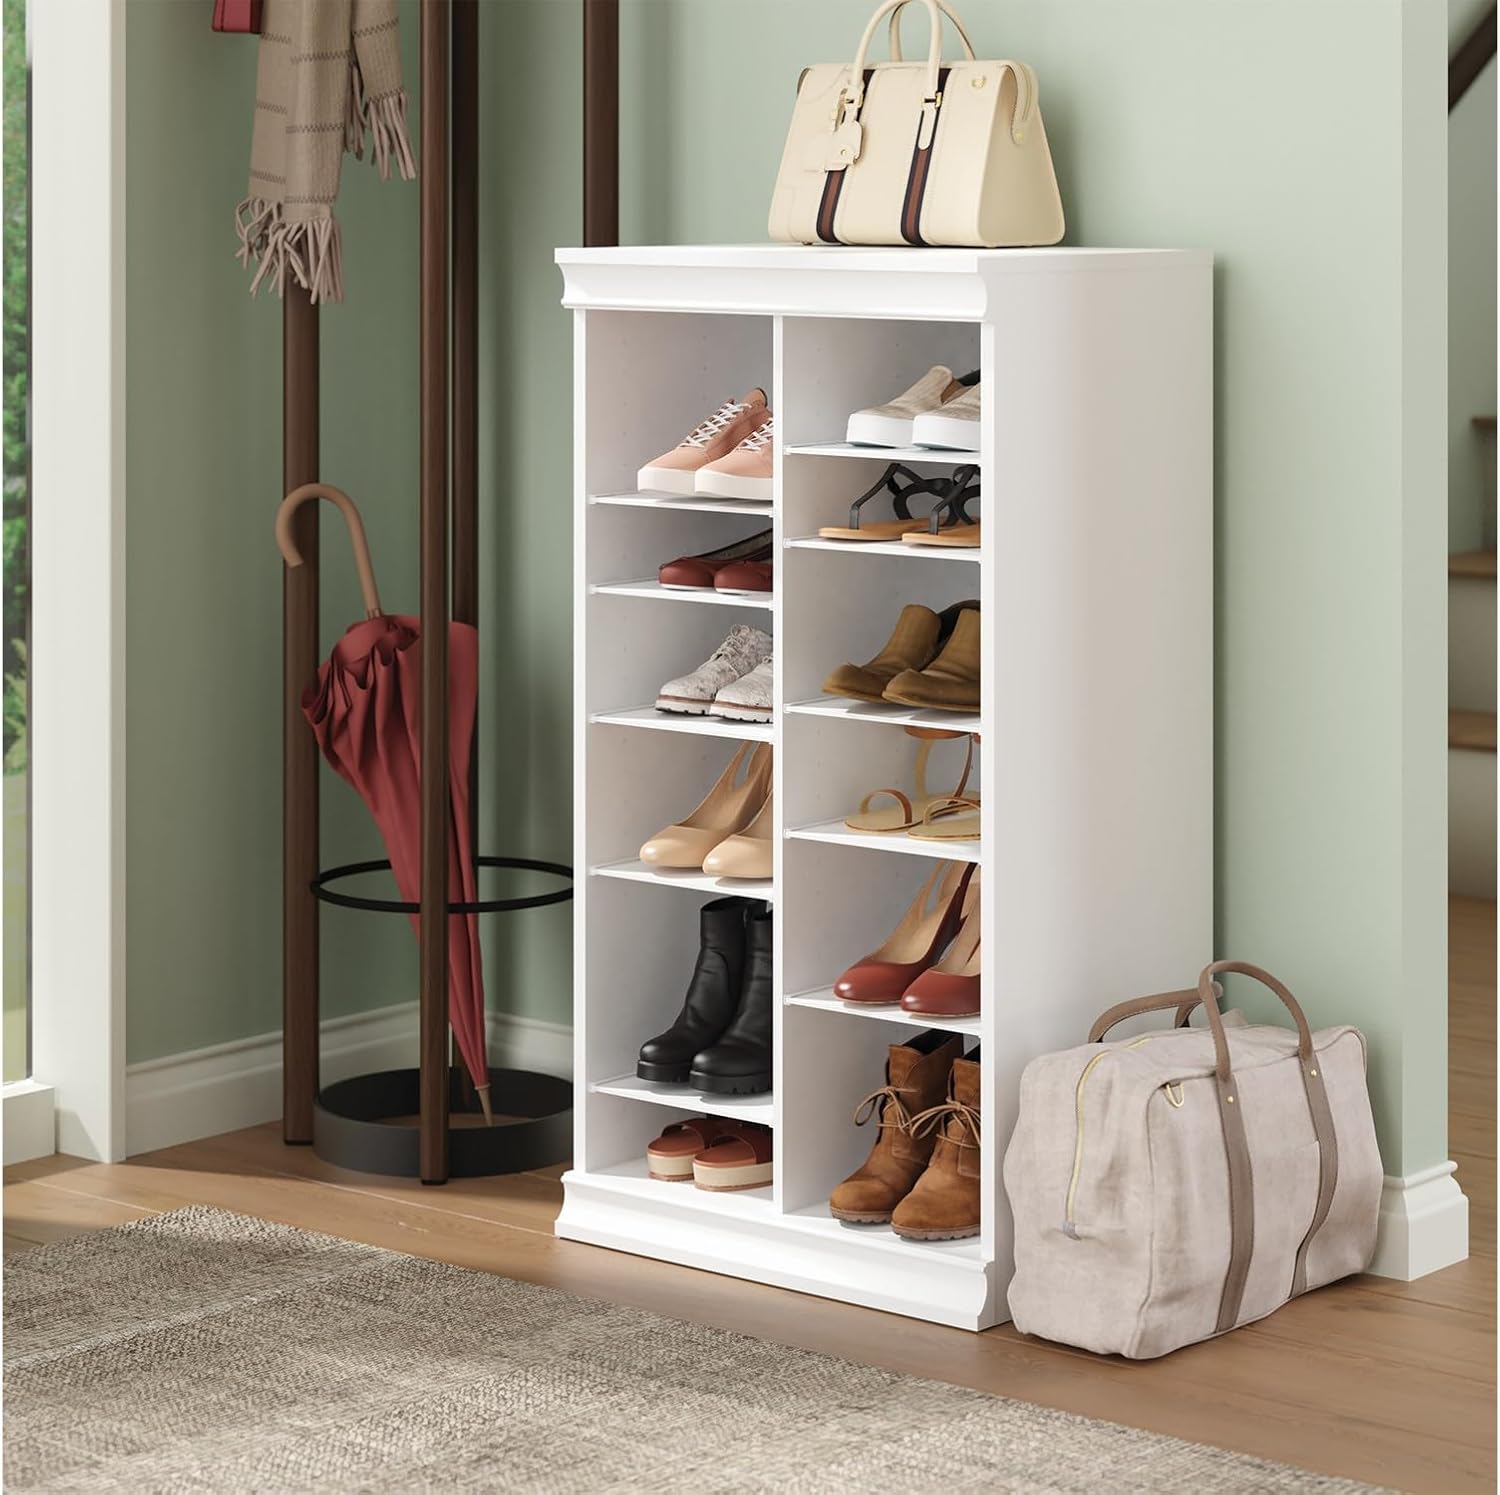
Image: Shelving unit filled with various pairs of shoes, demonstrating its use as a shoe organizer.

Image: Shelving unit filled with folded clothes, demonstrating its use as a clothing organizer.
Maintenance
- Cleaning: Wipe surfaces with a soft, damp cloth. Avoid abrasive cleaners or harsh chemicals.
- Inspection: Periodically check all screws and connections to ensure they remain tight. Re-tighten if necessary.
- Weight Distribution: Always distribute weight evenly across shelves to prevent warping or instability.
Troubleshooting
| Problem | Possible Cause | Solution |
|---|---|---|
| Unit is wobbly or unstable. | Loose connections; uneven floor; not secured to wall. | Ensure all screws are tightened. Move unit to a level surface. Secure unit to a wall using anti-tip hardware. |
| Shelves do not fit or are uneven. | Shelf pins not inserted correctly; unit not square. | Ensure shelf pins are fully inserted into corresponding holes. Check that the main frame is assembled squarely. |
| Missing parts. | Packaging error. | Contact ClosetMaid customer support with your model number and a description of the missing part. |
Specifications
- Model Number: 10000-07116
- Brand: ClosetMaid
- Material: Engineered Wood
- Overall Dimensions (D x H x W): 15.94 inches x 40.3 inches x 21.38 inches (40.5 cm x 102.3 cm x 54.3 cm)
- Interior Divided Section Dimensions (D x W): Approximately 14.64 inches x 9.75 inches
- Number of Shelves: 14 (adjustable)
- Mounting Type: Freestanding (Wall Mount recommended)
- Color: White
- Item Weight: 46.78 Pounds (21.22 kg)
- Assembly Required: Yes
Warranty Information
Specific warranty details for ClosetMaid products are typically provided with the product packaging or can be found on the official ClosetMaid website. Please refer to these resources for the most accurate and up-to-date warranty information.
Customer Support
For assistance with assembly, missing parts, or any other inquiries, please contact ClosetMaid customer support.
- Website: www.closetmaid.com (Note: This is a placeholder URL, please refer to your product documentation for the official support website.)
- Phone: Refer to the ClosetMaid website or product packaging for contact numbers.
- When contacting support, please have your model number (10000-07116) and purchase information ready.
Related documents10000-07116


Ask a question about this manual
Ask about setup, troubleshooting, compatibility, parts, safety, or missing instructions. Manuals+ will review the question and use this page’s manual context to help answer it.