
1. Product Overview
This manual provides detailed instructions for the assembly, operation, and maintenance of your Virubi Full Size Daybed. This modern platform bed features an upholstered headboard and backrest, integrated storage, LED lighting, a charging station, and a built-in desk. It is designed for comfort and functionality in various living spaces.
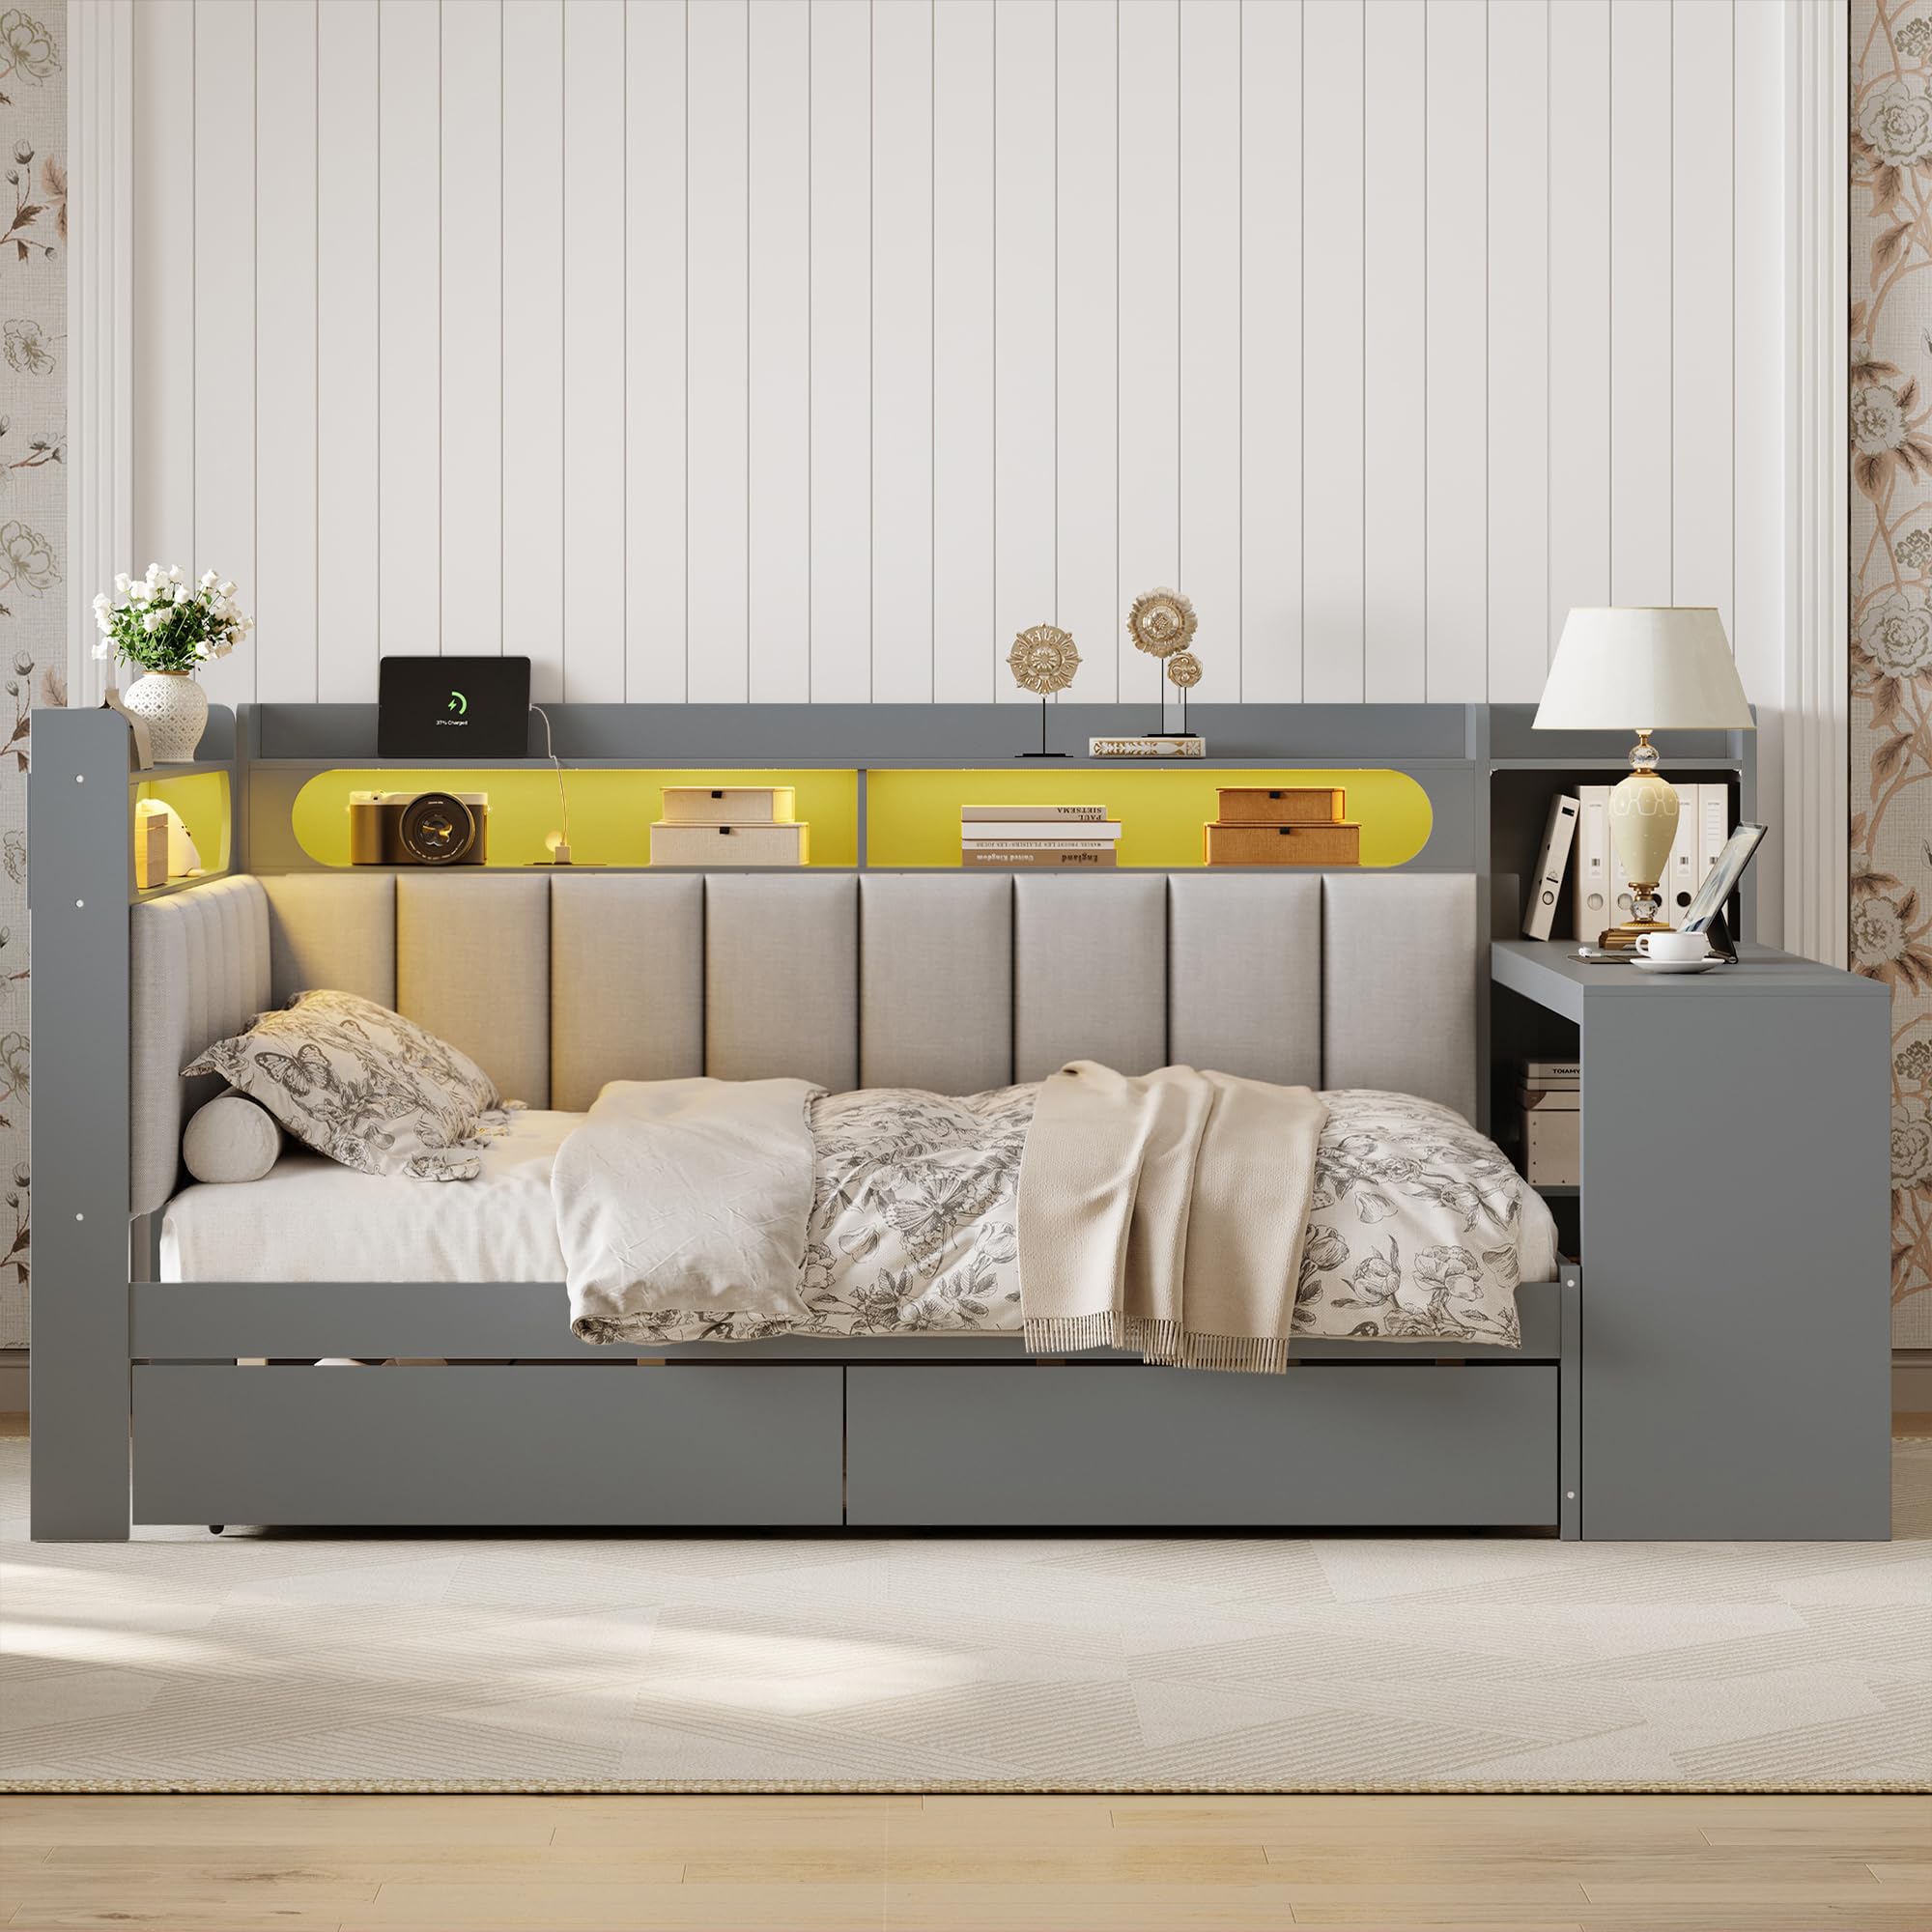
Figure 1: Virubi Full Size Daybed, overall view.
2. Safety Information
- Read all instructions carefully before assembly and use.
- Keep all small parts and packaging materials away from children.
- Ensure all connections are secure before using the daybed.
- Do not exceed the recommended weight capacity for the bed frame.
- Use only the specified power adapter for the LED lights and charging station.
- Avoid placing liquids directly on the charging station or near electrical components.
3. Package Contents
Verify that all components listed in the included assembly guide are present before beginning assembly. If any parts are missing or damaged, please contact customer support.
4. Assembly Instructions
Assembly of the Virubi Full Size Daybed requires two adults. Follow the step-by-step instructions provided in the separate assembly manual included with your product. All necessary hardware and pre-drilled holes are provided for a straightforward setup.
Key Assembly Steps:
- Unpack all components and lay them out on a clean, soft surface to prevent scratches.
- Assemble the main bed frame structure, ensuring all bolts are tightened securely.
- Attach the upholstered headboard and backrest sections.
- Install the storage shelves and the built-in desk unit.
- Insert the bed slats into the designated slots on the frame.
- Assemble and slide the storage drawers into place under the bed frame.
- Connect the LED light strip and charging station power cables as instructed.

Figure 2: Daybed frame structure with integrated shelves and desk.

Figure 3: Daybed frame showing the underbed storage drawers.
5. Operating Instructions
5.1. LED Light Operation
The daybed features an integrated LED light strip for ambient lighting. Connect the LED power cable to a suitable power source. The LED lights are typically controlled by a switch located near the headboard or a remote control (if included). Refer to the specific instructions for the LED light kit for detailed operation.

Figure 4: Detail of the integrated LED light strip.
5.2. Charging Station Usage
The built-in charging station includes two standard power outlets and two USB ports. To use, plug the charging station's power cord into a wall outlet. You can then connect your electronic devices to charge them conveniently from your bed.
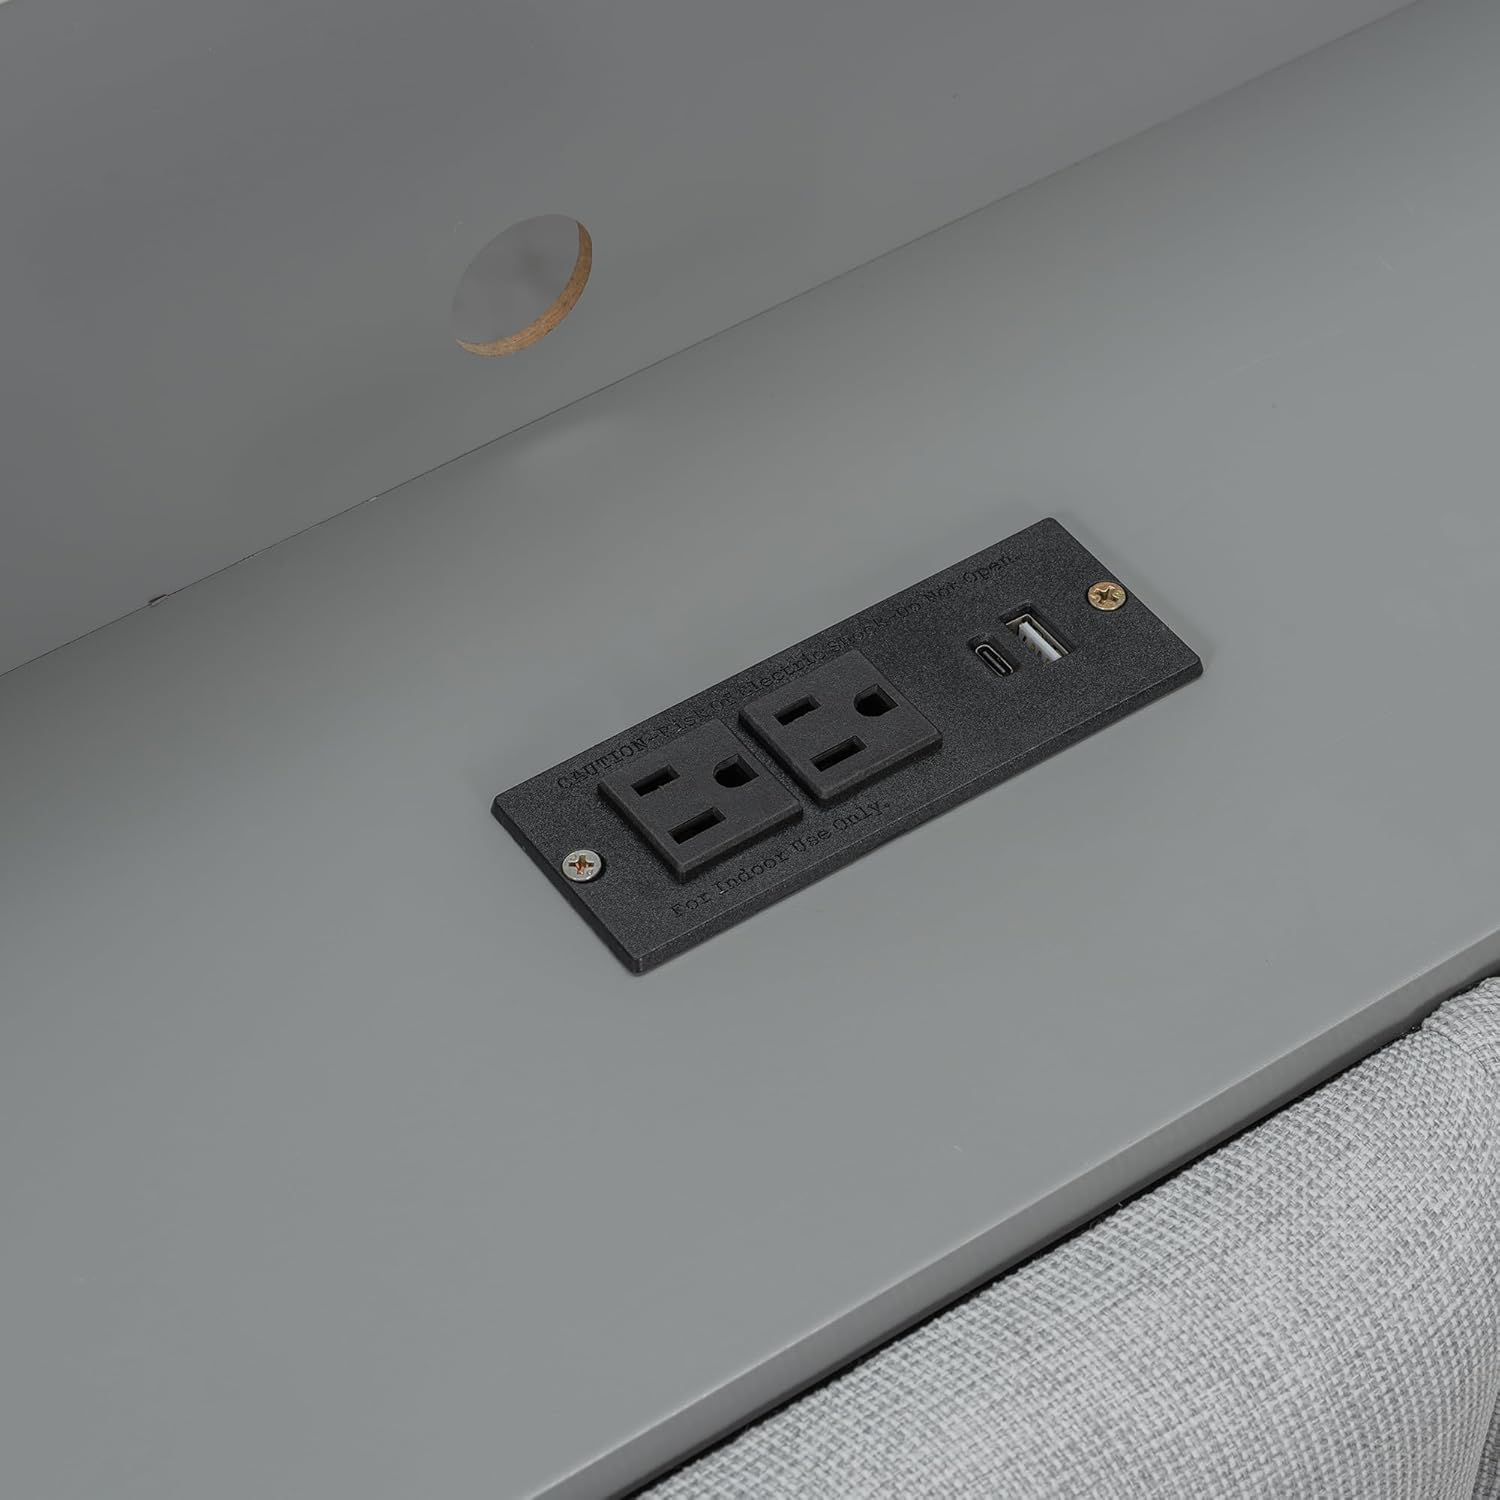
Figure 5: Integrated charging station with power outlets and USB ports.
5.3. Storage Shelves and Drawers
Utilize the six integrated storage shelves for books, decorative items, or personal essentials. The two spacious underbed drawers provide additional concealed storage for linens, clothing, or other items. Ensure drawers are closed gently to prevent damage.
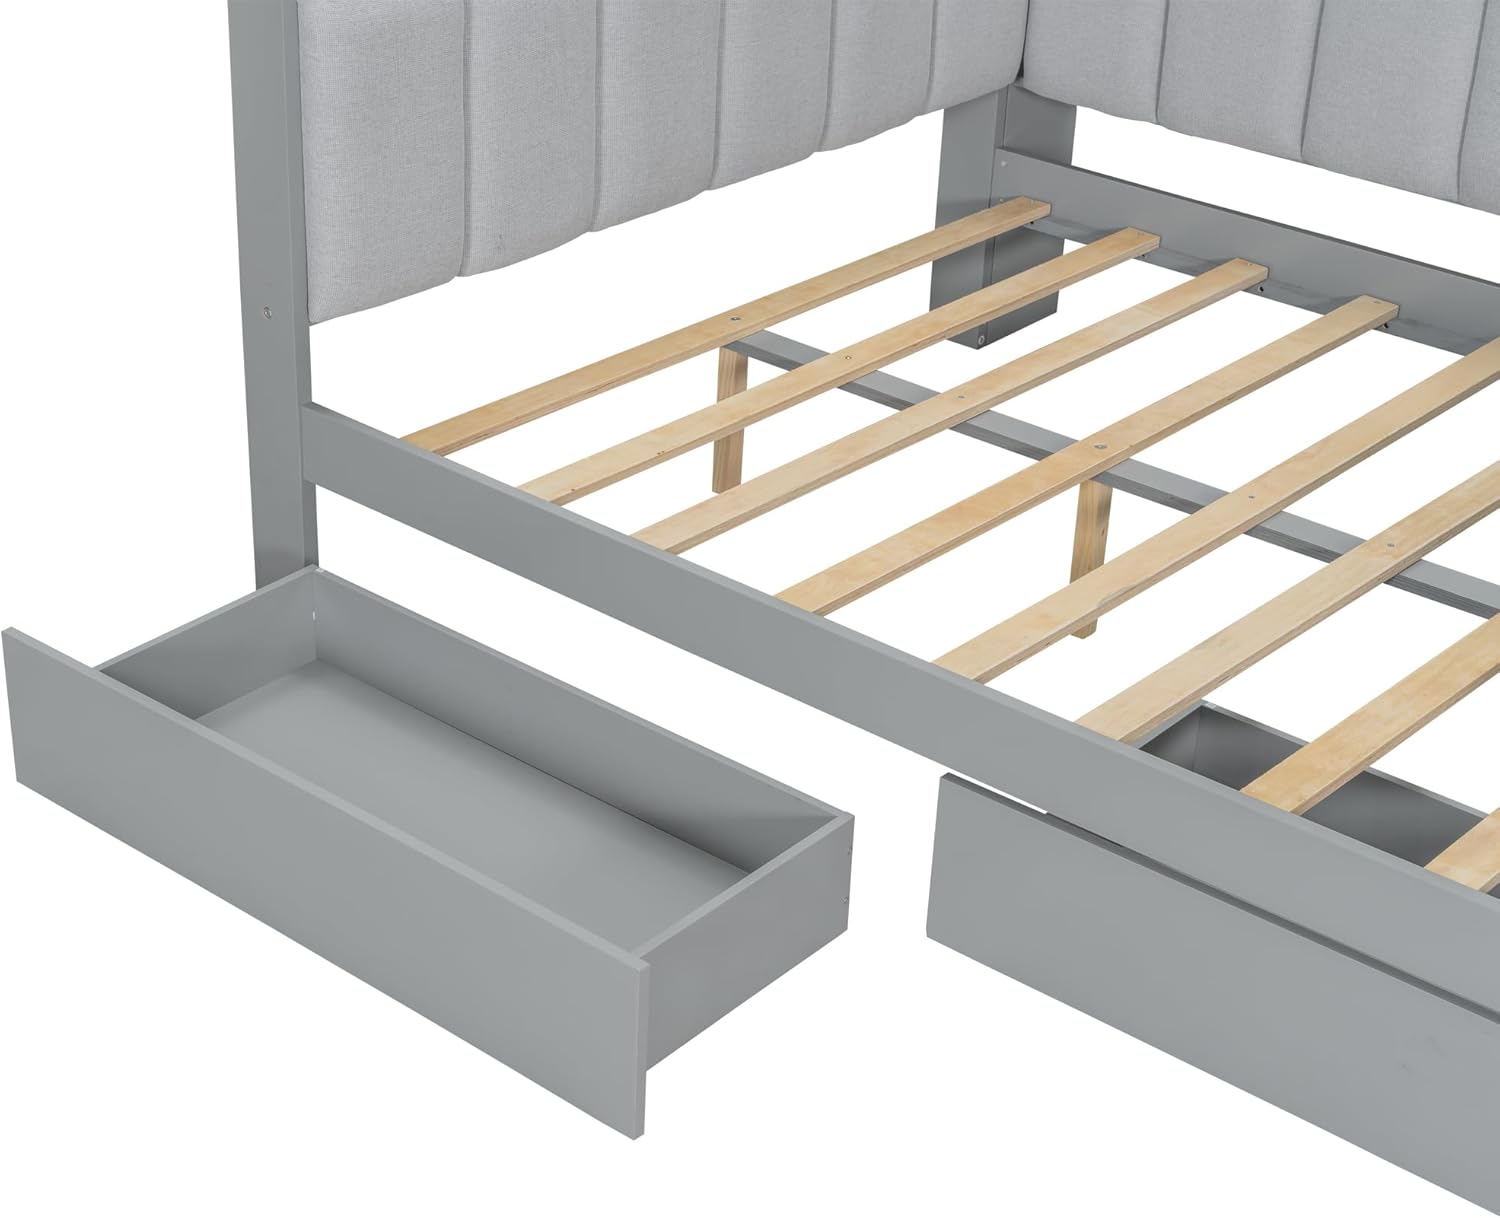
Figure 6: Detail of an underbed storage drawer.
5.4. Built-in Desk Functionality
The attached desk at the foot of the bed can serve as a workspace for laptops, reading, or as an additional shelf for items. Its versatile design allows for use both while on the bed or as a standalone surface.
6. Maintenance
6.1. Cleaning the Frame and Upholstery
- Wood/Frame: Wipe with a soft, damp cloth. Avoid harsh chemicals or abrasive cleaners.
- Upholstery: Spot clean with a mild fabric cleaner and a soft cloth. Test on an inconspicuous area first. Do not saturate the fabric.
6.2. Electrical Components
- Ensure the charging station and LED lights are unplugged before cleaning or performing any maintenance.
- Keep electrical components dry and free from dust.
6.3. General Care
- Periodically check all bolts and fasteners to ensure they remain tight.
- Avoid dragging the daybed to prevent damage to the frame or flooring. Lift when moving.
7. Troubleshooting
7.1. LED Lights Not Working
- Check if the power cable is securely plugged into both the LED strip and the wall outlet.
- Ensure the power switch (if any) is in the 'ON' position.
- Verify the wall outlet is functional by plugging in another device.
7.2. Charging Station Not Functioning
- Confirm the charging station's power cord is fully inserted into a live wall outlet.
- Test with different devices and cables to rule out device-specific issues.
- Check if the wall outlet is working correctly.
7.3. Drawers Sticking or Not Sliding Smoothly
- Ensure the drawers are correctly aligned on their tracks.
- Check for any obstructions in the drawer tracks.
- Verify that the daybed is placed on a level surface.
8. Specifications
| Feature | Detail |
|---|---|
| Brand | Virubi |
| Model Number | N7090000612E |
| Product Dimensions (L x W x H) | 94.5" x 64.2" x 43.3" |
| Item Weight | 221 Pounds |
| Color | Gray |
| Special Features | LED Lighting, Charging Station (2 Outlets + 2 USB), Storage Shelves, Storage Drawers, Built-in Desk, Upholstered Headboard & Backrest |
| Included Components | Headboard, Bed Frame, Slats, Drawers, Desk, Shelves, LED Light Kit, Charging Station |
| Finish Type | Polished |
9. Warranty and Support
For warranty information or technical support, please refer to the documentation included with your purchase or contact Virubi customer service. Keep your purchase receipt for warranty claims.