
1. Introduction
Thank you for choosing the ACEMAGIC V1 Mini PC. This compact and powerful desktop computer is designed for various applications, from office tasks and education to multimedia and light gaming. Featuring an Intel N150 processor, 16GB DDR4 RAM, and a 512GB SSD, it offers efficient performance in a small form factor. This manual provides essential information for setting up, operating, maintaining, and troubleshooting your device.
2. Package Contents
Please check the package for the following items:
- 1 x ACEMAGIC V1 Mini PC
- 1 x Power Adapter
- 1 x HDMI Cable
- 1 x VESA Mount with Screws
- 1 x User Manual (this document)

Image: Contents of the ACEMAGIC V1 Mini PC package, showing the mini PC unit, power adapter, HDMI cable, VESA mount, and user manual.
3. Product Overview
3.1 Front Panel
- Power Button: Press to turn on/off the device.
- Power Light: Indicates power status.
- USB 3.2 x 2: Connect USB devices such as keyboards, mice, or external storage.
- 3.5mm Audio Jack: Connect headphones or speakers.
3.2 Rear Panel
- LAN Port: Connect to a wired network using an Ethernet cable.
- HDMI 2.0 Port: Connect to a display device (monitor, TV) for video and audio output.
- DP 1.4 Port: Connect to a display device for video and audio output.
- USB 2.0 x 2: Connect USB devices.
- Power Interface (DC IN): Connect the power adapter.

Image: Detailed diagram of the ACEMAGIC V1 Mini PC's front and rear panels, highlighting the power button, USB 3.2 ports, audio jack, LAN port, HDMI 2.0, DP 1.4, USB 2.0 ports, and power input.
4. Setup Instructions
4.1 Initial Connection
- Connect Display: Connect your monitor or TV to the Mini PC using an HDMI cable or DisplayPort cable. The device supports dual 4K displays via HDMI 2.0 and DP 1.4.
- Connect Peripherals: Plug in your USB keyboard and mouse into the available USB ports.
- Connect Power: Connect the power adapter to the DC IN port on the rear panel of the Mini PC, then plug the adapter into a power outlet.
- Network Connection (Optional): For a wired internet connection, connect an Ethernet cable to the LAN port. For wireless, ensure your WiFi network is available after booting.
4.2 First Boot and Operating System
Press the power button on the front panel. The power light will illuminate. The Mini PC comes with Windows 11 Pro pre-installed. Follow the on-screen instructions to complete the initial Windows setup, including language, region, network, and user account creation.

Image: The ACEMAGIC V1 Mini PC set up on a desk with a monitor, keyboard, and mouse, demonstrating its compact footprint and readiness for use.
4.3 VESA Mount Installation
The ACEMAGIC V1 Mini PC includes a VESA mount (75x75mm) for discreet installation behind a monitor or on a wall. This allows you to save desk space and create an all-in-one computing experience.
- Attach the VESA mount bracket to the back of your VESA-compatible monitor or to a wall using the provided screws.
- Slide the Mini PC onto the mounted bracket until it clicks securely into place.
- Ensure all cables are connected before securing the Mini PC.
5. Operating Instructions
5.1 Power On/Off
- Power On: Press the power button once.
- Power Off: From Windows, click Start > Power > Shut down. Alternatively, press and hold the power button for 5 seconds to force a shutdown (use only when necessary).
5.2 Connectivity
- Wi-Fi 6: The Mini PC supports Wi-Fi 6 for fast wireless internet access. Connect via Windows network settings.
- Bluetooth 5.2: Connect Bluetooth-enabled devices such as headphones, speakers, or game controllers. Pair devices through Windows Bluetooth settings.
- Gigabit Ethernet: For stable and high-speed wired network connections.
5.3 Storage Expansion
The ACEMAGIC V1 Mini PC comes with a 512GB M.2 SSD. It supports expansion up to 2TB. To expand storage, you will need to open the chassis and install a compatible M.2 NVMe PCIe 3.0 SSD or M.2 SATA SSD. Refer to the detailed internal structure diagram for guidance.
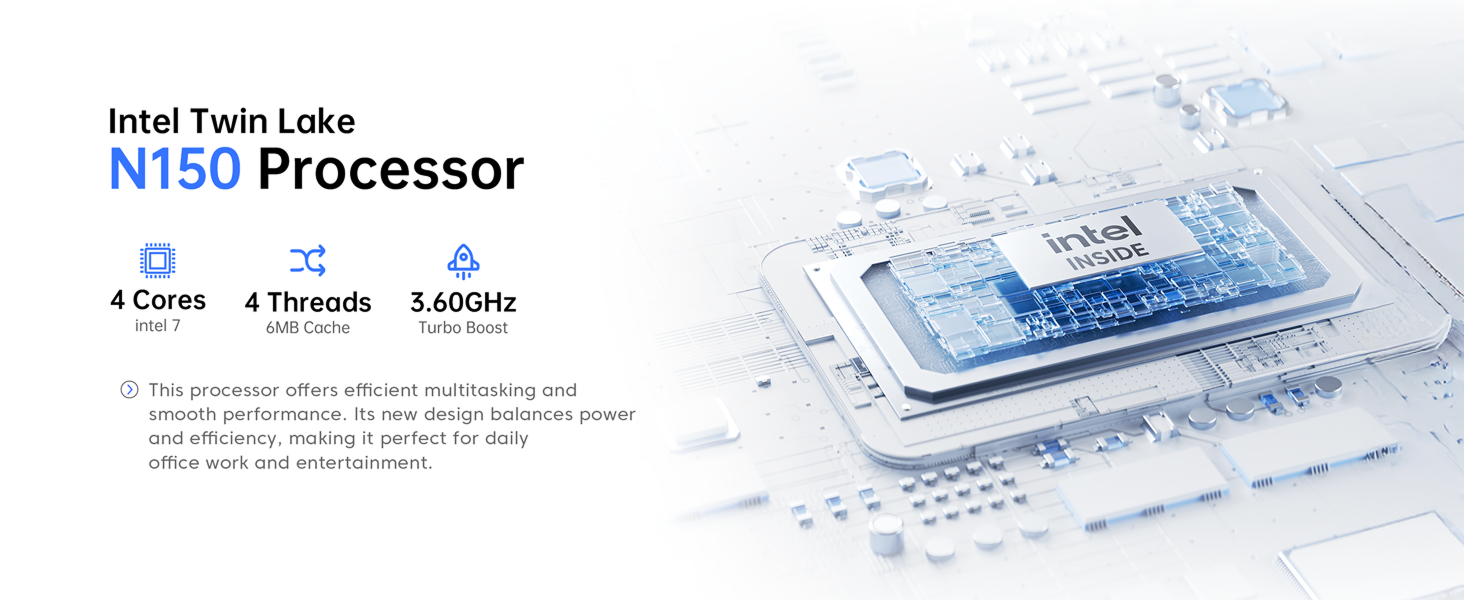
Image: An internal view of the ACEMAGIC V1 Mini PC, highlighting the 16GB DDR4 RAM module and the 512GB M.2 SSD, indicating expandability up to 2TB.
6. Maintenance
6.1 Cooling System
The Mini PC features an aluminum CNC shell and an upgraded axial fan for efficient heat dissipation, keeping temperatures under 45°C during typical 8-hour use. The fan operates quietly, typically below 22dB.

Image: A cutaway diagram illustrating the internal cooling technology and upgraded axial fan of the ACEMAGIC V1 Mini PC, showing air intake and exhaust for efficient heat management.
6.2 General Care
- Keep the device in a clean, dry environment, away from direct sunlight and excessive heat.
- Avoid blocking the ventilation openings to ensure proper airflow.
- Clean the exterior with a soft, dry cloth. Do not use liquid cleaners.
- Do not attempt to disassemble the device beyond accessible components for upgrades, as this may void the warranty.
7. Troubleshooting
If you encounter issues with your ACEMAGIC V1 Mini PC, please refer to the following common troubleshooting steps:
- No Power:
- Ensure the power adapter is securely connected to both the Mini PC and a working power outlet.
- Verify the power outlet is functional by plugging in another device.
- No Display:
- Check that the HDMI or DisplayPort cable is firmly connected to both the Mini PC and the monitor.
- Ensure the monitor is powered on and set to the correct input source (HDMI/DP).
- Try a different display cable or monitor if available.
- No Internet Connection:
- For wired connection, ensure the Ethernet cable is properly connected and your router is working.
- For Wi-Fi, check if Wi-Fi is enabled in Windows settings and if you are connected to the correct network with the correct password.
- Restart your router/modem.
- Slow Performance:
- Close unnecessary applications running in the background.
- Ensure Windows is up to date.
- Check for malware or viruses.
- Verify that the cooling vents are not obstructed.
If these steps do not resolve your issue, please contact ACEMAGIC customer support for further assistance.
8. Specifications
| Feature | Specification |
|---|---|
| Brand | ACEMAGIC |
| Model Number | V1 |
| Operating System | Windows 11 Pro |
| CPU Model | Intel N150 (Twin Lake) |
| CPU Speed | Up to 3.6 GHz |
| RAM | 16GB DDR4 |
| Storage | 512GB M.2 SSD (Expandable up to 2TB) |
| Graphics Coprocessor | Intel UHD Graphics |
| Video Output | HDMI 2.0, DP 1.4 (Dual 4K@60Hz support) |
| Connectivity | Wi-Fi 6, Bluetooth 5.2, Gigabit Ethernet |
| USB Ports | 2 x USB 3.2, 2 x USB 2.0 |
| Audio Output | 3.5mm Audio Jack |
| Cooling Method | Air (Aluminum CNC shell, Axial Fan) |
| Power Consumption | 15 watts (TDP) |
| Dimensions | 3.9 × 3.9 × 1.3 inches (Approx.) |
9. Warranty and Support
9.1 Warranty Information
The ACEMAGIC V1 Mini PC comes with a 2-Year Warranty from the date of purchase. This warranty covers manufacturing defects and hardware malfunctions under normal use. Please retain your proof of purchase for warranty claims. The warranty does not cover damage caused by misuse, accidents, unauthorized modifications, or improper installation.
9.2 Customer Support
For technical assistance, warranty claims, or any questions regarding your ACEMAGIC V1 Mini PC, please contact our customer support team. We offer:
- Live Chat (24/7 instant support)
- Dedicated Phone Support
- Email Support
- Online Help Center (FAQs and guides)
Please visit the official ACEMAGIC website or refer to the contact information provided with your purchase for specific support channels.

Image: Visual representation of ACEMAGIC's customer support services, including icons for live chat, phone support, email support, and a help center.


