
1. Introduction
The LoraTap Smart WiFi Switch Module is designed to transform traditional lighting and appliances into smart, controllable devices. This compact wireless relay allows for remote control via a mobile application, voice commands through smart assistants like Alexa and Google Assistant, and scheduled operations. It is rated for 10A/2500W, making it suitable for various household circuits.
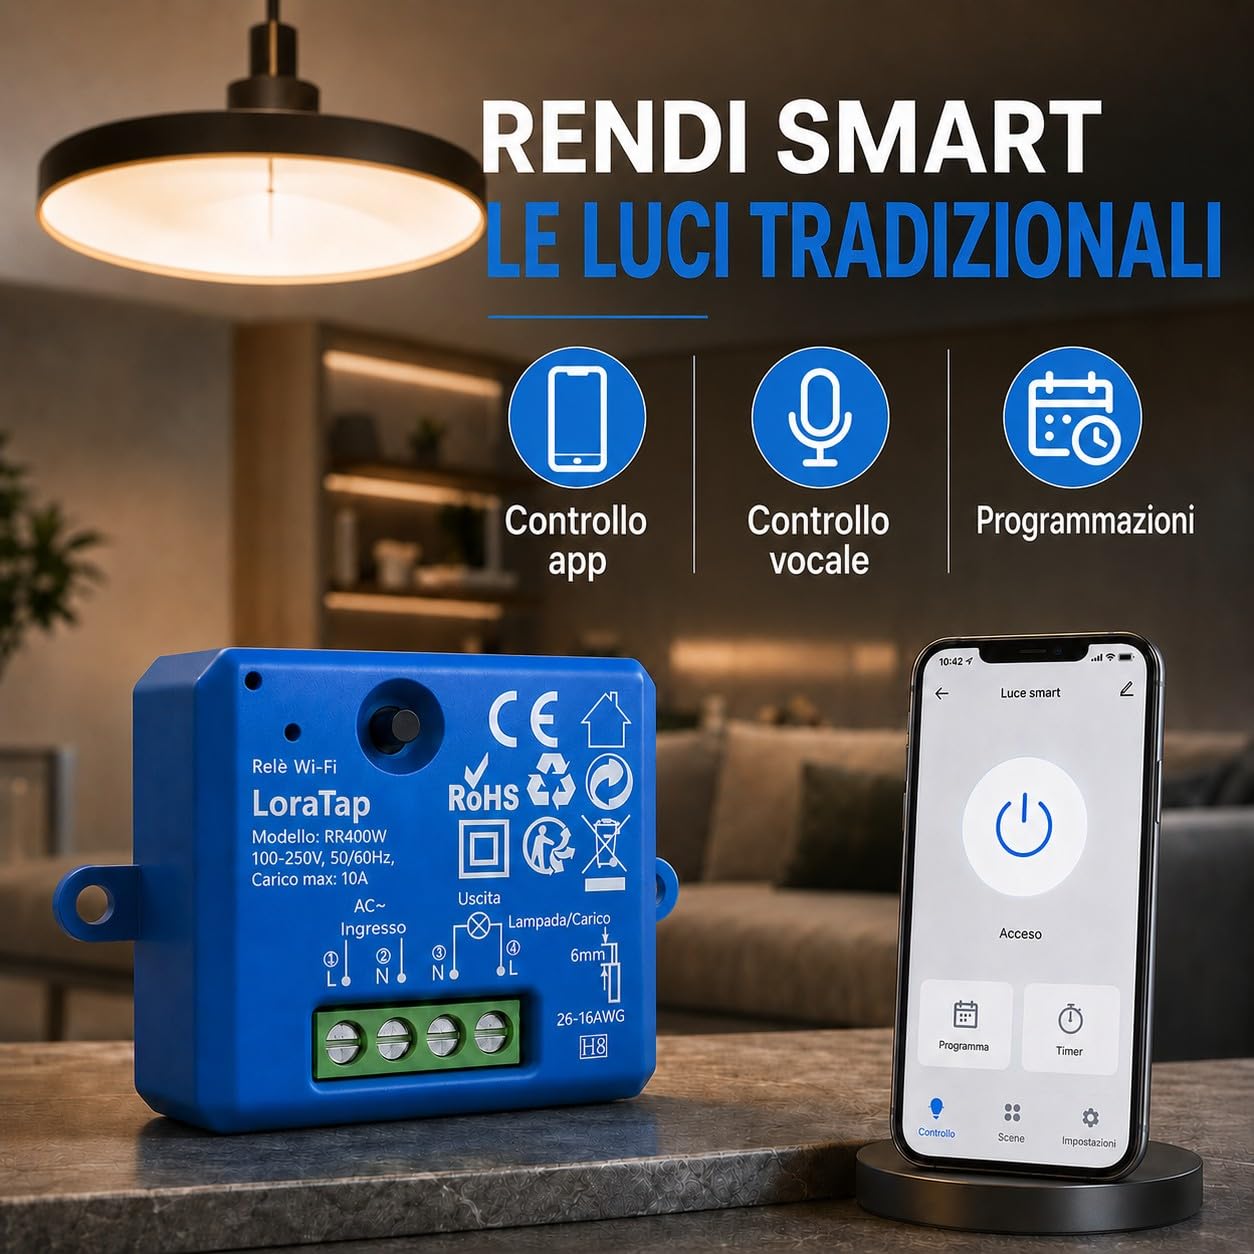
Image 1.1: The LoraTap Smart WiFi Switch Module enables app control, voice control, and scheduling for traditional lights.
2. Safety Information
Please read all safety instructions carefully before installation and use. Failure to follow these instructions may result in electric shock, fire, or other hazards.
- Professional Installation Recommended: Electrical installation should be performed by a qualified electrician.
- Power Disconnection: Always ensure the main power supply is turned off at the circuit breaker before performing any electrical work.
- Neutral Wire Required: This device requires a neutral wire for operation (typically a blue wire). Ensure your electrical box has a neutral wire available.
- Load Capacity: Do not exceed the maximum load of 10A/2500W.
- Indoor Use Only: This device is designed for indoor use in dry environments.
- Compatibility: Ensure the device is compatible with your existing electrical system (230V AC).
3. Package Contents
- 1 x LoraTap Smart WiFi Switch Module
- 1 x User Manual
4. Specifications
| Feature | Specification |
|---|---|
| Brand | LoraTap |
| Model | B07R4W3CL1 |
| Operating Voltage | 230 Volt (AC) |
| Rated Current | 10 Ampere |
| Wattage | 2300 Watt |
| Connectivity Protocol | Wi-Fi (2.4 GHz only) |
| Control Method | App (Tuya Smart Life), Voice (Alexa, Google Assistant) |
| Operating Mode | Voice and Manual |
| Switch Type | Button |
| Terminal Type | Screw |
| Mounting Type | Flush-mounted |
| Material | Plastic (Contact Material: Copper) |
| Dimensions (LxWxH) | 47 x 42 x 23 mm |
| Max Operating Temperature | 70 Degrees Celsius |
| Certifications | CE, RoHS |
5. Setup
5.1 Pre-installation Checklist
- WiFi Network: Ensure you have a 2.4 GHz Wi-Fi network. The device does not support 5 GHz Wi-Fi.
- Neutral Wire: A neutral wire (N) is required for installation.
- Power Supply: AC 100-250V.
- Max Load: Max 10A.
Not suitable for: Wall switches, dimmers.

Image 5.1: Pre-installation compatibility checklist.
5.2 Wiring Installation
The LoraTap Smart WiFi Switch Module is designed for flush-mounted installation, fitting easily behind existing sockets or in tight electrical boxes. No wall breaking is required for installation.
- Turn off Power: Before starting, ensure the main power supply is disconnected at the circuit breaker to prevent electric shock.
- Connect Wires: Connect the Live (L) and Neutral (N) input wires to the module's input terminals. Connect the Live (L) and Neutral (N) output wires to your lamp or appliance. The module has clearly marked 'Input' and 'Output' terminals.
- Secure Module: Place the module inside the electrical box. Its compact size (47x42x23mm) allows for hidden, non-invasive installation.
- Restore Power: Once wiring is complete and secure, restore power at the circuit breaker.

Image 5.2: Wiring diagram and compact installation example.
5.3 App Pairing
To control the device, download the Tuya Smart Life app and pair the module.
- Download App: Download the 'Tuya Smart Life' app from your mobile app store (iOS/Android).
- Register/Login: Create an account or log in to the app.
- Add Device: In the app, select 'Add Device' or the '+' icon.
- Select Device Type: Choose the appropriate device type (e.g., 'Smart Switch (Wi-Fi)').
- Enter Wi-Fi Details: Ensure your phone is connected to a 2.4 GHz Wi-Fi network. Enter your Wi-Fi network name and password in the app.
- Pairing Mode: If the device indicator light is not blinking, press and hold the reset button on the module for 5 seconds until it blinks rapidly.
- Complete Pairing: Follow the on-screen instructions in the app to complete the pairing process. The device will be added to your app.

Image 5.3: Simple app pairing process.
6. Operating Instructions
6.1 App Control
Once paired, you can control your device from anywhere using the Tuya Smart Life app.
- On/Off: Tap the power icon in the app to turn the connected device on or off.
- Remote Control: Control your lights or appliances even when you are away from home.

Image 6.1: Remote control via the app.
6.2 Voice Control
The LoraTap Smart WiFi Switch Module is compatible with Amazon Alexa and Google Assistant for convenient voice control.
- Connect to Smart Assistant: Link your Tuya Smart Life account to your Amazon Alexa or Google Home app.
- Voice Commands: Use commands like "Alexa, turn on the living room light" or "Hey Google, turn off the fan."
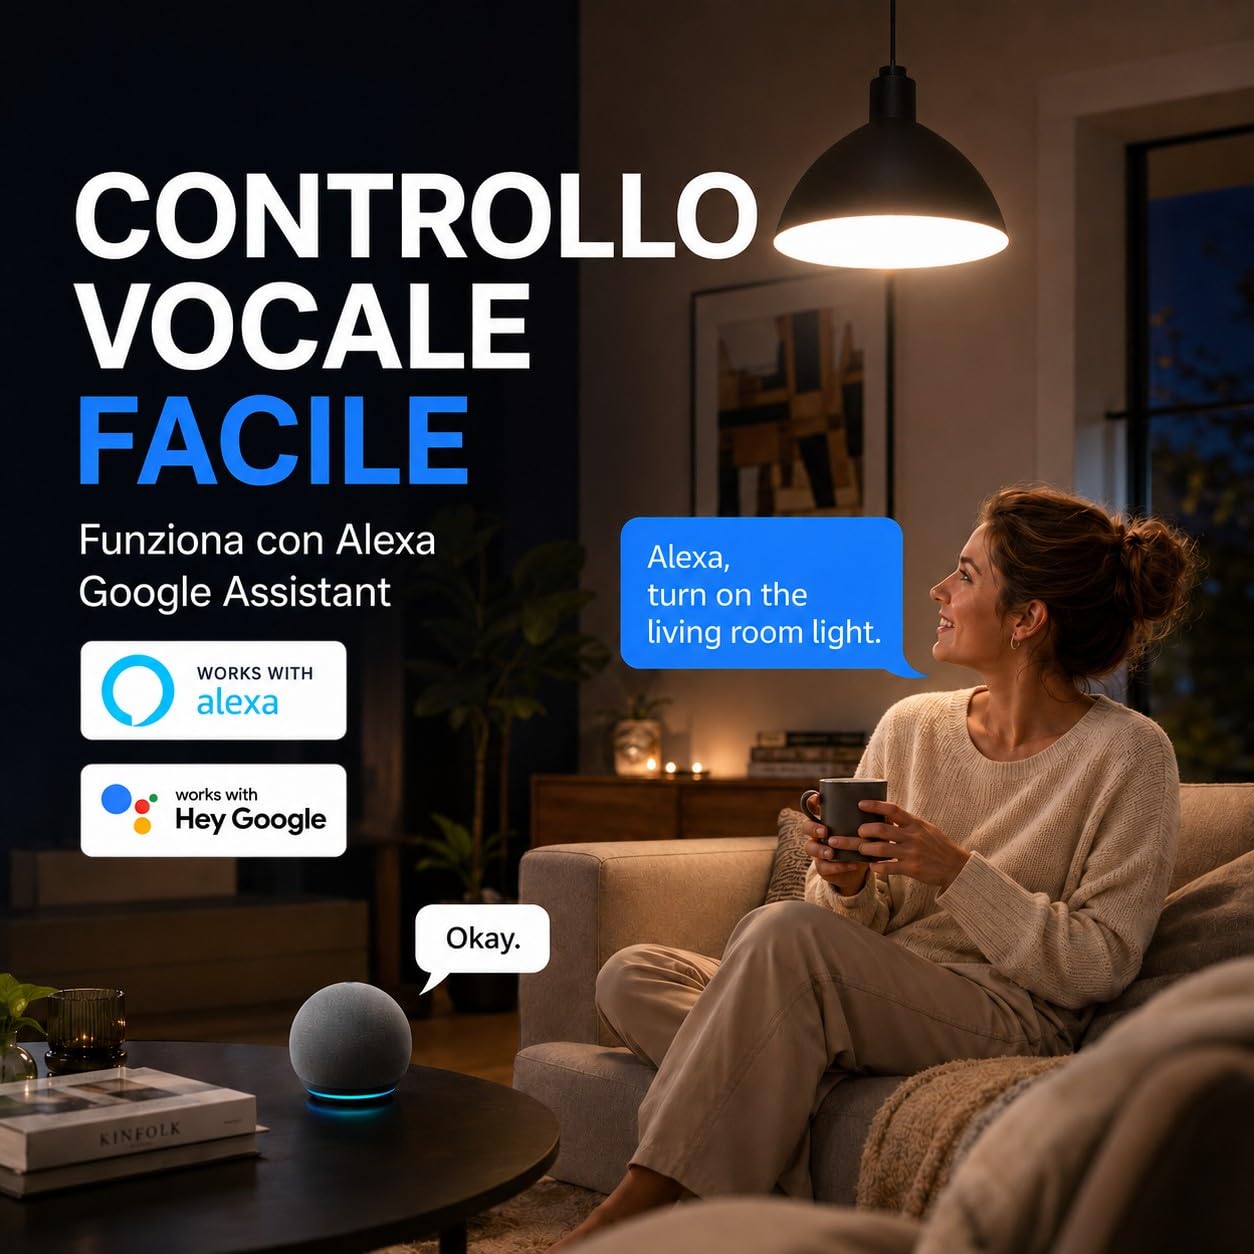
Image 6.2: Easy voice control with Alexa and Google Assistant.
6.3 Scheduling and Timers
Set schedules and timers to automate your lights and appliances, enhancing convenience and energy efficiency.
- Time Scheduling: Program lights to turn on or off automatically at specific times (e.g., turn on at 6:00 PM, turn off at 11:00 PM).
- Sunrise/Sunset: Configure the device to operate based on local sunrise and sunset times.
- Countdown Timer: Set a countdown for the device to turn on or off after a specified duration.

Image 6.3: Scheduled lighting for home automation.

Image 6.4: App interface for timer and scheduling functions.
6.4 Device Sharing
Share control of your smart devices with family members through the app, allowing multiple users to manage the connected lights or appliances.

Image 6.5: Device sharing feature for family control.
6.5 Restart State Settings
You can configure the restart state of your smart devices (ON, OFF, or Remember Last State). This helps prevent energy waste after a power outage by choosing the startup mode that suits your situation or habits.

Image 6.6: App settings for device restart state.
7. Maintenance
The LoraTap Smart WiFi Switch Module requires minimal maintenance.
- Cleaning: Ensure the device is powered off before cleaning. Wipe the exterior with a soft, dry cloth. Do not use harsh chemicals or abrasive cleaners.
- Environment: Keep the device in a dry environment, away from moisture and extreme temperatures.
- Firmware Updates: Periodically check the Tuya Smart Life app for any available firmware updates to ensure optimal performance and security.
8. Troubleshooting
8.1 Frequently Asked Questions
Q1: Can this product be used simultaneously with an existing wall switch?
R: No, this product cannot be used simultaneously with an existing wall switch. For wall switch compatibility, please select the dedicated compatible model (ASIN: B085F2WTTQ).
Q2: What if the device fails to connect to the network?
R:
- Set your WiFi security level to WPA/WPA2 to avoid disconnections due to incompatibility.
- For dual-band routers, manually separate the bands to create an independent 2.4 GHz WiFi network, and keep the device connected to this band.
If the problem persists after following the steps above, please contact our after-sales support team. We will provide an optimal solution within 24 hours.
9. Warranty and Support
This product has obtained CE conformity certification, ensuring its quality and safety standards.
For any questions regarding installation, usage, or troubleshooting, please do not hesitate to contact our customer support team. We are committed to providing assistance and resolving any issues you may encounter.
Contact information can typically be found on the product packaging or through the LoraTap official website.