
Introduction
This manual provides essential instructions for the safe and efficient operation, installation, and maintenance of your OSTBA Water Cooler Dispenser with Ice Maker. This appliance offers four functions: dispensing hot, cold, and room temperature water, and producing bullet ice. Please read this manual thoroughly before first use and retain it for future reference.
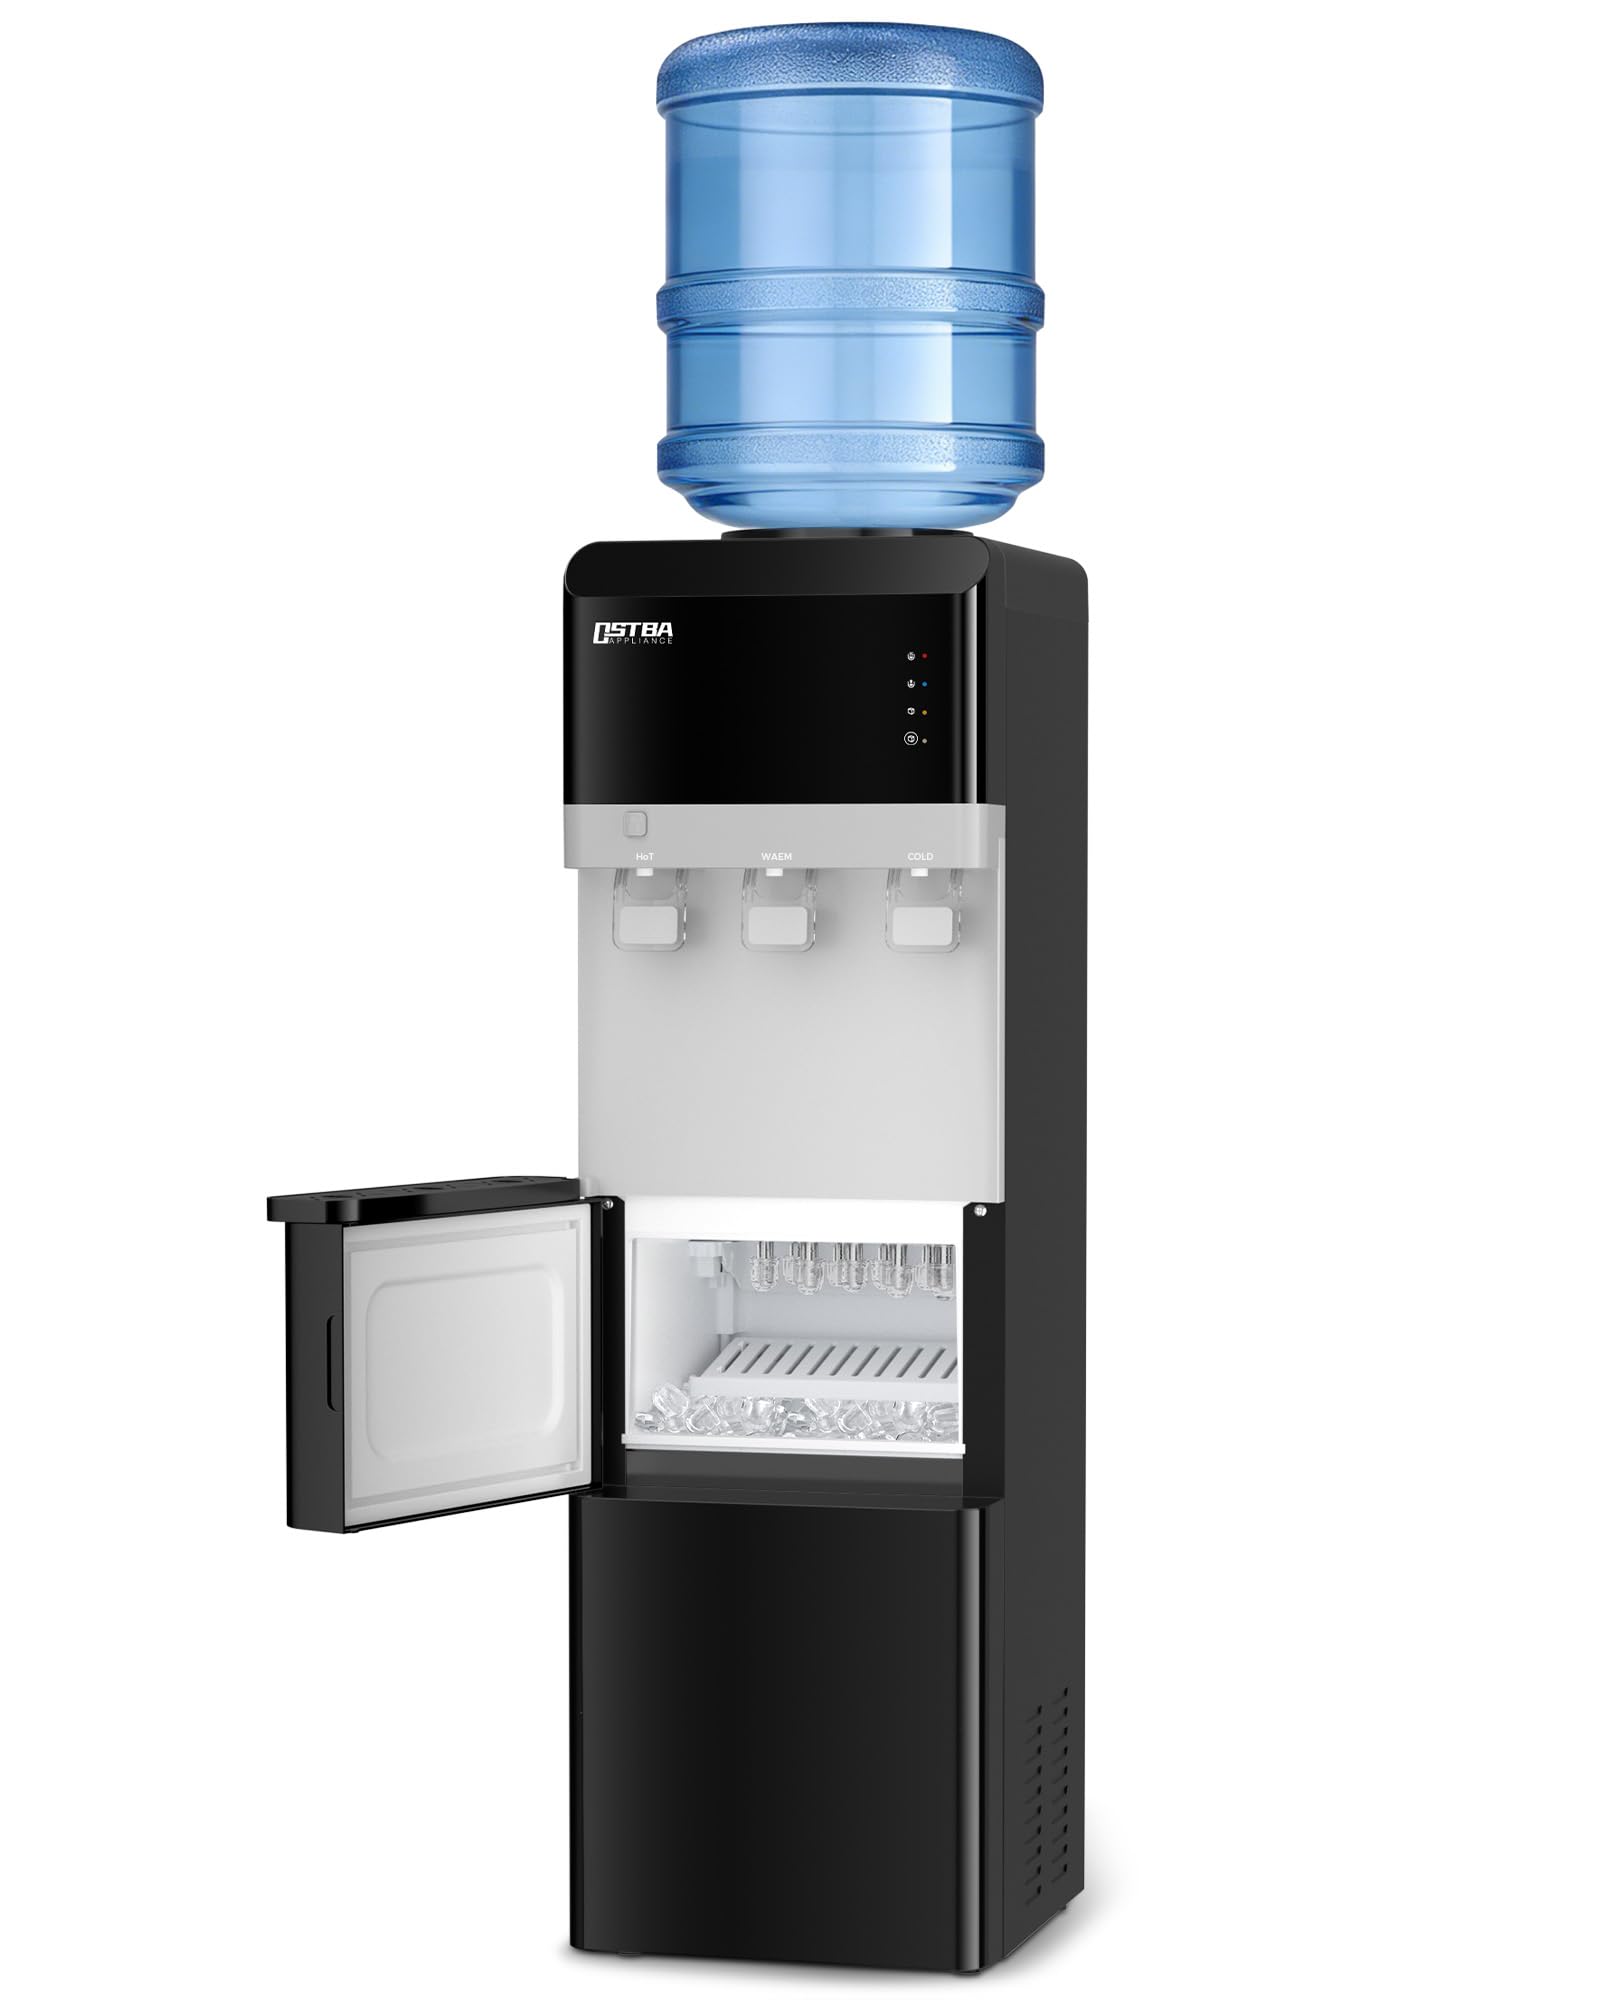
Image: The OSTBA Water Cooler Dispenser with Ice Maker, featuring a top-loaded 5-gallon water bottle, water dispensing spouts, and a lower ice maker compartment.
Safety Information
To reduce the risk of fire, electric shock, or injury, always follow basic safety precautions when using this appliance.
- Ensure the appliance is connected to a properly grounded electrical outlet.
- Do not immerse the appliance, cord, or plug in water or other liquids.
- Keep children away from the hot water dispenser to prevent burns. The hot water spout is equipped with a child safety lock.
- Do not operate the appliance with a damaged cord or plug.
- Place the appliance on a firm, level surface, away from direct sunlight and heat sources.
- Allow adequate ventilation around the appliance. Maintain at least 4 inches (10 cm) of space from walls.
- Only use 3 or 5-gallon water bottles with this dispenser.
Setup Instructions
1. Unpacking and Placement
Carefully remove the dispenser from its packaging. Place the unit upright on a flat, stable, and level surface. Ensure the area is well-ventilated and away from direct heat or sunlight. Allow the unit to stand upright for at least 2 hours before plugging it in to allow the compressor fluids to settle.
2. Initial Cleaning
Before first use, clean the water tanks and lines. Dispense and discard at least 1 liter of water from each spout (hot, cold, room temperature) to flush the system. For the ice maker, run one or two ice-making cycles and discard the ice produced.
3. Installing the Water Bottle
Remove the protective seal from the top of a new 3 or 5-gallon water bottle. Lift the bottle and carefully place it onto the top-loading support collar of the dispenser. Ensure the bottle is seated firmly and water begins to flow into the internal reservoir.
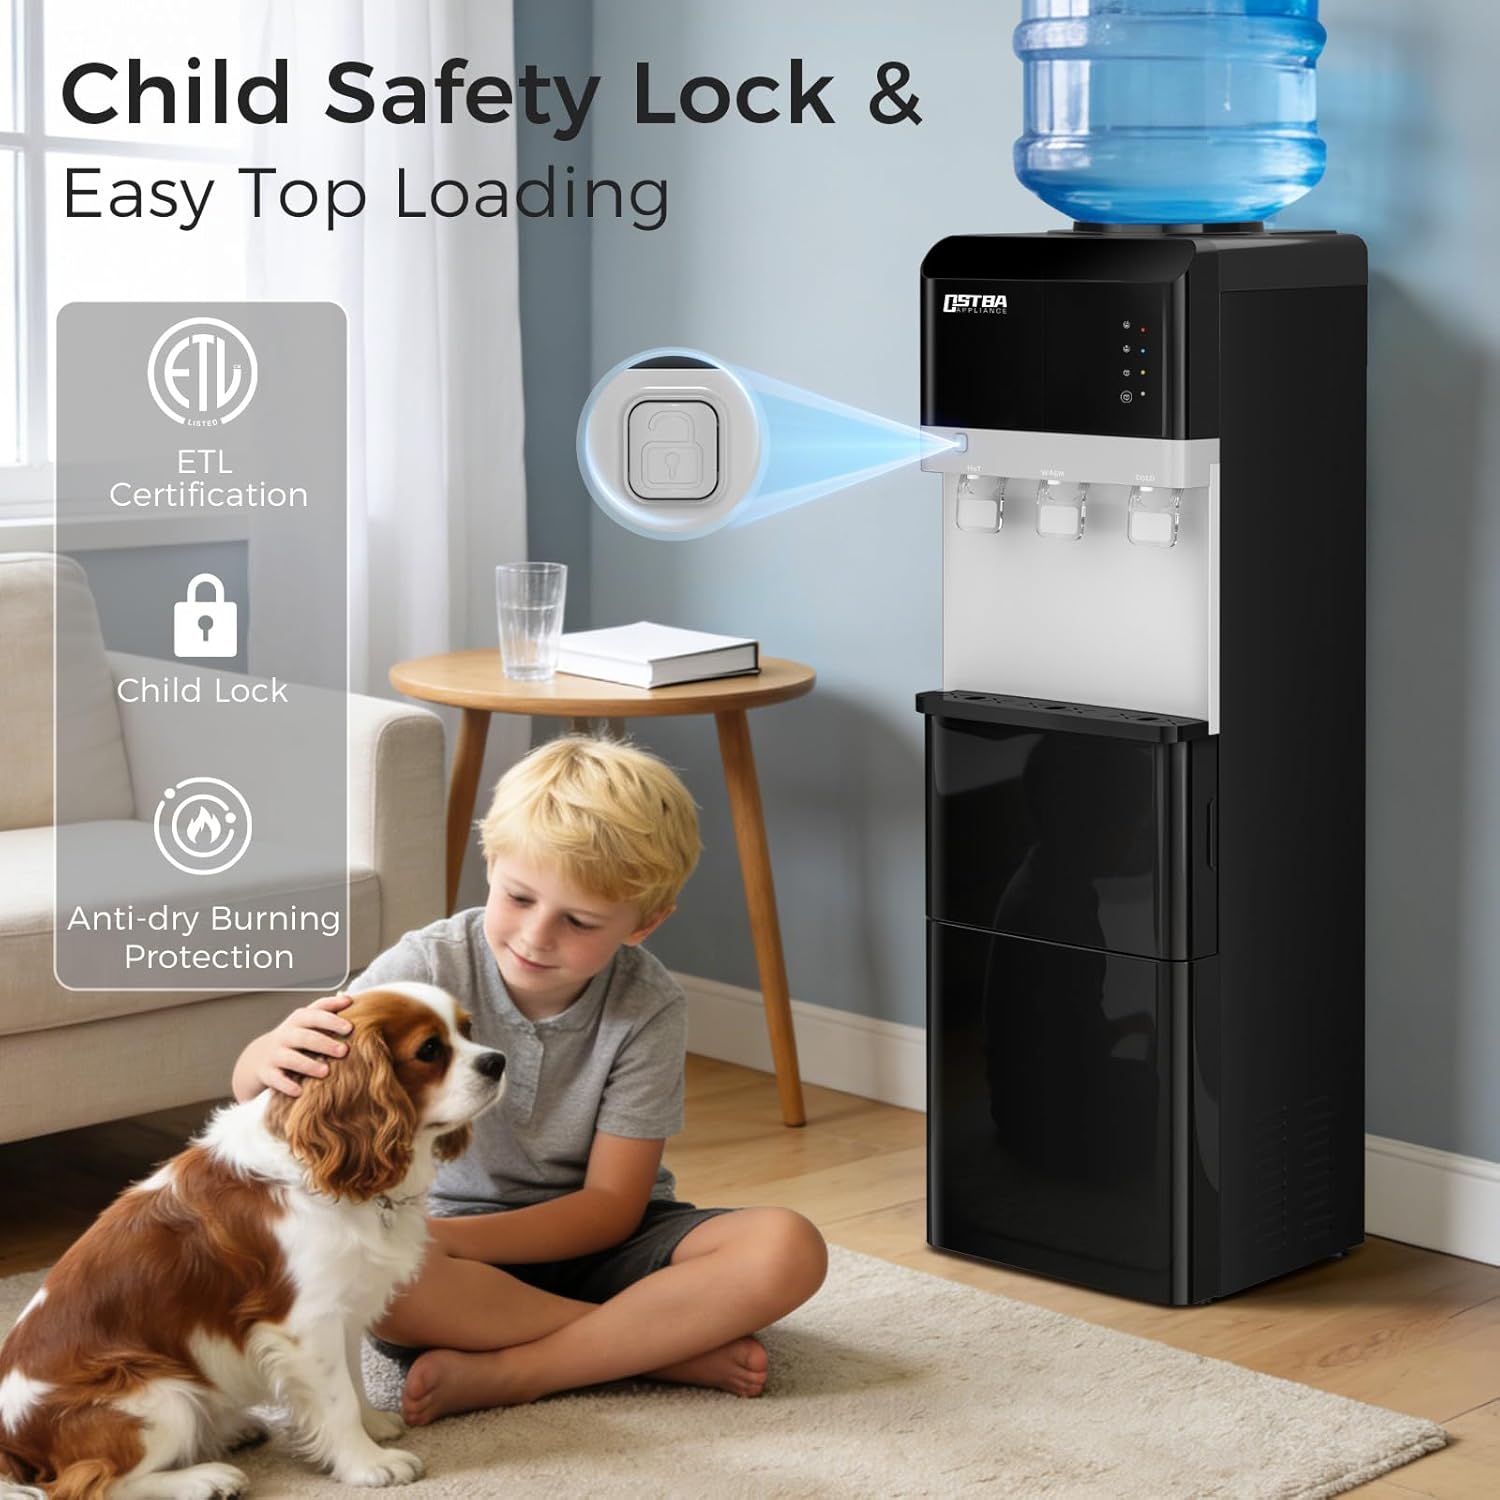
Image: A child and a dog near the water dispenser, highlighting the child safety lock feature on the hot water spout and the easy top-loading design for water bottles.
4. Power Connection
Once the water bottle is installed and the unit has settled, plug the power cord into a grounded electrical outlet. The indicator lights on the control panel will illuminate.
Operating Instructions
1. Water Dispensing
The dispenser features a touch control panel for water selection. Allow approximately 15-20 minutes for the hot and cold water to reach their optimal temperatures after initial power-on.
- Hot Water: Press the 'Hot' button. For safety, the hot water spout has a child safety lock. Press and hold the safety lock button while pressing the 'Hot' button to dispense hot water (up to 198°F / 92°C).
- Cold Water: Press the 'Cold' button to dispense cold water (down to 49°F / 9°C).
- Room Temperature Water: Press the 'Room Temp' button to dispense water at ambient temperature.

Image: A person enjoying a drink from the dispenser, illustrating the availability of cold water (as low as 49°F), room temperature water, and hot water (up to 198°F).
2. Ice Making Function
The built-in ice maker produces bullet-shaped ice. Ensure the water reservoir is filled for ice production.
- Start Ice Production: Press the 'Ice' button on the control panel. The ice indicator light will illuminate.
- Ice Production Cycle: Each cycle produces 9 bullet ice pieces in approximately 6-10 minutes.
- Ice Storage: The ice maker can produce up to 26 lbs of ice per day. The ice is stored in the lower compartment. Note that this compartment is not a freezer and ice will melt over time if not used.

Image: A close-up of the ice maker mechanism, showing 9 bullet ice pieces being formed and the ice storage bin below. Text indicates 6-10 minutes for ice-making and 26 lbs/24H production capacity.
3. Indicator Lights
The control panel features indicator lights for power, heating, cooling, and ice making status. Refer to the labels on the control panel for specific light functions.
Maintenance
Regular cleaning and maintenance ensure optimal performance and longevity of your dispenser.
1. Exterior Cleaning
Wipe the exterior surfaces with a soft, damp cloth. Do not use abrasive cleaners or solvents.
2. Drip Tray Cleaning
The drip tray should be emptied and cleaned regularly to prevent overflow and bacterial growth. Pull out the drip tray, empty any collected water, wash with mild soap and water, rinse thoroughly, and replace.

Image: A detailed view of the removable drip tray being detached from the dispenser for cleaning, with specifications for cooling rate, cold water power, and cold water capacity.
3. Internal Cleaning and Descaling
Periodically, the internal water tanks and lines should be cleaned and descaled. Unplug the unit and drain all water from the hot and cold tanks using the drain plugs located at the back of the unit. A solution of water and white vinegar (1:1 ratio) can be used to flush the system. Allow the solution to sit for 30 minutes, then drain and rinse thoroughly with fresh water several times.
4. Ice Maker Cleaning
Clean the ice maker compartment and ice scoop with a mild detergent and water. Rinse thoroughly and ensure all parts are dry before reassembly. Do not use harsh chemicals.
Troubleshooting Guide
| Problem | Possible Cause | Solution |
|---|---|---|
| No water dispensing | Water bottle empty or not properly seated. Air lock in the system. | Replace water bottle. Re-seat bottle firmly. Prime the system by pressing spouts until water flows. |
| Water not hot/cold enough | Heating/cooling switch off. Unit recently plugged in. Poor ventilation. | Ensure heating/cooling switches (if present, usually at the back) are on. Allow 15-20 minutes for temperature stabilization. Ensure adequate space around the unit. |
| No ice production | Water reservoir empty. Ice maker switch off. Ambient temperature too high. | Ensure water bottle is full and water is flowing to the ice maker. Press the 'Ice' button. Ensure unit is in a suitable environment. |
| Water leakage | Water bottle cracked or improperly seated. Drain plugs loose. | Check water bottle for cracks and proper seating. Tighten drain plugs at the back of the unit. |
Specifications
- Model Number: BYCZ582
- Brand: OSTBA
- Color: Black
- Material: Stainless Steel
- Product Dimensions (D x W x H): 12" x 14" x 41.4" (30.5 cm x 35.6 cm x 105.2 cm)
- Water Bottle Capacity: Compatible with 3 & 5 Gallon Bottles
- Hot Water Temperature: Up to 198°F (92°C)
- Cold Water Temperature: Down to 49°F (9°C)
- Ice Production Capacity: Up to 26 lbs per day
- Ice Production Cycle: Approximately 6-10 minutes per cycle (9 bullet ice pieces)

Image: A diagram showing the overall dimensions of the water cooler dispenser (40 in H x 12 in W x 13.5 in D) and measurements for the removable drip tray, ice deflector, and ice scoop.
Warranty Information
This OSTBA product is covered by a manufacturer's warranty. Please refer to the warranty card included with your purchase for specific terms, conditions, and duration. Retain your proof of purchase for warranty claims.
Customer Support
For technical assistance, troubleshooting not covered in this manual, or warranty inquiries, please contact OSTBA customer support. Contact information can typically be found on the product packaging, the official OSTBA website, or your purchase documentation.