
1. Introduction
The SOLPERK 10A 12V MPPT Solar Charge Controller (Model: HC-SM10A) is designed to efficiently manage power from your solar panel to charge 12V batteries. Utilizing Maximum Power Point Tracking (MPPT) technology, it optimizes solar energy harvesting, providing up to 100% tracking efficiency. This controller is compatible with various 12V battery types, including Sealed, AGM, Gel, Flooded, and LiFePO4 Lithium batteries, and features an intelligent 3-stage charging process to extend battery lifespan. It includes an integrated LCD display for real-time monitoring and multiple protection systems for safe operation.
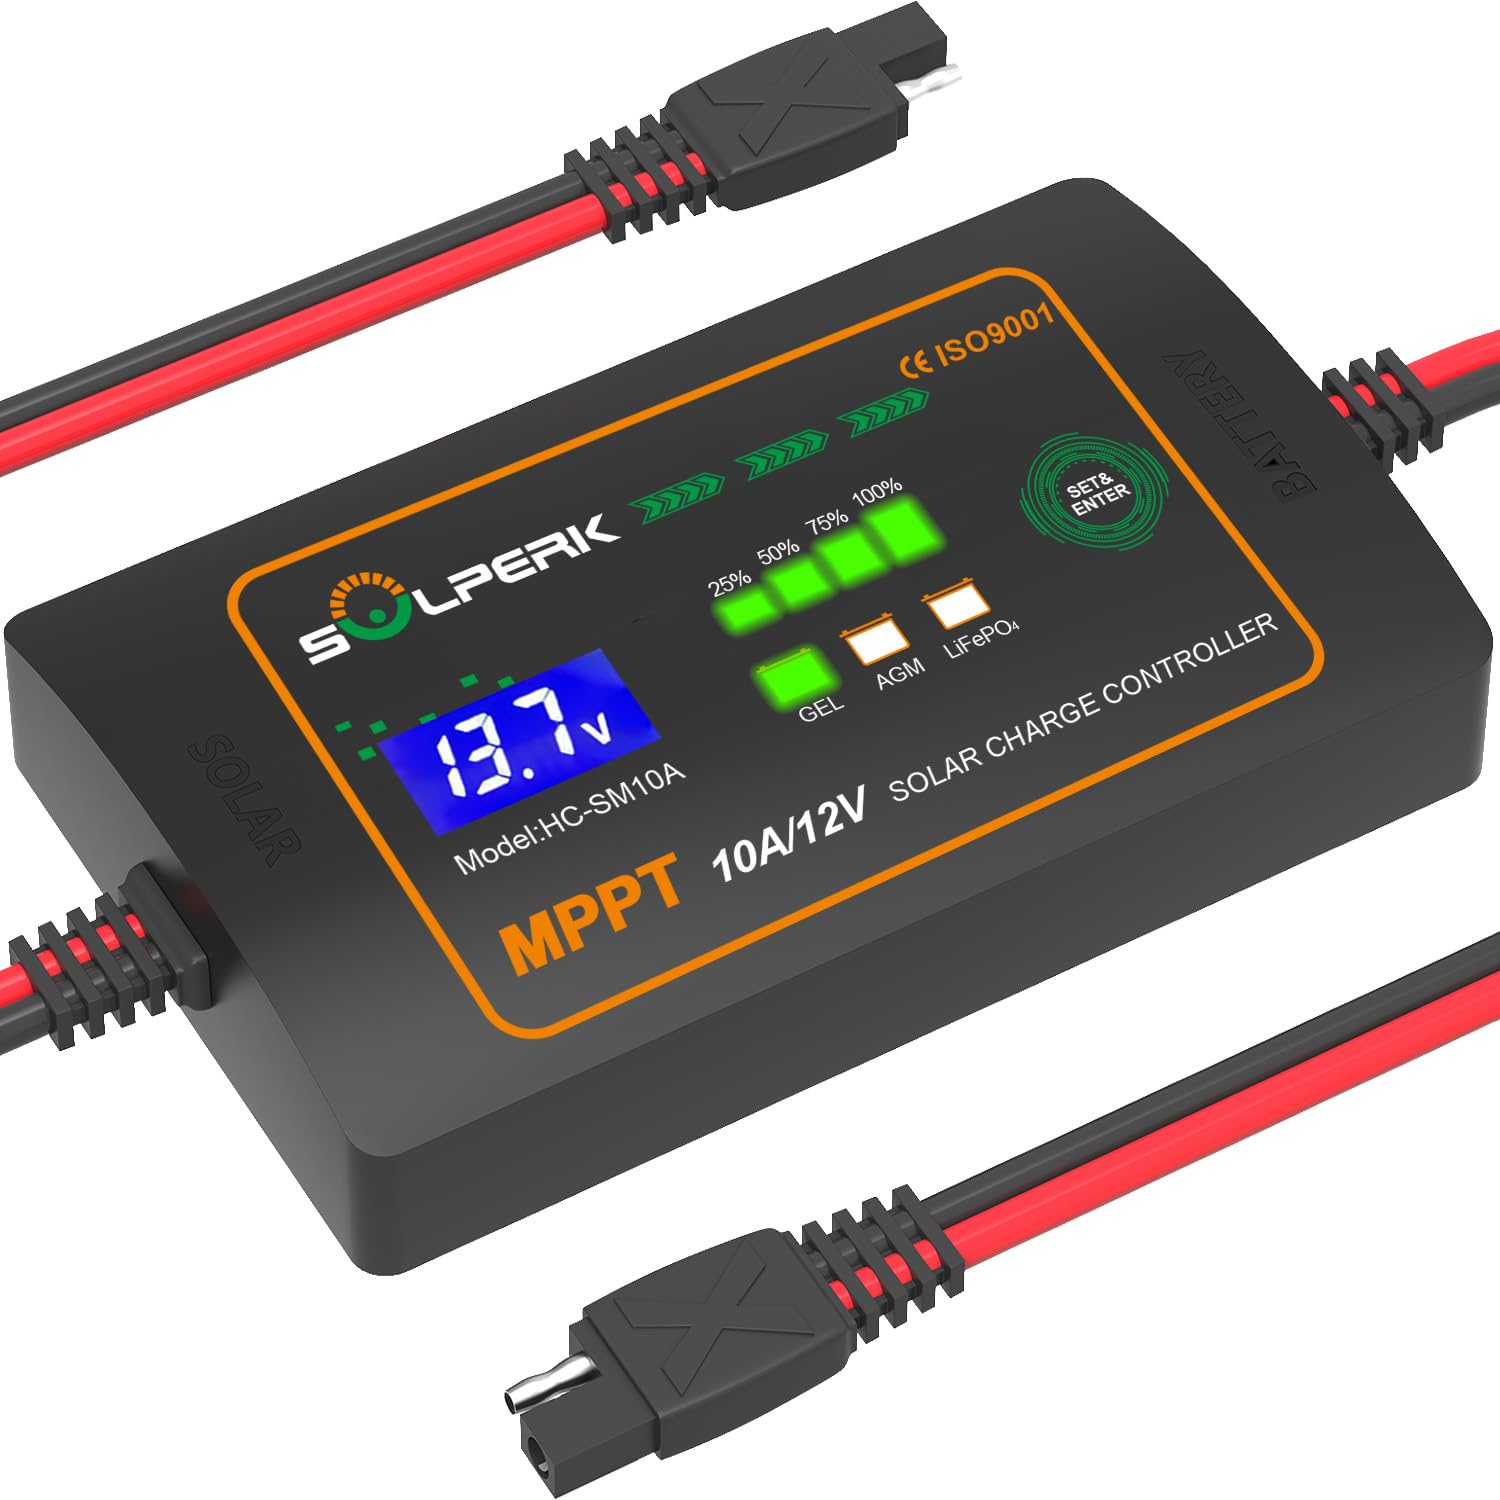
Image 1.1: The SOLPERK 10A 12V MPPT Solar Charge Controller (Model: HC-SM10A).

Image 1.2: Contents of the package, including the 10A 12V MPPT Controller, user manual, and SAE connector.
2. Safety Information
Please read and understand all safety instructions before installation and operation. Failure to follow these instructions may result in electric shock, fire, or severe injury.
- This controller is designed exclusively for 12V batteries. Do not use it with batteries of higher voltages.
- Always connect the battery to the controller first, then connect the solar panel. Disconnect in the reverse order (solar panel first, then battery).
- Ensure all connections are secure and correct polarity is observed to prevent damage to the controller and battery.
- The controller features comprehensive protection systems including Over-Charge, Over-Voltage, Short-Circuit, Reverse Polarity, and Over-Temperature protection. However, proper installation is crucial.
- Avoid exposing the controller to direct sunlight or extreme temperatures during operation to ensure optimal performance and longevity.

Image 2.1: Visual representation of the controller's safety protection features, including reverse polarity, over-charge, discharge, over-voltage, over-temperature, short circuit, over-current, and over-load prevention.
3. Setup and Installation
The SOLPERK MPPT Solar Charge Controller is designed for plug-and-play convenience with standard SAE connectors. Follow these steps for proper installation:
- Prepare Components: Ensure you have the SOLPERK 10A 12V MPPT Controller, your 12V battery, and your solar panel.
- Connect Battery: First, connect the controller to your 12V battery using the designated battery cables. Ensure correct polarity (positive to positive, negative to negative). The controller's LCD display should illuminate, indicating it has power.
- Connect Solar Panel: Next, connect your solar panel to the controller's solar input terminals. Again, observe correct polarity. The controller will begin charging the battery if sufficient sunlight is available.
- Verify Connections: Double-check all connections for tightness and correct polarity.
- Mounting (Optional): While the controller is weather-resistant (IP68-rated), consider mounting it in a location that allows for good airflow and protects it from extreme environmental conditions for prolonged lifespan.
Important: Always connect the battery first and disconnect the solar panel first when disassembling the system.

Image 3.1: Diagram illustrating the connection sequence for the solar charge controller, battery, and solar panel.
4. Operating Instructions
Once properly installed, the SOLPERK MPPT Solar Charge Controller operates automatically. The integrated LCD display and LED indicators provide essential information about your system's status.
4.1 LCD Display and Indicators
The LCD screen displays real-time data such as battery voltage and charging status. LED indicators show the battery's State of Charge (SOC) in increments (25%, 50%, 75%, 100%) and the selected battery type (GEL, AGM, LiFePO4).

Image 4.1: Close-up of the LCD display showing battery voltage and charge status indicators.
4.2 Battery Type Selection
The controller supports various 12V battery types. To select the correct battery type:
- Press the "SET & ENTER" button on the controller.
- Cycle through the available battery types (GEL, AGM, LiFePO4) until your battery type is highlighted or selected.
- The controller will automatically adjust its 3-stage charging algorithm (Boost, Absorption, Float) to optimize charging for the selected battery type, which helps in extending battery lifespan.
4.3 MPPT Technology
The Maximum Power Point Tracking (MPPT) technology ensures that the controller extracts the maximum possible power from your solar panel under varying conditions. This results in faster charging compared to traditional PWM controllers.

Image 4.2: Comparison illustrating the higher efficiency of MPPT controllers over PWM controllers, showing up to 100% tracking efficiency.
5. Maintenance
The SOLPERK MPPT Solar Charge Controller is designed for durability and minimal maintenance. However, periodic checks can ensure optimal performance and longevity.
- Visual Inspection: Regularly inspect the controller and all connections for any signs of damage, corrosion, or loose wiring.
- Cleanliness: Keep the controller clean and free from dust and debris. Use a dry, soft cloth for cleaning. Do not use harsh chemicals or abrasive materials.
- Environmental Conditions: Although IP68-rated for water and dust resistance, avoid prolonged exposure to extreme conditions beyond its operating specifications.
- Cable Integrity: Ensure that all cables are intact and not frayed or damaged.
6. Troubleshooting
If you encounter issues with your SOLPERK MPPT Solar Charge Controller, refer to the following common problems and solutions:
| Problem | Possible Cause | Solution |
|---|---|---|
| Controller display is off / No power | Battery not connected or low voltage; loose battery connection; reverse polarity. | Ensure battery is connected first and has sufficient charge. Check battery connections for tightness and correct polarity. |
| Battery not charging | No solar input; solar panel disconnected or shaded; incorrect solar panel polarity; faulty solar panel. | Check solar panel connections and ensure it is receiving adequate sunlight. Verify solar panel polarity. Test solar panel output. |
| Charging current is low | Insufficient sunlight; solar panel partially shaded; battery is already near full charge. | Ensure solar panel is in full sunlight. Clear any obstructions. This is normal behavior as the battery approaches full charge. |
| Incorrect battery type displayed | Battery type not correctly selected. | Press the "SET & ENTER" button to cycle and select the correct battery type for your system. |
| Controller feels hot | Normal operation under heavy load; poor ventilation; ambient temperature too high. | Ensure adequate airflow around the controller. If ambient temperature is very high, consider relocating or providing shade. The controller has over-temperature protection. |
| Wiring appears reversed (as per some user feedback) | Manufacturing anomaly or misinterpretation of standard wiring. | Always verify polarity with a multimeter before making final connections. If you suspect reversed internal wiring, contact SOLPERK support immediately. Do not attempt to modify the internal wiring yourself. |
If the problem persists after attempting these solutions, please contact SOLPERK customer support.
7. Specifications
| Feature | Detail |
|---|---|
| Model | HC-SM10A |
| Brand | SOLPERK |
| Charging Technology | MPPT (Maximum Power Point Tracking) |
| System Voltage | 12V |
| Max Charging Current | 10A |
| Max Solar Input Voltage (Voc) | 30V |
| Battery Compatibility | Sealed, AGM, Gel, Flooded, LiFePO4 Lithium |
| Charging Stages | 3-stage (Boost, Absorption, Float) |
| Display Type | LCD |
| Protection Features | Over-Charge, Over-Voltage, Short-Circuit, Reverse Polarity, Over-Temperature, Over-Current, Over-Load Prevention |
| Waterproof Rating | IP68 |
| Product Dimensions (L x W x H) | 5.11" x 2.76" x 1.18" |
| Material | Plastic |
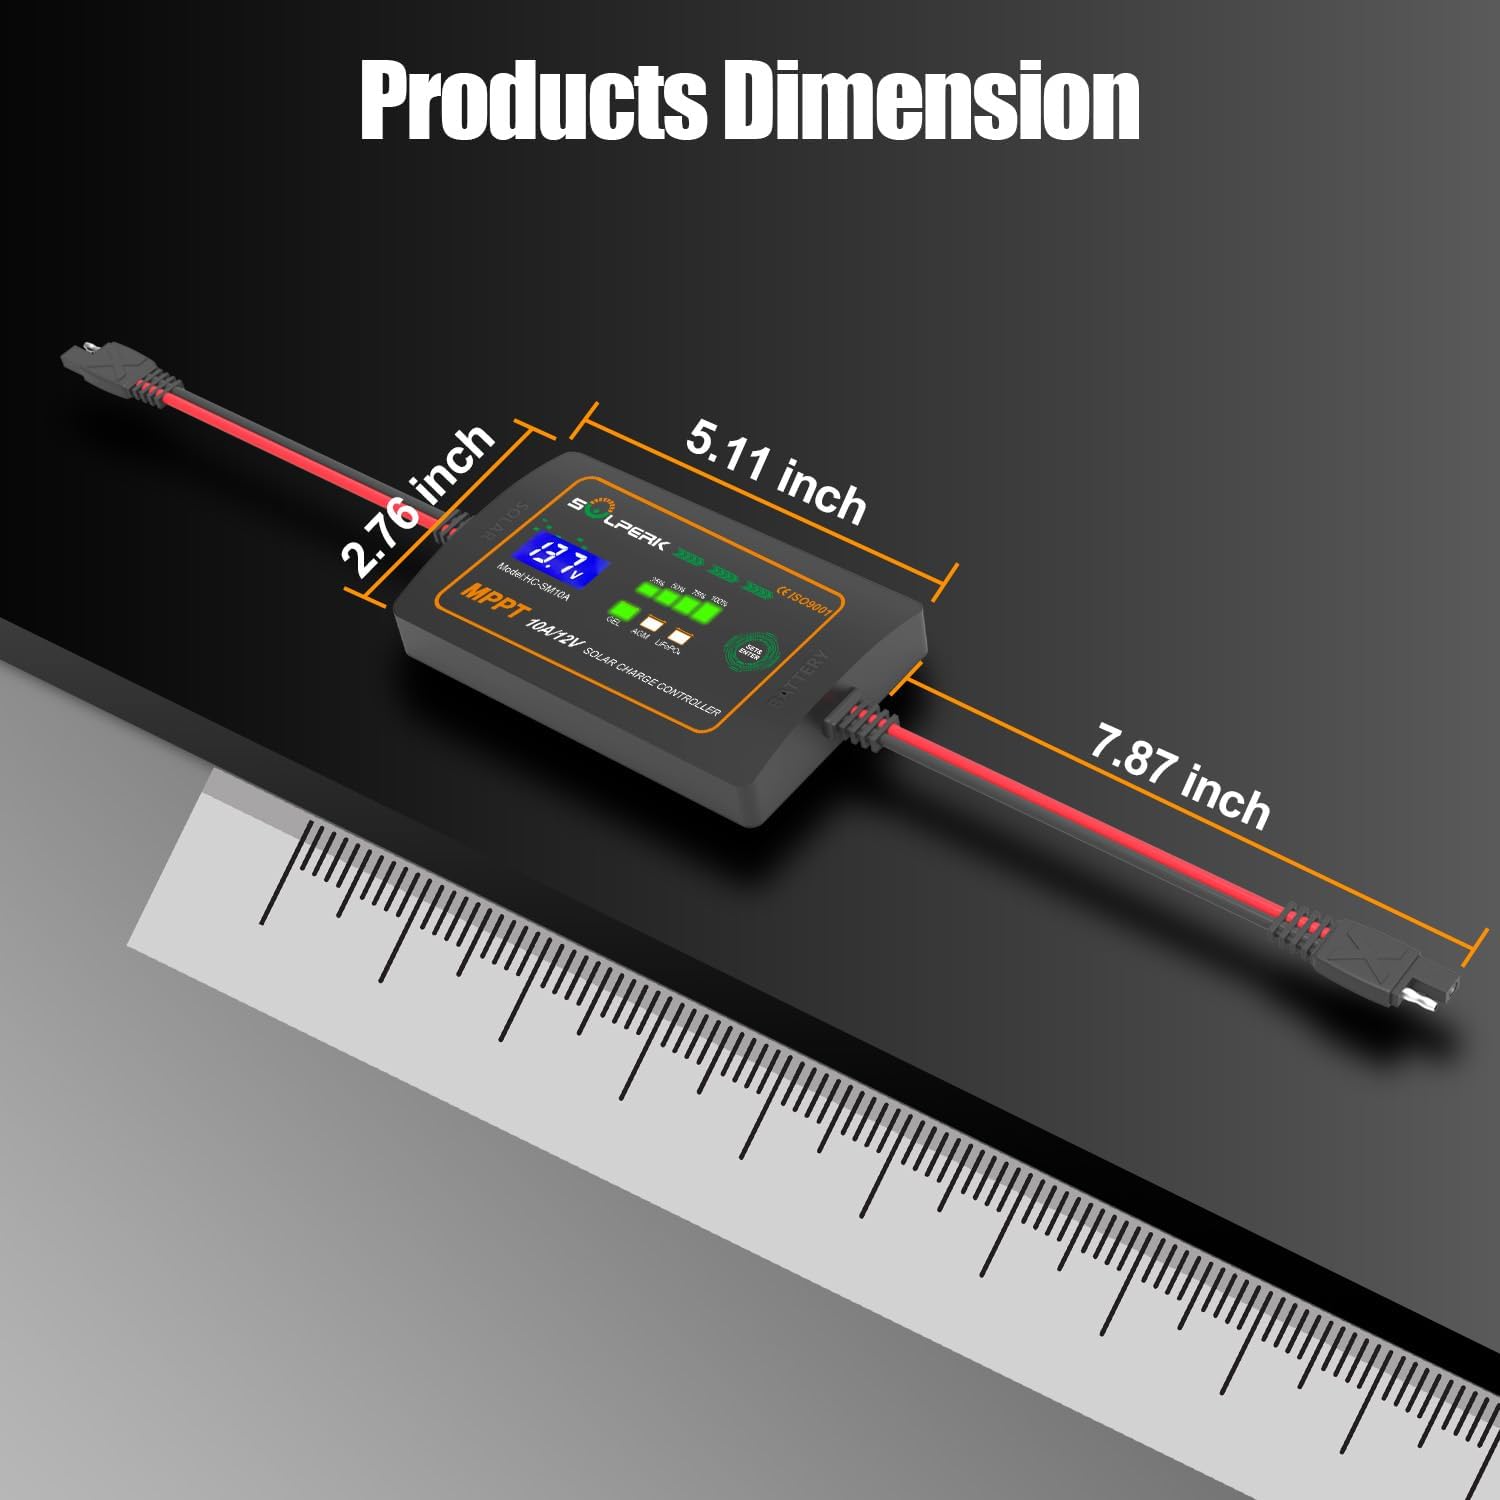
Image 7.1: Diagram showing the physical dimensions of the SOLPERK MPPT Solar Charge Controller.
8. Warranty and Support
8.1 Warranty Information
The SOLPERK 10A 12V MPPT Solar Charge Controller comes with a 5-year warranty from the date of purchase. This warranty covers defects in materials and workmanship under normal use. It does not cover damage caused by improper installation, misuse, accidents, or unauthorized modifications.
8.2 Customer Support
For any questions, technical assistance, or warranty claims, please contact the SOLPERK service team. You can typically reach them via the Amazon messaging system or through the official SOLPERK website. Please have your product model (HC-SM10A) and purchase details ready when contacting support.