
Introduction
Thank you for choosing the Ecarke Battery Backpack Sprayer. This manual provides essential information for the safe and efficient operation, maintenance, and troubleshooting of your new sprayer. Please read it thoroughly before first use and keep it for future reference.
This 4.2-gallon capacity sprayer is designed for various applications, including gardening, lawn care, and other liquid dispensing tasks. It features an adjustable pressure range from 0 to 100 PSI, an automatic mixing function, and is compatible with Dewalt 20V batteries (battery not included).
Important Note on Factory Water: Every Ecarke sprayer undergoes a 100% water-testing process before shipment to ensure leak-proof performance. Any residual moisture inside the tank confirms that your unit has passed this inspection and is brand new, not used. Simply rinse the tank with clean water before its first operational use.

Figure 1: Overview of Ecarke Sprayer User-Friendly Design Features
Safety Information
General Safety Rules
- Read and understand all instructions before operating the sprayer.
- Wear appropriate personal protective equipment (PPE), including eye protection, gloves, and a mask, especially when handling chemicals.
- Keep children and pets away from the spraying area.
- Do not modify the sprayer or use it for purposes other than its intended use.
- Ensure all connections are secure before operation to prevent leaks.
Battery Safety
- This sprayer is compatible with Dewalt 20V batteries. Do not attempt to use other battery types.
- The battery and charger are not included with this product.
- Always remove the battery when the sprayer is not in use, during cleaning, or before performing any maintenance.
- Do not expose the battery or sprayer to water, rain, or extreme temperatures.
- If the battery is damaged, do not use it. Dispose of batteries according to local regulations.
Chemical Safety
- Always follow the chemical manufacturer's instructions and safety warnings for mixing, handling, and application.
- Do not spray flammable, corrosive, or highly viscous liquids.
- Avoid inhaling spray mist. Work in well-ventilated areas.
- Clean up spills immediately and dispose of chemical waste properly.
Package Contents
Verify that all items are present in your package:
- Ecarke Battery Backpack Sprayer Unit
- Instruction Guide (this manual)
- Telescopic Metal Wand (42 inches)
- Hose Assembly
- Shoulder Straps with Lumbar Support
- 6 Interchangeable Nozzles:
- Fan-flat nozzle
- Single head misting nozzle
- 2-in-1 mist to stream by twist nozzle
- Double head misting head
- Brass nozzle (straight stream to mist)
- Shower head nozzle
Setup
1. Battery Installation
The sprayer is designed to be compatible with Dewalt 20V batteries. Ensure the battery is fully charged before installation.
- Locate the battery compartment on the side of the sprayer.
- Open the compartment cover by pulling the latch forward and then lifting upward.
- Insert a compatible Dewalt 20V battery into the slot, ensuring it clicks securely into place.
- Close the battery compartment cover.

Figure 2: Battery Installation
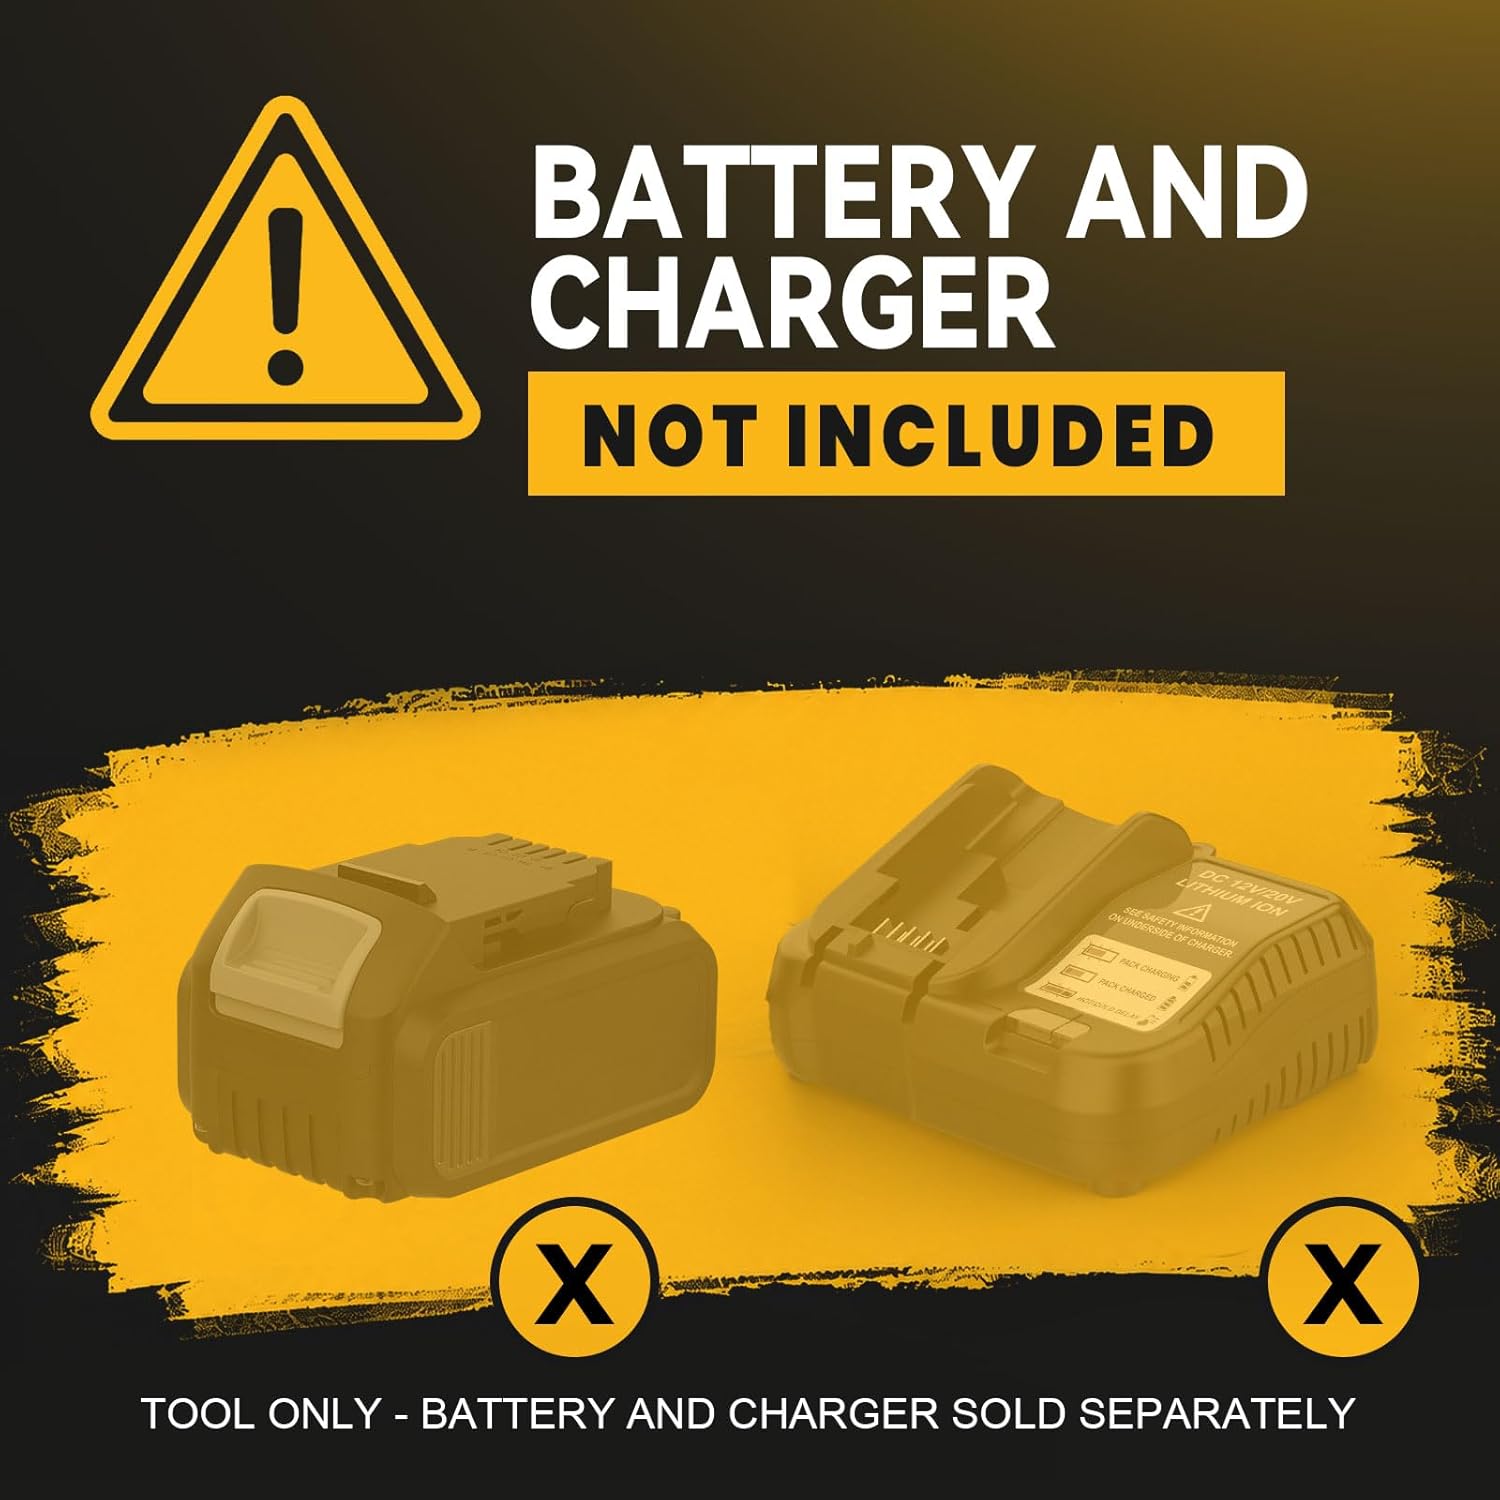
Figure 3: Battery and Charger Not Included
2. Hose and Wand Assembly
Assemble the hose and telescopic wand as follows:
- Connect one end of the hose assembly to the outlet port on the sprayer unit. Twist clockwise until secure.
- Connect the other end of the hose to the handle of the telescopic wand.
- Attach the telescopic metal wand to the handle. Ensure the metal interface is tightly secured to prevent leaks.
Video 1: Detailed instructions on how to install the hose and wand for the Ecarke Backpack Sprayer.
Video 2: General installation guide for the Ecarke Backpack Sprayer, demonstrating hose and wand setup.

Figure 4: Leak-Proof Metal Wand Connection
3. Nozzle Attachment
Select the appropriate nozzle for your application and attach it to the end of the telescopic wand. Twist firmly to secure. The sprayer comes with 6 interchangeable nozzles for various spray patterns.

Figure 5: Nozzle Types and Variable Pressure Control
4. Filling the Tank
Before filling, ensure the sprayer is on a stable, level surface and the battery is removed.
- Unscrew the wide-mouth lid from the top of the tank.
- Carefully pour your desired liquid (water, fertilizer, herbicide, etc.) into the tank. Do not overfill past the 4.2-gallon mark.
- Securely replace the lid, ensuring a tight seal to prevent leaks.
Operating Instructions
1. Powering On/Off
Once the battery is installed and the tank is filled, you can power on the sprayer.
- To power on, locate the main power switch (usually green) on the control panel and flip it to the 'ON' position.
- The digital voltage display will show the real-time battery power. The system includes a 2.3V over-discharge auto shut-off to protect battery life.
- To power off, flip the main power switch to the 'OFF' position.
2. Adjusting Pressure
The sprayer offers dual-mode pressure control:
- The green switch defaults to 100 PSI for maximum pressure.
- To adjust pressure between 0-100 PSI, rotate the dedicated knob on the control panel. This allows you to fine-tune the spray from a fine mist to a powerful jet, depending on your needs.
3. Using the Auto Mixing Function
The exclusive one-touch auto-mixing button ensures consistent solution concentration.
- Press the mixing button (usually red) on the control panel to activate the internal mixer.
- This function instantly blends powders, liquids, and concentrates evenly, preventing sediment buildup and ensuring uniform application.
- Deactivate the mixer when not needed to conserve battery power.

Figure 6: Auto Mixing Feature in Operation
4. Spraying
To begin spraying:
- Ensure the sprayer is powered on and the desired pressure is set.
- Aim the nozzle at the target area.
- Squeeze the trigger on the wand handle to start spraying.
- For continuous spraying, engage the trigger lock mechanism on the handle. Release the lock to stop.
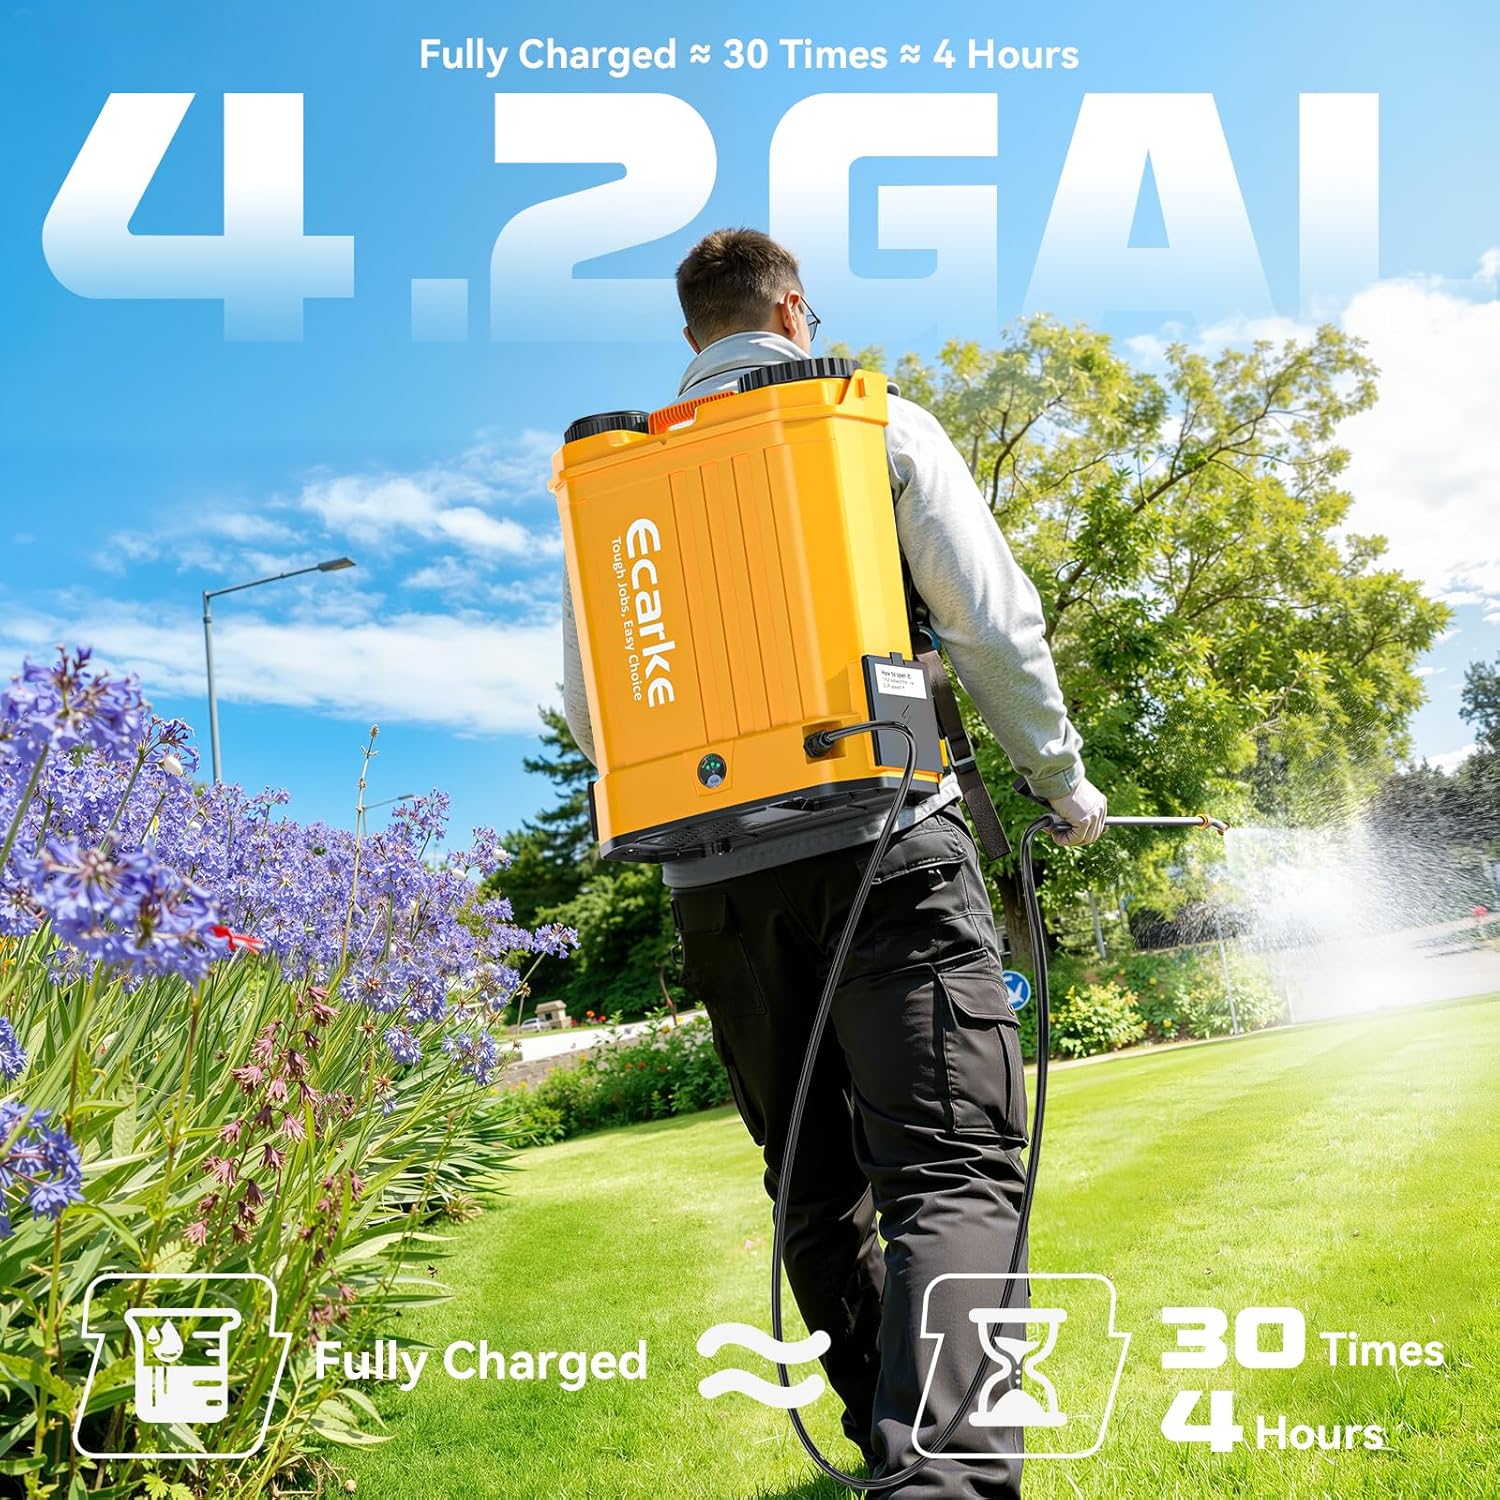
Figure 7: Sprayer in Use
5. Ergonomic Harness Adjustment
The sprayer is equipped with padded shoulder straps and waist support for comfort during extended use.
- Adjust the shoulder straps to distribute the weight evenly across your shoulders.
- Utilize the waist support to reduce strain on your back.
- Ensure the sprayer sits comfortably and securely on your back.

Figure 8: Ergonomic Harness for Reduced Strain
Maintenance
1. Cleaning After Each Use
Proper cleaning extends the life of your sprayer and prevents cross-contamination of chemicals.
- Remove the battery from the sprayer.
- Empty any remaining liquid from the tank. Dispose of chemicals according to their manufacturer's instructions and local regulations.
- Rinse the tank thoroughly with clean water.
- Fill the tank with clean water and spray it through the wand and nozzle for several minutes to flush the pump and hose.
- Clean the exterior of the sprayer with a damp cloth.
2. Nozzle Care
Regular cleaning of nozzles prevents clogging and ensures consistent spray patterns.
- If a nozzle becomes clogged, remove it from the wand and clean it with water and a small brush or pin.
- Store unused nozzles in the built-in storage compartment to keep them organized and prevent loss.
3. Storage
When not in use, store the sprayer in a cool, dry, and well-ventilated area, away from direct sunlight and freezing temperatures.
- Always remove the battery before storing.
- Ensure the tank is empty and clean.
- Store the wand and hose neatly to prevent kinks or damage.
Troubleshooting
This section addresses common issues you might encounter with your Ecarke Battery Backpack Sprayer.
| Problem | Possible Cause | Solution |
|---|---|---|
| Sprayer does not turn on | Battery not installed correctly; Battery discharged; Power switch off | Ensure battery is fully inserted; Charge battery; Turn power switch to 'ON' |
| No spray or low pressure | Clogged nozzle; Clogged filter; Low battery; Air in system; Loose connections | Clean nozzle; Clean tank filter; Charge battery; Prime pump by spraying water; Tighten all connections |
| Leaking from connections | Loose connections; Damaged O-rings/seals | Tighten all hose and wand connections; Inspect and replace damaged O-rings/seals |
| Auto-mixer not functioning | Obstruction in mixer; Mixer motor issue | Check for and remove any obstructions in the tank; Contact customer support if issue persists |
Specifications
| Feature | Specification |
|---|---|
| Brand | Ecarke |
| Model Name | PWQZ011D0A01 |
| Tank Volume | 4.2 Gallons |
| Power Source | Battery Powered (Compatible with Dewalt 20V) |
| Maximum Pressure | 100 PSI |
| Adjustable Pressure Range | 0-100 PSI |
| Hose Length | 42.9 Inches |
| Wand Length | Up to 42 Inches (Telescopic) |
| Material | Plastic (Tank), Stainless Steel (Wand) |
| Item Dimensions (W x H) | 7.68"W x 18.9"H |
| Included Components | Instruction Guide, 6 Nozzles, Shoulder Strap |
Warranty and Support
Ecarke is committed to providing high-quality products and excellent customer service.
- Warranty: Your Ecarke Battery Backpack Sprayer is covered by a 1-year warranty from the date of purchase. This warranty covers manufacturing defects under normal use.
- Customer Support: We offer 24/7 customer support to assist you with any questions, concerns, or issues you may encounter.
- Lifetime Customer Support: Ecarke provides lifetime customer support for your product, ensuring assistance is available throughout its lifespan.
For warranty claims or technical assistance, please contact Ecarke customer service through the retailer's platform or visit our official website.