1. Introduction
Thank you for choosing the Wenoker Magnetic Stationary Exercise Bike. This manual provides essential information for the safe assembly, operation, maintenance, and troubleshooting of your new fitness equipment. Please read this manual thoroughly before use and retain it for future reference.
2. Important Safety Information
- Consult a physician before starting any exercise program.
- Ensure all parts are securely fastened before each use.
- Keep children and pets away from the equipment during operation.
- Place the bike on a flat, stable surface. Use a mat to protect flooring.
- The maximum user weight capacity is 300 pounds (136 kg).
- Wear appropriate exercise attire and footwear.
- Stop exercising immediately if you feel faint, dizzy, or experience pain.
- Use the emergency brake to stop the flywheel quickly if needed.
3. Package Contents
Carefully unpack all components and ensure you have the following parts:
- Main Frame Assembly
- Front Stabilizer
- Rear Stabilizer
- Seat Post and Seat
- Handlebar Post and Handlebars
- Left and Right Pedals
- LCD Monitor
- Hardware Kit (bolts, washers, nuts, tools)
- User Manual
If any parts are missing or damaged, please contact customer support.
4. Assembly and Setup
The Wenoker Exercise Bike arrives approximately 80% pre-assembled. Most users can complete the setup in about 20 minutes by following these steps:
- Attach Stabilizers: Secure the front and rear stabilizers to the main frame using the provided bolts and washers. Ensure they are tightened firmly for stability.
- Install Pedals: Identify the left (L) and right (R) pedals. The left pedal tightens counter-clockwise, and the right pedal tightens clockwise. Ensure they are fully threaded and tight.
- Mount Seat: Insert the seat post into the main frame and secure it at your desired height. Attach the seat to the seat post.
- Attach Handlebars: Insert the handlebar post into the main frame. Attach the handlebars to the post and secure them.
- Connect Monitor: Connect the sensor wires from the main frame to the LCD monitor. Mount the monitor onto the handlebar assembly.

5. Adjustments for Comfort
Proper adjustment of the seat and handlebars is crucial for comfort and effective workouts.
- Seat Adjustment: The seat can be adjusted 4 ways (up/down and forward/backward). Loosen the adjustment knob, slide the seat to your desired position, and tighten the knob securely. Your knees should have a slight bend at the bottom of the pedal stroke.
- Handlebar Adjustment: The handlebars can be adjusted 2 ways (up/down). Loosen the adjustment knob, raise or lower the handlebars to a comfortable height, and tighten the knob. Your back should be straight and your arms slightly bent.

6. Operating Instructions
6.1. LCD Monitor Functions
The digital display tracks your workout data in real-time:
- SCAN: Automatically cycles through all functions.
- TIME: Displays your workout duration.
- SPEED: Shows your current cycling speed.
- DISTANCE: Tracks the distance covered during your workout.
- CALORIES: Estimates calories burned.
- ODOMETER: Records total accumulated distance.

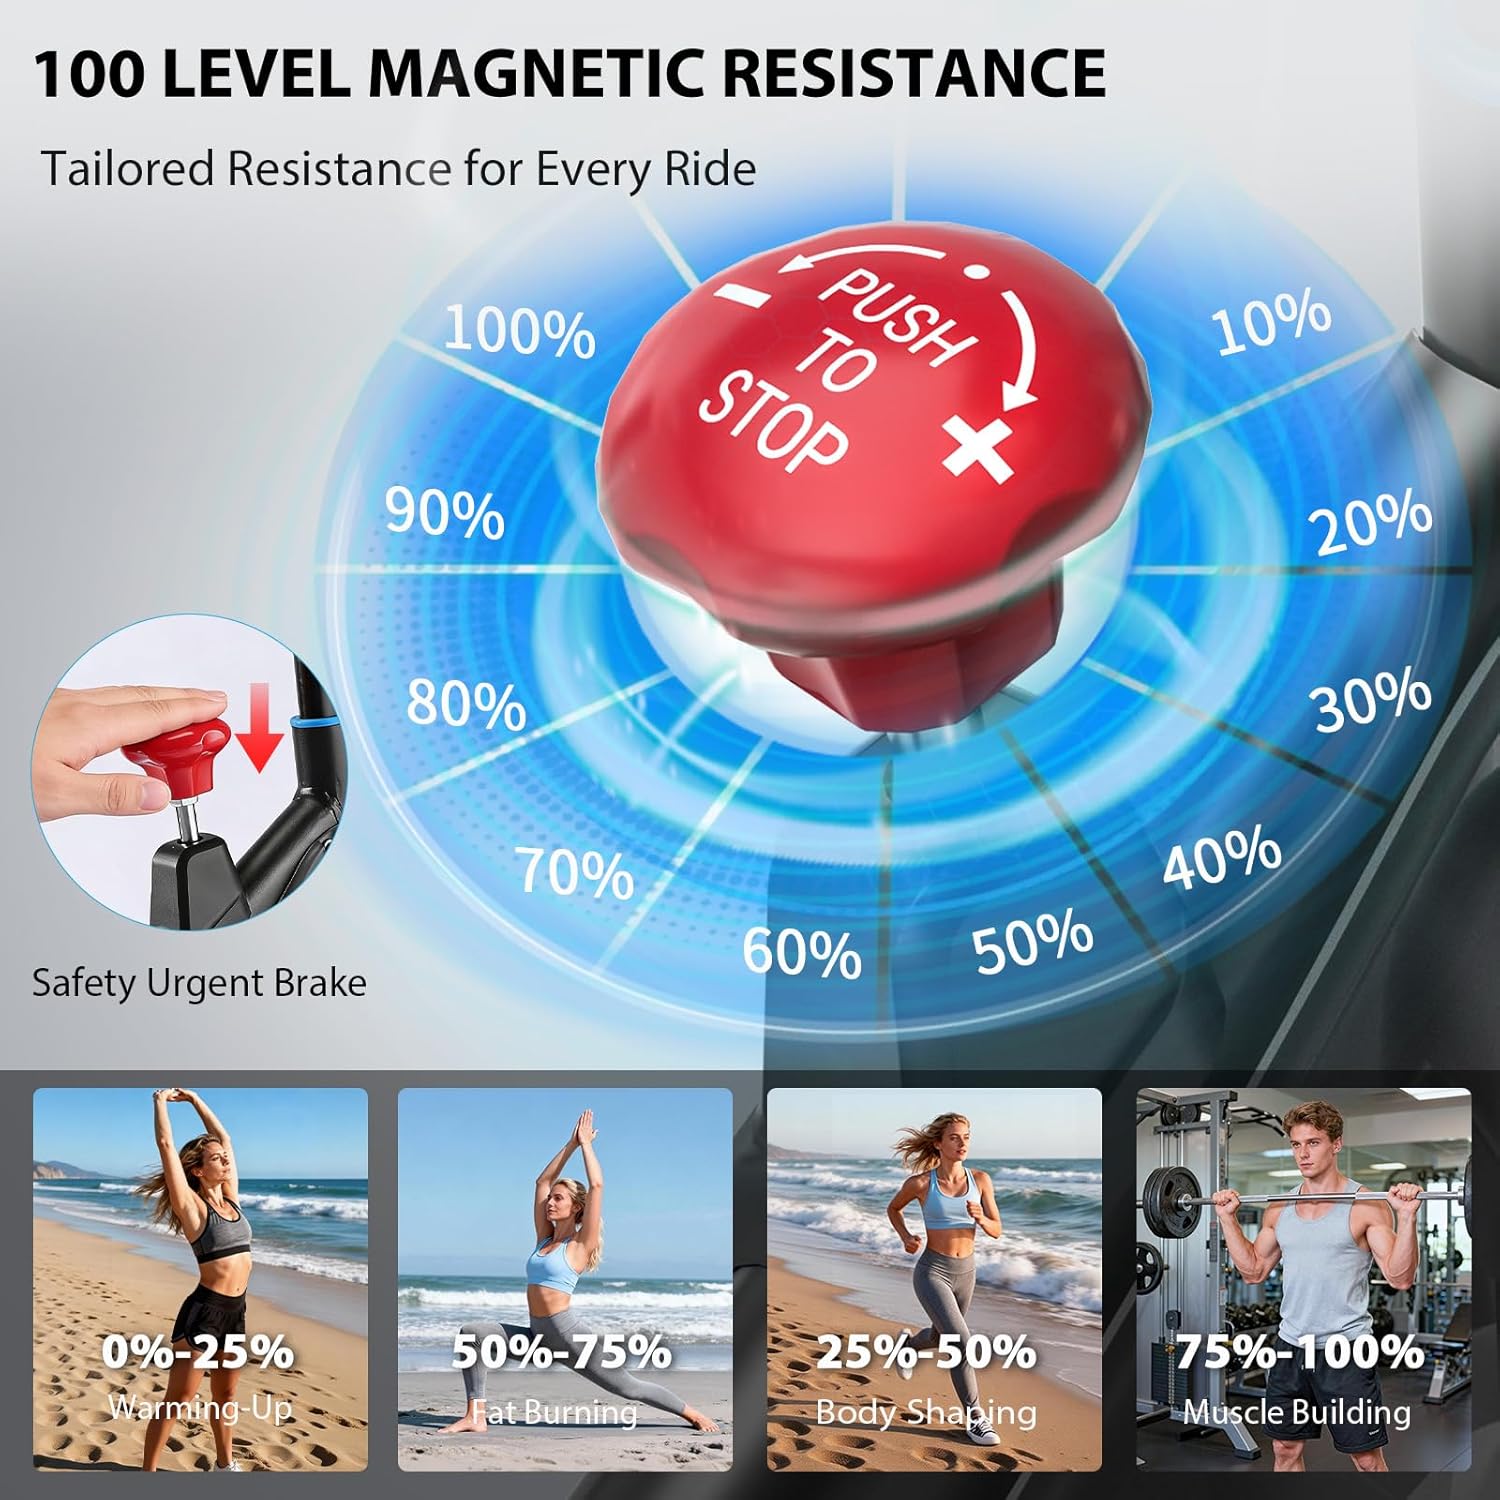
6.2. Adjusting Magnetic Resistance
The bike features 100 levels of micro-adjustable magnetic resistance. Turn the red dial clockwise to increase resistance and counter-clockwise to decrease it. Push the dial down to activate the emergency brake and stop the flywheel instantly.
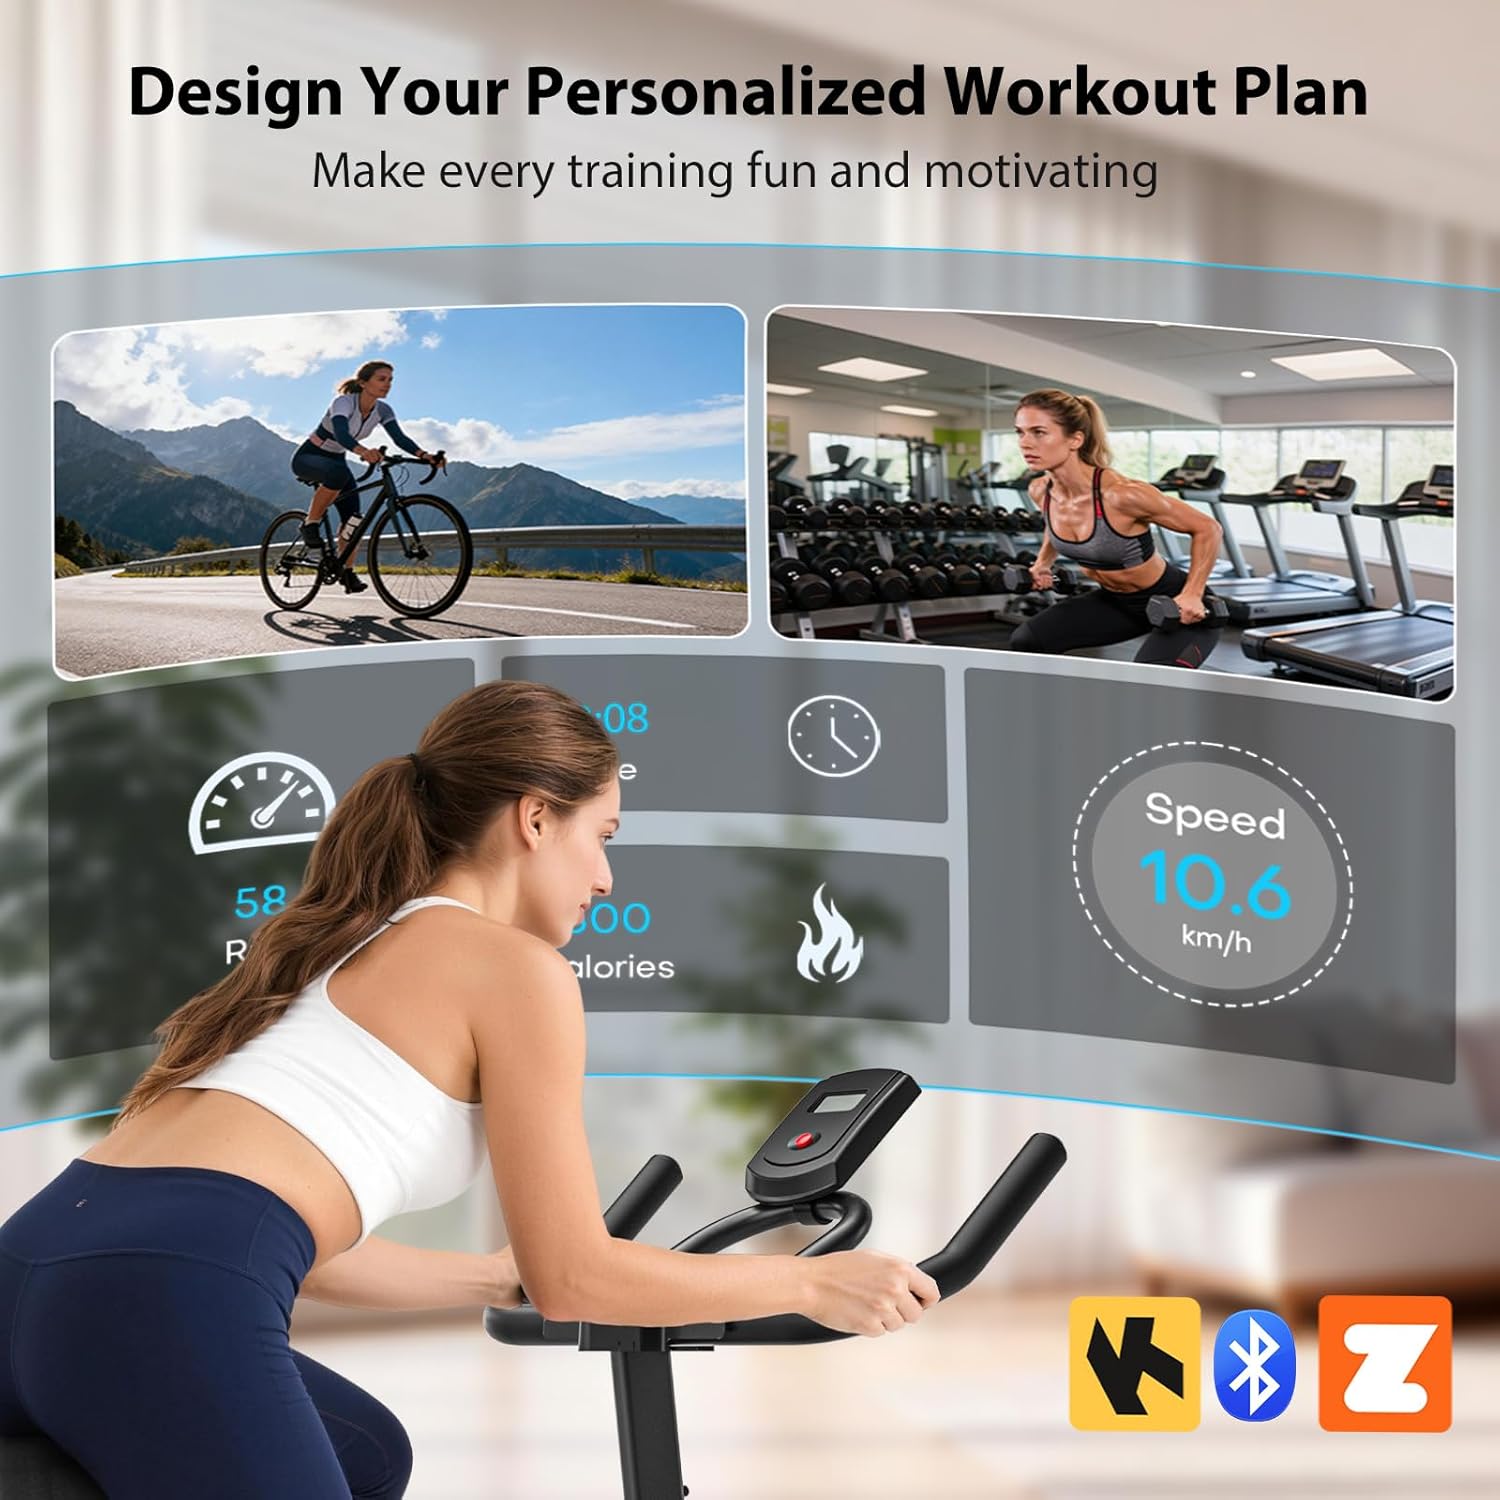
6.3. App Connectivity
This exercise bike is compatible with popular fitness apps like Zwift and Kinomap via Bluetooth. To connect:
- Ensure Bluetooth is enabled on your smartphone or tablet.
- Download and open your preferred fitness app (e.g., Zwift, Kinomap).
- Follow the app's instructions to pair with the Wenoker Exercise Bike. The bike will typically appear as a 'Smart Trainer' or 'Cadence Sensor'.
- Once connected, the app will display your workout data and allow you to participate in interactive training sessions.
6.4. Video Demonstration
For a visual guide on setup and basic operation, please refer to the official product video:
Video: Official product overview demonstrating key features and usage of the Wenoker Magnetic Stationary Exercise Bike.
7. Maintenance
Regular maintenance ensures the longevity and optimal performance of your exercise bike.
- Cleaning: Wipe down the bike with a damp cloth after each use to remove sweat and dust. Avoid abrasive cleaners.
- Check Connections: Periodically check all bolts, nuts, and screws to ensure they are tight. Tighten any loose connections.
- Belt Drive: The silent belt drive system is designed for low maintenance and does not require lubrication.
- Storage: When not in use, store the bike in a dry, cool place away from direct sunlight. The transport wheels allow for easy relocation.
8. Troubleshooting
If you encounter issues with your Wenoker Exercise Bike, refer to the following common problems and solutions:
| Problem | Possible Cause | Solution |
|---|---|---|
| LCD monitor not displaying data | Loose sensor cable connection, dead batteries | Check and secure all cable connections. Replace batteries in the monitor. |
| Unusual noise during operation | Loose bolts, unstable placement | Check and tighten all assembly bolts. Ensure the bike is on a flat, stable surface. |
| Resistance not changing | Resistance mechanism issue | Ensure the resistance dial is functioning correctly. If the issue persists, contact customer support. |
| Difficulty connecting to fitness apps | Bluetooth off, app permissions, bike not active | Ensure Bluetooth is on. Grant necessary app permissions. Start pedaling to activate the bike's Bluetooth signal. |
For issues not listed here, please contact Wenoker customer support.
9. Product Specifications
- Brand: Wenoker
- Model: B0G4CXHG3R
- Special Features: App Compatible, Magnetic Resistance, Ultra Smooth, Quiet, Heavy Duty, Thickened Steel Frame, Adjustable Seat, Digital Display, Water Bottle Holder, Compact Design
- Color: Black Blue
- Power Source: Battery Powered (for monitor)
- Recommended Uses: Indoor Cycling
- Material: Alloy Steel
- Resistance Mechanism: Magnetic
- Product Dimensions (LxWxH): 34.64"D x 6.88"W x 27.55"H (Note: These dimensions seem to be for the package or a specific component, actual assembled dimensions may vary slightly. Refer to product page for full assembled dimensions.)
- Maximum Weight Recommendation: 300 Pounds (136 kg)
- Minimum User Height: 4 Feet (122 cm)
- Number of Resistance Levels: 100
- Drive System: Belt
10. Warranty and Customer Support
Wenoker provides a 365-day components exchange for your exercise bike. This warranty covers manufacturing defects and component failures under normal use.
Contacting Customer Support:
If you require assistance with assembly, troubleshooting, or warranty claims, please contact our professional support team. We aim to respond within 12 hours.
- Via Amazon:
- Log in to your Amazon account.
- Go to "Your Orders".
- Find your order ID for the Wenoker Exercise Bike.
- Click "Contact Seller".
- Via After-Sales Mailbox: Refer to the contact information provided in the physical manual included with your product.


