
1. Introduction
This manual provides detailed instructions for the installation, operation, and maintenance of your iCarSEPTON 8-inch Car Radio. Please read this manual thoroughly before using the product to ensure proper function and safety. Keep this manual for future reference.
2. Applicable Car Models
This iCarSEPTON 8-inch Car Radio is designed for specific Chevrolet, GMC, Hummer, and Buick models. Please verify your vehicle's compatibility before installation.
- For Chevy: Silverado 1500 (2007-2013), Silverado 2500/3500 (2007-2014), Tahoe (2007-2014), Express 1500 (2013-2015), Express 2500/3500 (2013-2025), Impala (2006-2013), Suburban (2007-2014), Avalanche (2008-2013), Traverse (2009-2012), Equinox (2007-2009), HHR (2006-2011), Monte Carlo (2006-2007).
- For GMC: Sierra 1500 (2007-2013), Sierra 2500/3500 (2008-2014), Yukon (2007-2014), Savana 1500 (2008-2014), Savana 2500/3500 (2008-2025), Acadia (2007-2012).
- For Hummer: H2 SUT (2008-2009).
- For Buick: Enclave (2008-2012).
Note: Rear headrest and original camera may not be applicable with this unit. Please check your vehicle's existing radio unit for compatibility. Units with 4 buttons typically fit, while units with 5 buttons do not.

Image: Visual guide for compatible car radio units (4 buttons fit, 5 buttons do not).
3. What's in the Box
Verify that all components are present upon unboxing:
- GMC Car Radio (8-inch unit)
- Back Camera
- Harness Cable
- Instructions and Installation Guide
- USB Adapter Cable
- RCA Cable
- GPS Antenna
- USB Cables (x2)
- Canbus Box
- Radio Adapter
- Reverse Cable
- Sound Amplifier

Image: All included accessories and the main head unit.
4. Setup & Installation
Installation should be performed by a qualified professional or an experienced individual. Refer to the included detailed installation guide for specific wiring diagrams and steps. Ensure the vehicle's power is disconnected before beginning installation.
4.1. General Installation Steps
- Remove the original car radio unit.
- Connect the provided harness cable to the vehicle's wiring and the new head unit.
- Connect the GPS antenna, USB cables, and other accessories as per the wiring diagram.
- If installing the rearview camera, route the camera cable and connect it to the head unit. Ensure the camera cable is inserted to enhance Wi-Fi and Bluetooth signals.
- Secure the new iCarSEPTON head unit into the dashboard.
- Reconnect vehicle power and test all functions.

Video: Demonstrates inserting the camera cable during installation. This step is crucial for optimizing Wi-Fi and Bluetooth signal strength, regardless of whether a camera is installed.

Image: Comparison of the dashboard before and after installing the iCarSEPTON 8-inch car radio.
5. Operating Instructions
5.1. Bluetooth Connectivity
Connect your smartphone via Bluetooth for hands-free calls and wireless audio streaming.
- On the car radio, navigate to the Bluetooth application.
- On your phone, enable Bluetooth and search for available devices. The car radio's Bluetooth name is typically "CarBT".
- Select "CarBT" on your phone and enter the default PIN: 0000.
- Confirm the pairing on both devices.
Video: Step-by-step guide on how to connect your phone to the car radio via Bluetooth.

Image: Bluetooth interface displaying paired devices and call functions.
5.2. Wireless CarPlay & Android Auto
After connecting via Bluetooth, CarPlay or Android Auto will automatically connect. Ensure the respective app is installed on your phone.
5.2.1. Connecting CarPlay (for iPhone)
After connecting to Bluetooth, CarPlay will automatically connect. Ensure the iPhone CarPlay function is open (General > CarPlay > Zlink > Open/Close CarPlay).
Video: Demonstrates connecting CarPlay after Bluetooth pairing. Note: When CarPlay is connected, Wi-Fi will temporarily stop.
5.2.2. Connecting Android Auto (for Android phones)
After connecting to Bluetooth, Android Auto will automatically connect. If you cannot connect, please download the Android Auto app on your phone.
Video: Demonstrates connecting Android Auto after Bluetooth pairing. Note: When Android Auto is connected, Wi-Fi will temporarily stop.

Image: Wireless CarPlay and Android Auto display, showing various compatible applications.
5.2.3. Disconnecting CarPlay/Android Auto
To disconnect CarPlay or Android Auto and use Bluetooth and Wi-Fi simultaneously:
- Clear the background applications on the car radio.
- Find the Zlink application and turn off the automatic CarPlay/Android Auto background connection.
- Do not click Zlink again. Bluetooth and Wi-Fi can now be used at the same time.
Video: Instructions on how to disconnect CarPlay to enable simultaneous Bluetooth and Wi-Fi usage.
Video: Instructions on how to disconnect Android Auto to enable simultaneous Bluetooth and Wi-Fi usage.
5.3. 5G WiFi Connectivity
The car radio features built-in 5G WiFi, allowing connection to the internet for streaming music, downloading apps, and receiving software updates.
- Access the settings menu on the car radio.
- Select "Wi-Fi" and turn it on.
- Choose your desired network and enter the password to connect.
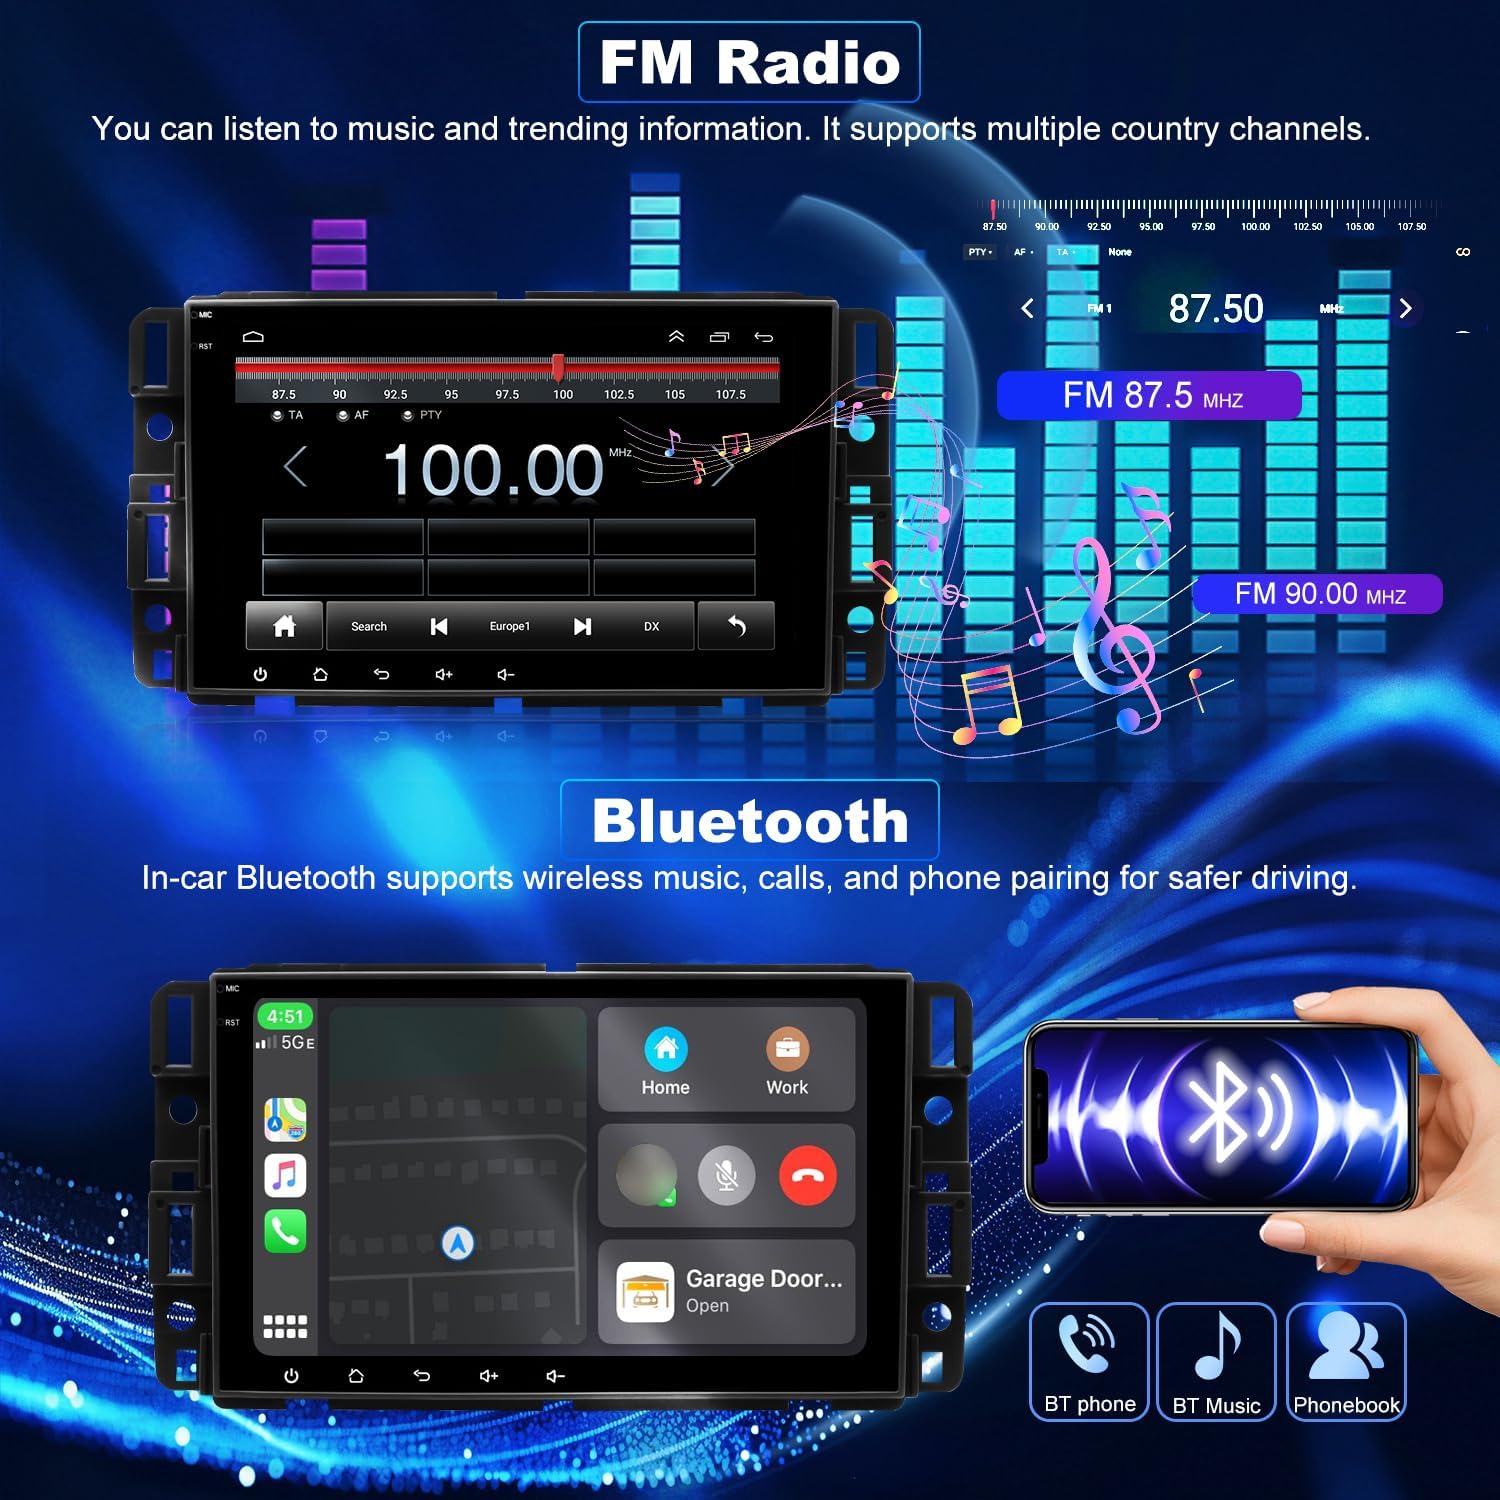
Image: Display of 5G Wi-Fi connection and various apps, alongside GPS navigation.
5.4. GPS Navigation
Navigate confidently with the integrated GPS system. The unit supports offline maps (HERE WeGo) and online apps like Google Maps and Waze.
- Access the "Maps" application from the main menu.
- Select your preferred navigation app (e.g., HERE WeGo, Google Maps, Waze).
- Enter your destination to receive real-time navigation, traffic updates, and route optimization.

Image: GPS navigation screen displaying a route and available map applications.
5.5. FM Radio
Enjoy a wide range of radio stations with the built-in FM tuner. It supports multiple country channels and 18 preset FM stations.
- Open the "Radio" application from the main menu.
- Use the search function to find stations or manually tune to a frequency.
- Save your favorite stations to the presets for quick access.

Image: FM Radio interface with frequency selection and audio spectrum display.
5.6. Steering Wheel Control
Utilize your vehicle's existing steering wheel controls to manage music and volume safely, enhancing convenience and reducing distractions.
- Access "Car Settings" from the main menu.
- Select "Steering Wheel Learning" or "Steering Wheel Control Settings".
- Follow the on-screen prompts to program each button on your steering wheel to the desired function.

Image: Steering Wheel Learning interface, allowing customization of button functions.
5.7. Rearview Camera
The included 170° rearview camera provides a wide-angle view when reversing, automatically switching to the rearview display for safer parking and maneuvering.
- When the vehicle is shifted into reverse, the display will automatically switch to the rearview camera feed.
- The display includes guidelines to assist with parking.
Image: Rearview camera display with parking assistance lines.
5.8. Split Screen Function
The split-screen function allows you to run two applications simultaneously, such as navigation and music, for enhanced multitasking.
- To activate split screen, open an application, then swipe from the side or use a dedicated split-screen button (if available) to select a second application.
- Adjust the size of each application window as needed.

Image: Split-screen functionality displaying navigation and media applications side-by-side.
6. System & Settings
The unit runs on Android 15 and features a 4-core CPU. Access the "Car Settings" or "Android Settings" menu to customize various aspects of your car radio.
- System Info: View details about the Android version, CPU, RAM, and storage.
- Factory Settings: (Password: 8888) Access advanced settings for vehicle protocols, display calibration, and other system-level configurations.
- Car Settings: Adjust audio settings (EQ, subwoofer), display themes, and other vehicle-specific integrations.
- UI Customization: Change the user interface theme to personalize your display.
Image: Equalizer (EQ) and Digital Sound Processor (DSP) settings for audio fine-tuning.
7. Maintenance
- Software Updates: Regularly check for and install system updates via 5G WiFi to ensure optimal performance and access to new features.
- Cleaning: Use a soft, dry cloth to clean the touch screen. Avoid abrasive cleaners or solvents.
- Storage: The unit has 32GB of storage for apps, offline maps, and media. Manage storage regularly to prevent performance issues.
8. Troubleshooting
If you encounter any issues, refer to the following common troubleshooting tips:
- No Power: Check all power connections and fuses. Ensure the vehicle's battery is charged.
- No Sound: Verify speaker connections, volume levels, and audio settings (EQ, balance).
- Bluetooth/CarPlay/Android Auto Connection Issues: Ensure Bluetooth is enabled on both devices. Try turning Bluetooth on and off several times on your phone. For CarPlay/Android Auto, ensure the Zlink background connection is disabled if you want to use Bluetooth and Wi-Fi simultaneously.
- GPS Signal Loss: Ensure the GPS antenna is properly installed and has a clear view of the sky.
- Touch Screen Unresponsive: Try restarting the unit. If the issue persists, perform a factory reset (note: this will erase all user data).
9. Specifications
| Feature | Specification |
|---|---|
| Brand | iCarSEPTON |
| Screen Size | 8 Inches |
| Operating System | Android |
| CPU | 4-Core |
| Storage | 32GB |
| Connectivity | Bluetooth, USB, Wi-Fi (5G) |
| Special Features | IPS Touch Screen, Split Screen, Backup Camera Support, Steering Wheel Controls, Voice Control, FM Radio, GPS Navigation, Wireless/Wired CarPlay & Android Auto |
| Map Type | North America |
| Audio Output Mode | Stereo |
10. Warranty & Support
Your iCarSEPTON Car Radio comes with a 12-month warranty from the date of purchase.
For any technical assistance, installation queries, or troubleshooting, our lifetime 24/7 tech support team is available to guide you. Please refer to the contact information provided in your product packaging or on the official iCarSEPTON website.