
MAXLANDER ML-LS100L-XINNEW
MAXLANDER ML-LS100L-XINNEW Manual Push Lawn Sweeper User Manual
Model: ML-LS100L-XINNEW
Introduction
Thank you for choosing the MAXLANDER Manual Push Lawn Sweeper. This manual provides important information for the safe assembly, operation, and maintenance of your new lawn sweeper. Please read it thoroughly before use and keep it for future reference.
This manual push lawn sweeper is designed to efficiently collect leaves, grass clippings, and other light yard debris from lawns and paved surfaces. Its 21-inch wide sweeping path and adjustable height make it suitable for various outdoor cleaning tasks.
Safety Information
Always observe basic safety precautions when using this product to reduce the risk of injury or damage.
- Read and understand all instructions before operating the sweeper.
- Keep children and pets away from the operating area.
- Wear appropriate footwear and clothing.
- Inspect the area to be swept for any objects that could be thrown by the brushes, such as rocks or large sticks. Remove them before sweeping.
- Do not operate the sweeper on steep slopes where you might lose your footing.
- Ensure all parts are securely fastened before each use.
- Store the sweeper in a dry, secure location when not in use.
Package Contents
Verify that all components are present before beginning assembly:
- Sweeper Main Unit (with brushes and wheels)
- Handle Assembly (multiple sections)
- Collection Hopper Bag
- Mounting Hardware (knobs, bolts, clips)
- User Manual
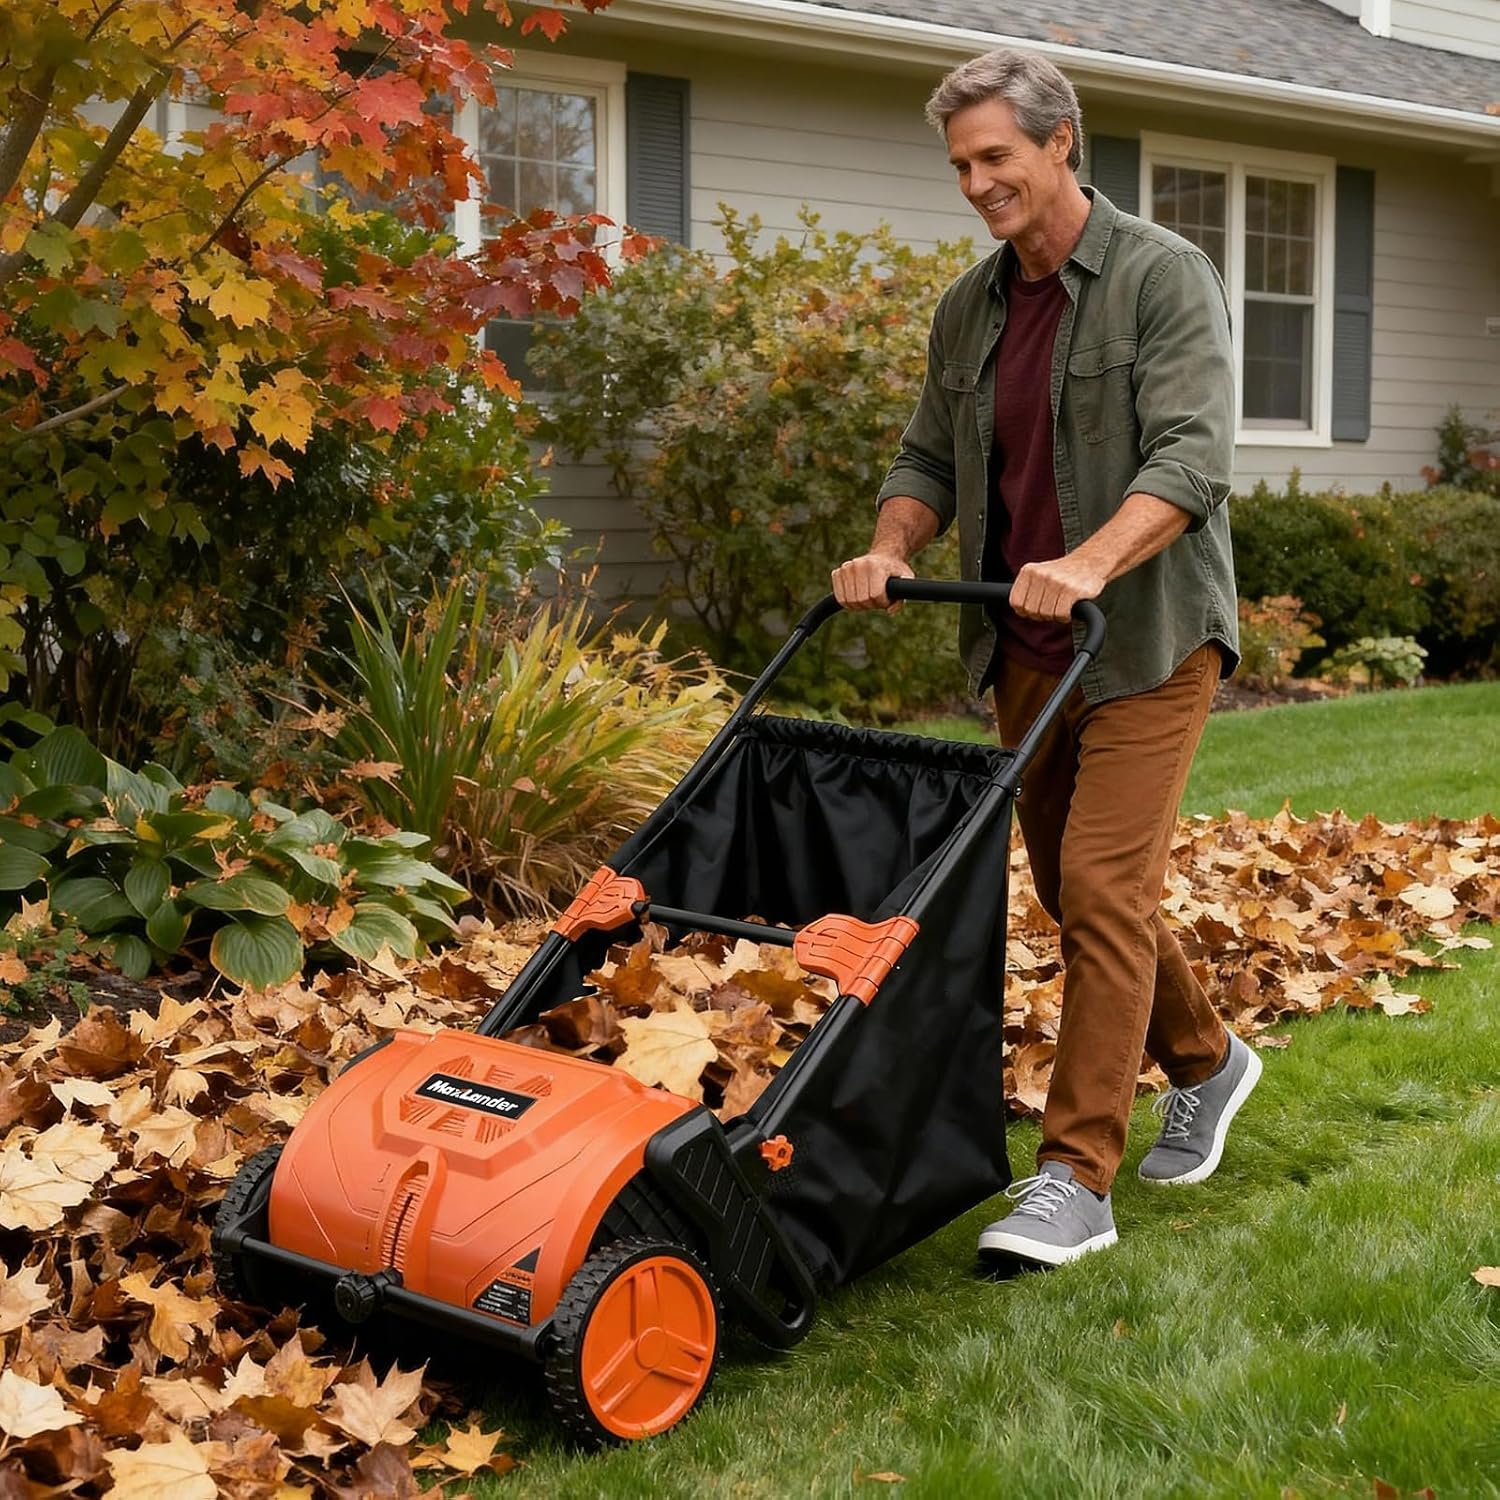
Figure 1: Overview of the MAXLANDER Manual Push Lawn Sweeper, showing its main components and general dimensions.
Setup and Assembly
The MAXLANDER Manual Push Lawn Sweeper is designed for quick, tool-free assembly. Follow these steps:
- Attach the Lower Handle Sections: Align the lower handle sections with the mounting points on the main sweeper unit. Secure them using the provided quick-release clips or knobs. Ensure they click into place or are tightened firmly.
- Connect the Upper Handle Section: Attach the upper handle section to the lower handle sections. Again, use the quick-release clips or knobs to secure it. Ensure the handle is stable and does not wobble.
- Install the Collection Hopper: Unfold the collection hopper bag. Attach the hopper frame to the designated hooks or slots on the sweeper's handle assembly. Ensure the bag is fully open and positioned correctly to catch debris.
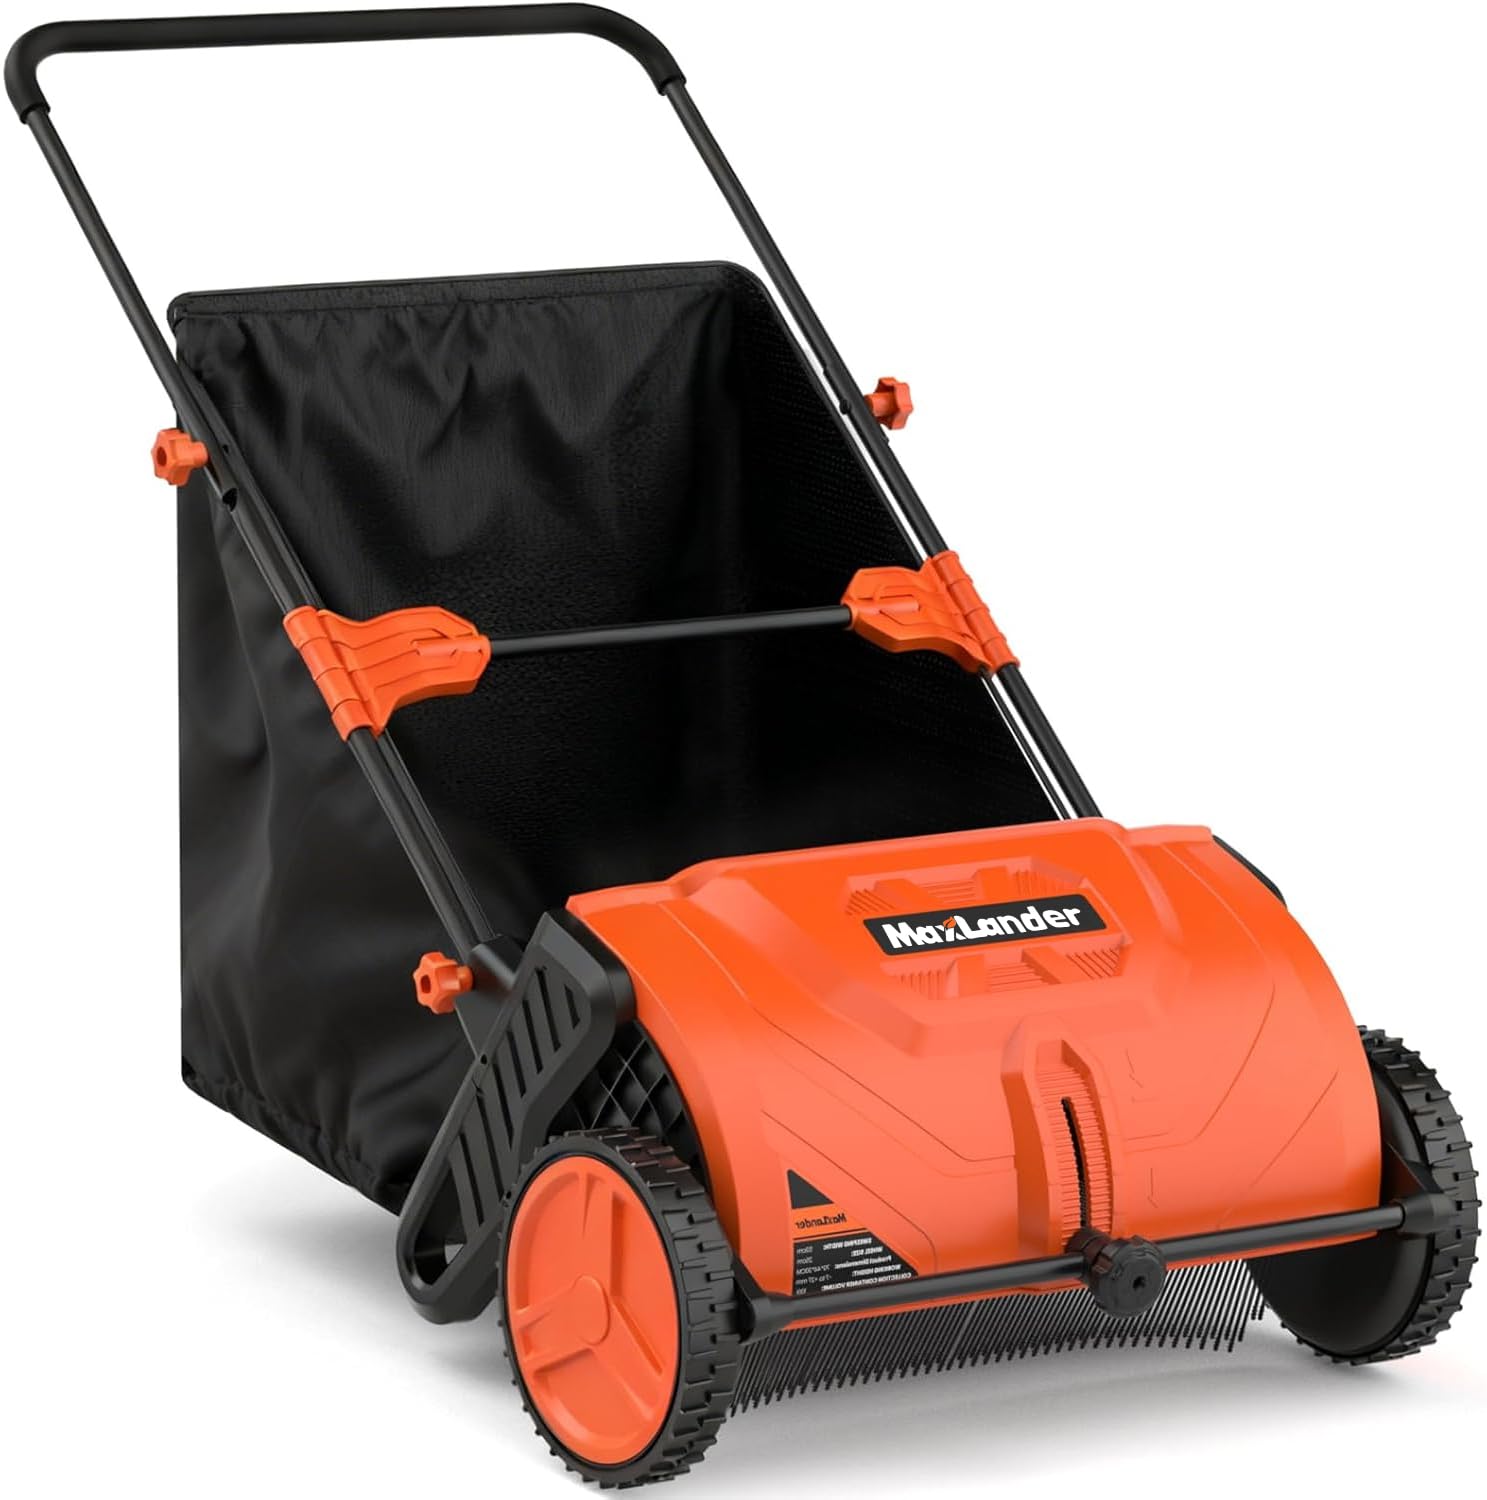
Figure 2: A user operating the lawn sweeper, demonstrating its intended use for collecting leaves.
Operating Instructions
1. Adjusting Sweeping Height
The sweeping height can be adjusted to suit different types of debris and lawn conditions. A lower setting is ideal for fine debris and shorter grass, while a higher setting is better for longer grass or larger debris to prevent brush drag.
- Locate the central adjustment knob or lever on the sweeper unit.
- Turn the knob or move the lever to raise or lower the brushes.
- Test the setting on a small area to ensure optimal debris collection without excessive effort.

Figure 3: Detail of the height adjustment mechanism, allowing users to customize sweeping depth.
2. Sweeping Technique
- Push the sweeper at a steady, moderate pace. Avoid running or pushing too quickly, as this may reduce collection efficiency.
- Overlap each pass slightly to ensure complete coverage of the area.
- For best results, sweep when the lawn is dry. Wet leaves and debris are harder to collect.

Figure 4: Illustrates the efficiency of the lawn sweeper compared to traditional raking.
3. Emptying the Collection Hopper
The 3.5 cubic feet collection hopper should be emptied regularly to maintain sweeping efficiency.
- When the hopper is full, detach it from the sweeper frame.
- Carry the hopper to your compost pile or waste bin.
- Empty the contents and reattach the hopper to the sweeper.

Figure 5: Demonstrates the large capacity of the collection hopper and its easy removal for emptying.
Maintenance
1. Cleaning
- After each use, remove any tangled grass, leaves, or debris from the brushes and wheels.
- Wipe down the sweeper frame and hopper bag with a damp cloth. Avoid using harsh chemicals.
- Ensure the brushes are free of obstructions to maintain optimal performance.
2. Storage
The sweeper features a foldable design for compact storage.
- Empty and clean the collection hopper.
- Fold the handle assembly down.
- Store the sweeper in a dry, protected area, such as a garage or shed. It can stand upright to save space.

Figure 6: The lawn sweeper in its compact, upright storage position, ideal for small spaces.
Troubleshooting
| Problem | Possible Cause | Solution |
|---|---|---|
| Sweeper not picking up debris effectively. |
|
|
| Sweeper is difficult to push. |
|
|
| Handle feels loose. |
|
|
Specifications
| Brand | MAXLANDER |
| Model Number | ML-LS100L-XINNEW |
| Power Source | Manual |
| Sweeping Width | 21 inches (53 cm) |
| Hopper Capacity | 3.5 Cu. Ft. (26.4 Gallons) |
| Adjustable Sweeping Height | 7mm - 270mm |
| Product Dimensions (D x W x H) | 27.16"D x 16.14"W x 12.99"H (main unit) |
| Item Weight | 15.6 lbs (7.1 kg) |
| Materials | Iron, PP, PVC, Polyester (Hopper Bag: Nylon) |
| Brush-Wheel Ratio | 5:1 |

Figure 7: Visual representation of key product specifications and measurements.
Warranty and Support
For warranty information or technical support, please refer to the documentation included with your purchase or contact MAXLANDER customer service. Keep your proof of purchase for any warranty claims.
Contact information for support can typically be found on the product packaging or the manufacturer's official website.
Ask a question about this manual
Ask about setup, troubleshooting, compatibility, parts, safety, or missing instructions. Manuals+ will review the question and use this page’s manual context to help answer it.