
1. Safety Information
Read and understand all safety warnings and instructions before operating this tiller. Failure to follow the warnings and instructions may result in electric shock, fire, and/or serious injury.
- Always use the safety lock to prevent accidental startup when the tool is not in use.
- Do not operate the tiller with a low battery. This can damage both the tool and the battery.
- Wear appropriate personal protective equipment (PPE), including safety glasses, gloves, and sturdy footwear, when operating the tiller.
- Keep bystanders, especially children and pets, at a safe distance (at least 50 feet / 15 meters) from the operating area to avoid injury from thrown debris.
- Turn off the tiller and remove the batteries before performing any maintenance, cleaning, or when changing accessories.
- Inspect the work area for rocks, wires, or other objects that could be thrown or entangled in the tines.
- Operate the tiller only in daylight or good artificial light.
- Avoid operating the tiller in wet conditions or on steep slopes where you might lose footing.
2. Setup and Assembly
This section guides you through the initial setup and assembly of your Mellif 40V Cordless Brushless Tiller Cultivator.
2.1 Unpacking
Carefully remove all components from the packaging. Ensure all parts listed in the packing list are present and undamaged. Retain packaging for future storage or transport.
2.2 Handle Assembly
Attach the upper handle to the lower handle using the provided hardware. Ensure all bolts are securely tightened.
2.3 Battery Installation
The tiller operates on two 20V Max batteries (not included). For optimal performance, use batteries with a capacity of 4.0Ah or higher.
- Open the battery compartment cover located on top of the tiller unit.
- Insert two charged 20V Max batteries into their respective slots until they click into place.
- Insert the safety key into its designated slot. The tiller will not operate without the safety key.
- Close the battery compartment cover securely.

Image: The battery compartment showing two 20V batteries inserted and the safety key in place. The label indicates 'TOOL ONLY' and 'Battery and Charger NOT Included'.
2.4 Adjusting Wheel Height
The tiller features 4-position height adjustment for the wheels, allowing you to control the tilling depth and maneuverability.
- Locate the wheel adjustment mechanism near the base of the tiller.
- Pull the adjustment pin and move the wheels to the desired height setting.
- Ensure both wheels are set to the same height for balanced operation.

Image: A detailed view of the tiller's wheel height adjustment system, showing the four possible positions for setting the tilling depth.
3. Operating Instructions
Follow these steps for safe and effective operation of your tiller.
3.1 Starting the Tiller
- Ensure batteries are fully charged and the safety key is inserted.
- Grip the handles firmly with both hands.
- Press and hold the safety button, then squeeze the trigger switch to start the tines rotating.
3.2 Tilling Techniques
The Mellif tiller provides a 14.2-inch working width and an 8.7-inch tilling depth, suitable for various garden tasks.
- Initial Tilling: For compacted soil, make shallow passes first, gradually increasing depth with subsequent passes.
- Consistent Movement: Move the tiller at a steady pace. Do not force the machine; allow the tines to do the work.
- Overlapping Passes: Overlap each pass slightly to ensure thorough tilling of the entire area.
- Ergonomic Design: The tiller is designed for upright operation, reducing strain on your back.

Image: A user demonstrating the ergonomic design of the tiller, operating it while standing upright in a garden bed.

Image: The tiller's 4x4 steel tines actively breaking up soil, illustrating the 14.2-inch working width and 8.7-inch tilling depth.
3.3 Stopping the Tiller
Release the trigger switch to stop the tines. Always remove the safety key and batteries when finished operating or when leaving the tiller unattended.
3.4 Official Operation Videos
Video: An overview of the Mellif 40V Cordless Brushless Rototiller, demonstrating its features and general operation with Dewalt 20V batteries.
Video: Demonstrates the heavy-duty brushless tiller in action, highlighting its efficiency in soil digging.
Video: Shows the Mellif tiller in use, emphasizing its stable and comfortable operation for users.
Video: Illustrates the 14.2-inch working width of the electric cultivator, compatible with Dewalt batteries.
4. Maintenance
Regular maintenance ensures the longevity and optimal performance of your tiller.
4.1 Cleaning
- After each use, remove batteries and clean soil, debris, and plant matter from the tines and housing. A stiff brush or scraper can be used.
- Do not use water directly on the motor housing or battery compartment. Wipe surfaces with a damp cloth.
4.2 Tine Inspection
- Regularly inspect the steel tines for wear, damage, or bending. Replace worn or damaged tines immediately.
- Ensure tines are free from wrapped roots, string, or other obstructions that can reduce efficiency or cause damage.
4.3 Storage
The tiller features a foldable design for compact storage.
- Remove batteries and store them in a cool, dry place.
- Clean the tiller thoroughly before storing.
- Fold the handles for compact storage in a garage or shed.

Image: A person using the tiller, demonstrating its ease of use and the benefits of its brushless motor, which contributes to lower noise and stable operation.
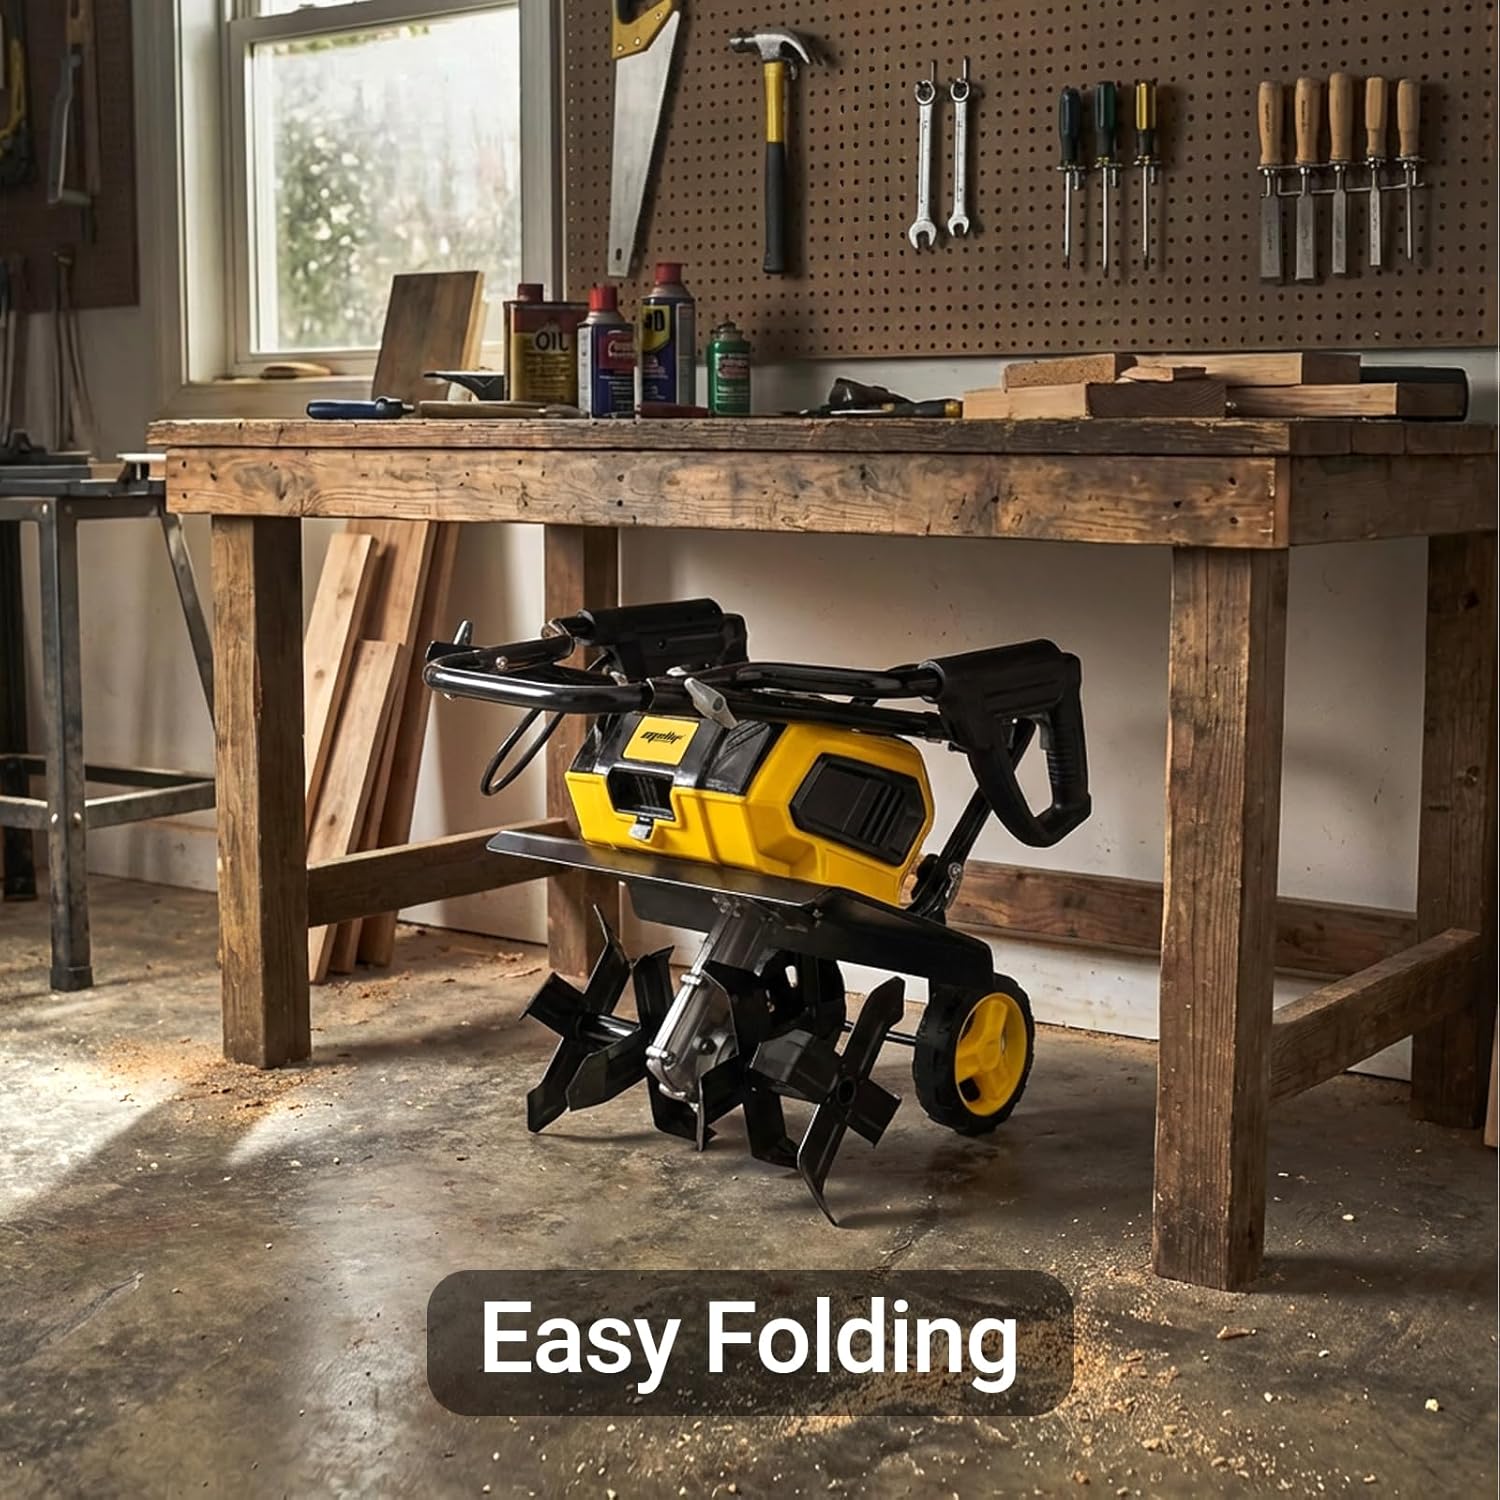
Image: The tiller positioned under a workbench, illustrating its foldable design for easy and compact storage, alongside text highlighting its robust construction.
5. Troubleshooting
This section addresses common issues you might encounter with your tiller.
| Problem | Possible Cause | Solution |
|---|---|---|
| Tiller does not start | 1. Batteries not inserted correctly 2. Batteries discharged 3. Safety key not inserted 4. Safety button not pressed | 1. Reinsert batteries firmly 2. Charge batteries 3. Insert safety key 4. Press safety button before trigger |
| Tiller stops during operation | 1. Low-voltage protection activated 2. Overheat protection activated 3. Tines jammed by debris | 1. Replace/recharge batteries 2. Allow tiller to cool down 3. Turn off, remove batteries, clear tines |
| Ineffective tilling | 1. Tilling depth too shallow 2. Worn or damaged tines 3. Soil too hard/compacted | 1. Adjust wheel height for deeper tilling 2. Inspect and replace tines 3. Make multiple shallow passes or pre-moisten soil |
6. Specifications
| Feature | Specification |
|---|---|
| Brand | Mellif |
| Model Number | MFDTC001 |
| Power Source | Battery Powered (Compatible with Dewalt 20V Max Batteries) |
| Motor Type | Brushless |
| Working Width | 14.2 inches |
| Tilling Depth | 8.7 inches |
| Tine Material | Steel (4x4 blades, 8.1-inch diameter) |
| Product Dimensions (LxWxH) | 15.7"D x 15.3"W x 37.7"H |
| Item Weight | 23.3 Pounds |
| Material | Metal, Plastic |
| Safety Features | Safety lock, Low-voltage protection (14.4V) |
7. Warranty and Support
7.1 Warranty Information
The Mellif 40V Cordless Brushless Tiller Cultivator comes with a 5-year warranty. This warranty covers defects in materials and workmanship under normal use. Please retain your proof of purchase for warranty claims.
7.2 Customer Service
For any questions, assistance, or warranty claims, please contact Mellif customer service. Refer to the product packaging or the official Mellif website for the most current contact information.