
Introduction
Thank you for choosing the Giraffe Tools Grandfalls Retractable Pressure Washer Pro. This manual provides essential information for the safe and efficient operation, maintenance, and troubleshooting of your new pressure washer. Please read this manual thoroughly before use and retain it for future reference.
The Giraffe Tools Grandfalls Retractable Pressure Washer Pro is designed for powerful and convenient cleaning. Key features include an automatic hose rewind system, a wall-mounted design for tidy storage, and a robust 1800-watt motor delivering up to 2900 PSI and 2.2 GPM for effective dirt removal. It comes equipped with 4 quick-connect nozzles and a foam cannon for versatile cleaning tasks, and a Total Stop System (TSS) to enhance safety and prolong pump life.
Important Safety Information
Always follow basic safety precautions when using this product to reduce the risk of fire, electric shock, and personal injury.
- Read all instructions before using the appliance.
- Do not operate the pressure washer if any parts are damaged.
- Ensure the power cord is connected to a GFCI-protected outlet.
- Keep children and pets away from the operating area.
- Wear appropriate personal protective equipment, including eye protection.
- Never direct the spray at people, pets, or electrical devices.
- Disconnect from power supply before performing any maintenance or cleaning.
Package Contents
Verify that all items are present and in good condition upon unpacking.
- Giraffe Tools Grandfalls Retractable Pressure Washer Pro Unit
- 100ft Pressure Hose (integrated)
- Spray Gun
- Wand Extension
- 4 Quick-Connect Nozzles (0°, 15°, 25°, 40°)
- Foam Cannon (Soap Tank)
- Wall Mounting Bracket and Hardware
- 6 ft Power Cord with GFCI
- User Manual
Setup Instructions
1. Wall Mounting
Select a suitable location for mounting the pressure washer, ideally near a water source (hose bibb) and a GFCI-protected electrical outlet. Ensure the mounting surface is sturdy enough to support the unit's weight (approximately 65 lbs) and the force of operation.
- Secure the heavy-duty wall mounting bracket to a solid wall stud or a large, sturdy post using the provided hardware.
- Carefully lift and attach the pressure washer unit onto the mounted bracket, ensuring it is securely seated.
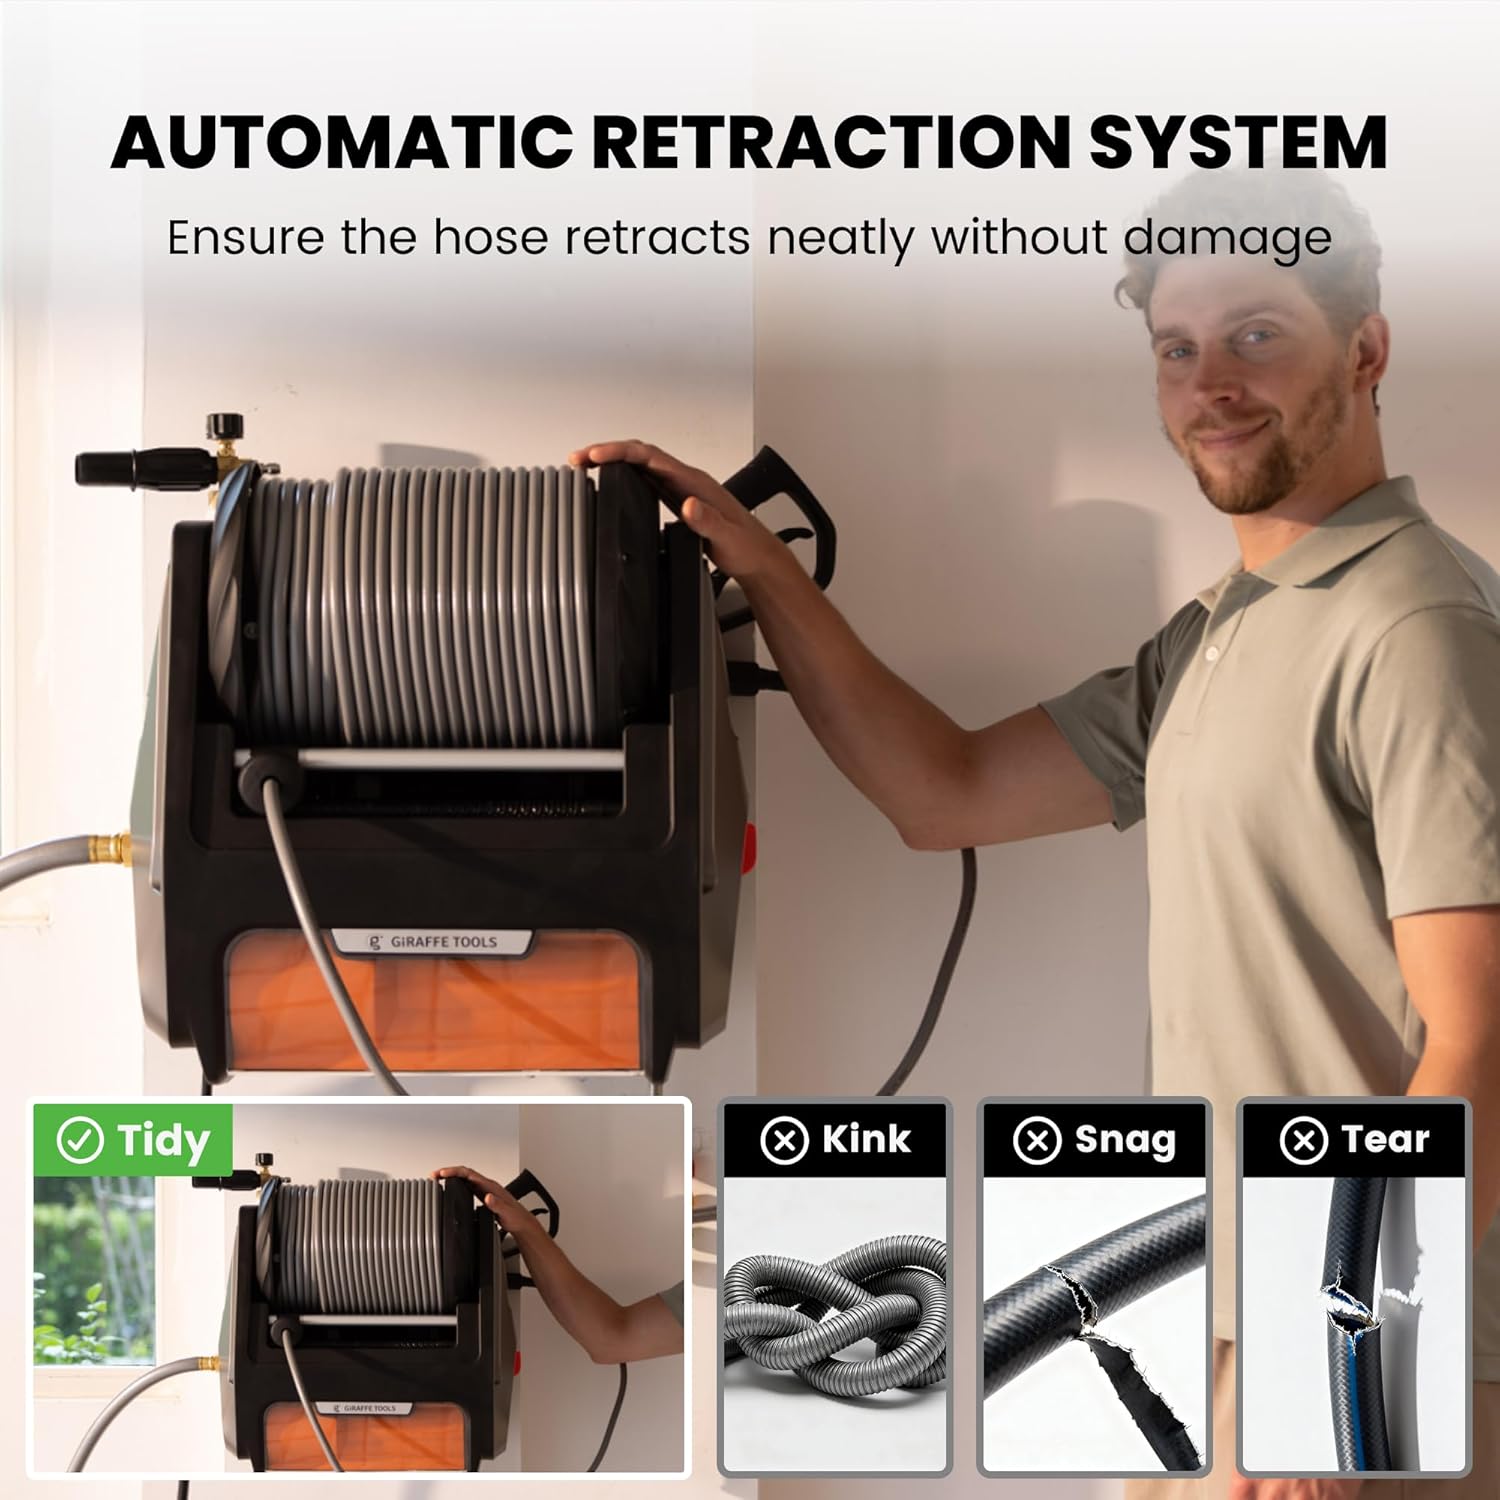
Image: The pressure washer unit being mounted on a wall, highlighting its automatic retraction system and tidy storage.
2. Connecting Water Supply
- Connect a standard garden hose (not included) to your water source and then to the water inlet on the pressure washer unit. Ensure all connections are tight to prevent leaks.
3. Connecting Power
- Plug the 6 ft power cord into a GFCI-protected 120V electrical outlet.
4. Assembling the Spray Gun and Nozzles
- Attach the wand extension to the spray gun.
- Select the desired quick-connect nozzle (0°, 15°, 25°, or 40°) and insert it into the end of the wand until it clicks securely into place.

Image: Various quick-connect nozzles and the foam cannon, demonstrating the pressure washer's power and versatility.
5. Assembling the Foam Cannon
- Fill the foam cannon's soap tank with an appropriate pressure washer detergent.
- Attach the foam cannon to the spray gun in place of a nozzle when soap application is desired.
Operating Instructions
1. Starting the Pressure Washer
- Ensure all connections are secure and the water supply is turned on.
- Turn on the main power switch on the pressure washer unit.
- Squeeze the trigger on the spray gun to begin operation. The Total Stop System (TSS) will automatically shut off the pump when the trigger is released and restart it when squeezed again.

Image: The main power switch of the pressure washer, indicating the Total Stop System for energy saving and extended service life.
2. Using Quick-Connect Nozzles
The pressure washer includes four color-coded quick-connect nozzles for various cleaning applications:
- 0° (Red): For concentrated, high-pressure cleaning of stubborn stains. Use with caution.
- 15° (Yellow): For intense cleaning of hard surfaces with moderate dirt.
- 25° (Green): For general cleaning of most surfaces, providing a wider spray pattern.
- 40° (White): For delicate surfaces or light cleaning, offering the widest and gentlest spray.

Image: Visual representation of the different spray patterns and applications for each quick-connect nozzle and the foam cannon.
3. Using the Foam Cannon
Attach the foam cannon to the spray gun. The foam cannon mixes detergent with the high-pressure water to create a rich lather, ideal for cleaning vehicles, siding, or other surfaces requiring soap application. After applying soap, switch to a rinse nozzle (e.g., 25° or 40°) to rinse the surface thoroughly.
4. Automatic Hose Retraction
After use, simply release the hose, and the automatic rewind system will retract the 100ft pressure hose neatly back into the unit. This mechanism prevents kinks, snags, and tears, ensuring effortless storage and prolonging hose life.

Image: An internal view of the auto-retract system, detailing its components for smooth and organized hose storage.
Maintenance
Regular maintenance ensures optimal performance and extends the life of your pressure washer.
- After Each Use: Flush the system with clean water to remove any detergent residue. Disconnect the water supply and power.
- Nozzle Cleaning: If nozzles become clogged, use the included nozzle cleaning tool to clear debris.
- Hose Inspection: Periodically inspect the 100ft pressure hose for any signs of wear, cuts, or leaks. Replace if damaged.
- Storage: Store the unit in a dry, frost-free environment. For prolonged storage, especially in cold climates, consider using a pump protector or antifreeze solution to prevent damage.
Troubleshooting
| Problem | Possible Cause | Solution |
|---|---|---|
| Motor does not start | Power cord not plugged in; GFCI tripped; Power switch off | Ensure power cord is securely plugged into a GFCI outlet; Reset GFCI; Turn power switch to ON position. |
| No pressure or low pressure | Water supply off or restricted; Clogged nozzle; Air in pump; Inlet filter clogged | Turn on water supply fully; Clean nozzle with cleaning tool; Squeeze trigger to purge air; Clean inlet filter. |
| Water leaks | Loose connections; Damaged O-rings | Tighten all hose and gun connections; Inspect and replace damaged O-rings. |
| Hose does not retract | Hose is jammed or tangled; Retraction mechanism issue | Gently pull out more hose and try retracting again; Ensure no obstructions. If issue persists, contact customer support. |
Specifications
| Feature | Detail |
|---|---|
| Brand | Giraffe Tools |
| Model Number | Pro |
| Power Source | Corded Electric |
| Motor Power | 1800 Watts |
| Maximum Pressure | 2900 PSI |
| Maximum Flow Rate | 2.2 Gallons Per Minute (GPM) |
| Hose Length | 100 feet (1200 Inches) |
| Product Dimensions | 22.05"L x 21.46"W x 14.96"H |
| Item Weight | 65 Pounds |
| Color | Dark Silver |
| Nozzles Included | 0°, 15°, 25°, 40° Quick-Connect, Foam Cannon |
Customer Support
For any questions, technical assistance, or warranty inquiries, please contact Giraffe Tools customer support. Refer to the product packaging or the official Giraffe Tools website for the most current contact information.
Giraffe Tools offers 30-day easy returns and dedicated customer support to ensure your satisfaction.


