
1. Important Safety Instructions
Please read all instructions carefully before beginning installation. Failure to follow these instructions may result in electric shock, fire, or personal injury.
- Always disconnect power at the circuit breaker or fuse box before attempting any installation, maintenance, or cleaning.
- Consult a qualified electrician if you are unsure about wiring procedures.
- Ensure the mounting structure is capable of supporting the fan's weight (approximately 20.6 lbs).
- Maintain a minimum clearance of 7 feet (2.1 meters) from the floor to the bottom of the fan blades.
- Keep fan blades at least 12 inches (30 cm) from walls or other obstructions.
- Use only the remote control provided with this fan. Do not use third-party AC ceiling fan wall control panels.
- Do not attempt to repair or modify the fan yourself. Contact customer support for assistance.
2. Package Contents
Verify that all components are present and undamaged before proceeding with installation.
- Fan Motor Assembly
- Fan Blades (6x Aluminum)
- Downrods (5-inch, 10-inch, 24-inch)
- Mounting Bracket
- Canopy
- Remote Control with Wall Mount
- Light Kit (Integrated LED)
- Hardware Pack (screws, washers, wire nuts)
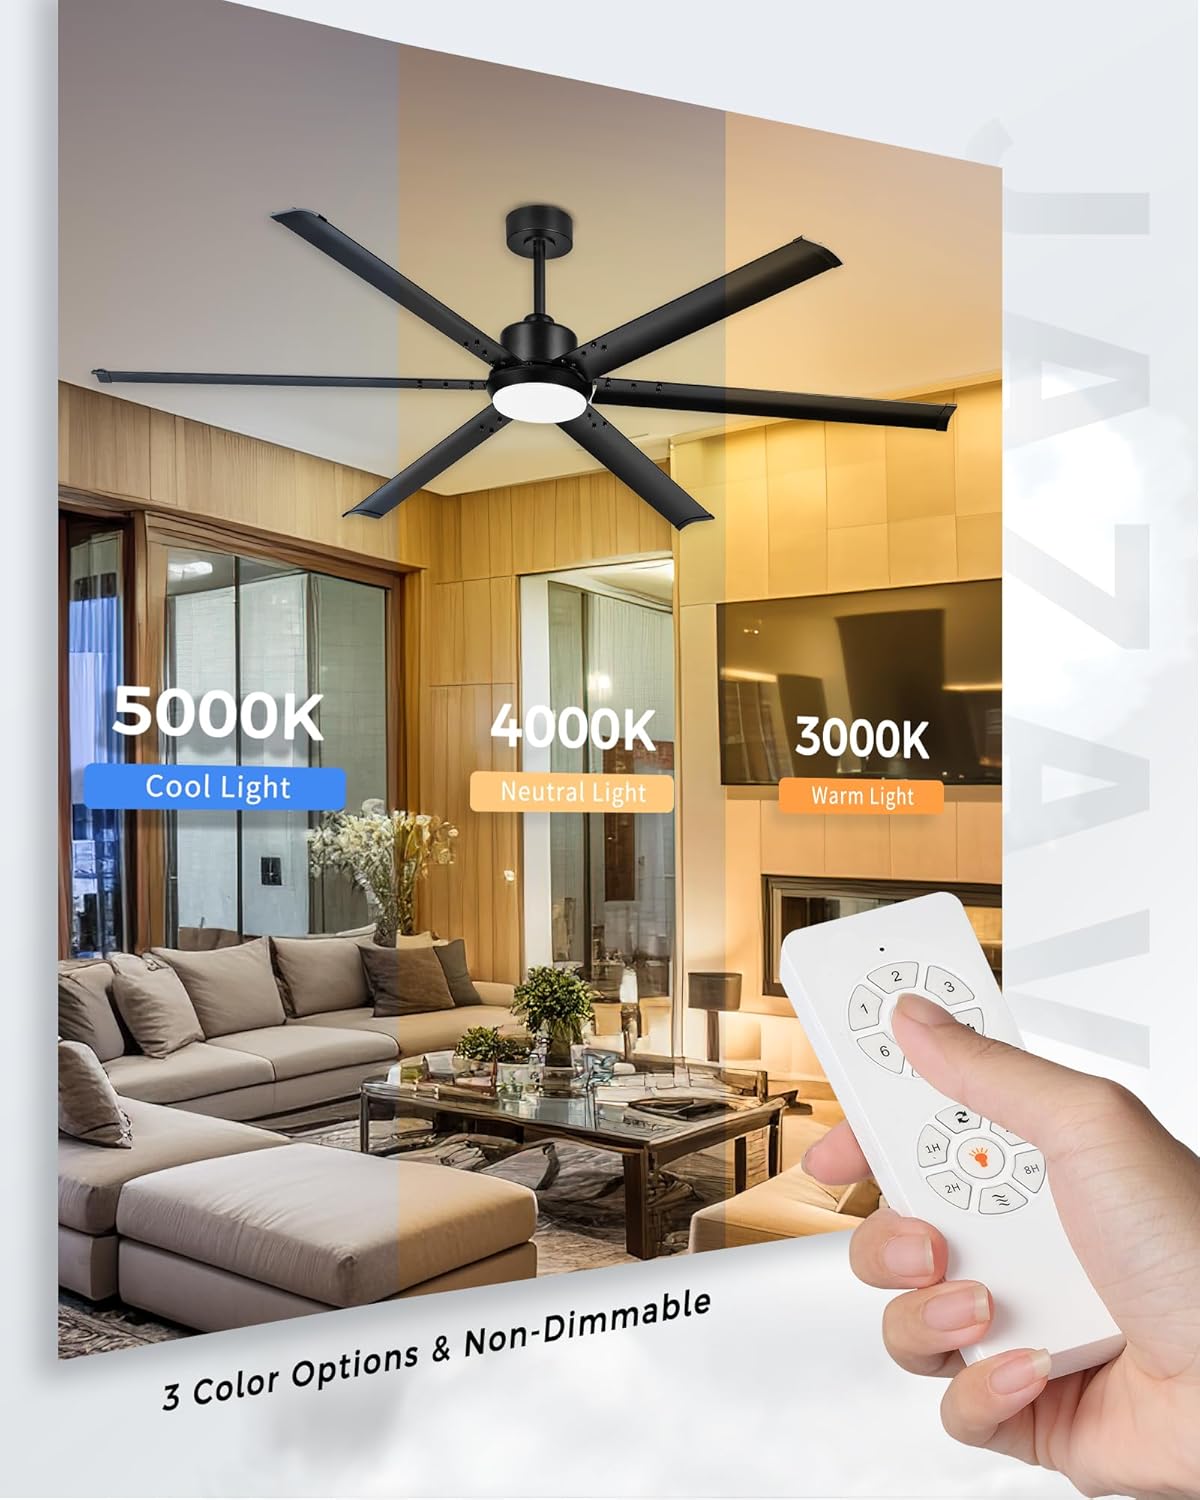
Figure 2.1: Fan components and performance overview.
3. Installation Guide
Professional installation is recommended. Ensure power is off at the circuit breaker before starting.
3.1 Pre-Installation
- Turn off power at the main circuit breaker.
- Ensure the ceiling junction box is securely mounted and rated for ceiling fan support.
- Unpack all components and lay them out for easy access.
3.2 Mounting Bracket Installation
- Secure the mounting bracket to the ceiling junction box using the provided screws and washers. Ensure it is firmly attached.
3.3 Downrod Assembly
- Select the appropriate downrod length (5", 10", or 24") for your ceiling height. For ceilings around 13 ft (4 m), a longer downrod is recommended.
- Feed the fan wires through the chosen downrod.
- Attach the downrod to the fan motor assembly, securing it with the pin and clip.
3.4 Wiring Connections
- Carefully lift the fan assembly and hang it on the mounting bracket hook.
- Connect the electrical wires (Live, Neutral, Ground) from the fan to the house wiring using wire nuts, following local electrical codes. Ensure the receiver for the remote control is properly wired.
3.5 Attaching Fan Blades and Light Kit
- Attach each aluminum blade to the motor housing using the provided screws. Ensure all screws are tightened securely.
- Connect the light kit wiring to the fan motor wiring.
- Attach the light kit to the fan motor housing and secure the light cover.

Figure 3.1: Installation of the fan motor and downrod.

Figure 3.2: Wiring and safety cable connection during installation.
4. Operating Instructions
Your JAZAVA ceiling fan is controlled by the included remote. Ensure the remote has fresh batteries installed.
4.1 Remote Control Functions
- Power Button: Turns the fan and light on or off.
- Fan Speed Buttons (1-6): Adjusts the fan speed from a gentle breeze (1) to a powerful airflow (6).
- Reverse Button: Changes the direction of blade rotation. Use downward airflow for cooling in warm weather and upward airflow for circulating warm air in cool weather.
- Light On/Off Button: Turns the integrated LED light on or off.
- Light Color Temperature Button: Cycles through three color temperature options: 3000K (Warm Light), 4000K (Neutral Light), and 5000K (Cool Light). The light is non-dimmable.

Figure 4.1: Overview of the remote control functions.

Figure 4.2: Light color temperature options (3000K, 4000K, 5000K).
Figure 4.3: Fan speed settings and their corresponding airflow intensity.
5. Maintenance
Regular maintenance ensures optimal performance and longevity of your ceiling fan.
- Cleaning: Periodically wipe the fan blades and motor housing with a soft, damp cloth. Do not use abrasive cleaners or solvents, as they may damage the finish.
- Blade Inspection: Annually check all blade attachment screws for tightness. Loose screws can cause wobbling and noise.
- Light Source: The integrated LED light source is designed for long-term use and is not user-replaceable.
6. Troubleshooting
If you encounter issues with your fan, refer to the following common problems and solutions.
| Problem | Possible Cause | Solution |
|---|---|---|
| Fan does not start | No power supply; Loose wiring; Remote battery dead | Check circuit breaker; Verify all wire connections; Replace remote battery. |
| Fan wobbles | Loose blade screws; Unbalanced blades; Loose mounting bracket | Tighten all blade screws; Use a balancing kit (not included) if necessary; Ensure mounting bracket is secure. |
| Light does not work | No power to light kit; Loose wiring; Faulty light kit | Check power supply; Verify light kit wiring connections; Contact customer support if light kit is faulty. |
| Remote not responding | Dead battery; Obstruction to receiver; Remote not paired | Replace remote battery; Ensure receiver is not obstructed; Refer to remote pairing instructions (if applicable, usually automatic). |
7. Product Specifications
Detailed technical specifications for your JAZAVA ceiling fan.
| Feature | Detail |
|---|---|
| Brand | JAZAVA |
| Model | ZCCF06BK-72 |
| Size | 72 Inch |
| Color | Matte Black |
| Material | Aluminum, Metal |
| Number of Blades | 6 |
| Number of Speeds | 6 |
| Airflow Capacity | 9388 CFM (Max) |
| RPM | 110 RPM (Max) |
| Noise Level | 35 dB |
| Wattage | 55 watts |
| Voltage | 110 volts |
| Light | Integrated LED, 3 Color Temperatures (3000K, 4000K, 5000K), Non-Dimmable |
| Control Method | Remote Control |
| Mounting Type | Downrod Mount (5", 10", 24" downrods included; 48" sold separately) |
| Ceiling Slope Support | Up to 12° |
| Recommended Room Size | 400-650 sq. ft. |
| Certifications | ETL, FCC |
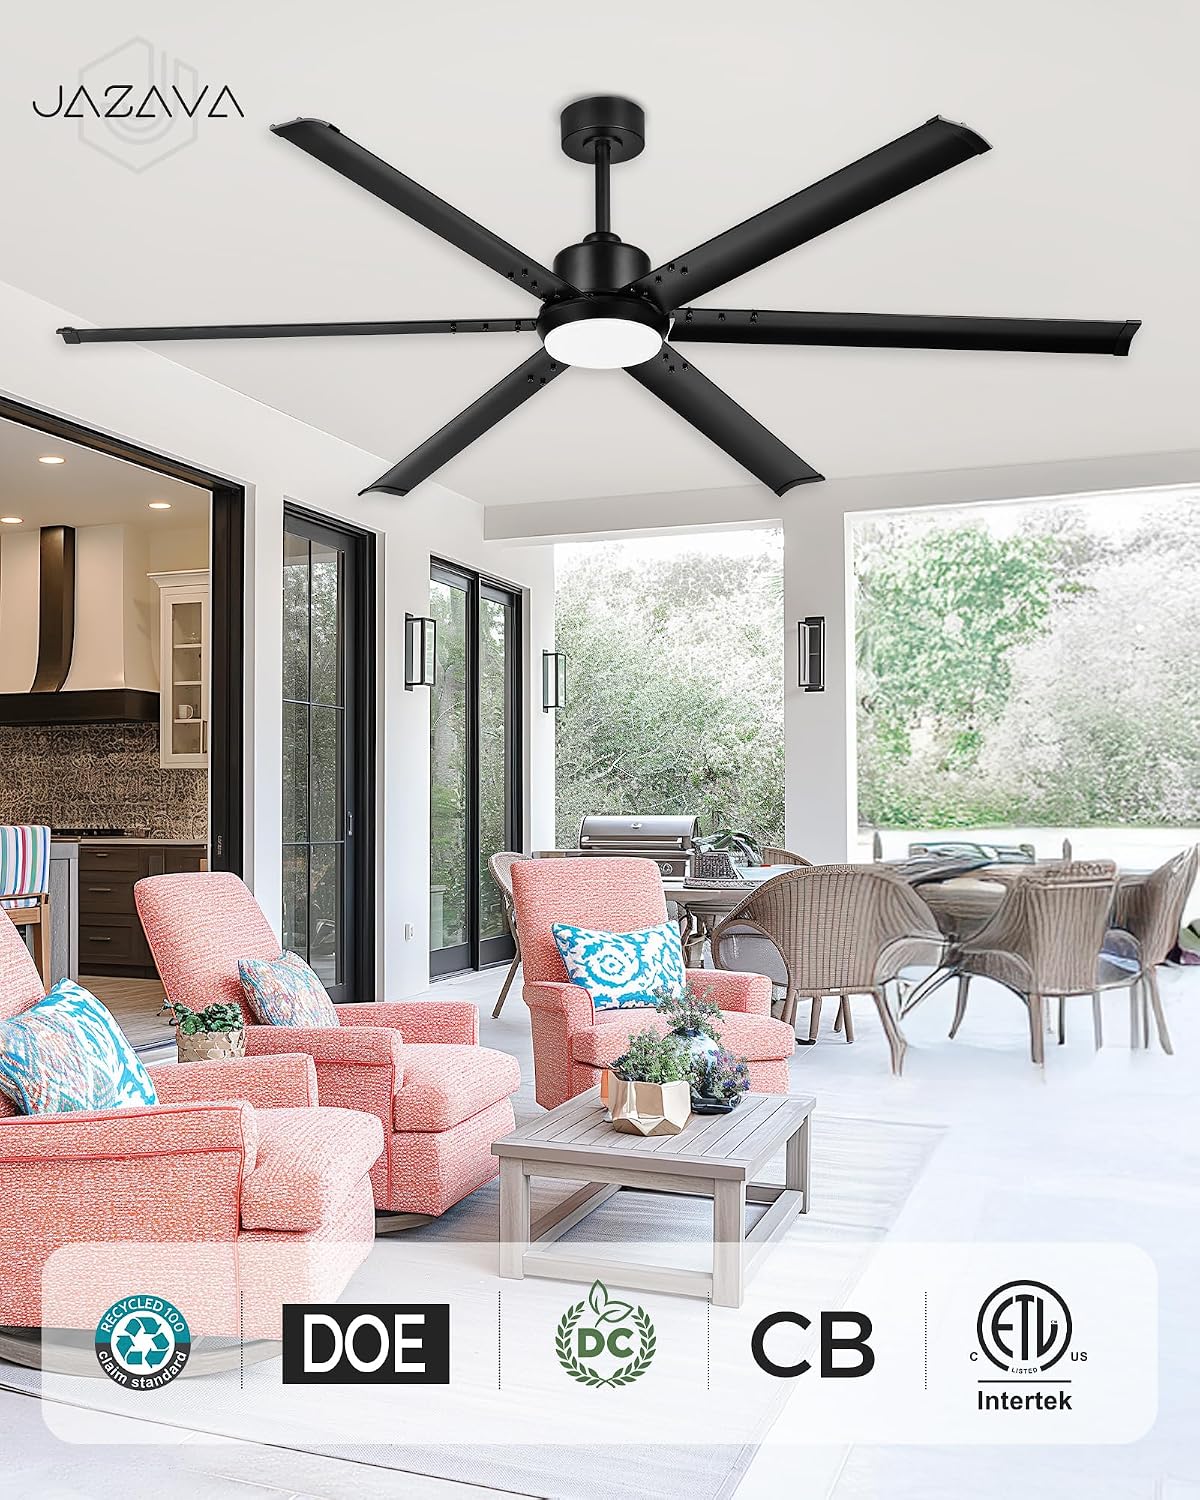
Figure 7.1: Product dimensions and room size recommendations.

Figure 7.2: DC motor for efficient and quiet operation.
8. Warranty and Customer Support
JAZAVA provides a 2-year limited warranty for this product, covering defects in materials and workmanship under normal use.
8.1 Customer Support
For any questions regarding setup, installation, troubleshooting, or warranty claims, please contact JAZAVA customer service:
- Email: service@jazava.com
- Phone: +1(XXX)XXX-XXXX
- Operating Hours: Monday - Friday, 8:30 a.m. - 5:00 p.m. PT

Figure 8.1: JAZAVA customer support information.

