
1. Introduction
The ACMER T1 is a compact and versatile 2.5W diode laser engraver and cutter designed for precision work. Its portable design and user-friendly interface make it suitable for various applications, from educational projects to small business creations. This manual provides essential information for the safe and effective operation of your ACMER T1 device.

Image 1.1: The ACMER T1 Laser Engraver highlighting its compact design, ease of use, safety features, 2.5W laser power (6000mW is a common marketing term for 2.5W optical power), multi-material capability, dual device control, and maximum engraving speed.
Key features include a 0.04 x 0.04 mm laser spot size, 0.01 mm repeatability, and a maximum engraving speed of 10,000 mm/min. It supports a wide range of materials such as wood, acrylic, leather, ceramic, and glass.
2. Safety Information
The ACMER T1 is a Class 4 laser product. Class 4 lasers are high-power lasers that can cause severe eye and skin injuries from direct or scattered beam exposure. Always exercise extreme caution when operating this device.
2.1 General Safety Precautions
- Eye Protection: Always wear certified laser safety goggles that block the 455 ± 5 nm wavelength when the laser is in operation. Never look directly into the laser beam.
- Skin Protection: Avoid direct exposure of skin to the laser beam.
- Fire Hazard: Laser engraving and cutting can generate heat and sparks, potentially igniting flammable materials. Always supervise the machine during operation and have a fire extinguisher nearby. Ensure adequate ventilation.
- Work Area: Operate the laser in a well-ventilated area, away from flammable liquids, gases, or materials. Keep the work area clean and free of clutter.
- Children and Pets: Keep children and pets away from the laser engraver during operation.
- Power Supply: Use only the provided power adapter. Ensure the power supply is stable and correctly grounded.
- Emergency Stop: Familiarize yourself with the location of the emergency stop button and how to use it.
2.2 Laser Safety Certification
The ACMER T1 is certified according to Laser Safety Class 4 and complies with IEC 60825-1 standards, ensuring a level of safety when operated correctly and with appropriate precautions.

Image 2.1: Certificates of conformity for the ACMER T1, demonstrating adherence to international safety standards.
3. Product Components
The ACMER T1 package typically includes:
- ACMER T1 Laser Engraver Unit
- Power Adapter
- USB Cable
- Laser Safety Goggles
- Sample Materials for Testing
- User Manual (this document)
4. Setup
Follow these steps to set up your ACMER T1 laser engraver.
4.1 Physical Setup
- Unpack: Carefully remove all components from the packaging.
- Placement: Place the engraver on a stable, level, and heat-resistant surface in a well-ventilated area. Ensure there is sufficient space around the machine for safe operation and material handling.
- Connect Power: Connect the power adapter to the engraver and then to a suitable power outlet. Do not power on yet.
- Connect to Computer: Connect the engraver to your computer using the provided USB cable.
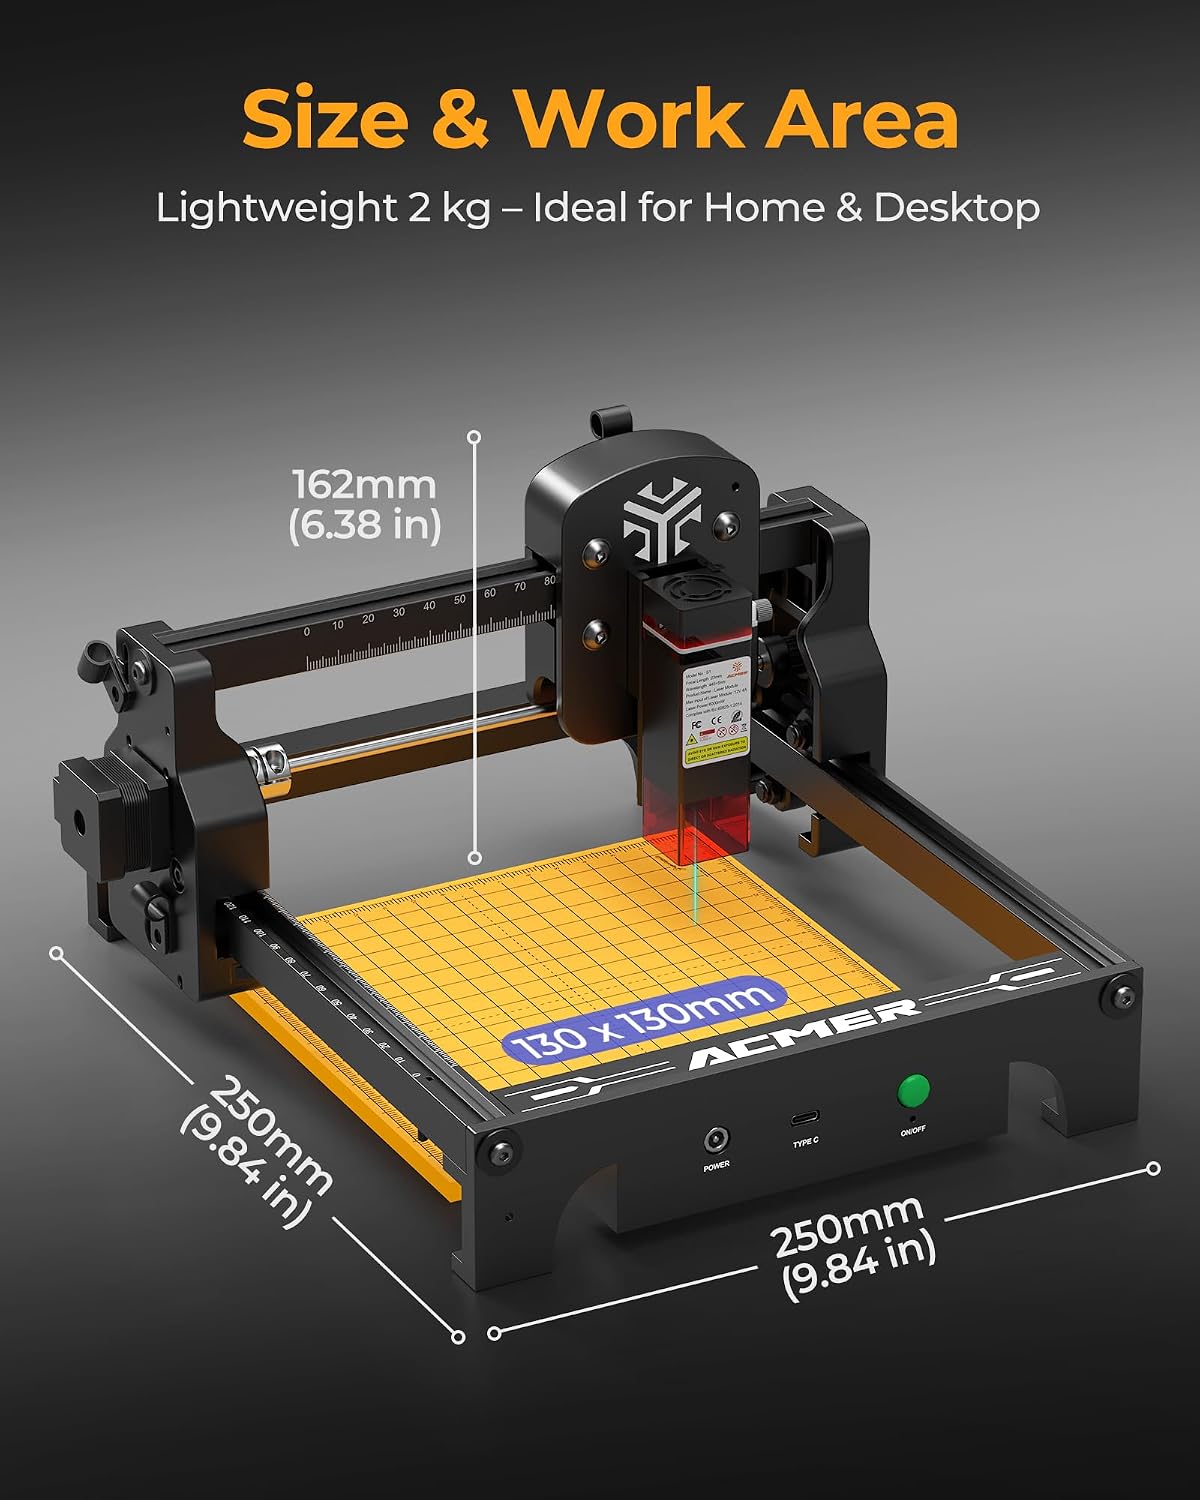
Image 4.1: Physical dimensions and work area of the ACMER T1 laser engraver. The device is lightweight at 2 kg, with a work area of 130 x 130 mm.
4.2 Software Installation and Compatibility
The ACMER T1 is compatible with popular laser control software:
- LightBurn: A powerful, paid software for laser control, design, and editing.
- LaserGRBL: A free, open-source software for Windows users, primarily for engraving.
- ACMER APP: A dedicated application for control.
The engraver supports various file formats including NC, DXF, BMP, JPG, and PNG. It is compatible with macOS, Windows, and Linux operating systems.
- Download Software: Visit the official ACMER website or the respective software websites (LightBurn, LaserGRBL) to download the latest version.
- Install Drivers: Follow the software installation instructions, which typically include driver installation for the laser engraver.
- Initial Connection: Launch the software and establish a connection with the ACMER T1. Refer to the software's documentation for detailed connection procedures.
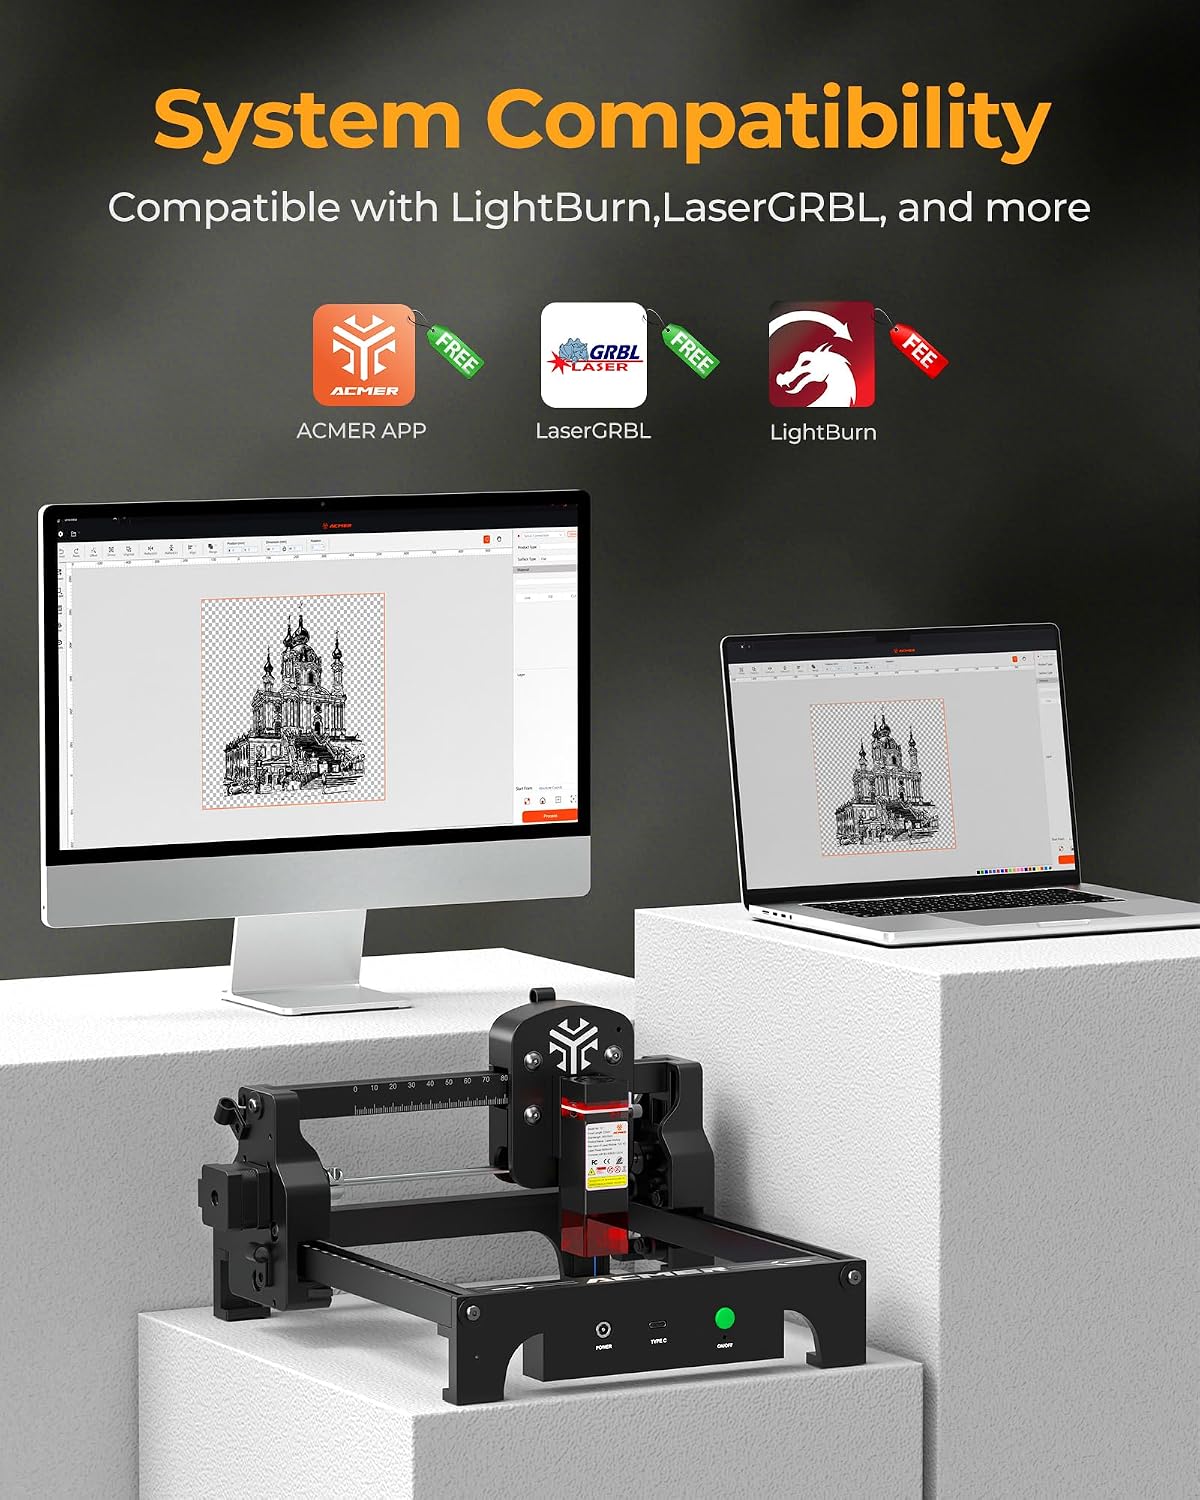
Image 4.2: System compatibility of the ACMER T1, showing support for ACMER APP, LaserGRBL, and LightBurn across various operating systems.
5. Operating Instructions
This section outlines the basic steps for operating your ACMER T1 laser engraver.
5.1 Preparing for Engraving/Cutting
- Material Placement: Place the material to be engraved or cut securely on the work area. Ensure it is flat and stable.
- Focus Adjustment: Adjust the laser focus according to the material thickness. Most software provides tools for this.
- Safety Goggles: Always wear your laser safety goggles before starting any operation.
5.2 Software Operation
- Load Design: Open your chosen laser software (e.g., LightBurn, LaserGRBL) and load your design file.
- Adjust Settings: Configure laser power, speed, and passes based on the material type and desired effect. Refer to material settings guides for recommendations. The ACMER T1 offers a maximum engraving speed of 10,000 mm/min.
- Frame/Preview: Use the framing function in your software to preview the laser path on the material without firing the high-power laser. This helps ensure correct positioning.
- Start Operation: Once all settings are confirmed and safety precautions are in place, initiate the engraving or cutting process from the software.

Image 5.1: High-performance cutting capabilities of the ACMER T1, illustrating the fine laser spot size and examples of material cutting thicknesses.
5.3 Material Compatibility and Results
The ACMER T1 can engrave and cut a variety of materials:
- Engraving: Wood, bamboo, paper, plastic, leather, PCB, aluminum oxide, non-reflective coated/painted metals, ceramic, glass.
- Cutting: Thin wood, acrylic, leather, cardboard. (Specific thicknesses depend on material density and laser settings).

Image 5.2: Example of superior engraving output achieved with the ACMER T1, demonstrating micron-level precision.

Image 5.3: Showcase of creative works possible with the ACMER T1, including engraved glass, leather, and metal items.
6. Maintenance
Regular maintenance ensures optimal performance and longevity of your ACMER T1.
- Cleaning the Lens: Periodically clean the laser lens with a soft, lint-free cloth and lens cleaning solution. A dirty lens can reduce laser power and engraving quality.
- Cleaning the Work Area: Remove debris and dust from the work area after each use to prevent interference with laser movement and to reduce fire risk.
- Lubrication: Check the guide rails and moving parts for smooth operation. Apply a small amount of appropriate lubricant if necessary, following manufacturer recommendations.
- Firmware Updates: Check the ACMER official website for any available firmware updates for your device.
7. Troubleshooting
This section addresses common issues you might encounter with your ACMER T1.
7.1 Common Issues and Solutions
| Issue | Possible Cause | Solution |
|---|---|---|
| Laser not firing | Power not connected; Emergency stop engaged; Software not connected; Laser module fault. | Check power cable; Release emergency stop; Ensure software connection; Contact support if module is faulty. |
| Poor engraving quality | Incorrect focus; Wrong power/speed settings; Dirty lens; Material not flat. | Adjust laser focus; Optimize power/speed settings for material; Clean laser lens; Ensure material is flat. |
| Machine not moving | USB connection issue; Software error; Motor cable disconnected. | Check USB cable and port; Restart software/computer; Verify motor cable connections. |
| Software not detecting device | Drivers not installed; Incorrect port selected; USB cable fault. | Install necessary drivers; Select correct COM port in software; Try a different USB cable or port. |
If you encounter an issue not listed here or cannot resolve a problem, please contact ACMER customer support.
8. Specifications
Detailed technical specifications for the ACMER T1 Laser Engraver.
| Feature | Detail |
|---|---|
| Model Number | T1 (gravur laser_T1) |
| Laser Power | 2.5W (Diode Laser) |
| Laser Wavelength | 455 ± 5 nm |
| Spot Size | 0.04 × 0.04 mm |
| Engraving Precision | 0.01 mm |
| Repeatability Precision | 0.01 mm |
| Work Area | 130 × 130 mm |
| Max Engraving Speed | 10,000 mm/min |
| Product Dimensions (L x W x H) | 250 × 250 × 162 mm (9.84 x 9.84 x 6.38 inches) |
| Product Weight | 1.83 kg (Approx. 2 kg packaged) |
| Material | Aluminum, Plastic |
| Color | Black |
| Total Power | 24 W |
| Power Supply | DC 12V, 2A |
| Laser Safety Class | Class 4 (IEC 60825-1 compliant) |
| Supported Software | LightBurn, LaserGRBL, ACMER APP |
| Supported OS | macOS, Windows, Linux |
| Supported File Formats | NC, DXF, BMP, JPG, PNG |
9. Warranty
The ACMER T1 Laser Engraver comes with a 2-year availability of spare parts, ensuring long-term support for your device. For specific warranty terms and conditions, please refer to the purchase documentation or contact ACMER customer support.
10. Support
For technical assistance, troubleshooting, or any inquiries regarding your ACMER T1, please utilize the following support resources:
- Online Support: ACMER provides 24/7 online support. Visit the official ACMER website for contact options, including live chat, email, or support tickets.
- Community Forums: Engage with other ACMER users and experts on official or community forums for tips, tricks, and solutions.
- Documentation: Refer to the latest user manuals, FAQs, and software guides available on the ACMER website.
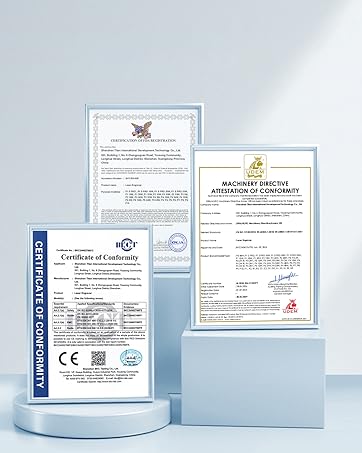
Image 10.1: ACMER offers 24/7 online support for customer assistance.


