
Introduction
The Portta DX20R is an HDMI video capture card designed for recording and streaming high-quality video content. It supports 4K@60Hz capture and passthrough, with capabilities for 1080p@240Hz and 2K@120Hz. This device features ultra-low latency, HDR, and VRR technology, making it suitable for gaming consoles and PC setups. It connects via USB 3.0 and is compatible with Windows, macOS, and Linux operating systems, integrating with popular streaming software like OBS.
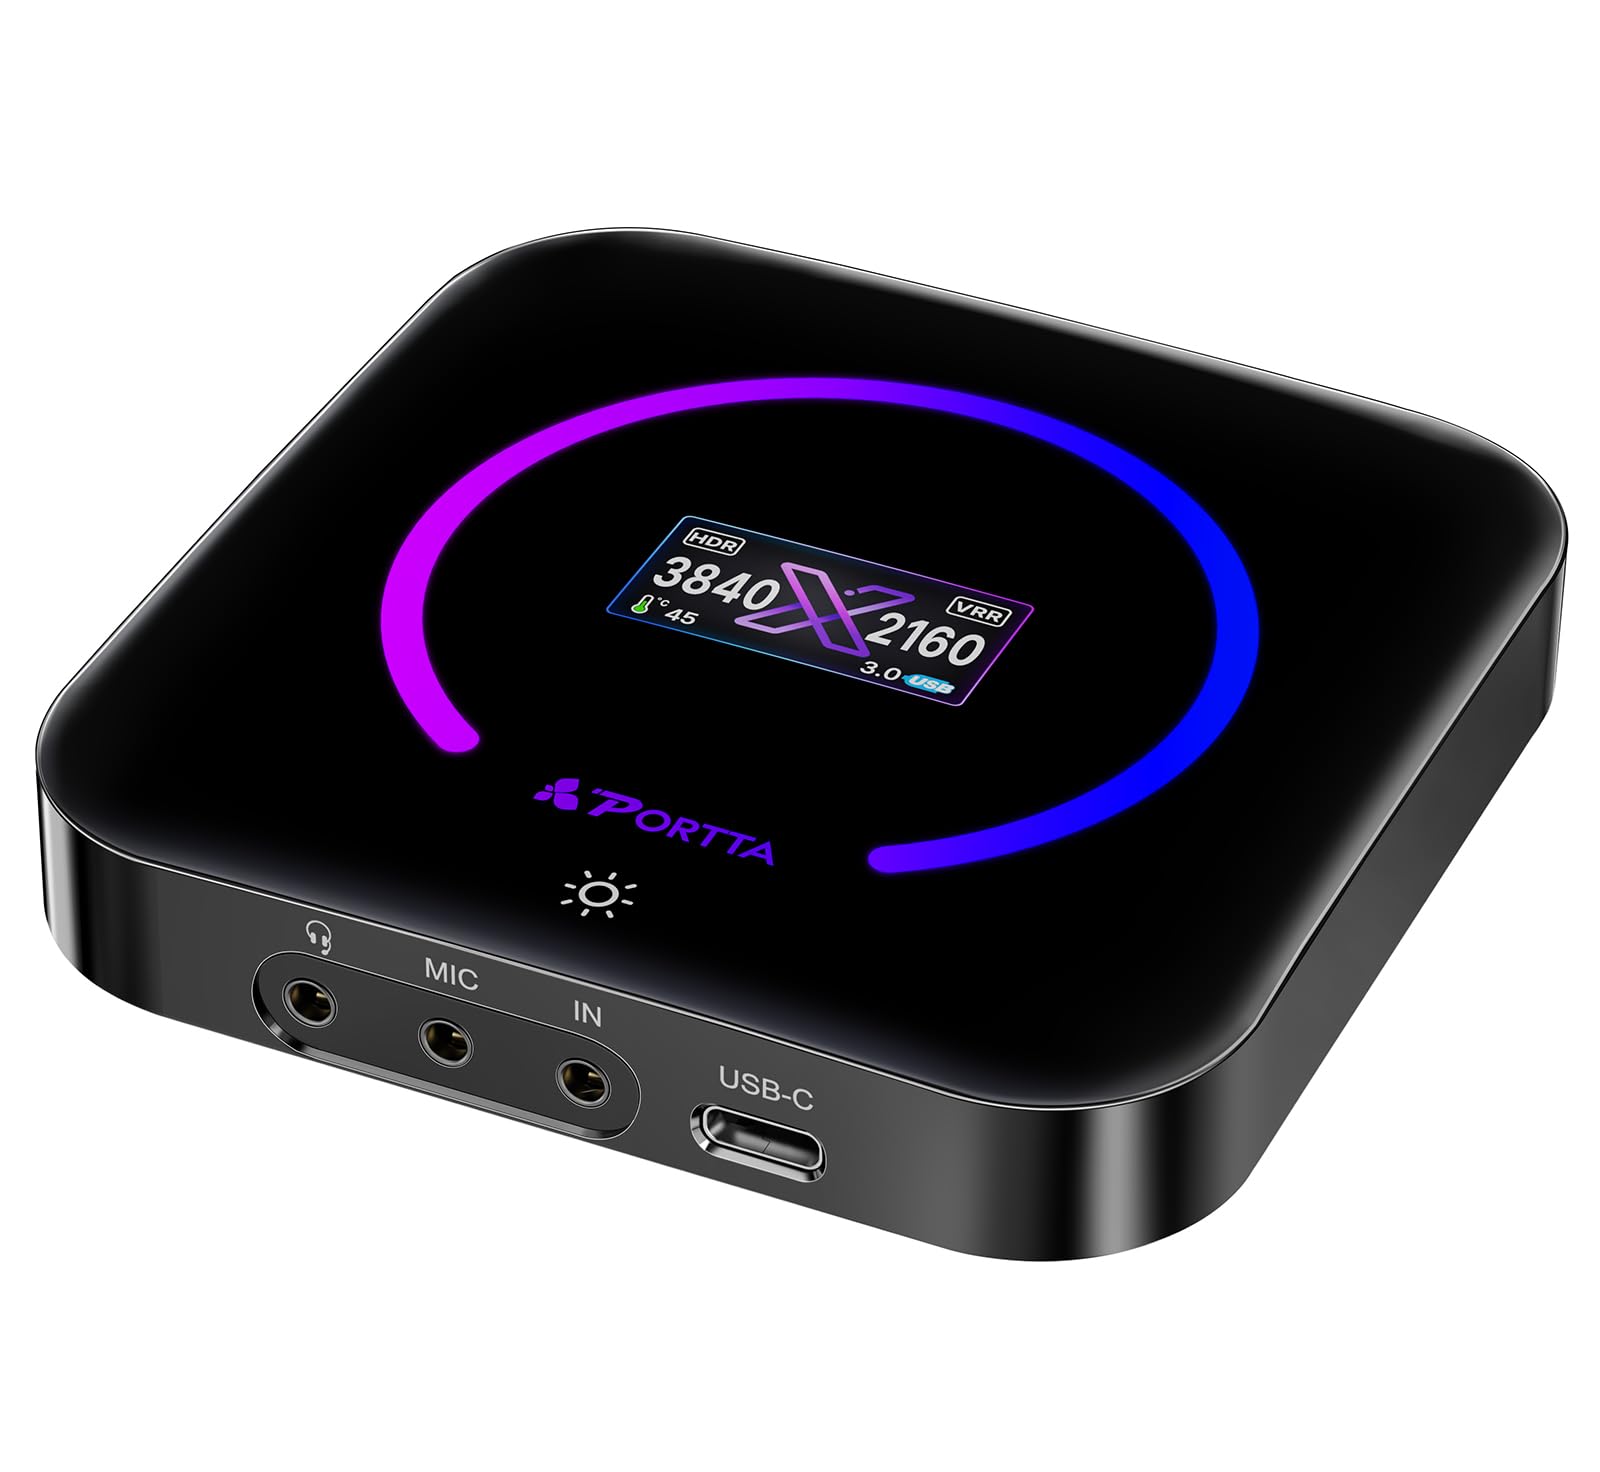
Image: The Portta DX20R HDMI Video Capture Card, showcasing its compact design and illuminated display.
Package Contents
Verify that all items are present in the package:
- Portta DX20R HDMI Video Capture Card
- USB Cable (USB-C to USB-A/USB-C)
- HDMI Cable
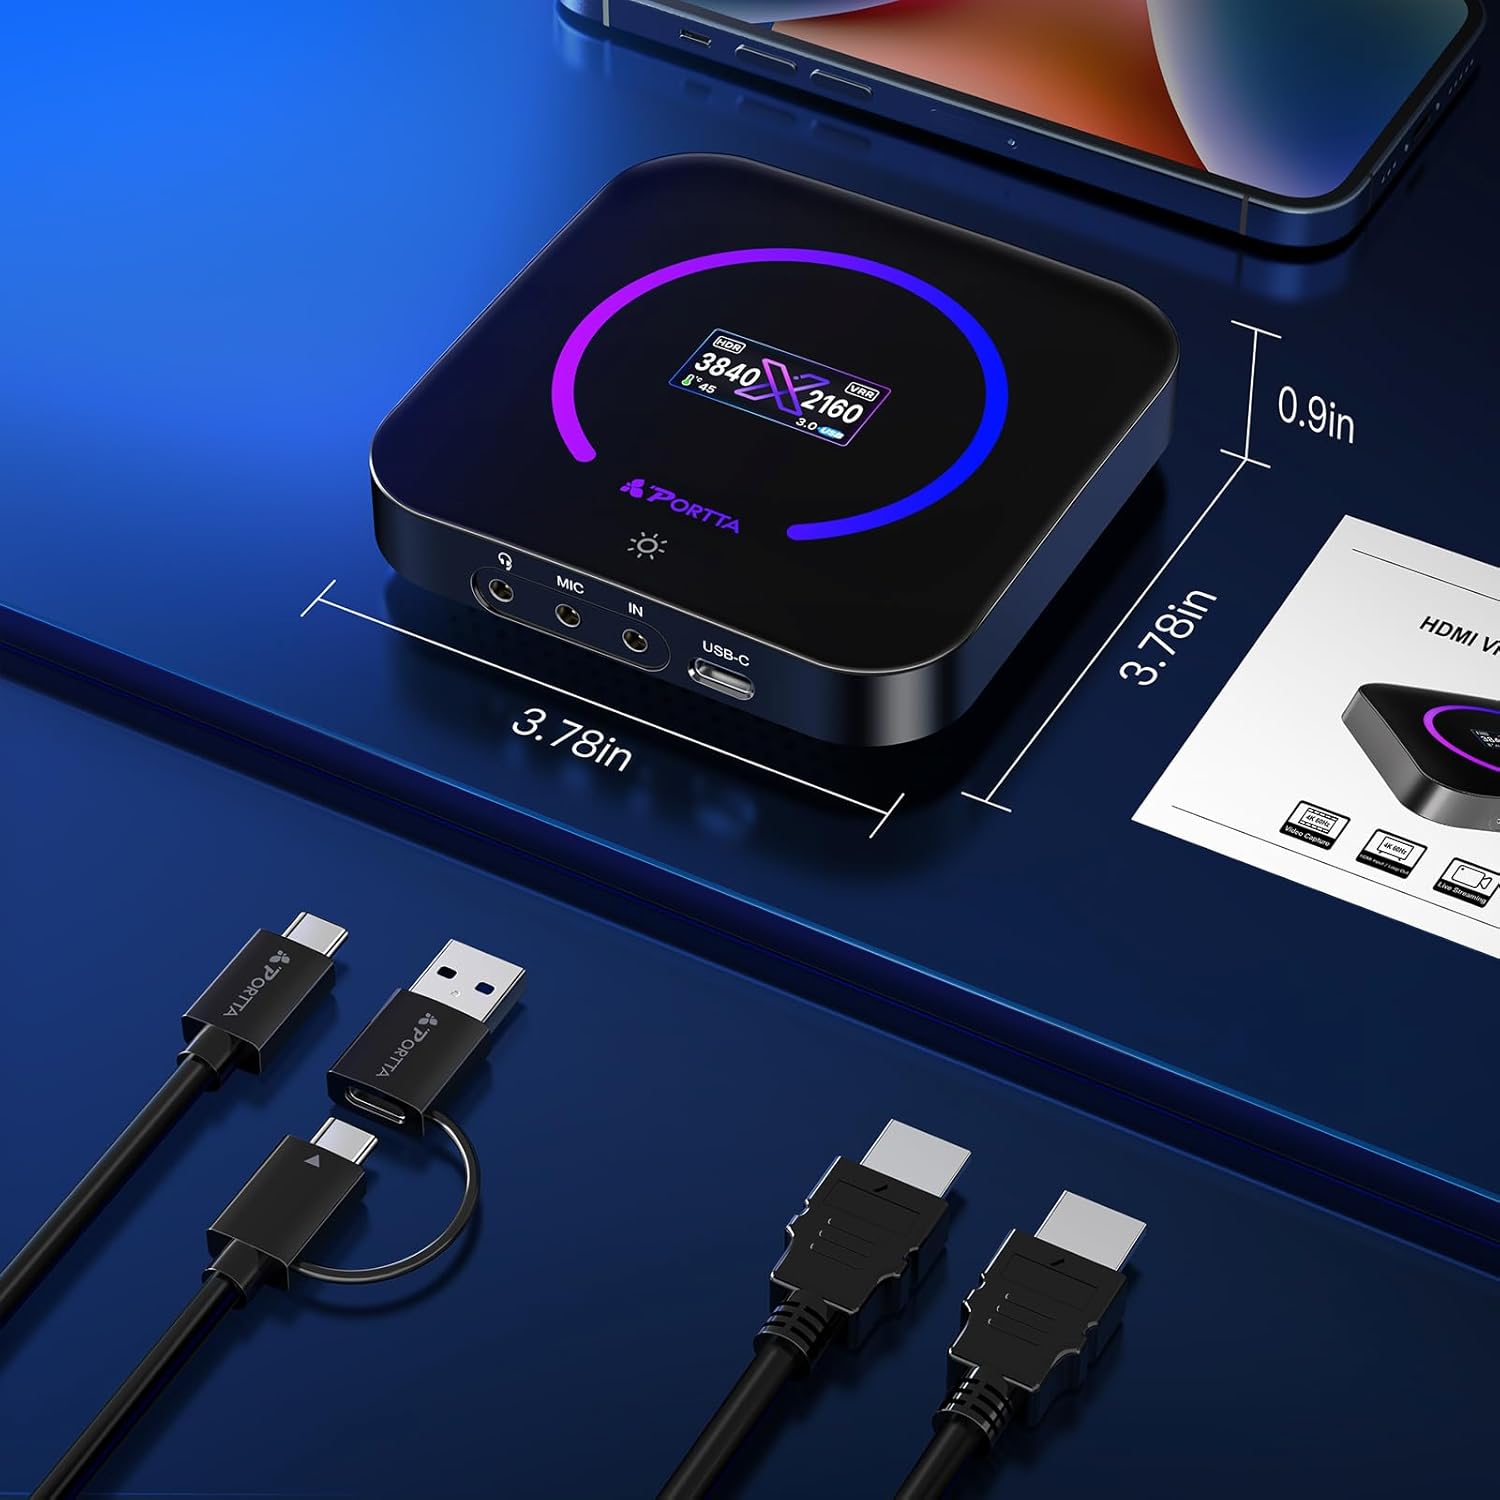
Image: The Portta DX20R capture card along with its included USB and HDMI cables, illustrating the device's compact dimensions.
Product Features
- 4K 60Hz Ultra Capture & Passthrough: Records video at 4K@60Hz, 2K@144Hz, and 1080p@240Hz. Supports YUY2, NV12, and RGB24 formats.
- Advanced VRR HDR Technology: Enhances visual quality with Variable Refresh Rate (VRR) and High Dynamic Range (HDR) for smoother gameplay.
- Smart Display & Control: Features a real-time display for operation parameters and a smart switch for display and ring light control (press and hold for 2-3 seconds).
- Broad Compatibility: Plug-and-play functionality with Windows, macOS, and Linux, requiring no driver installation. Compatible with popular streaming software.
- Utility Software: The PORTTA CapHub Utility (Windows/macOS) allows customization of video settings, audio mixing, firmware updates, and EDID/VRR mode management.

Image: Key features of the Portta DX20R, including 4K60Hz capture, HDMI loop out, HDR10 support, ultra-low latency, VRR, and broad device compatibility.
Video: An official product video demonstrating the features and capabilities of the Portta DX20R USB 3.0 HDMI Capture Card.
Setup Instructions
- Connect HDMI Input: Connect your video source (e.g., gaming console, camera) to the HDMI IN port on the DX20R using an HDMI cable.
- Connect HDMI Output (Passthrough): Connect your display device (e.g., TV, monitor) to the HDMI Loop OUT port on the DX20R using an HDMI cable. This allows you to play games on your primary display without latency while capturing.
- Connect to Computer: Connect the DX20R to your computer's USB 3.0 port using the provided USB-C to USB-A/USB-C cable. Ensure you use a USB 3.0 port for optimal performance.
- Connect Audio (Optional): If using an external microphone, connect it to the Mic IN port. For audio monitoring, connect headphones to the AUX port.
- Power On: The device will power on automatically once connected to your computer via USB.

Image: A detailed diagram illustrating the various input and output ports on the Portta DX20R capture card, including AUX, Mic IN, USB-C, HDMI IN, and HDMI Loop OUT.
Operating Instructions
Smart Display and Ring Light Control
- The DX20R features a built-in display that shows real-time operating parameters such as resolution, frame rate, and temperature.
- To turn the display and the device's ring light on or off, press and hold the dedicated button (often marked with a lightbulb icon) for 2-3 seconds.

Image: The Portta DX20R displaying real-time operating parameters, including resolution, HDR/VRR status, temperature, and USB connection type. The image also indicates how to control the display and ring light.
Software Integration
Using with OBS Studio (Windows/macOS/Linux)
The Portta DX20R is plug-and-play compatible with OBS Studio. Follow these steps to set up your capture card:
- Add Source: In OBS Studio, click the "+" icon in the "Sources" dock (lower-left corner).
- Select Device: Choose "Video Capture Device" or "Audio Input Capture" from the list.
- Create New: Select "Create new" and name your device (e.g., "DX20R Video"). Click "OK".
- Configure Device: In the properties window, select "DX20R Video Device" from the "Device" dropdown. Choose your desired resolution and FPS (e.g., "3840x2160" for 4K, "60" for 60 FPS). Click "OK".
- Adjust Audio Properties: For audio, click the gear icon next to your audio source in the "Audio Mixer" dock. Select "Advanced Audio Properties".
- Monitor and Output: Set the "Audio Monitoring" for your capture card to "Monitor and Output" to hear the audio while streaming/recording.
- Start Recording/Streaming: Once configured, click "Start Recording" or "Start Streaming" in the "Controls" dock.

Image: A visual guide on how to add the Portta DX20R as a video or audio source within OBS Studio, detailing the selection process for the device and its resolution settings.

Image: Instructions for adjusting advanced audio properties in OBS Studio for the Portta DX20R, including setting audio monitoring and initiating recording or streaming.
macOS OBS Operation Notes
On macOS, you may need to grant OBS Studio permissions to access your camera and microphone. Follow system prompts to ensure "Access Granted" appears for both camera and microphone in OBS settings.

Image: A guide for macOS users on how to enable necessary permissions for OBS Studio to access the camera and microphone, ensuring proper functionality of the capture card.
PORTTA CapHub Utility (Windows/macOS)
Download the CapHub Utility from the official Portta website to access advanced settings:
- Video Settings: Adjust brightness, contrast, grayscale, and saturation.
- Audio Mixing: Control microphone, line-in, HDMI-in, and line-out volumes.
- EDID Modes: Select between Internal, Display, or Merged EDID modes for resolution management.
- VRR Settings: Enable or disable Variable Refresh Rate.
- Firmware Updates: Keep your device up-to-date.
- HDCP Detection: Option to disable HDCP for compatibility with certain signals (note: disabling HDCP may block playback of protected signals).

Image: The CapHub Utility interface demonstrating EDID mode settings (Internal, Display, Merged) and options for preferred EDID resolutions.

Image: The CapHub Utility showing controls for enabling/disabling VRR and sliders for video adjustments like brightness, contrast, grayscale, and saturation.

Image: The CapHub Utility's audio settings, allowing users to adjust volume levels for microphone, line-in, HDMI-in, and line-out, with an option to mix mic and line audio.

Image: The CapHub Utility displaying firmware information and controls for HDCP detection, allowing users to enable or disable it for compatibility purposes.
Maintenance
- Cleaning: Use a soft, dry cloth to clean the device. Avoid liquid cleaners or abrasive materials.
- Storage: Store the device in a cool, dry place away from direct sunlight and extreme temperatures.
- Cable Management: Ensure cables are not kinked or strained to prevent damage to the connectors and ports.
- Firmware Updates: Regularly check for and install firmware updates via the CapHub Utility to ensure optimal performance and compatibility.
Troubleshooting
| Problem | Possible Cause | Solution |
|---|---|---|
| No video signal in OBS/software. | Incorrect source selection, loose cables, HDCP enabled on source. | Verify HDMI IN and USB 3.0 connections. Ensure "DX20R Video Device" is selected in software. Check source device settings for HDCP and disable if possible, or use CapHub Utility to disable HDCP detection. |
| No audio or distorted audio. | Incorrect audio settings, loose audio cables. | Check audio monitoring settings in OBS. Ensure external microphone/headphones are properly connected. Adjust audio levels in OBS or CapHub Utility. |
| High latency or dropped frames. | USB 2.0 port used, insufficient computer resources, cable quality. | Ensure the DX20R is connected to a USB 3.0 port. Close unnecessary applications on your computer. Use high-quality USB and HDMI cables. |
| Device display is off or ring light is not working. | Display/light turned off. | Press and hold the control button on the device for 2-3 seconds to toggle the display and ring light. |
| Software (CapHub Utility) not detecting device. | USB connection issue, software not installed correctly. | Ensure the device is properly connected via USB 3.0. Restart your computer and the CapHub Utility. Reinstall the CapHub Utility if necessary. |
Specifications
- Brand: Portta
- Model Number: DX20R
- Hardware Interface: HDMI, USB 3.0 Type C
- Video Capture Resolution: 4K@60Hz, 2K@144Hz, 1080p@240Hz
- Supported Formats: YUY2, NV12, RGB24
- Operating System Compatibility: Windows, macOS, Linux (plug-and-play)
- Compatible Devices: Gaming Consoles (PS5, Xbox), Laptops, PCs
- Item Weight: 68 Grams
- Item Dimensions: 3.78 x 3.78 x 0.91 inches
- Built-In Media: HDMI Cable, USB Cable

Image: The Portta DX20R's supported capture resolutions, including 1080p at 240Hz, 2K at 144Hz, and RGB24 format support, highlighting its Ultra HD 4K60Hz capture capability.
Warranty and Support
The Portta DX20R HDMI Video Capture Card comes with a 2-year warranty from the date of purchase.
For technical support, troubleshooting assistance, or warranty claims, please contact Portta customer service through their official website or the retailer where the product was purchased. Ensure you have your product model number (DX20R) and proof of purchase available when contacting support.