
1. Introduction
This manual provides detailed instructions for the installation, operation, and maintenance of your eRapta AWTCM702 Magnetic Solar Wireless Backup Camera System. This system is designed to enhance visibility and safety when maneuvering various vehicles, including trucks, RVs, trailers, campers, tractors, and fifth wheels. It features a 7-inch 1080P touchscreen monitor, magnetic solar-powered cameras, DVR functionality, and Blind Spot Detection (BSD).
2. What's in the Box
- 7-inch 1080P Touchscreen Monitor
- 2 x Magnetic Solar Wireless Cameras
- Windshield Suction Mount for Monitor
- Car Charger (12V power adapter)
- USB Charging Cable
- 32GB SD Card (pre-installed in monitor)
- User Manual
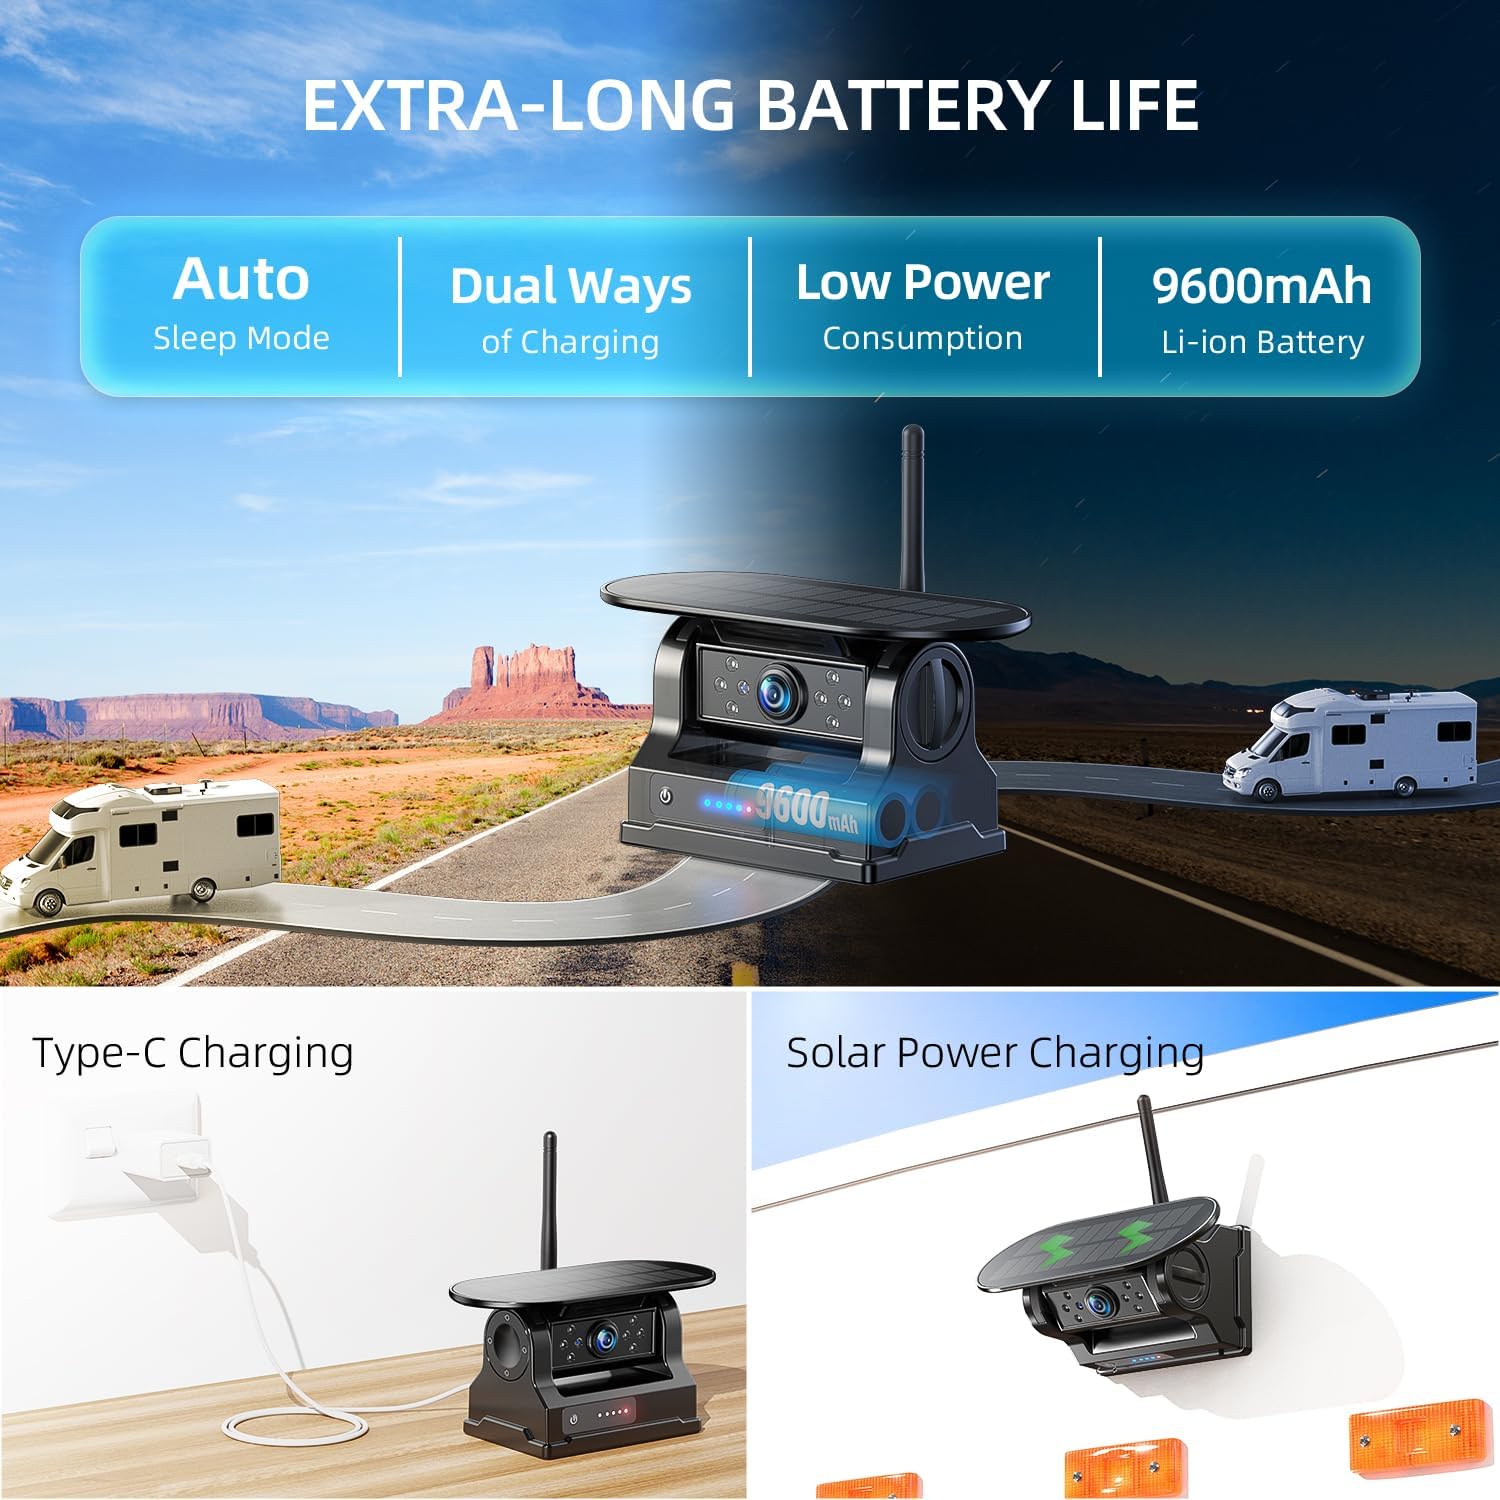
Image: The complete package contents of the eRapta AWTCM702 system.
3. Setup & Installation
3.1 Camera Installation
The eRapta AWTCM702 cameras feature a strong magnetic base for quick and easy installation on any metal surface of your vehicle (not suitable for aluminum surfaces). No wiring or drilling is required for camera mounting.
- Ensure the camera is fully charged before initial use. The camera can be charged via the included USB cable or through its integrated solar panel.
- Attach the magnetic camera securely to a suitable metal surface at the rear or side of your vehicle, trailer, or RV. Ensure the camera lens has a clear view of the area you wish to monitor.
- Adjust the camera angle as needed. The camera unit allows for angle adjustments to optimize your view.

Image: Step-by-step visual guide for magnetic camera attachment and monitor power connection.
3.2 Monitor Installation & Power
- Attach the 7-inch touchscreen monitor to your vehicle's windshield using the provided suction cup mount. Ensure the mount is securely fastened and the monitor is positioned for optimal viewing without obstructing your driving view.
- Connect the monitor to your vehicle's 12V power outlet (cigarette lighter socket) using the car charger. The monitor will power on automatically or can be manually turned on using the power button.
- The system is designed for auto-pairing. Once both the camera(s) and monitor are powered on, they should automatically connect and display the camera feed.

Image: The 7-inch touchscreen monitor interface with control options.
3.3 Video Overview of Setup
Video: An overview demonstrating the quick installation, auto-pairing, and key features of the eRapta backup camera system.
4. Operating Instructions
4.1 Touchscreen Operation
The monitor is operated via a full touchscreen interface. Tap and swipe to access various functions and settings.
- Power On/Off: Press the power button on the monitor to turn it on or off.
- Menu Navigation: Tap the screen to bring up the menu icons. Navigate through options like Picture, Flip, Mode, Smart, Playback, Recording, and System.
- Parking Lines: Adjust parking lines directly on the touchscreen. You can change their width, move them up or down, and adjust their height to match your vehicle and preferences.

Image: Touchscreen menu for accessing system settings and features.
4.2 Image Flipping (Mirror-Flip Setting)
The system allows you to flip the camera image horizontally or vertically. This is useful for different mounting positions or if you prefer a mirrored view (like a rearview mirror) or a normal view.
- Access the 'Flip' option from the main menu to adjust the image orientation.

Image: Demonstrating the mirror-flip setting for various camera orientations.
5. Features & Functions
5.1 Blind Spot Detection (BSD)
The BSD feature enhances driving safety by detecting obstacles or people near your vehicle's parking lines. When activated, the AI system will provide visual alarms on the screen and an audio warning.
- Customize BSD settings through the monitor's menu to define the detection zones and sensitivity.
Image: Visual representation of the Blind Spot Detection system identifying an obstacle.
5.2 Loop DVR with SD Card
The system includes a 32GB SD card for automatic loop video recording. This feature continuously records footage, overwriting the oldest files when the card is full.
- Access the 'Recording' or 'Playback' menu to view, manage, or delete recorded videos.

Image: The loop recording feature with included 32GB SD card for video storage.
5.3 Dual Charging Methods & Auto Sleep
The cameras are equipped with a built-in Li-ion battery and a solar panel, allowing for flexible charging. The camera enters an auto-sleep mode when the monitor is powered off to conserve battery.
- Monitor the battery level visually on both the camera unit and the monitor display.
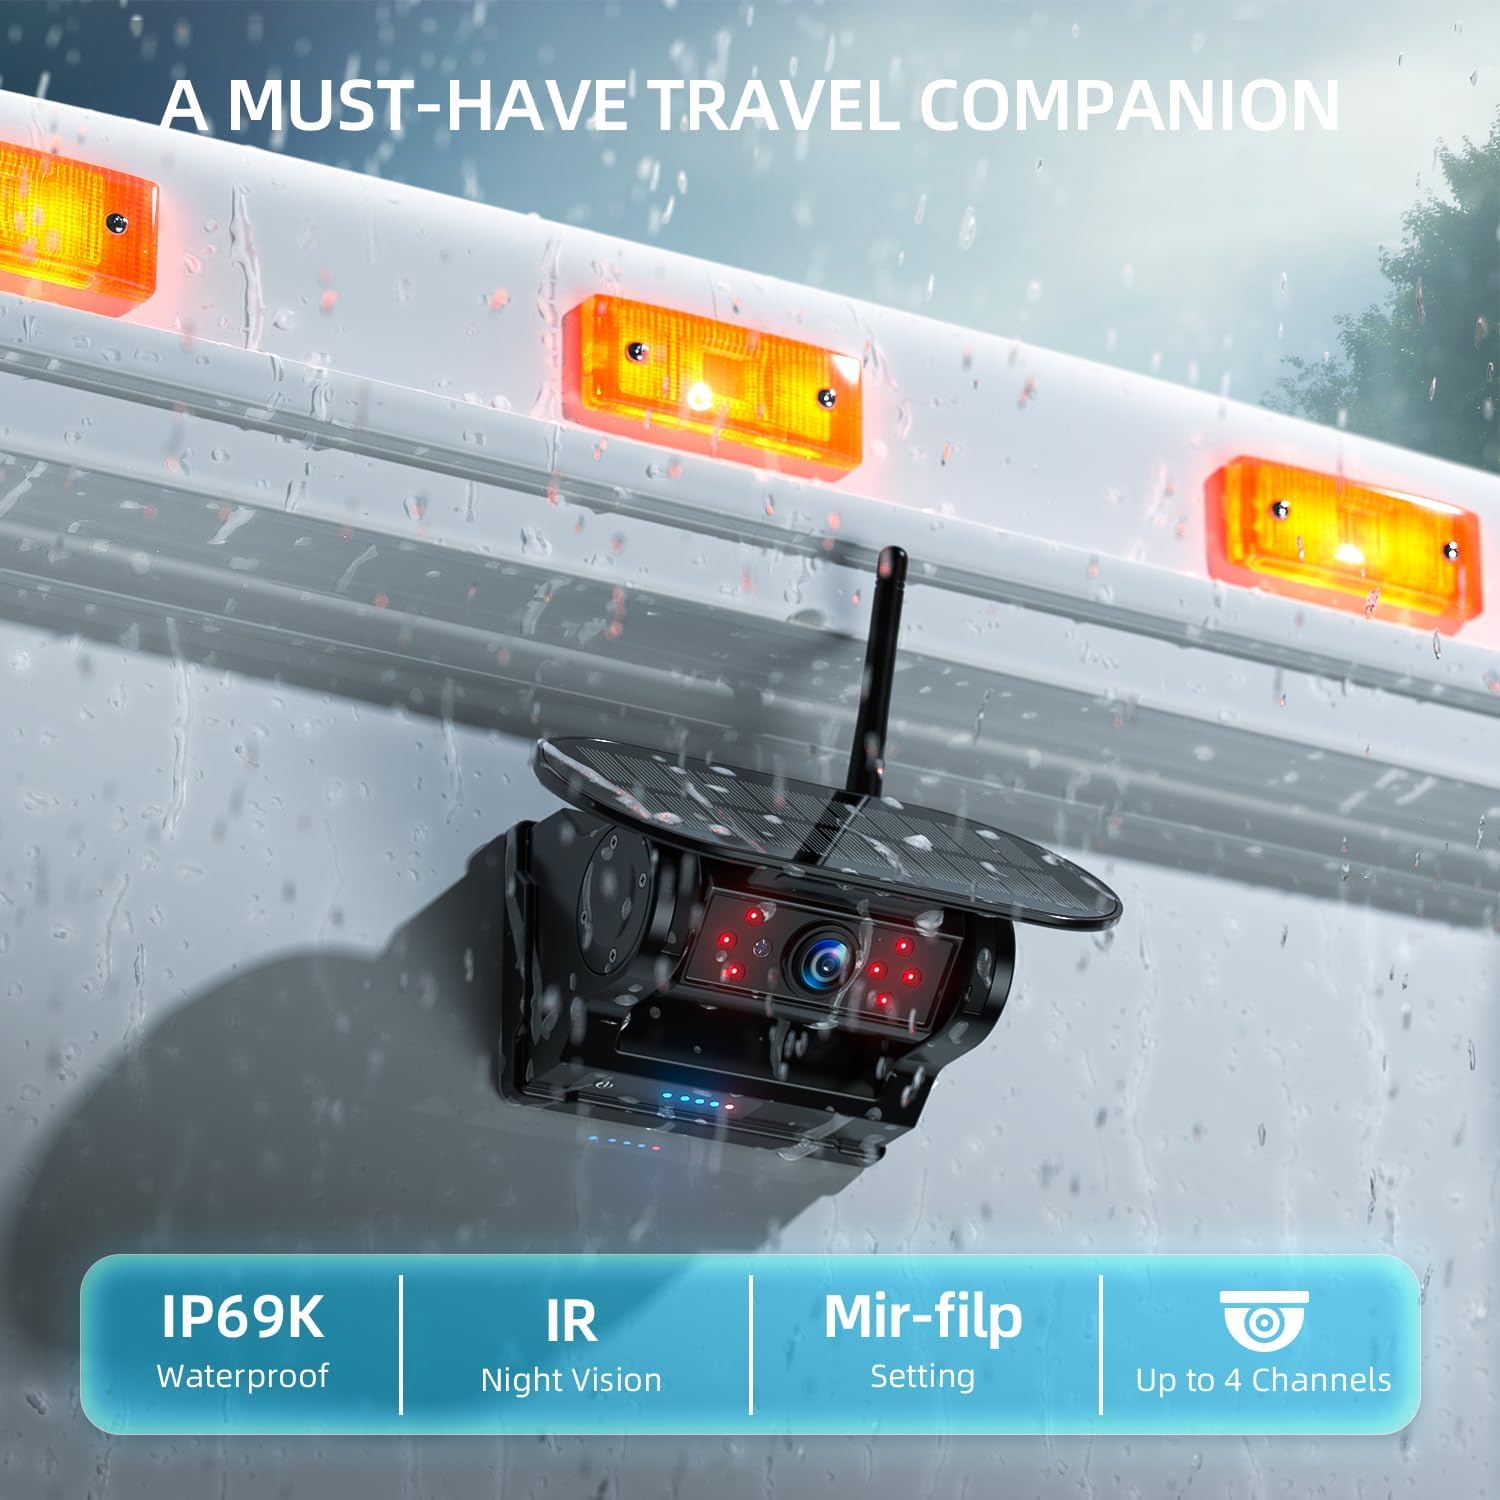
Image: Explanation of the camera's dual charging capabilities and auto-sleep function.
5.4 HD1080P & IR Night Vision
The system provides 1080P high-definition video quality. Eight infrared lights on the camera ensure clear night vision, aiding in low-light conditions for tasks like vehicle hooking up, rear monitoring, or security.

Image: Demonstration of the camera's infrared night vision in low-light conditions.
5.5 2.4G Wireless Digital Transmission
The system utilizes 2.4G wireless digital transmission for stable and fast signal transfer, minimizing frame drops and image delays. The signal range is up to 40ft in continuous vehicles and up to 320ft in open spaces without obstacles.

Image: Illustration of the 2.4G wireless signal range and stability between camera and monitor.
5.6 IP69K Waterproof & Multi-channels
The camera boasts an IP69K waterproof rating, ensuring durability and functionality in various weather conditions. The touchscreen monitor supports multi-channels, allowing connection of up to 4 cameras (2 cameras included with this model).
- Switch between camera views (full screen, split screen, quad screen) via the 'Mode' menu.

Image: The camera's IP69K waterproof design, suitable for all weather conditions.

Image: Multi-channel setting options for viewing up to four cameras simultaneously.
6. Maintenance
6.1 Camera Care
- Cleaning: Regularly clean the camera lens and solar panel with a soft, damp cloth to ensure clear image quality and efficient solar charging.
- Battery Charging: While solar-powered, it is recommended to periodically charge the camera via the USB cable, especially during prolonged periods of low sunlight or heavy usage, to maintain optimal battery performance.
- Storage: When not in use for extended periods, store the camera and monitor in a cool, dry place.
6.2 Monitor Care
- Cleaning: Use a soft, lint-free cloth to clean the touchscreen. Avoid abrasive cleaners.
- SD Card: Periodically back up important recordings from the 32GB SD card to prevent data loss. The loop recording feature will overwrite older files when full.
7. Troubleshooting
- No Image on Monitor:
- Ensure both the camera(s) and monitor are powered on.
- Check if the camera battery is charged. Recharge if necessary.
- Verify the camera and monitor are within wireless signal range.
- Re-pair the camera and monitor if connection is lost (refer to pairing instructions in the 'System' menu). - Poor Image Quality:
- Clean the camera lens to remove dirt or obstructions.
- Ensure there are no major obstructions blocking the wireless signal between the camera and monitor.
- Check for strong electromagnetic interference in the vicinity. - Intermittent Signal:
- Reposition the camera or monitor to improve signal strength.
- Ensure the camera is within the recommended wireless range (40ft in continuous vehicles, 320ft in open space).
- Avoid mounting the camera on aluminum surfaces as this can interfere with magnetic adhesion and signal. - BSD Not Functioning:
- Ensure BSD is enabled in the monitor's 'Smart' settings.
- Adjust the detection zones and sensitivity as needed. - Camera Battery Drains Quickly:
- Ensure the solar panel is exposed to direct sunlight for sufficient charging.
- If used frequently at night or in low-light conditions, regular USB charging is recommended.
8. Specifications
| Feature | Specification |
|---|---|
| Brand | eRapta |
| Model | AWTCM702 |
| Screen Size | 7 Inches |
| Product Dimensions (L x W x H) | 7.5" x 4" x 3.3" |
| Installation Type | Monitor plug and play + Camera wireless magnetic adsorption |
| Voltage | 12 Volts |
| Connector Type | Wireless |
| Field Of View | 150 Degrees |
| Built-In Media | 2 wireless cameras |
| Item Weight | 5 Pounds |
| Waterproof Rating | IP69K |
| Wireless Transmission | 2.4G Digital (Up to 320ft open space, 40ft continuous vehicles) |
| Night Vision | IR Night Vision |
| DVR Function | Loop recording with 32GB SD card included |
| Special Features | Magnetic Mount, Solar Charging, Touchscreen, BSD (Blind Spot Detection), Multi-channel support (up to 4 cameras) |
9. Warranty & Support
9.1 Warranty Information
The eRapta AWTCM702 system comes with a 2-Year Warranty from the date of purchase. This warranty covers manufacturing defects and malfunctions under normal use. Please retain your proof of purchase for warranty claims.
9.2 Customer Support
For technical assistance, troubleshooting, or warranty inquiries, please contact eRapta customer support. Refer to the contact information provided on the product packaging or the official eRapta website.
