
1. Introduction
This manual provides detailed instructions for setting up, operating, and maintaining your origimagic C3 Mini PC. The C3 Mini PC is a compact and efficient computing solution designed for various applications, from office productivity to home entertainment and industrial use. It features an Intel Core i3-5005U processor, 8GB RAM, and a 512GB SSD, offering stable performance for daily tasks.
The device is engineered for 24/7 stable operation with an optimized cooling system, ensuring energy efficiency and quiet performance. Its comprehensive port layout and dual display support enhance connectivity and productivity.
2. What's in the Box
Upon unpacking your origimagic C3 Mini PC, please verify that all the following items are included:
- Mini PC C3 x1
- Power Adapter
- User Manual (this document)
- VESA Mount with Screws
- HDMI Cable
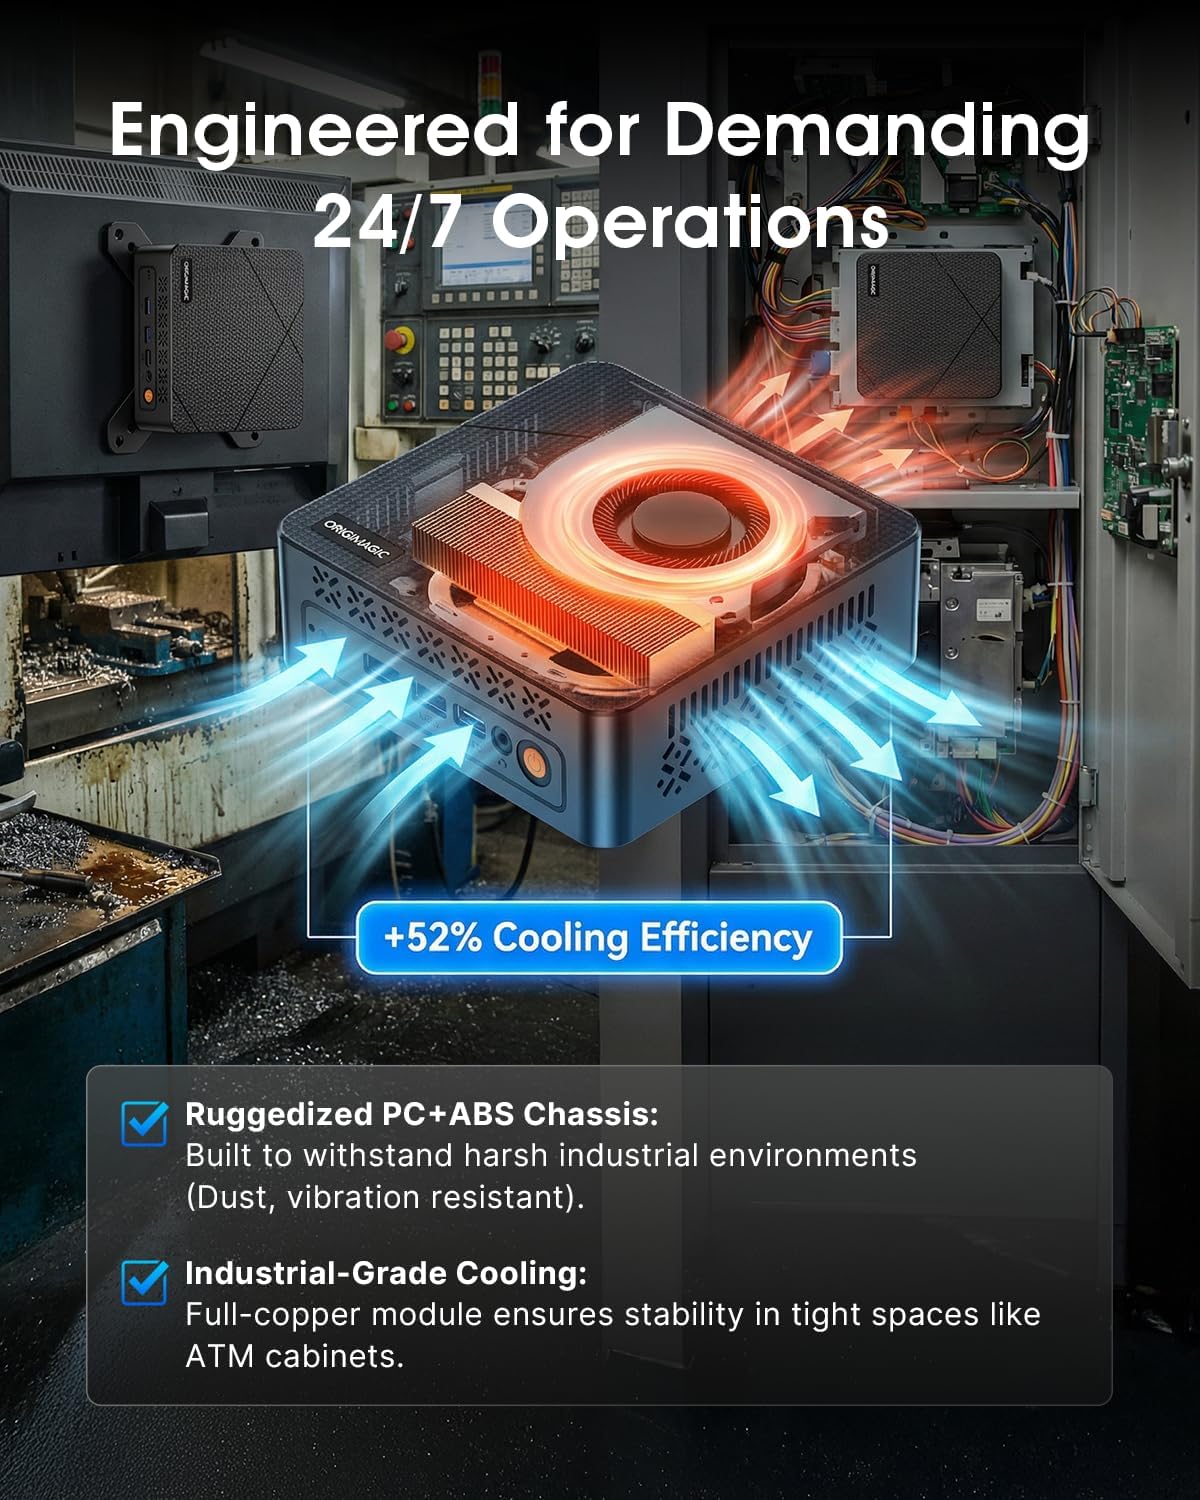
Image: Contents of the origimagic C3 Mini PC package.
3. Product Overview and Specifications
The origimagic C3 Mini PC is designed for compact yet powerful computing. Below are its key features and technical specifications.
3.1 Key Features
- Processor: Intel Core i3-5005U for stable and efficient performance in daily tasks.
- Memory & Storage: 8GB DDR3L RAM (expandable up to 32GB) and 512GB M.2 2280 SSD. Supports additional M.2 SATA/NVMe SSD up to 2TB and a 2.5-inch SATA SSD/HDD up to 2TB for a total of 4TB storage.
- Cooling System: Optimized cooling fan for low-TDP processors, ensuring quiet and stable 24/7 operation.
- Connectivity: 2x USB 3.2 Gen1, 1x USB Type-C (Data only) on front; 2x USB 2.0 on back. Gigabit Ethernet (RJ45), Wi-Fi 5 (802.11ac), and Bluetooth 5.0.
- Display Support: Integrated Intel HD Graphics 5500 with two HDMI ports supporting up to 2560x1600@60Hz for dual monitor setups.
- Operating System Compatibility: Supports Windows 10 and Linux systems (e.g., Ubuntu).

Image: Intel Core i3-5005U Processor Details.

Image: RAM and SSD Upgrade Capabilities.

Image: Quiet Operation of the Mini PC.
3.2 Technical Specifications
| Feature | Specification |
|---|---|
| Brand | origimagic |
| Model Name | C3 |
| Operating System | OS 10, Ubuntu, VMware ESXi, Proxmox VE |
| CPU Model | Intel Core i3-5005U |
| CPU Speed | 2 GHz |
| Graphics Coprocessor | Intel HD Graphics 5500 |
| RAM Memory Installed | 8 GB DDR3L (Expandable to 32 GB) |
| Hard Disk Description | 512 GB SSD (M.2 2280) |
| Storage Expansion | M.2 SATA/NVMe SSD up to 2TB, 2.5-inch SATA SSD/HDD up to 2TB |
| Connectivity Technology | Bluetooth 5.0, Gigabit Ethernet (RJ45), HDMI, USB, Wi-Fi 5 (802.11ac) |
| USB Ports | 2x USB 3.2 Gen1, 1x USB Type-C (Data only), 2x USB 2.0 |
| Video Output | 2x HDMI (Max Resolution: 2560x1600@60Hz) |
| Power Consumption | 15 watts (TDP) |
| Item Dimensions | 5.04 x 5 x 1.69 inches |
| Item Weight | 850 g |
| Additional Features | 2.5-inch HDD Expansion Support, Wi-Fi 5 & Bluetooth 5.0, Front Type-C Port (5Gbps), Clear CMOS Reset Hole, Home Server, PXE Boot, RTC Wake, Wake On LAN, Auto Power On |

Image: Front Panel Ports of the Mini PC.

Image: Rear Panel Ports of the Mini PC.
4. Setup Instructions
Follow these steps to set up your origimagic C3 Mini PC:
- Connect Peripherals:
- Connect your monitor(s) to the HDMI ports on the back of the Mini PC using the provided HDMI cable or your own. The C3 supports dual displays.
- Connect your keyboard and mouse to the available USB ports (USB 2.0 or USB 3.2 Gen1).
- If using a wired network, connect an Ethernet cable to the RJ45 LAN port.
- Connect any other desired peripherals (e.g., external hard drives, speakers) to the appropriate ports.
- Connect Power:
- Plug the power adapter into the DC power input port on the back of the Mini PC.
- Plug the other end of the power adapter into a power outlet.
- Power On:
- Press the power button located on the front panel of the Mini PC.
- The system will boot up. If Windows 10 is pre-installed, follow the on-screen instructions for initial setup.
- VESA Mount Installation (Optional):
- Attach the VESA mount bracket to the back of your monitor or a wall using the provided screws.
- Slide the Mini PC onto the VESA mount until it clicks into place. This allows for a clutter-free workspace.

Image: VESA Mount Installation.
5. Operating Instructions
Your origimagic C3 Mini PC comes with a pre-installed operating system (typically Windows 10) or is compatible with various Linux distributions. Here are basic operating guidelines:
5.1 Power On/Off
- Power On: Press the power button on the front panel.
- Shut Down: Use the operating system's shutdown procedure (e.g., Start Menu > Power > Shut down in Windows).
- Restart: Use the operating system's restart procedure.
- Force Shut Down: If the system is unresponsive, press and hold the power button for approximately 5-10 seconds until the device powers off. Use this only as a last resort.
5.2 BIOS Settings
To access the BIOS/UEFI settings, power on the Mini PC and repeatedly press the Delete or F2 key (depending on the specific BIOS version) during startup. The BIOS allows configuration of system hardware, boot order, and other advanced settings.
Video: Instructions on how to access and set BIOS options on the origimagic C3 Mini PC.
5.3 Dual Display Setup
The C3 Mini PC supports connecting two monitors simultaneously via its two HDMI ports. This can significantly enhance productivity for tasks requiring multiple screens.
- Connect both monitors to the HDMI ports.
- Once powered on, the operating system should automatically detect both displays.
- You can configure display settings (e.g., extend, duplicate, resolution) within your operating system's display settings.

Image: Dual Display Configuration.
5.4 Auto Power On and Wake On LAN
The Mini PC supports "Auto Power On" and "Wake On LAN" features, which can be configured in the BIOS settings. These features allow the device to power on automatically at a scheduled time or when a network signal is received, useful for remote management or scheduled operations.
Video: Demonstration of various applications and capabilities of the C3 Mini PC, including its use in POS systems and home entertainment.
6. Maintenance
Proper maintenance ensures the longevity and optimal performance of your Mini PC.
6.1 General Care
- Keep the device in a clean, dry environment, away from direct sunlight, excessive heat, and moisture.
- Ensure proper ventilation. Do not block the air vents on the sides of the Mini PC.
- Clean the exterior with a soft, dry cloth. Avoid using liquid cleaners or abrasive materials.
6.2 Storage and Memory Expansion
The C3 Mini PC offers flexible expansion options for both RAM and storage:
- RAM: The 8GB DDR3L RAM can be upgraded to a maximum of 32GB. Refer to the internal layout for SODIMM slot access.
- SSD: The existing 512GB M.2 2280 SSD can be replaced or supplemented. The device supports M.2 SATA/NVMe SSDs up to 2TB.
- HDD/SSD: An additional 2.5-inch SATA SSD/HDD slot with cable is available, supporting up to 2TB. This provides a total potential storage of 4TB.
Note: When performing internal upgrades, ensure the device is powered off and unplugged. Exercise caution to avoid damaging internal components. Samsung HDDs are not compatible with the 2.5-inch SATA slot.

Image: Internal Components and Cooling System.
7. Troubleshooting
This section addresses common issues you might encounter with your Mini PC.
7.1 No Power
- Ensure the power adapter is securely connected to both the Mini PC and a working power outlet.
- Verify the power outlet is functional by plugging in another device.
- Try a different power adapter if available and compatible.
7.2 No Display Output
- Check that the HDMI cable is securely connected to both the Mini PC and the monitor.
- Ensure the monitor is powered on and set to the correct input source (HDMI 1, HDMI 2, etc.).
- Try a different HDMI cable or monitor if possible.
- If using dual monitors, try connecting only one monitor at a time to isolate the issue.
7.3 System Overheating
While the C3 Mini PC is designed for efficient cooling, prolonged heavy loads in poorly ventilated areas can lead to increased temperatures.
- Ensure the Mini PC's ventilation holes are not obstructed.
- Place the Mini PC in an area with good airflow.
- Avoid placing the device on soft surfaces like carpets or blankets that can block vents.
- If overheating persists, consider reducing the workload or ensuring the internal fan is operating correctly (if comfortable opening the case).
7.4 Wi-Fi or Bluetooth Connectivity Issues
- Ensure Wi-Fi and Bluetooth are enabled in your operating system settings.
- Check that the Wi-Fi router is working correctly and within range.
- Restart the Mini PC and your router.
- Update wireless drivers if necessary.
8. Warranty and Support
origimagic provides comprehensive support for your C3 Mini PC.
- Warranty: The origimagic C3 Mini PC comes with a 3-year limited warranty. This warranty covers manufacturing defects and hardware malfunctions under normal use.
- Technical Support: Professional technical support is available for setup assistance, hardware expansion guidance, and troubleshooting.
- Contact Support:
- For Amazon-related inquiries, log into your Amazon account, navigate to "Your Orders," and select "Ask Product Question."
- For direct technical support, you can send an email to the After-Sales Team at support@origimagic.com.

Image: origimagic Customer Support Team.