
Introduction
This manual provides essential information for the safe and effective operation, setup, and maintenance of your Erbauer 18V 90mm Cordless Finish Nailer. Please read and understand all instructions before using the tool. Keep this manual for future reference.
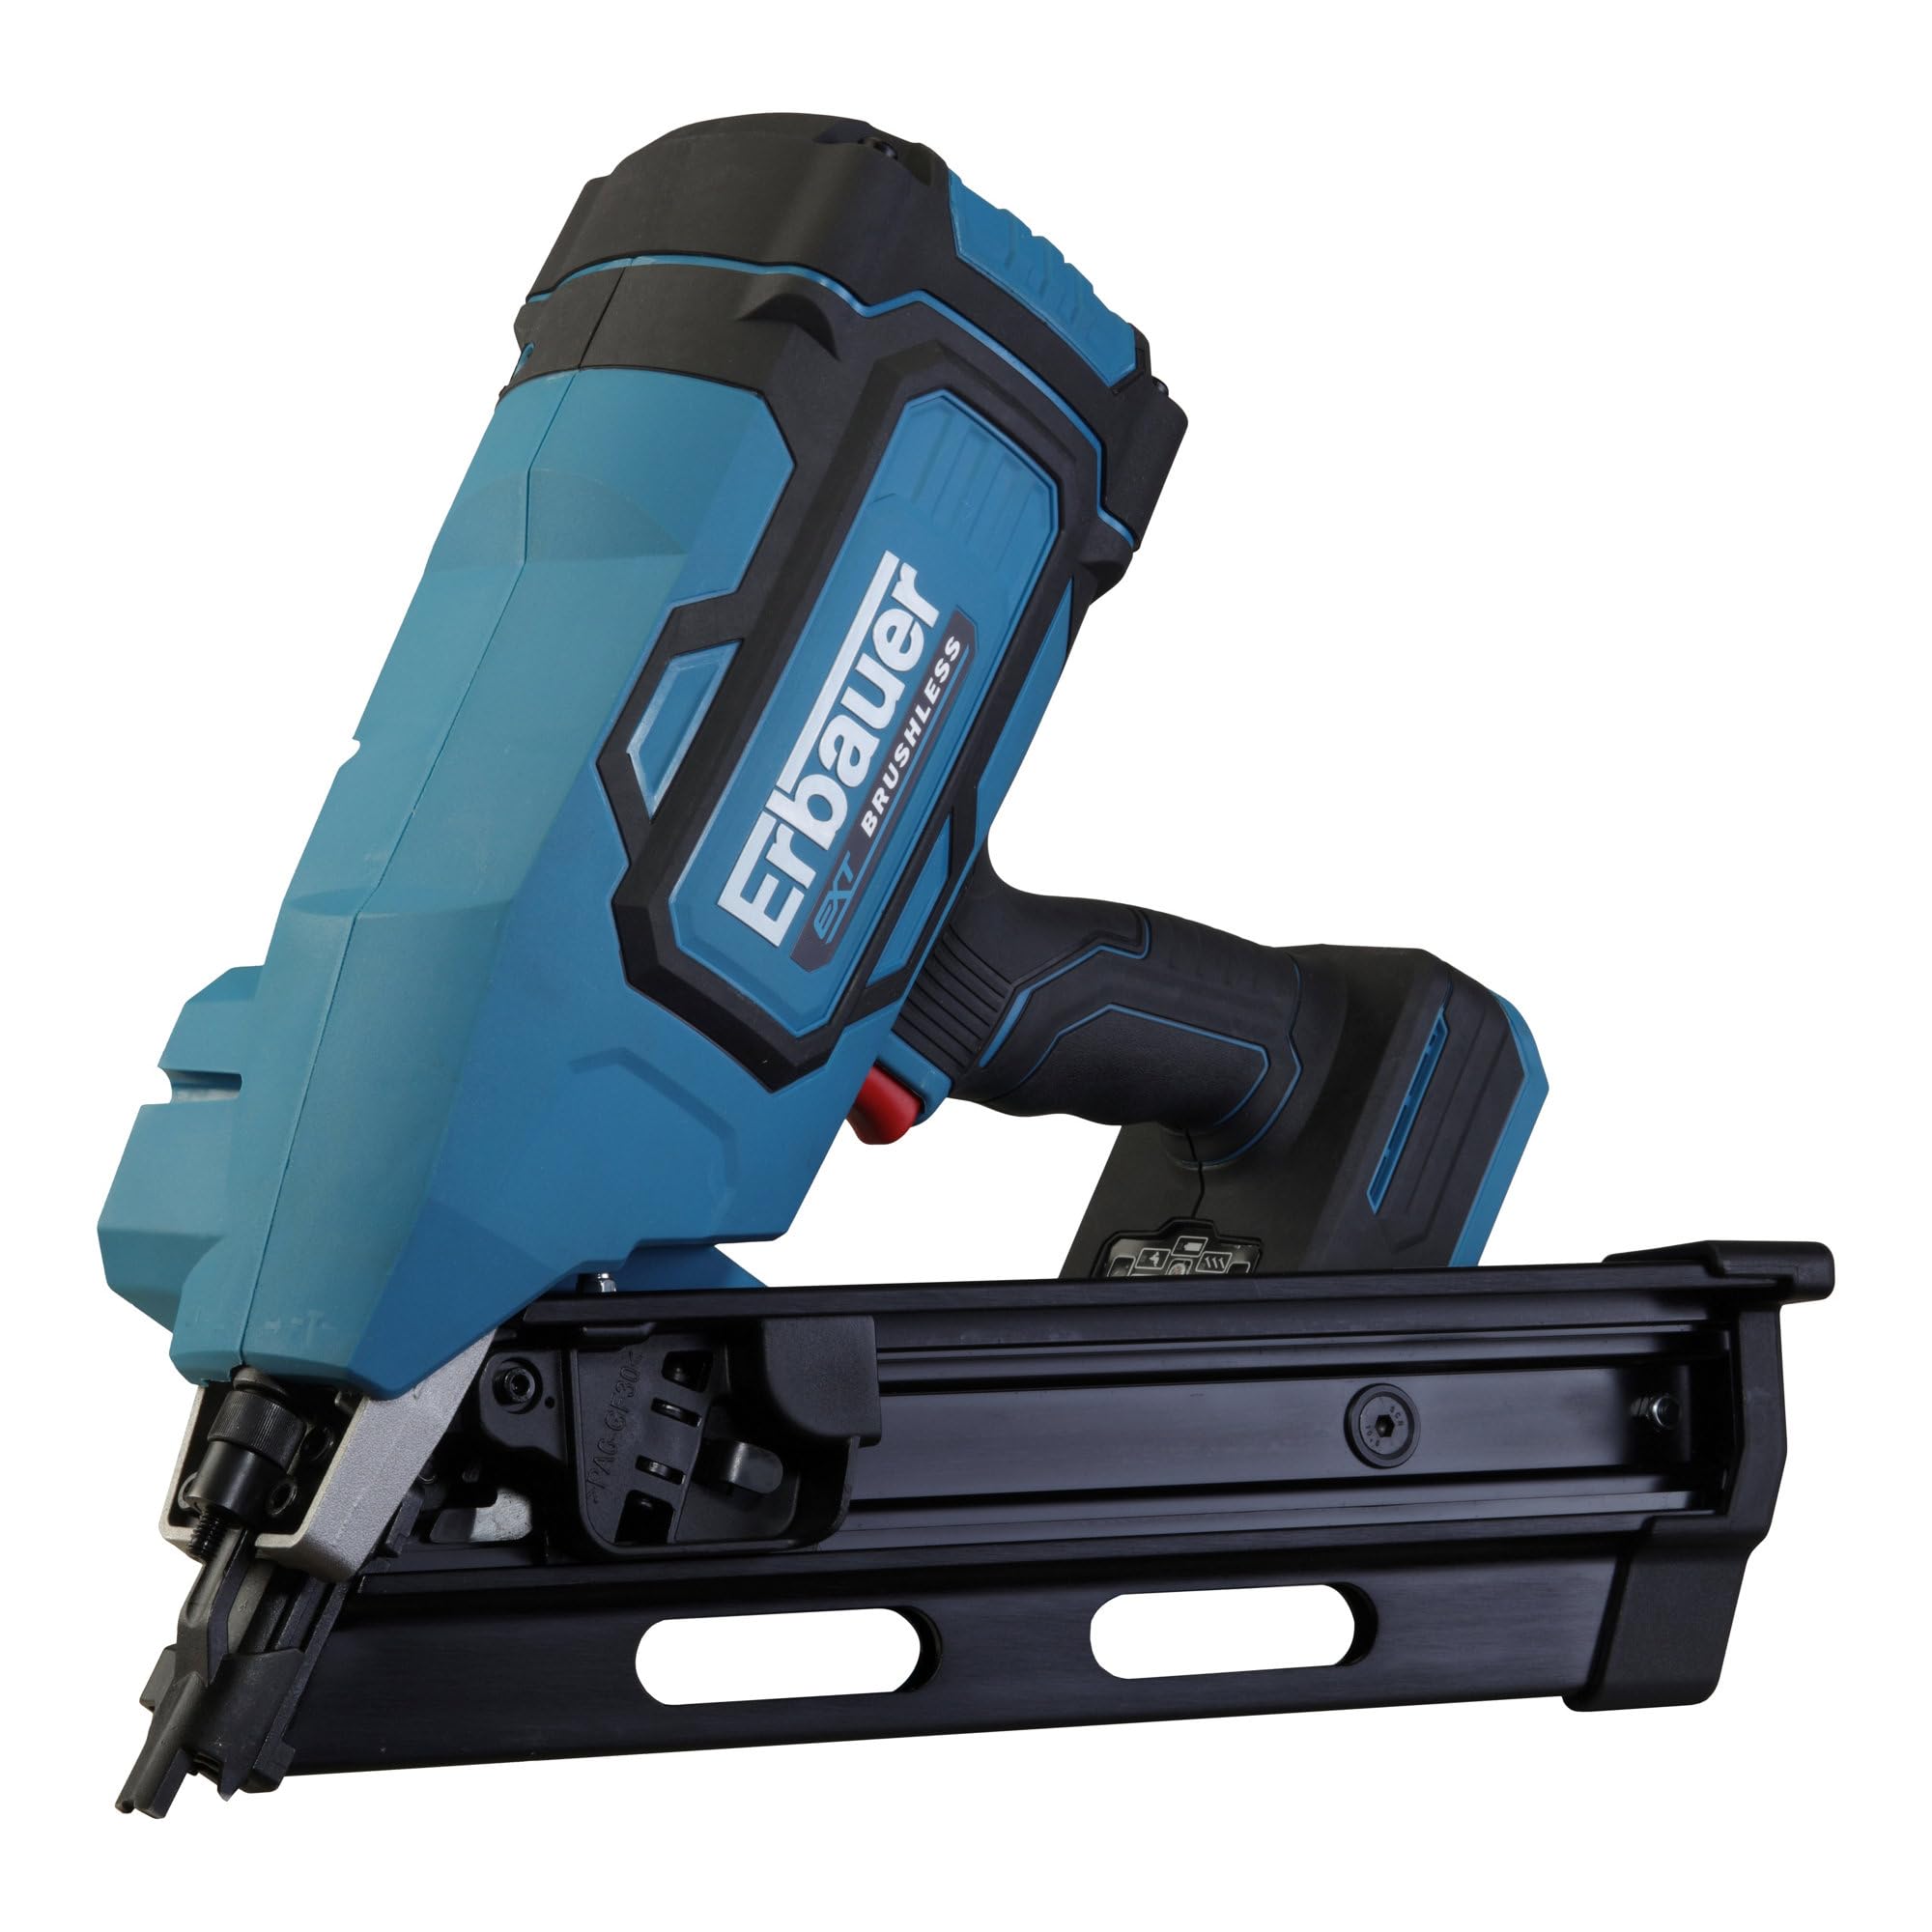
Figure 1: Erbauer 18V 90mm Cordless Finish Nailer. This image shows the overall design of the nailer, highlighting its ergonomic handle and magazine.
Safety Information
Always observe basic safety precautions to reduce the risk of fire, electric shock, and personal injury. Familiarize yourself with the tool's controls and proper usage.
- Wear Eye Protection: Always wear safety glasses or goggles that comply with applicable standards.
- Wear Hearing Protection: Prolonged exposure to noise from power tools can cause hearing damage.
- Keep Work Area Clear: Ensure your work area is well-lit and free from clutter.
- Secure Workpiece: Always secure the material you are working on to prevent movement.
- Disconnect Power: Remove the battery pack before making adjustments, changing accessories, or storing the tool.
- Avoid Accidental Firing: Keep fingers away from the trigger when not actively nailing.
- Use Correct Fasteners: Only use fasteners suitable for the tool and application. This nailer accepts nails up to 90mm.
- Maintain Proper Grip: The soft grip handle is designed for comfort and control. Maintain a firm grip during operation.
Setup
1. Battery Installation and Charging
The Erbauer 18V Finish Nailer is part of the EXT 18V system and requires an 18V battery (not supplied) for operation. Ensure the battery is fully charged before use.

Figure 2: Erbauer 18V Battery Pack. This image displays a compatible 18V battery, which slides into the tool's battery port.

Figure 3: Erbauer 18V Battery Charger. This image shows the charger used to replenish the battery's power.
- Charging: Connect the charger to a power outlet. Insert the 18V battery into the charger. Follow the charger's instructions for charging time and indicators.
- Installation: Align the charged battery pack with the battery port on the nailer. Slide the battery into place until it clicks securely.
- Removal: Press the battery release button and slide the battery out of the tool.
2. Loading Fasteners
The nailer features a convenient side-loading mechanism for quick and practical reloading.
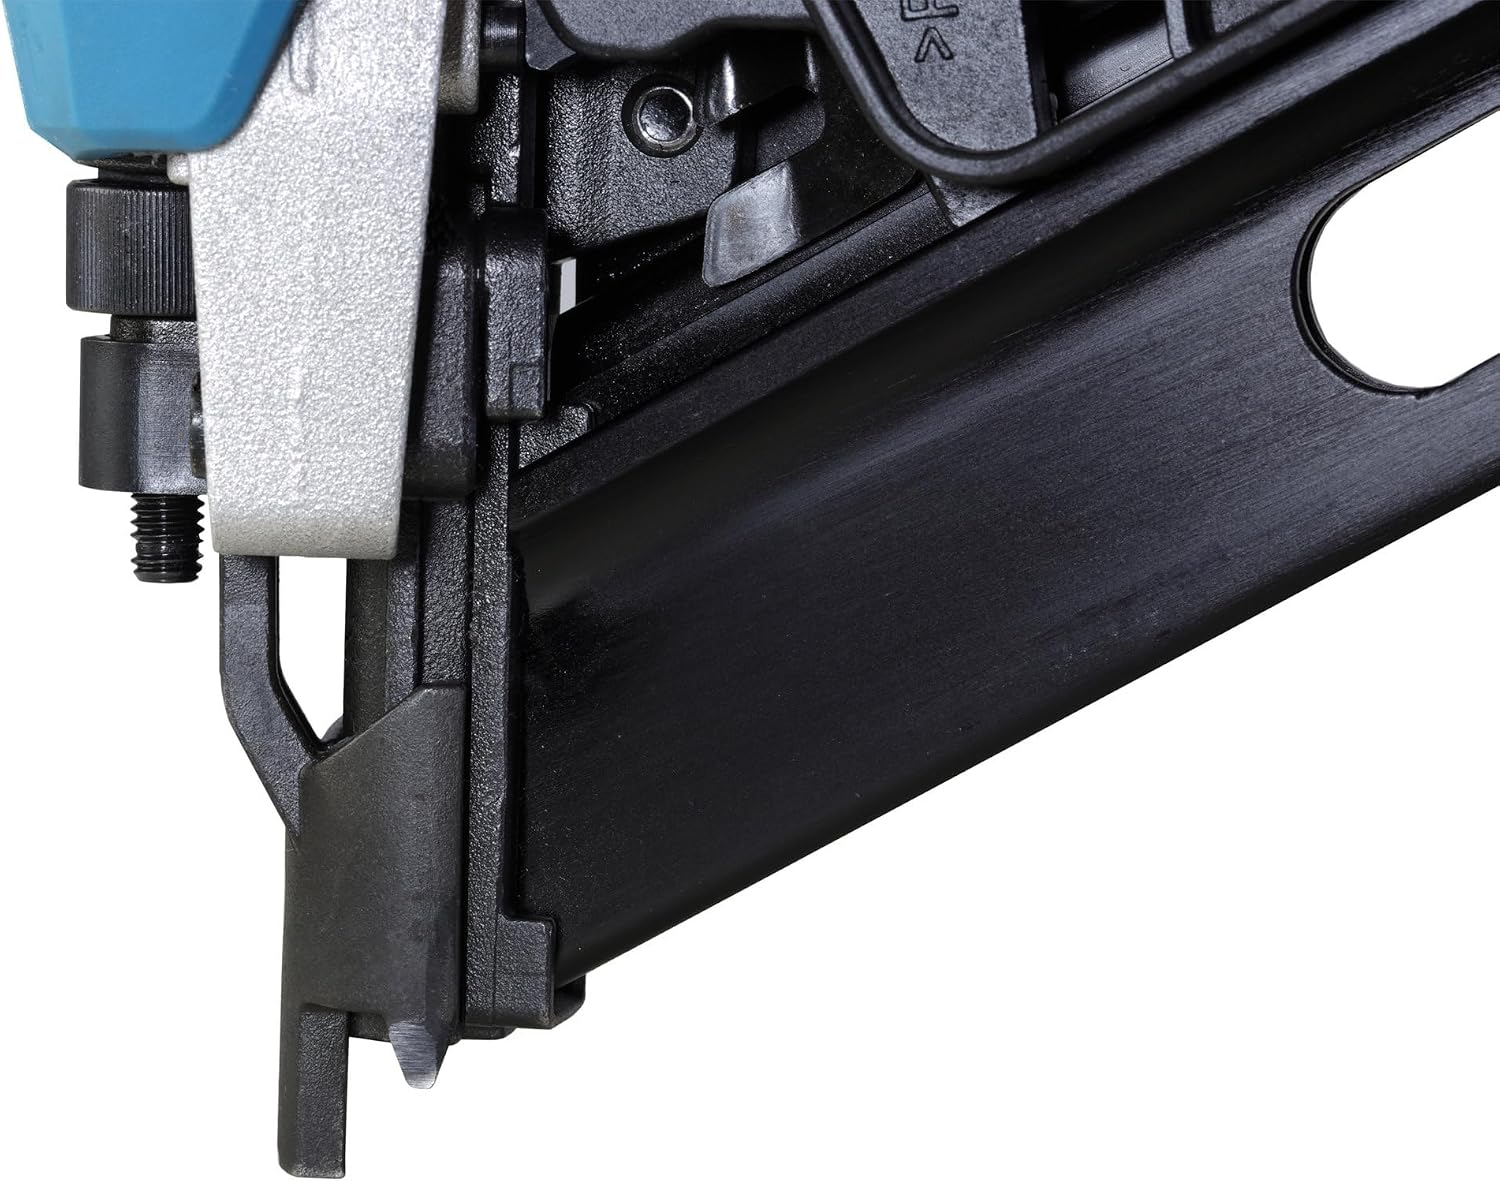
Figure 4: Nailer Magazine and Nose. This image highlights the nail magazine where fasteners are loaded and the non-marring nose piece.
- Ensure the battery is removed before loading fasteners.
- Pull back the pusher assembly until it locks into place.
- Insert a strip of nails into the side-loading magazine, ensuring the nail points are facing downwards.
- Release the pusher assembly, allowing it to push the nails forward until they are seated correctly.
3. Selecting Operating Mode
The nailer offers a choice between instantaneous (single-shot) and sequential (bump-fire) triggering for enhanced control and productivity.

Figure 5: Nailer Control Panel. This image shows the control panel with icons for battery status, firing modes, and other settings.
- Locate the mode selector switch or button on the tool's control panel.
- Select the desired mode:
- Instantaneous (Single-Shot): For precise placement of individual nails. The trigger must be released and pressed for each nail.
- Sequential (Bump-Fire): For faster nailing. Hold the trigger and press the nose against the workpiece to fire nails sequentially.
Operating Instructions
1. General Operation

Figure 6: Nailer Trigger. This image provides a close-up view of the trigger mechanism, which activates the nailing action.
- Ensure the workpiece is stable and secure.
- Place the non-marring nose of the nailer firmly against the surface where the nail is to be driven.
- Depending on the selected mode:
- Instantaneous: Press the trigger to fire a single nail. Release the trigger before repositioning for the next nail.
- Sequential: Hold the trigger down and press the nose against the workpiece to fire nails. Lift the tool slightly to reset for the next nail.
- Apply consistent pressure to the tool to ensure proper nail depth.
2. Depth Adjustment
Adjust the nail depth to suit your application. Consult the tool's specific depth adjustment mechanism, typically a dial or lever near the nose, to set the desired nail protrusion or countersink.
3. Using the Belt Hook

Figure 7: Nailer with Belt Hook. This image shows the integrated belt hook, useful for temporarily hanging the tool when not in use.
The integrated belt hook allows for convenient temporary storage of the tool when not in active use. Ensure the tool is safe and the trigger is not accidentally engaged when hanging.
Maintenance
Regular maintenance ensures the longevity and optimal performance of your nailer.
- Cleaning: Keep the tool clean and free from dust and debris. Use a dry cloth to wipe down the exterior. Do not use harsh chemicals or solvents.
- Fastener Path: Periodically inspect the nail magazine and firing mechanism for any obstructions or bent fasteners.
- Storage: Store the tool in a dry, secure location, out of reach of children. Remove the battery pack before storage.
- Anti-Jam Mechanism: The nailer features an anti-blocking mechanism. If a jam occurs, tool intervention is required to clear it. Refer to the specific instructions in the full manual for safely clearing jams. Always remove the battery before attempting to clear a jam.
Troubleshooting
If you encounter issues with your Erbauer 18V Finish Nailer, consult the following general troubleshooting steps:
| Problem | Possible Cause | Solution |
|---|---|---|
| Nailer does not fire | Battery not installed or discharged | Ensure battery is fully charged and properly seated. |
| Nailer jams frequently | Incorrect nail size or type; debris in magazine; anti-jam mechanism needs attention | Use correct nails. Clear any debris. Follow instructions for clearing jams (tool intervention required). |
| Nails not driven to full depth | Depth adjustment incorrect; low battery; insufficient pressure | Adjust depth setting. Recharge battery. Apply firm, consistent pressure. |
| Tool feels heavy during use | Normal operating weight | This tool has an operating weight of 4.5 kg. Take breaks as needed. |
Specifications
| Feature | Detail |
|---|---|
| Brand | ERBAUER |
| Model Number | 5059340701530 |
| Power Source | 18V Battery (EXT 18V System, not included) |
| Nail Length Capacity | Up to 90mm |
| Magazine Capacity | 100 fasteners |
| Operating Modes | Instantaneous (Single-Shot), Sequential (Bump-Fire) |
| Weight | 4.5 Kilograms |
| Handle Style | Soft Grip |
| Anti-Jam Mechanism | Yes (tool intervention required) |
| Country of Origin | China |
Warranty Information
This Erbauer 18V 90mm Cordless Finish Nailer comes with a 3-year warranty. Please retain your proof of purchase for any warranty claims. The warranty covers defects in materials and workmanship under normal use. For full terms and conditions, refer to the warranty card included with your product or contact Erbauer customer service.
Customer Support
For further assistance, technical support, or spare parts inquiries, please contact Erbauer customer service. Refer to the product packaging or the official Erbauer website for up-to-date contact information.
When contacting support, please have your product model number (5059340701530) and purchase date available.