
1. Introduction
Thank you for choosing the Calmara Y34 Portable Tire Inflator. This device is designed for efficient and accurate inflation of various items, including car tires, motorcycle tires, bicycle tires, and sports balls. It features a powerful 10000mAh battery, dual power supply options, multiple preset modes, a digital pressure gauge, and an automatic shut-off function for convenience and safety. Please read this manual thoroughly before use to ensure proper operation and to maximize the lifespan of your product.
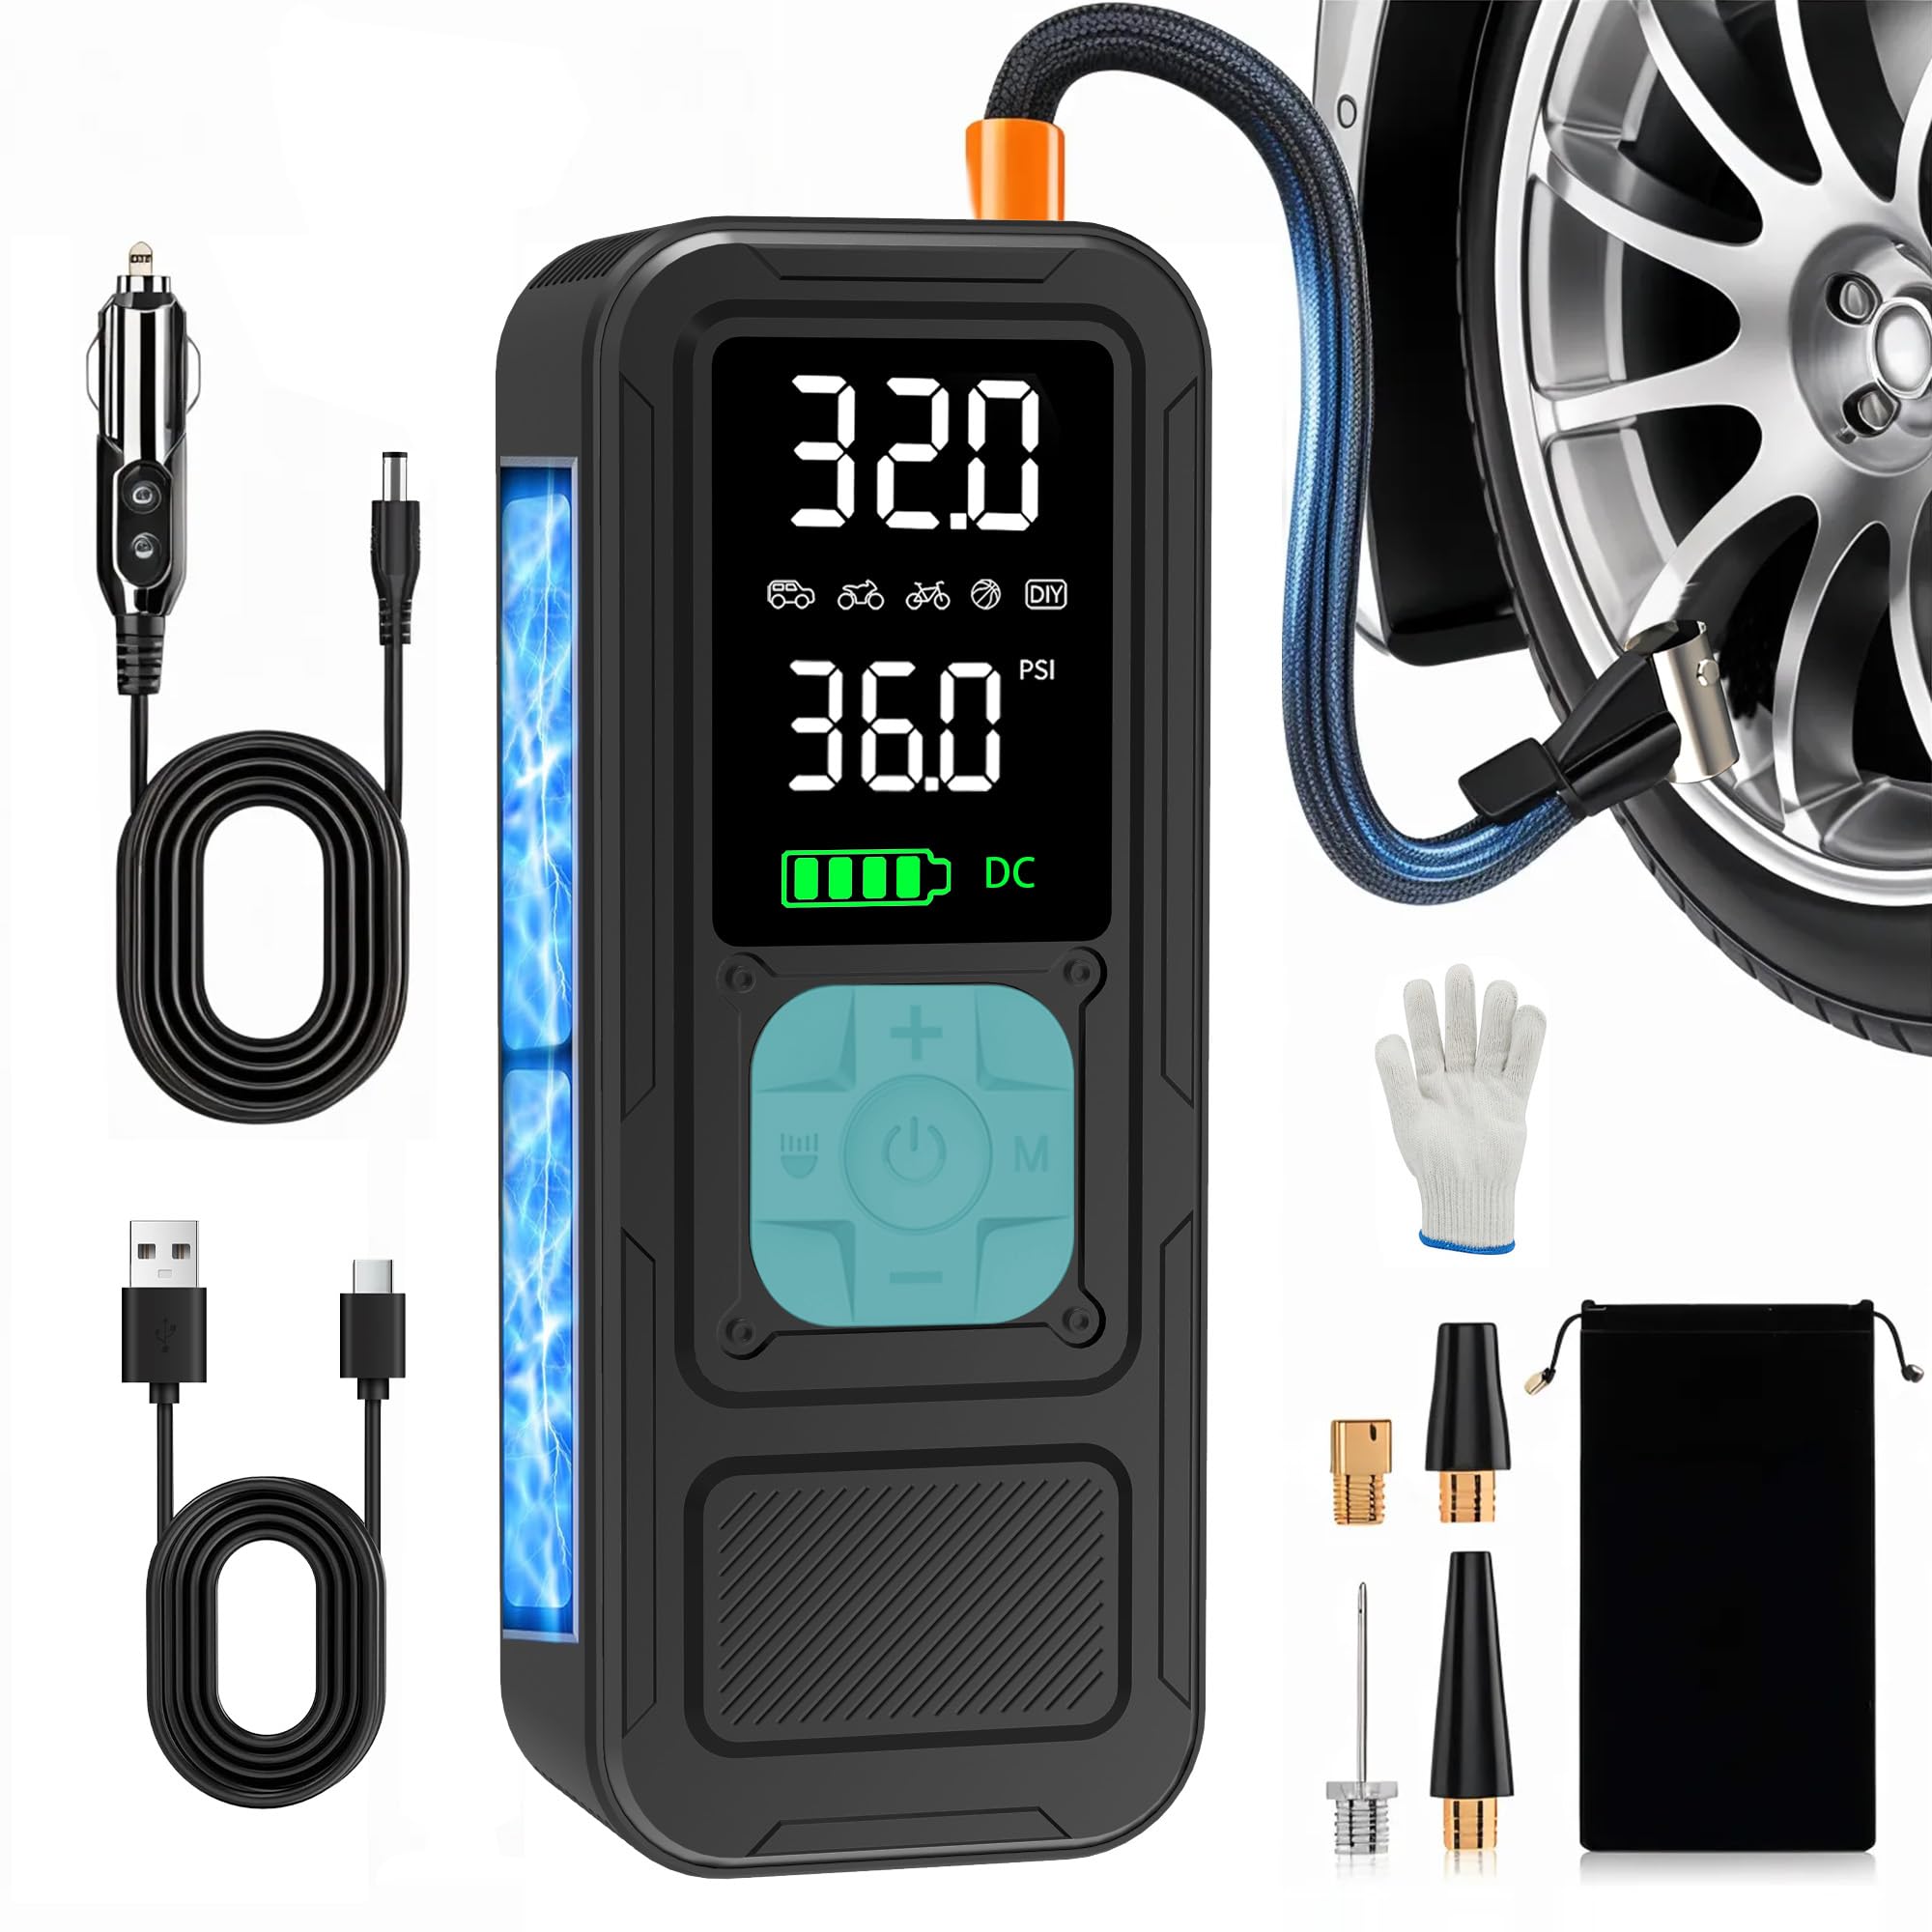
Image 1: Calmara Y34 Portable Tire Inflator
2. Package Contents
Please check the package to ensure all items are present:
- 1 × Calmara Y34 Tire Inflator
- 1 × Storage Bag
- 1 × Charging Cable (Type-C)
- 1 × 12V DC Car Power Cable
- 1 × Air Hose with Schrader Valve Connector
- 1 × Presta Valve Adapter
- 1 × Ball Needle
- 1 × Inflatable Toy Nozzle
- 1 × User Manual

Image 2: Included components of the Calmara Y34 Tire Inflator.
3. Product Features
- Fast and Accurate Inflation: Inflates up to 4 times faster than standard inflators, with pressure accuracy within ±0.1 Bar.
- Multiple Preset Modes: Four dedicated modes for Car, Motorcycle, Bike, and Ball, plus a custom DIY mode (0-150 PSI).
- Digital Pressure Gauge & Auto-Off: Clearly displays real-time pressure and automatically stops inflation once the preset target is reached.
- High-Capacity Battery: Equipped with a 10000mAh 5C battery for cordless operation, lasting up to 20 minutes on a single charge.
- Dual Power Supply: Can operate cordlessly via its internal battery or continuously via a car's 12V DC power outlet.
- Multi-functional LED Light: Integrated LED light for illumination in dark conditions, serving as an emergency light or SOS signal.
- Power Bank Functionality: Can charge electronic devices via its USB-A output port.
- Safety Features: Includes an anti-scalding air tube and overheating protection for safe operation.
- Compact and Portable: Designed for easy storage and transport, making it ideal for emergencies and travel.

Image 3: Overview of Calmara Y34 features including fast inflation and auto shut-off.

Image 4: The 10000mAh battery can inflate multiple tires on a single charge.
4. Setup
4.1 Initial Charging
Before first use, fully charge the tire inflator using the provided Type-C charging cable and a compatible USB power adapter (not included). The battery indicator on the display will show the charging progress.
4.2 Connecting the Air Hose
- Screw the air hose securely into the tire inflation port on the top of the device.
- Attach the appropriate valve connector (Schrader, Presta adapter, ball needle, or toy nozzle) to the other end of the air hose, depending on the item you wish to inflate.

Image 5: The Calmara Y34 can be powered by its internal battery or a 12V DC car power outlet.
5. Operating Instructions
5.1 Power On/Off
Press and hold the power button (usually marked with a power symbol) for 2-3 seconds to turn the device on or off.
5.2 Mode Selection
Press the 'M' button to cycle through the preset inflation modes: Car, Motorcycle, Bicycle, and Ball. Each mode has a default pressure setting. You can also select the DIY mode for custom pressure settings from 0-150 PSI.

Image 6: The Calmara Y34 supports various applications with dedicated modes.
5.3 Setting Target Pressure
Once a mode is selected, use the '+' and '-' buttons to adjust the desired target pressure. The digital display will show the current and target pressure.
5.4 Inflation Process
- Connect the air hose to the valve of the item you wish to inflate. Ensure a secure connection to prevent air leakage.
- Verify the current pressure reading on the display.
- Press the power button (or start button) to begin inflation. The device will automatically stop once the preset target pressure is reached.
- Disconnect the air hose from the item.
Image 7: Step-by-step guide for using the Calmara Y34 Tire Inflator.
5.5 Using the LED Light
Press the dedicated LED light button to cycle through different light modes: always-on, flashing (SOS), and off. This feature is useful for nighttime use or emergencies.

Image 8: The multi-functional LED light can assist during car breakdowns, fog, or as a night light.
5.6 Instructional Videos
Video 1: Demonstrates the Calmara Y34 Portable Air Compressor in action, showing tire inflation.
Video 2: Shows the portable tire inflator's features and ease of use for various items.
Video 3: A detailed demonstration of the Calmara Tire Inflator's capabilities and accessories.
Video 4: Quick overview of the portable tire inflator's functionality.
Video 5: Specific demonstration of the bike tire inflator feature.
6. Charging and Power Bank Function
6.1 Charging the Inflator
Connect the provided Type-C cable to the inflator's Type-C input port and to a USB power source. The battery icon on the display will animate to indicate charging. A full charge is indicated when all battery segments are solid.
6.2 Using as a Power Bank
To charge external devices, connect your device's charging cable to the USB-A output port on the inflator. The inflator's 10000mAh battery can provide emergency power for smartphones and other small electronics.
7. Safety Precautions
- Do not leave the inflator unattended during operation.
- Ensure the air hose is securely connected to prevent accidental detachment.
- Avoid over-inflating items. Always refer to the recommended pressure for your specific item.
- The air tube may become hot during prolonged use. Use caution when handling.
- Keep out of reach of children.
- Do not expose the device to extreme temperatures or direct sunlight for extended periods.
- Do not disassemble or modify the device.
8. Maintenance
8.1 Cleaning
Wipe the device with a soft, damp cloth. Do not use harsh chemicals or abrasive cleaners. Ensure the device is dry before storage.
8.2 Storage
Store the tire inflator in a cool, dry place, away from direct sunlight and moisture. If storing for an extended period, charge the battery every 3-6 months to maintain its health.
9. Troubleshooting
| Problem | Possible Cause | Solution |
|---|---|---|
| Device does not turn on | Low battery; Power button not pressed long enough | Charge the device; Press and hold the power button for 2-3 seconds |
| No inflation / Slow inflation | Air hose not securely connected; Incorrect mode selected; Item valve blocked | Ensure tight connection; Select correct mode; Check and clear valve |
| Inaccurate pressure reading | Loose connection; Sensor malfunction | Ensure tight connection; Contact customer support if issue persists |
| Device overheats | Prolonged continuous use | Allow the device to cool down before resuming use. The device has built-in overheating protection. |
10. Specifications
| Feature | Detail |
|---|---|
| Brand | Calmara |
| Model Number | Y34 |
| Voltage | 12 Volts |
| Power Source | Battery Powered / 12V DC |
| Max Pressure | 150 PSI |
| Battery Capacity | 10000mAh |
| Noise Level | 90 Decibels |
| Material Type | ABS |
| Additional Features | Automatic Shut-Off, Built-In Gauge, Cordless, Digital, LCD Display, LED Light, Power Bank |
| Color | Blue |
11. Warranty and Support
11.1 Manufacturer Warranty
The Calmara Y34 Portable Tire Inflator comes with a 1-Year Manufacturer Warranty. Please retain your proof of purchase for warranty claims.
11.2 Customer Support
For any questions, technical support, or warranty inquiries, please contact Calmara customer service through the retailer's platform or visit the official Calmara website for contact information.