
1. Important Safety Instructions
Always observe basic safety precautions when using electrical appliances to reduce the risk of fire, electric shock, and personal injury. Read all instructions before operating this tool.
- Personal Protective Equipment: Always wear appropriate personal protective equipment, including safety goggles, a dust mask or respirator, and work gloves. The included safety kit contains essential items for your protection.
- Work Area: Ensure your work area is well-lit and free from obstructions. Keep children and bystanders away.
- Electrical Safety: Do not expose the sander to rain or wet conditions. Do not abuse the cord. Never carry the tool by the cord or yank it to disconnect from an outlet.
- Dust Collection: Always use the dust collection system to minimize airborne dust, which can be harmful if inhaled.
- Stability: Maintain proper footing and balance at all times. Do not overreach.
- Overheating: Slight heating of the motor is normal during extended use (over 30 minutes). Allow the tool to cool for 10 minutes to maintain performance and prevent damage.

Figure 1: Proper use of safety equipment and the labor-saving back belt.
2. Product Overview
The GEVEELIFE Drywall Sander (Model QBDMJ) is an 880W electric tool designed for efficient sanding of drywalls, floors, and ceilings. It features a pure copper motor, variable speed control, an integrated vacuum dust collector, and a foldable, extendable handle for versatile use.
2.1 Components

Figure 2: Key components of the GEVEELIFE Drywall Sander.
- Powerful 880W Pure Copper Motor: Provides strong power (7.33A) and durability for consistent performance.
- Variable Speed Control: 5 adjustable speeds ranging from 1000 to 2100 RPM for different sanding requirements.
- Integrated Dust Collection System: Features a multi-hole disc and built-in vacuum for up to 98.5% dust capture. Includes a 6.6ft flexible hose and a large dust bag.
- Foldable & Extendable Handle: Allows for easy adjustment to various sanding heights (up to 5.5ft) and compact storage.
- 360° Surround LED Light: Illuminates the work surface for improved visibility and precision.
- 120° Adjustable Pivoting Head: Adapts to different angles for sanding walls, ceilings, and floors effectively.
- Detachable Edge: For sanding close to edges and corners.

Figure 3: The powerful all-copper motor specifications.

Figure 4: Ergonomic design features for enhanced work efficiency and reduced fatigue.
2.2 What's in the Box

Figure 5: Contents of the GEVEELIFE Drywall Sander package.
3. Setup
3.1 Assembling the Handle
The sander features a foldable and telescopic handle for adjustable length and compact storage. To extend the handle, unlock the quick-release levers, pull the sections apart to the desired length, and secure the levers. To fold, reverse the process.

Figure 6: Adjusting the handle length for different sanding heights.
3.2 Attaching the Dust Collection System
- Connect the flexible dust hose to the dust outlet on the sander head. Ensure a secure fit.
- Attach the other end of the dust hose to the large capacity dust bag.
- Alternatively, use the provided adapters to connect the dust hose to a household vacuum cleaner for enhanced dust extraction.

Figure 7: Connecting to household vacuum cleaners using adapters.
3.3 Installing Sanding Discs
The sander uses hook-and-loop sanding discs. Select the appropriate grit for your task (e.g., P80 for rough removal, P240 for fine finishing). Align the holes on the sanding disc with the holes on the sander's pad and press firmly to secure.

Figure 8: Easy sanding sheet replacement with various grit options.
4. Operation
4.1 Powering On and Speed Adjustment
- Ensure the sander is properly assembled and connected to a power source.
- Press the On/Off switch to start the sander.
- Use the speed switch to select one of the 5 variable speeds (1000-2100 RPM) according to the material and desired finish. Lower speeds are suitable for fine smoothing, while higher speeds are for quick material removal.
4.2 Sanding Techniques
Apply light, even pressure to the sanding surface. Allow the sander to do the work. Move the sander in smooth, overlapping passes to ensure an even finish. The 120° adjustable pivoting head allows for comfortable sanding of various surfaces.
- Walls and Ceilings: Utilize the extendable handle to reach high areas without a ladder. The pivoting head will conform to the angle of the surface.
- Edges and Corners: The detachable edge feature allows the sander to get closer to adjacent surfaces, reducing the need for manual sanding in tight spots.

Figure 9: Using the 360° LED light and detachable edge for precise sanding.
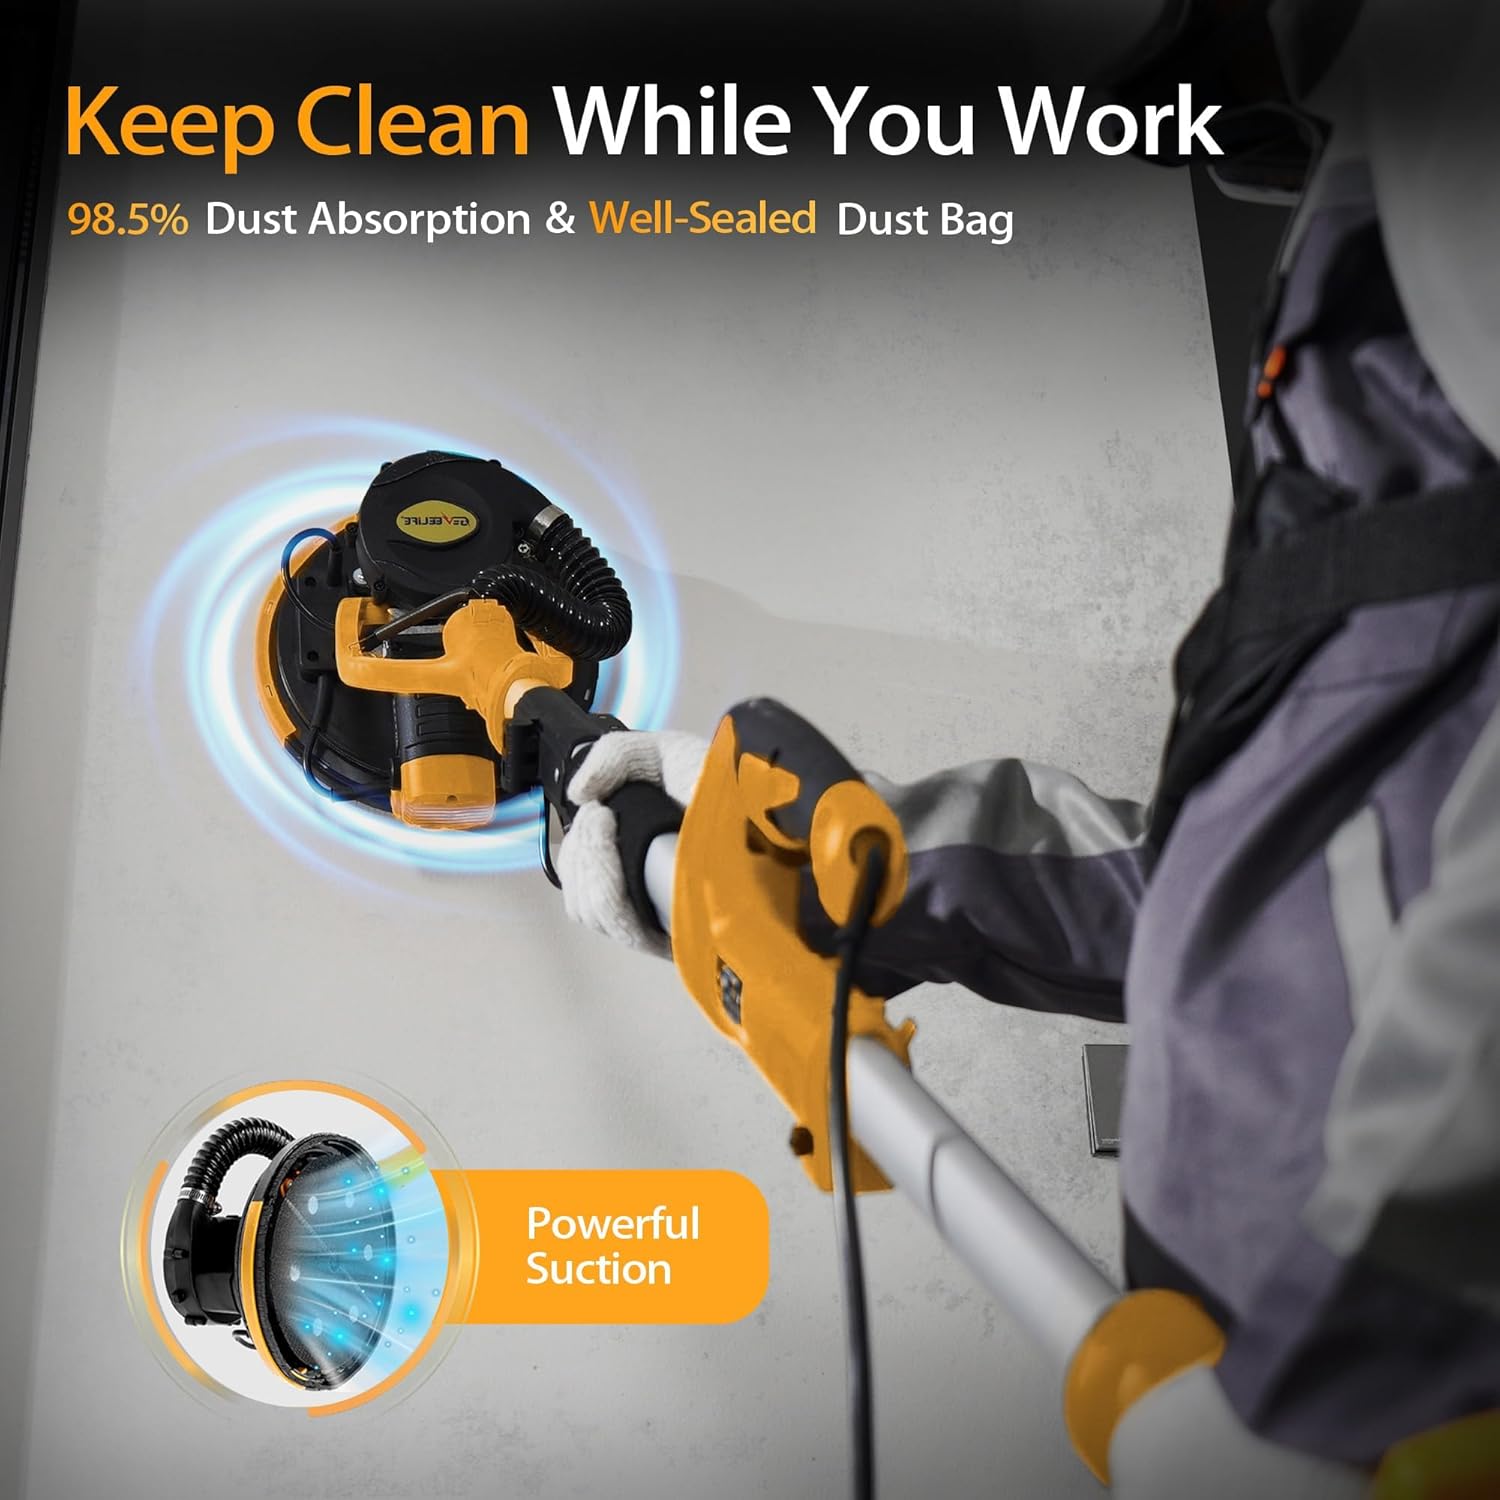
Figure 10: The 120° adjustable pivoting head and rotatable sanding disc for versatile use.

Figure 11: Versatile application on floors, walls, and ceilings.
4.3 Dust Management
The sander's dual dust collection system ensures a clean work environment. The adjustable suction knob allows you to optimize dust absorption. Regularly check and empty the dust bag to maintain efficient dust collection.

Figure 12: Efficient dust absorption during operation.
5. Maintenance
5.1 Cleaning
- After each use, disconnect the sander from the power supply.
- Empty the dust bag. To do this, pull the drawstring tight, wind it continuously, and tie a knot to securely fasten the mouth of the dust bag before disposal.
- Wipe down the exterior of the sander with a clean, damp cloth. Do not use harsh chemicals or abrasive cleaners.
- Clear any dust or debris from the sanding pad and dust collection ports.

Figure 13: Steps for emptying and securing the dust bag.
5.2 Sanding Disc Replacement
Replace sanding discs when they become worn or lose their abrasive quality. Simply peel off the old disc and press a new one onto the hook-and-loop pad, ensuring the holes align.
5.3 Carbon Brush Replacement
The sander includes two spare carbon brushes. Refer to the detailed instructions in the printed manual for the correct procedure to inspect and replace carbon brushes when necessary. This typically involves unscrewing a cap on the motor housing.
5.4 Storage
The foldable design allows for compact storage. After cleaning, fold the handle and store the sander and its accessories in the provided 50L carrying bag in a dry, secure location, out of reach of children.

Figure 14: Steps for folding and storing the sander.
6. Troubleshooting
- Sander does not turn on: Check power connection, ensure the On/Off switch is fully engaged. Inspect the power cord for damage.
- Poor dust collection: Ensure the dust hose is securely connected to both the sander and the dust bag/vacuum. Check if the dust bag is full and empty it if necessary. Verify the adjustable suction knob is set correctly.
- Excessive vibration or noise: Check if the sanding disc is properly attached and not damaged. Ensure all connections are secure.
- Sander overheats: If the sander feels excessively hot, turn it off and allow it to cool for at least 10 minutes before resuming operation. Ensure proper ventilation around the motor.
- Uneven sanding: Ensure the sanding disc is not worn out. Apply even pressure and move the sander in consistent, overlapping passes.
7. Specifications
| Feature | Specification |
|---|---|
| Brand | GEVEELIFE |
| Model Number | QBDMJ |
| Motor Power | 880W (7.33A) Pure Copper Motor |
| Voltage | 120V 60Hz |
| Variable Speed | 5 Speeds, 1000-2100 RPM |
| Dust Collection Efficiency | 98.5% |
| Handle Type | Foldable & Extendable |
| Sanding Disc Diameter | Standard (compatible with included 12 discs) |
| Included Sanding Discs Grit | P80, P100, P120, P150, P180, P240 |
8. Warranty and Support
The GEVEELIFE Drywall Sander (Model QBDMJ) comes with a 1-year warranty from the date of purchase, covering manufacturing defects. For technical assistance, troubleshooting, or warranty claims, please contact GEVEELIFE customer support.
Customer Support: Available 24/7. Please refer to the contact information provided in your product packaging or on the official GEVEELIFE website.