
Introduction
This manual provides instructions for the installation, operation, and maintenance of your AUTO-VOX 5 Inch Wireless Backup Camera with 5-inch Monitor. Please read this manual thoroughly before using the product to ensure proper function and safety.
Key Features:
- Quick Installation: The magnetic camera mount allows for installation without drilling or wiring. A metal plate is included for non-metal surfaces.
- Stable Wireless Signal: Provides a clear and consistent view on the 5-inch HD monitor.
- High-Definition Video & Night Vision: Features a 1080P HD camera with a 140-degree viewing angle and built-in infrared night vision for low-light conditions.
- Rechargeable Battery: Offers up to 15 hours of continuous use on a single charge, with a smart sleep mode to conserve power.
- Durable Design: IP69K waterproof rating ensures functionality in various weather conditions, including rain, snow, and dust.
- Expandable System: Supports the addition of a second camera (sold separately) for enhanced coverage.
What's in the Box
Verify that all components are present in the package:
- Monitor
- Backup Camera
- Monitor Suction Mount
- Metal Plate
- Camera Bracket Base
- Camera Magnetic Bracket Base
- Car Charger Cable
- USB-Micro Charging Cable
- Camera Base Screw (x4)
- Anti-theft Screw (x2)
- Mini Screwdriver
- User Manual
- Storage Bag
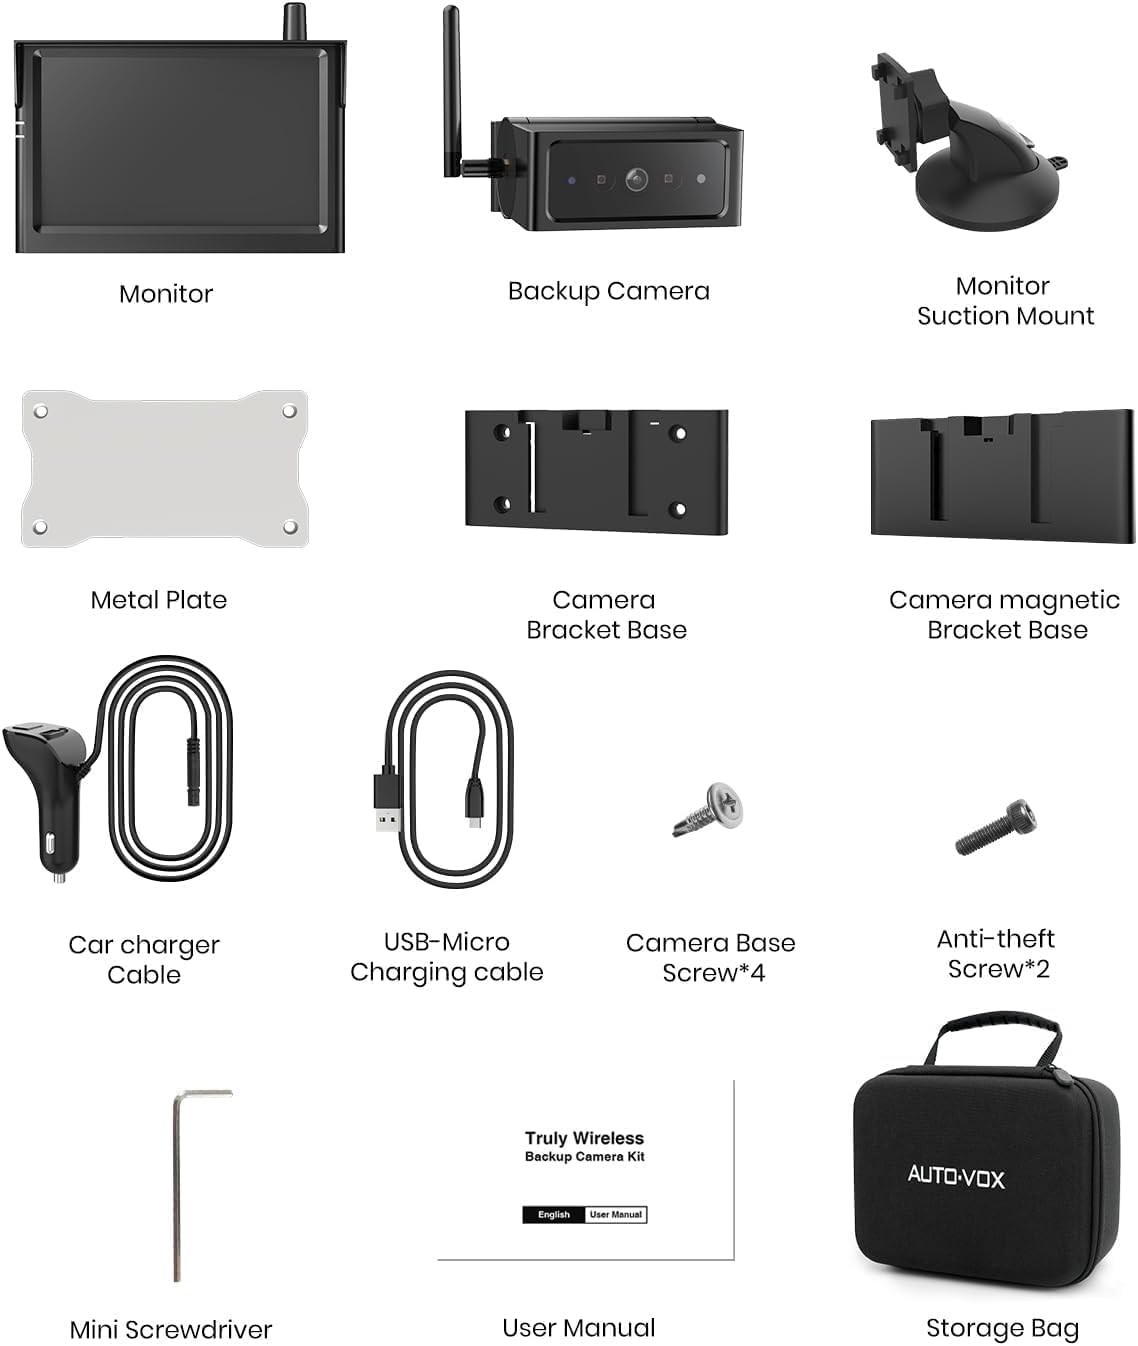
Figure 1: Package Contents
Setup Instructions
1. Charging the Camera
Before initial use, fully charge the backup camera using the provided USB-Micro Charging Cable. The camera's battery life is up to 15 hours of continuous use.
2. Mounting the Camera
The camera features a magnetic base for quick attachment to metal surfaces. For non-metal surfaces, use the included metal plate. Ensure the mounting location provides a clear view and stable attachment.

Figure 2: Magnetic Camera Attachment
3. Mounting the Monitor
Attach the monitor to your vehicle's dashboard or windshield using the suction cup mount. Adjust the angle for optimal viewing.
4. Powering the Monitor
Plug the car charger cable into your vehicle's 12V power outlet (cigarette lighter socket) and connect it to the monitor.
Video 1: Demonstration of magnetic camera installation and monitor power connection.
Video 2: Overview of easy installation and battery features.
Video 3: Unboxing and initial setup of the reversing camera system.
Operating Instructions
1. Powering On/Off
Once the monitor is connected to power, it will automatically turn on when the vehicle's ignition is on. The camera will automatically connect wirelessly to the monitor. To power off, turn off the vehicle's ignition or unplug the monitor.
2. Basic Functions
- Viewing Modes: The system provides a real-time view from the backup camera.
- Night Vision: The camera automatically activates infrared night vision in low-light conditions, providing clear visibility.
- Adjusting Camera View: The camera's angle can be manually adjusted on its mount.
- Parking Guidelines: The monitor displays adjustable parking guidelines to assist with reversing.
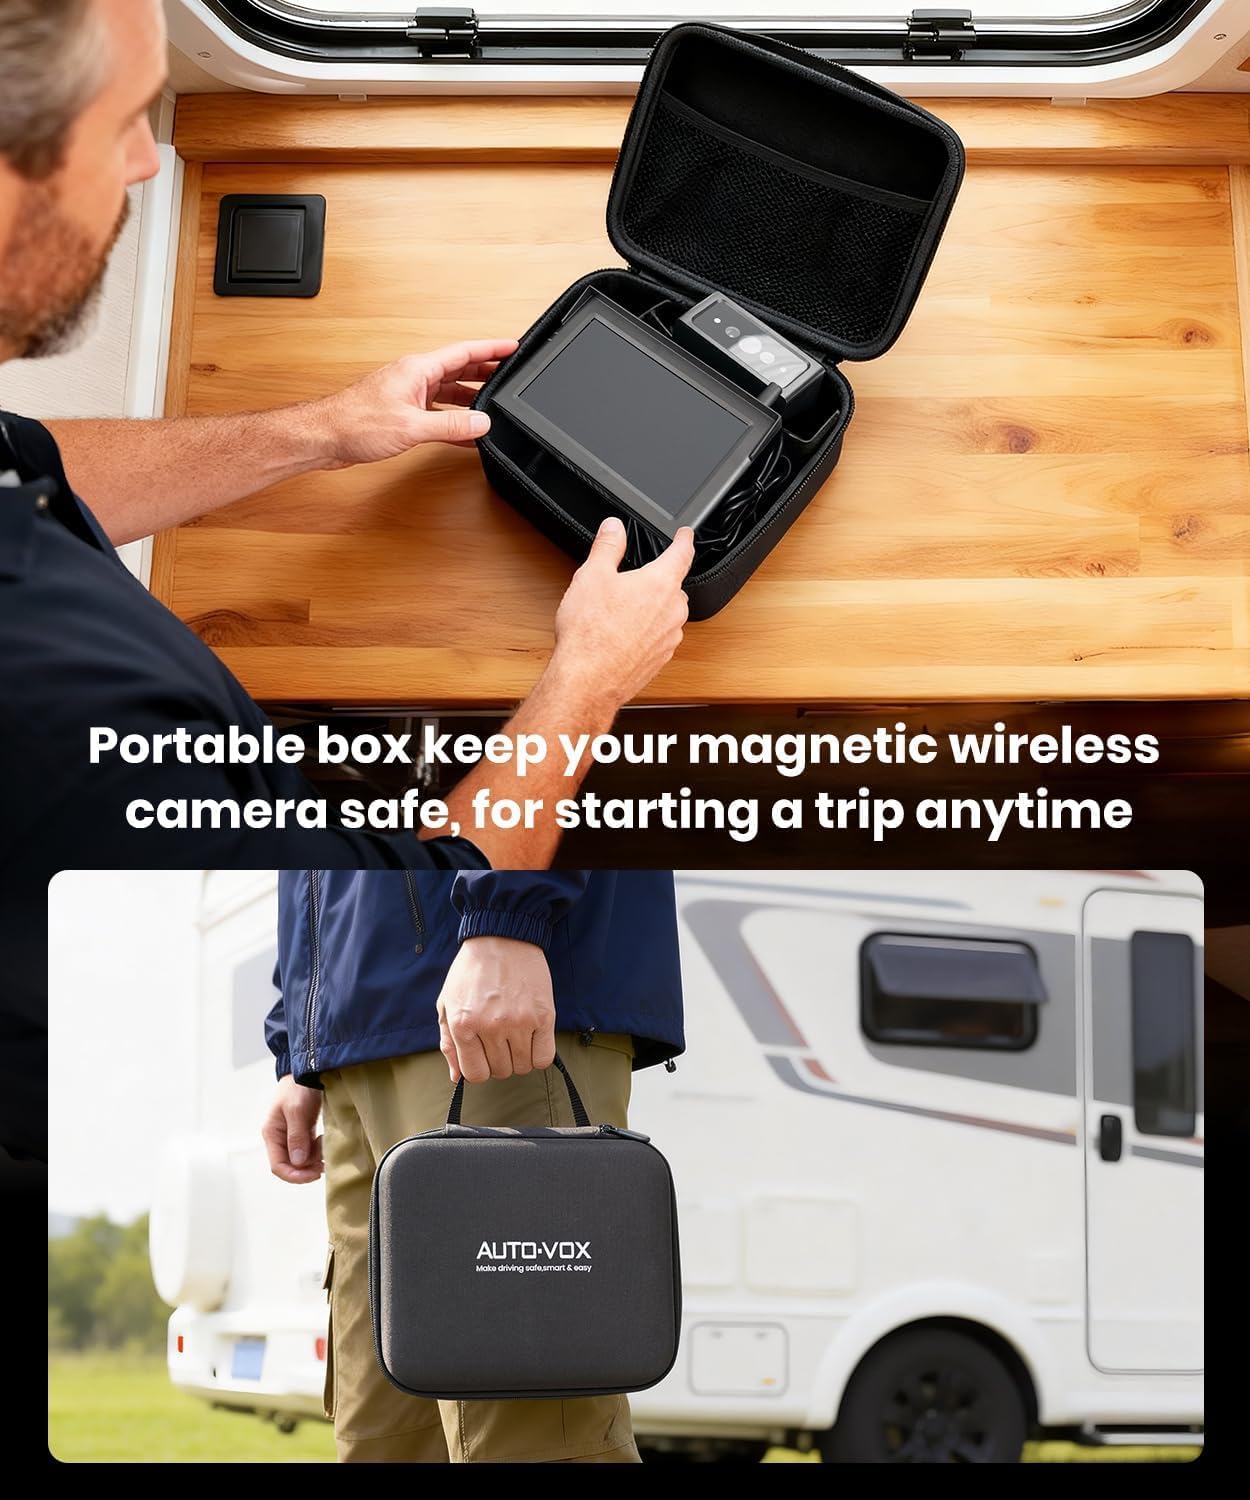
Figure 3: Monitor Working Modes and Applications

Figure 4: 1080P IR Night Vision in action
Video 4: Demonstration of the reversing camera's functions and display options.
3. Dual-Channel System (if applicable)
If a second camera is added, the monitor supports dual-channel viewing, allowing you to switch between camera views or display both simultaneously. Note that split-screen functionality may compress images.

Figure 5: Dual-Channel Switching Example
Maintenance
1. Cleaning
Wipe the camera lens and monitor screen with a soft, damp cloth. Avoid using abrasive cleaners or solvents that could damage the surfaces.
2. Battery Care
To prolong battery life, ensure the camera is fully charged before extended use. The smart sleep mode helps conserve power when the vehicle is parked. If storing the camera for a long period, charge it periodically.
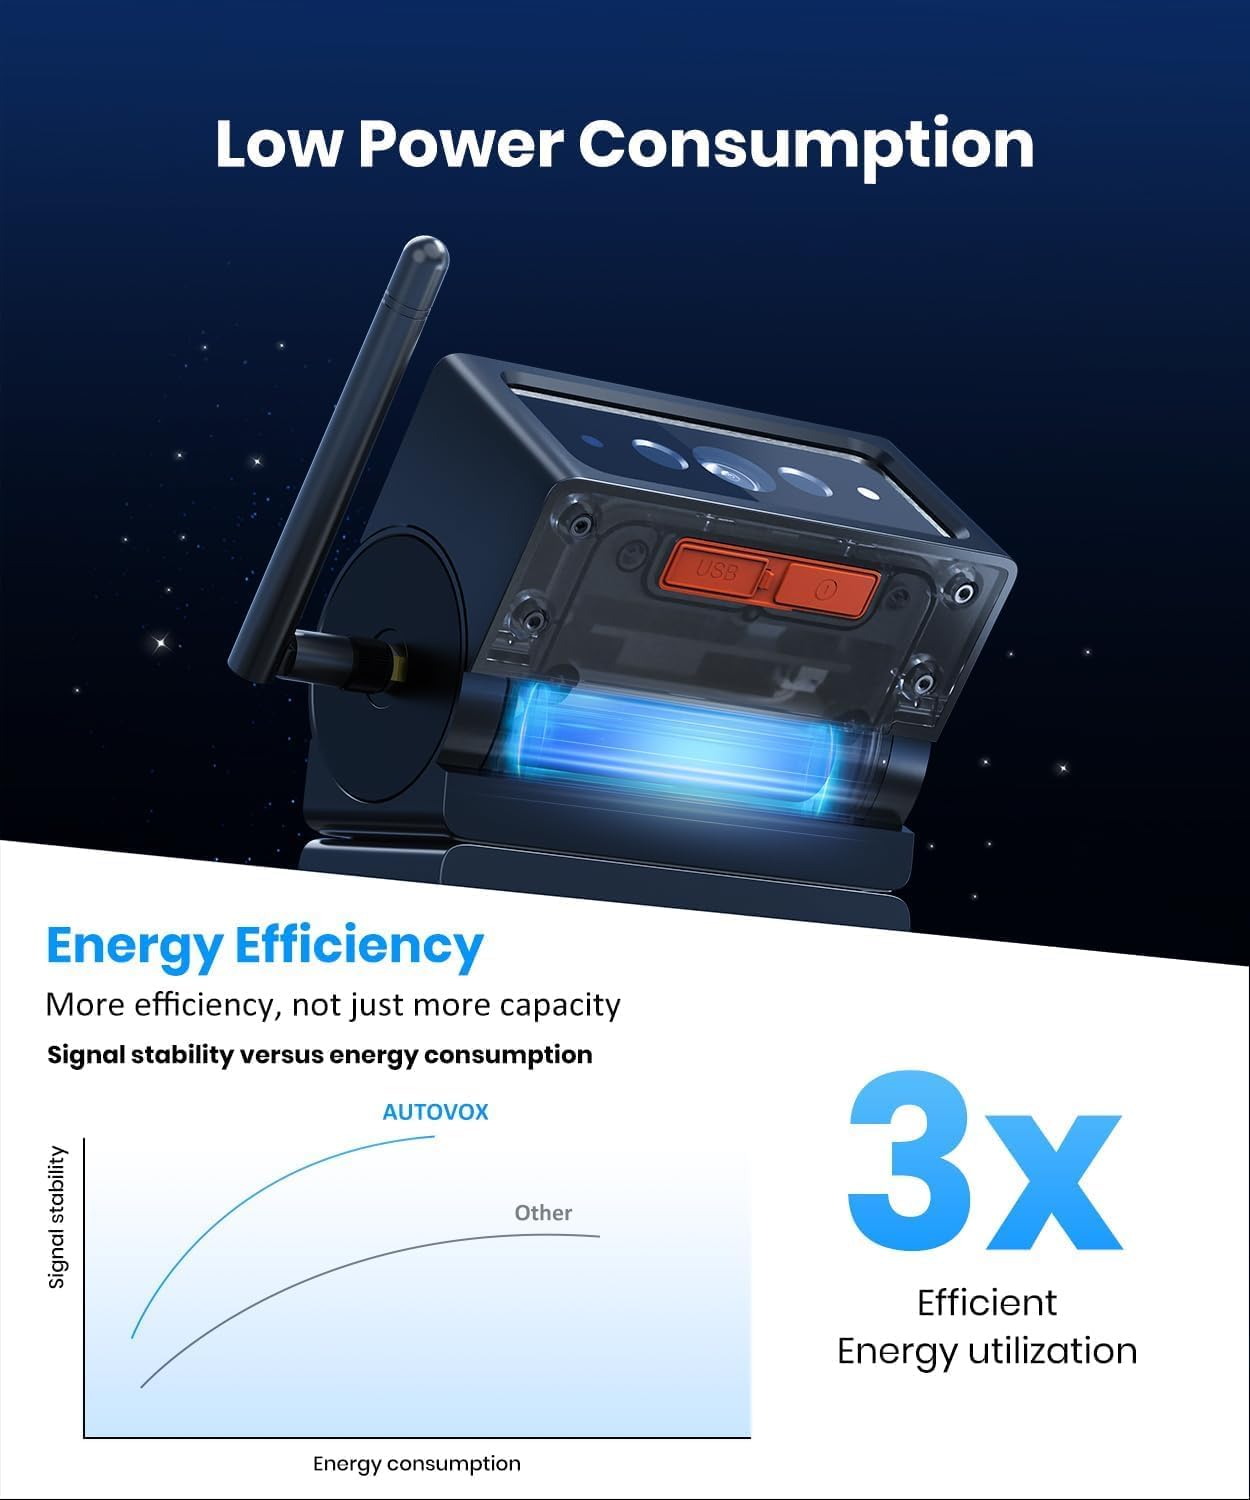
Figure 6: Energy Efficiency Diagram
Video 5: Explanation of the camera's ultra-powerful battery design and energy saving technology.
3. Weather Resistance
The camera is IP69K waterproof, designed to withstand rain, snow, and dusty conditions. However, avoid submerging the camera in water.
Troubleshooting
| Problem | Possible Cause | Solution |
|---|---|---|
| No image on monitor | Monitor not powered; Camera not powered or charged; Wireless signal interference; Camera not paired. | Ensure monitor is plugged into a working 12V outlet. Check camera battery level and charge if necessary. Move camera or monitor to reduce interference. Re-pair camera and monitor if connection is lost. |
| Image is blurry or distorted | Camera lens is dirty; Poor signal quality. | Clean the camera lens with a soft cloth. Ensure camera and monitor are within effective wireless range (up to 320ft). |
| Monitor turns off unexpectedly | Power connection issue; Camera battery low; Monitor sleep mode activated. | Check the 12V power connection. Ensure the camera is charged. Adjust monitor settings to disable or extend sleep mode duration if available. Note: Some models may have a maximum continuous display time. |
| Camera does not charge | Faulty charging cable or port; Power source issue. | Try a different USB charging cable and power adapter. Ensure the charging port on the camera is clean and undamaged. |
| Magnetic mount not holding securely | Surface is not metal or is uneven; Excessive vibration. | Ensure the mounting surface is clean, flat, and metallic. Use the included metal plate for non-metal surfaces. For extreme conditions, consider using the screw-on bracket base. |
Specifications
| Feature | Detail |
|---|---|
| Brand | AUTO-VOX |
| Screen Size | 5 inches |
| Product Dimensions (L x W x H) | 9.45" x 7.06" x 2.76" |
| Compatible Devices | Camper, RV, Trailer, Truck, Van |
| Installation Type | Surface Mount |
| Voltage | 12 volts |
| Optical Sensor Technology | CMOS |
| Real Angle of View | 140 degrees |
| Connector Type | Car Charger |
| Effective Still Resolution | 1080 pixels |
| Video Capture Resolution | 1080p |
| UPC | 850082287079 |
Warranty Information
This product comes with a 1 Year Manufacturer Warranty. Please retain your proof of purchase for warranty claims. For detailed warranty terms and conditions, refer to the official AUTO-VOX website or contact customer support.
Customer Support
If you encounter any issues or have questions regarding your AUTO-VOX 5 Inch Wireless Backup Camera, please contact AUTO-VOX customer support. Refer to the contact information provided in the product packaging or on the official AUTO-VOX website.


