
1. Introduction
This manual provides detailed instructions for the safe and efficient operation, installation, and maintenance of your AMADVI Nugget Ice Maker Machine, Model LCATS30J. Please read this manual thoroughly before using the appliance and retain it for future reference.
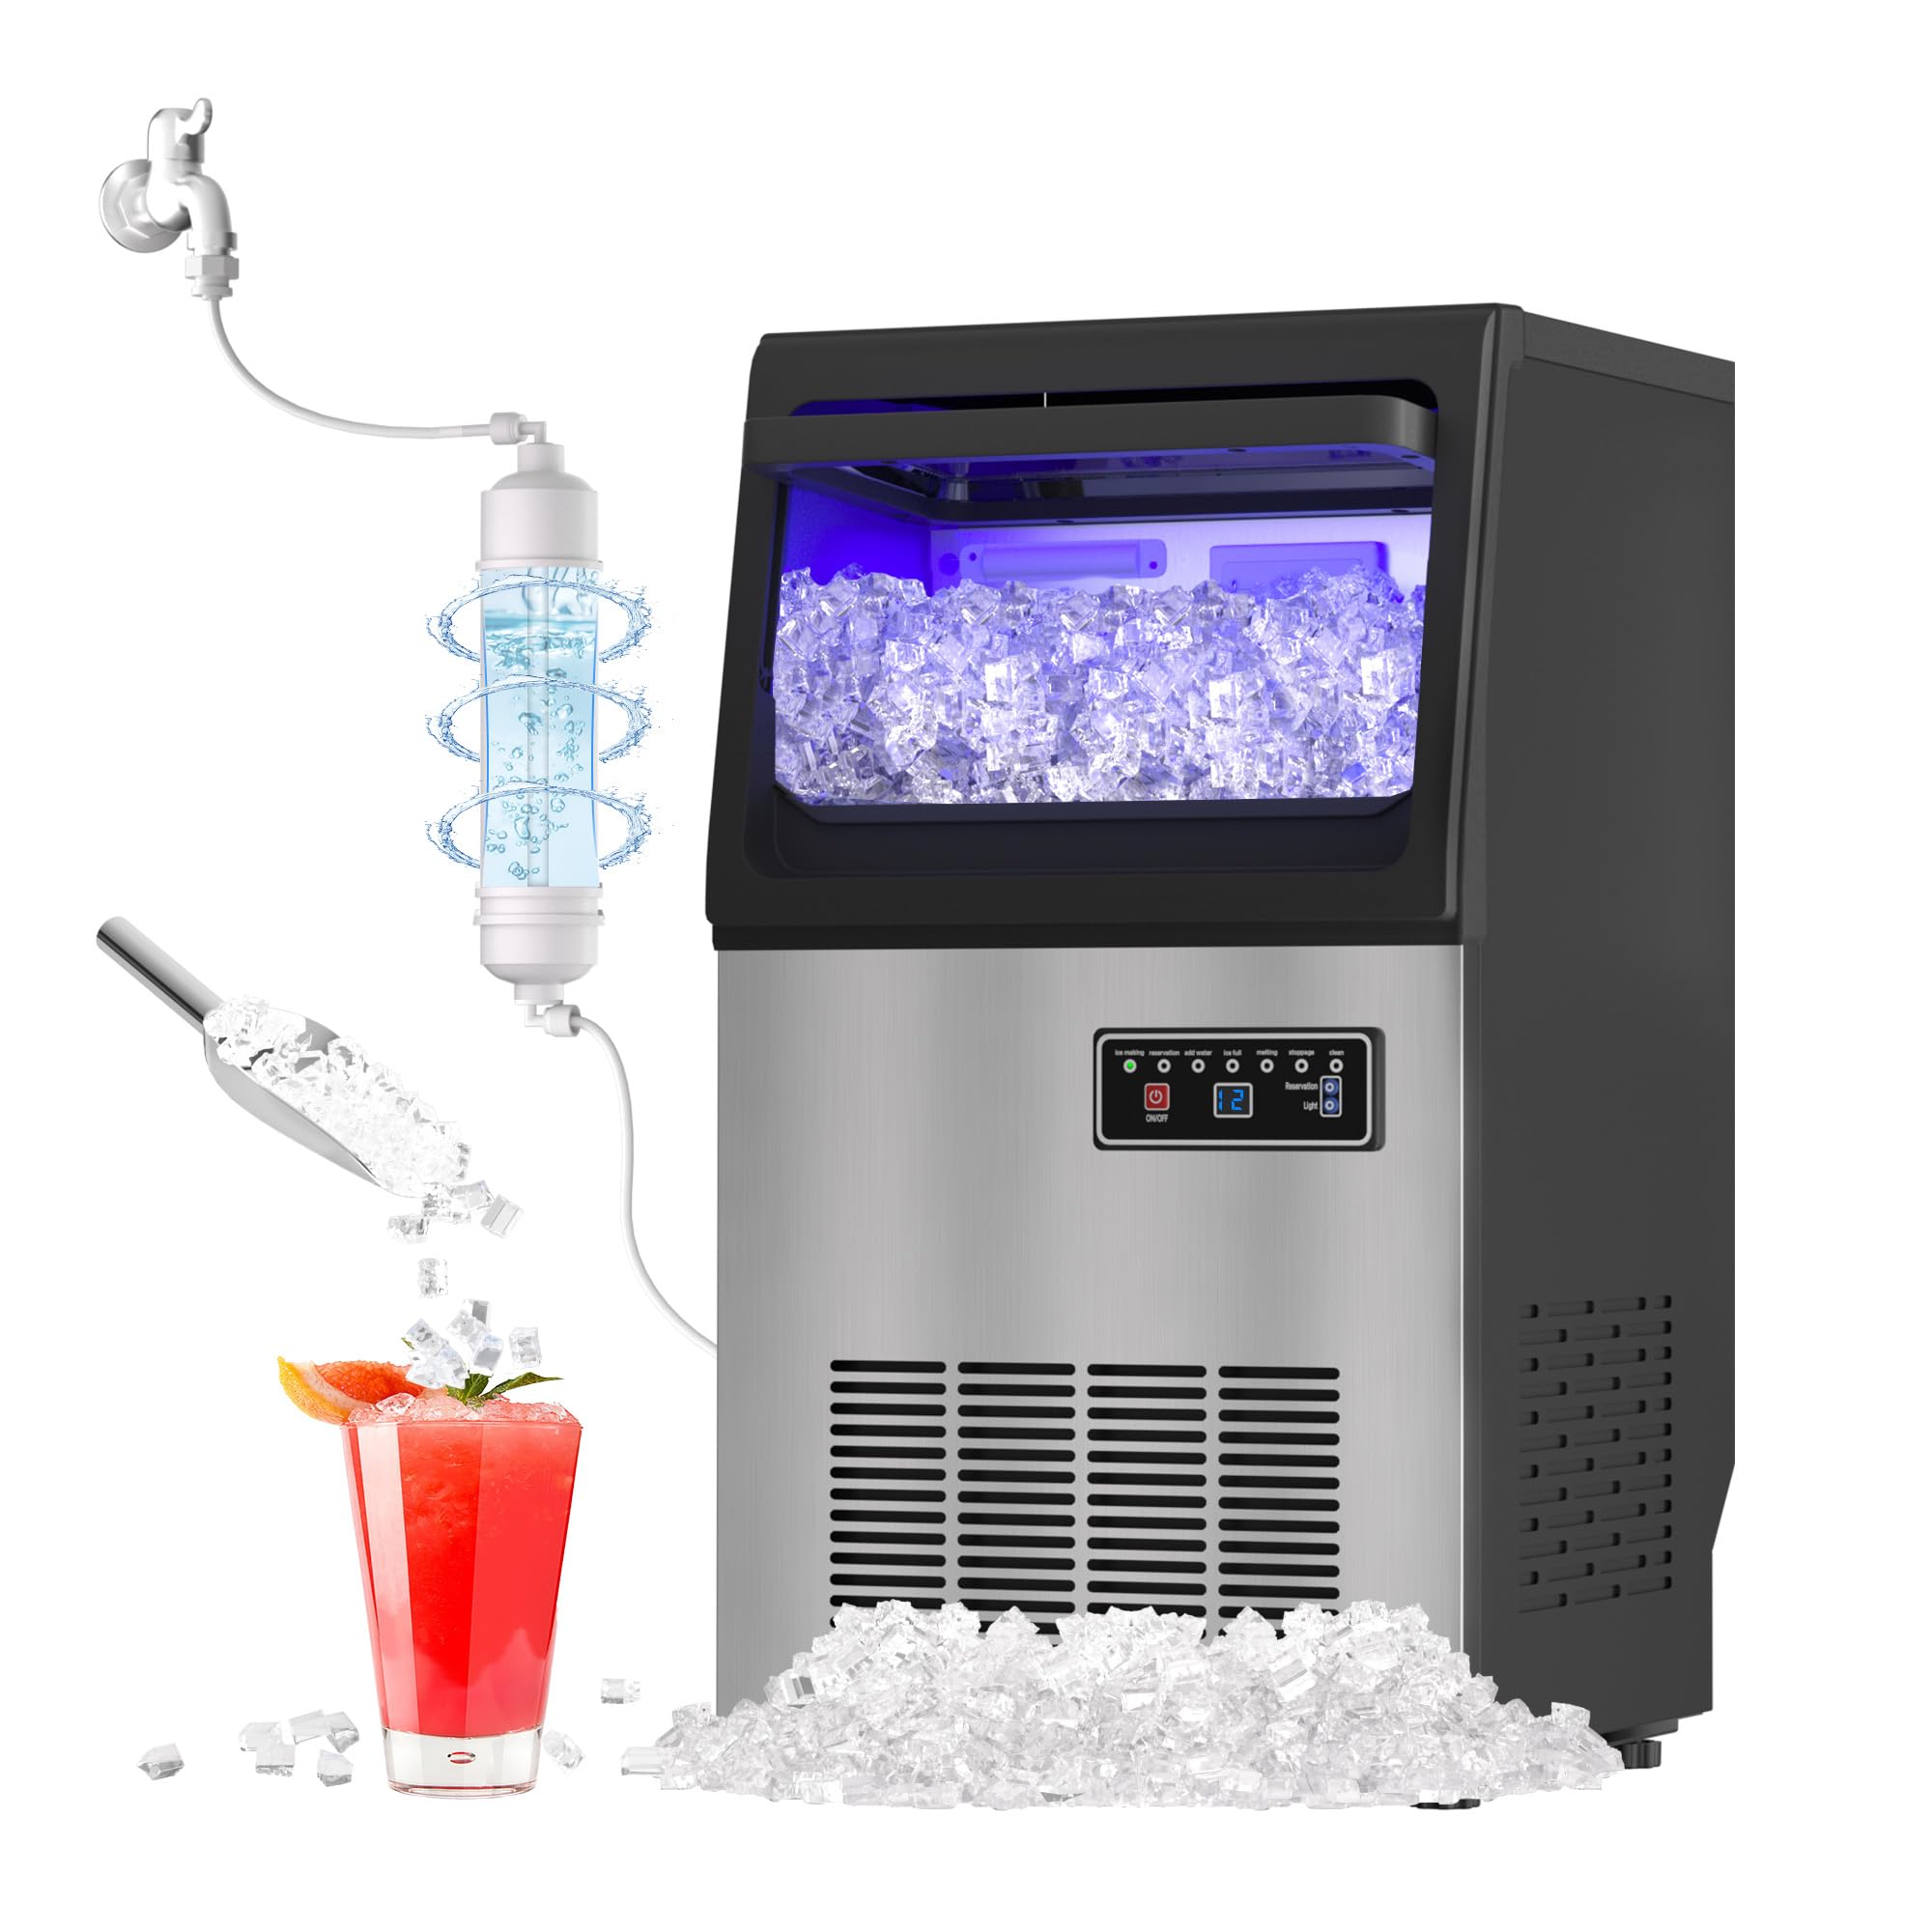
Front view of the AMADVI Nugget Ice Maker Machine.
2. Safety Information
Always follow basic safety precautions when using electrical appliances to reduce the risk of fire, electric shock, and injury to persons.
- Ensure the power supply matches the voltage specified on the appliance's rating label.
- Do not operate the ice maker with a damaged cord or plug.
- Keep the appliance away from heat sources and direct sunlight.
- Do not immerse the appliance, cord, or plug in water or other liquids.
- Unplug the ice maker before cleaning or performing any maintenance.
- This appliance is not intended for use by persons with reduced physical, sensory, or mental capabilities unless supervised.
- Use only potable water for ice production.
- Ensure proper ventilation around the unit.
3. Product Overview
The AMADVI Nugget Ice Maker Machine produces chewable nugget ice, suitable for various beverages and uses. It features a durable stainless steel construction and an efficient cooling system.
Key Features:
- Ice Production: Up to 80 lbs of nugget ice per 24 hours.
- Storage Capacity: 15 lbs ice storage bin.
- Fast Ice Making: Produces ice in approximately 10-15 minutes.
- Self-Cleaning Function: Automated cleaning cycle for hygiene.
- Control Panel: LED digital display with mechanical buttons for easy operation.
- Construction: Durable stainless steel exterior with thickened foam insulation and food-grade PP lining.
- Compressor: 260W energy-saving compressor with dual fans for quiet and efficient operation.

The ice maker is capable of producing 80 lbs of ice per day with a 15 lbs storage capacity.

Nugget ice is easy to chew, cools drinks quickly, and blends well with beverages.
Included Components:
- 1 x Ice Maker Unit
- 1 x Water Filter
- 1 x Drain Pipe
- 1 x Ice Scraper

Dimensions of the ice maker and a visual representation of included accessories.
4. Setup and Installation
Proper installation is crucial for the performance and longevity of your ice maker. Follow these steps carefully.
Unpacking:
- Remove all packaging materials and protective film from the unit.
- Inspect the ice maker for any shipping damage. Contact your retailer if damage is found.
- Place the unit on a stable, level surface. Ensure adequate clearance around the unit for ventilation.
Water Connection:
The ice maker requires a continuous water supply and a drain. Connect the water inlet and drain pipes as shown.
Video demonstrating the connection of water inlet and drain pipes to the ice maker.
- Connect the water filter to the water inlet line.
- Attach the water inlet hose to the designated water inlet port on the back of the ice maker.
- Connect the drain pipe to the ice melting outlet on the back of the unit and route it to a suitable drain.
- Ensure all connections are secure to prevent leaks.

Detailed view of the user-friendly connections at the back of the ice maker, including water inlet, ice melting outlet, and water tank outlet.
Power Connection:
- Plug the power cord into a grounded electrical outlet.
- Do not use extension cords or adapters.
5. Operating Instructions
Familiarize yourself with the control panel and operating modes for efficient ice production.
Control Panel Overview:

The intelligent control panel features an LED display and buttons for various functions.
- ON/OFF Button: Powers the unit on or off.
- Ice Making Indicator: Lights up when ice is being produced.
- Reservation/Timer: Allows scheduling of ice making for up to 24 hours.
- Add Water Alert: Indicates low water level.
- Ice Full Alert: Indicates the ice storage bin is full.
- Melting Indicator: Shows when ice is melting.
- Stoppage Indicator: Alerts to operational issues.
- Clean Button: Initiates the self-cleaning cycle.
- Light Button: Controls internal lighting.
Initial Startup:
- After connecting water and power, press the ON/OFF button to start the ice maker.
- The unit will begin its ice-making cycle. The first batch of ice may take longer and might be smaller.
- Discard the first few batches of ice to ensure cleanliness.
Scheduling Ice Production:
Use the reservation function to schedule ice making for a specific time.
Video demonstrating the general operation and control panel usage of the commercial nugget ice maker.
- Press the Reservation button.
- Use the adjustment buttons (if available, or follow specific model instructions) to set the desired delay time for ice production (up to 24 hours).
- The unit will start making ice after the set delay.

The ice maker can produce ice quickly, making it suitable for various settings.
6. Maintenance
Regular maintenance ensures optimal performance and extends the lifespan of your ice maker.
Self-Cleaning Function:
The ice maker is equipped with an automatic self-cleaning function.

The automatic cleaning feature simplifies maintenance.
- Ensure the water supply is connected.
- Press the Clean button on the control panel to initiate the self-cleaning cycle.
- The unit will automatically flush and clean its internal components.
- Once the cycle is complete, drain any remaining water.
Regular Cleaning:
- Exterior: Wipe the exterior with a soft, damp cloth. For stainless steel surfaces, use a stainless steel cleaner.
- Interior: Periodically clean the ice storage bin and water reservoir with a mild detergent and warm water. Rinse thoroughly.
- Water Filter: Replace the water filter regularly according to the manufacturer's recommendations or if ice quality deteriorates.
- Drain Pipe: Ensure the drain pipe is free from obstructions.
Always unplug the unit before manual cleaning.
7. Troubleshooting
Before contacting customer service, refer to the following table for common issues and solutions.
| Problem | Possible Cause | Solution |
|---|---|---|
| Ice maker not producing ice. | No water supply, power off, clogged water filter, ambient temperature too high. | Check water connection and supply. Ensure unit is plugged in and powered on. Replace water filter. Ensure proper ventilation and ambient temperature. |
| Ice production is slow or ice is small. | Low water pressure, dirty condenser, high ambient temperature, mineral buildup. | Check water pressure. Clean the condenser coils. Ensure proper ventilation. Perform a thorough cleaning cycle. |
| "Add Water" indicator is on. | Water supply is off or low, water inlet hose kinked. | Check water supply and ensure it is turned on. Straighten any kinks in the water inlet hose. |
| "Ice Full" indicator is on, but bin is not full. | Ice sensor obstructed or faulty. | Clear any ice or debris from the ice sensor. If issue persists, contact support. |
| Water leakage. | Loose water connections, clogged drain pipe. | Tighten all water inlet and drain connections. Clear any obstructions in the drain pipe. |
8. Specifications
| Specification | Detail |
|---|---|
| Brand | AMADVI |
| Model Name | LCATS30J |
| Product Dimensions (D x W x H) | 13.2"D x 13.5"W x 24.61"H |
| Capacity (Ice Storage) | 15 pounds |
| Wattage | 260 watts |
| Unit Count | 1 Count |
| Item Weight | 30 kg |
| Model Number | LCATS30J |
| Part Number | CX-5-10 |
| Voltage | 110 volts |
| Ice Production per Day | 80 pounds |
| Refrigerant | R290a |

Internal construction details, highlighting the durable and insulated design.
9. Warranty and Support
For warranty information or technical support, please contact AMADVI customer service. Keep your purchase receipt and model number (LCATS30J) available when contacting support.
AMADVI is committed to providing reliable products and support. Refer to the official AMADVI website or your purchase documentation for specific warranty terms and contact details.