
Introduction
Welcome to the NBD 8K 64MP Digital Camera instruction manual. This guide provides detailed information on how to set up, operate, and maintain your new camera. Please read this manual thoroughly before using the camera to ensure optimal performance and longevity.
Your NBD digital camera is designed to capture stunning 8K videos and 64MP photos, featuring a 180° rotatable screen, 16x digital zoom, autofocus, and Wi-Fi connectivity. It comes equipped with both wide-angle and macro lenses, making it versatile for various shooting scenarios, from vlogging to detailed close-ups.
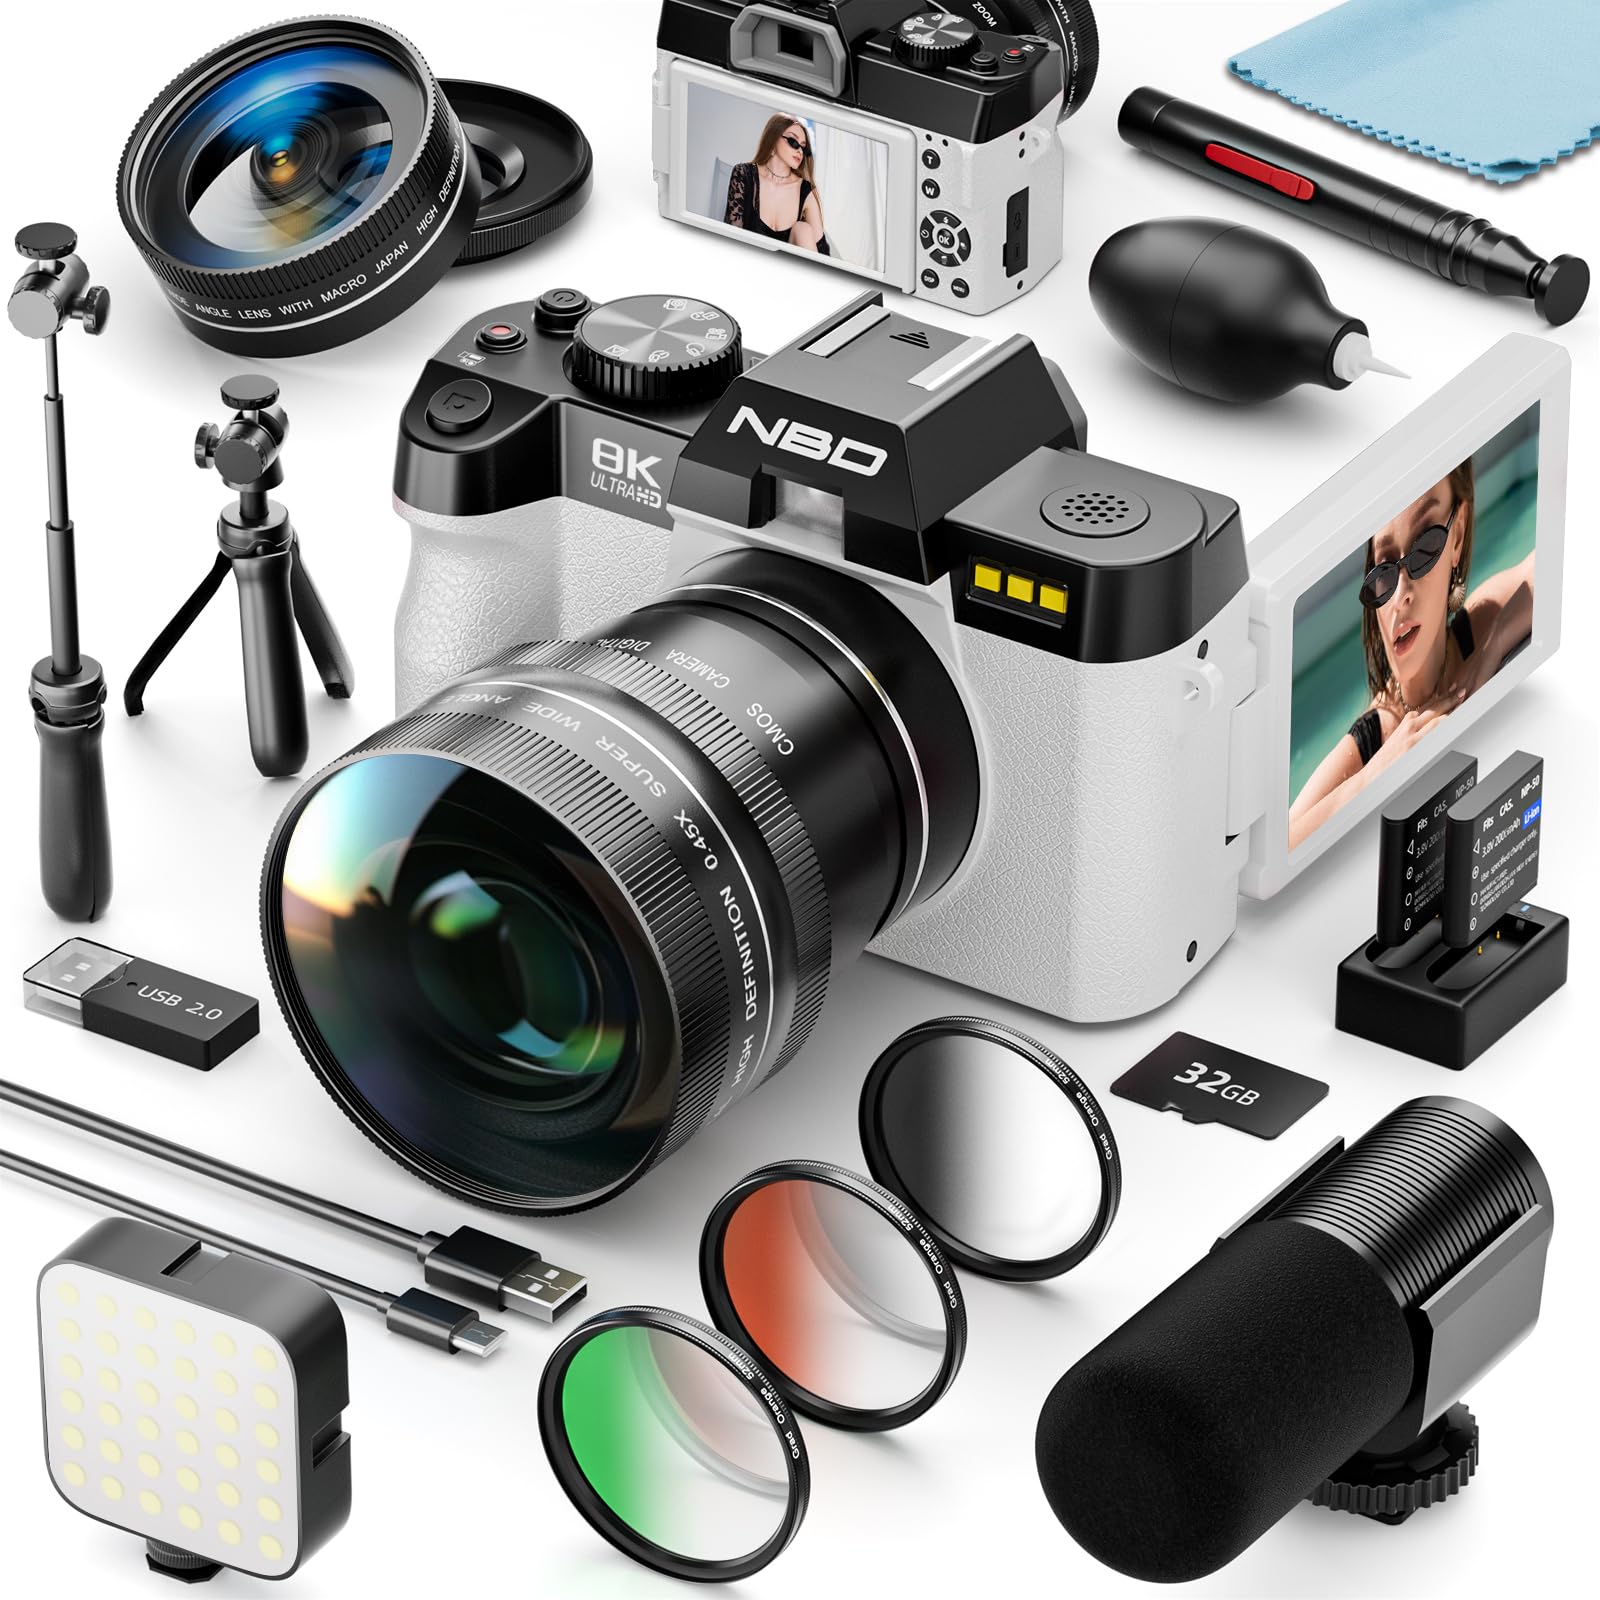
The NBD 8K 64MP Digital Camera, showcasing its 180° rotatable screen and digital zoom capabilities.
Package Contents
Please check that all the following items are included in your package:
- NBD 8K 64MP Digital Camera Body
- Wide-Angle Lens
- Macro Lens
- Microphone
- LED Fill Light
- Mini Tripod
- 2 x Lithium-ion Batteries
- USB-C Cable
- 64GB TF Card
- Cleaning Kit
- User Manual

An overview of the camera body and all included accessories.
Setup
1. Battery Installation
- Open the battery compartment cover located at the bottom of the camera.
- Insert the lithium-ion battery, ensuring the correct polarity (match the battery contacts with the compartment indicators).
- Close the battery compartment cover securely.
- Charge the battery fully before first use using the provided USB-C cable and a compatible power adapter (not included).
2. Memory Card (TF Card) Installation
- Locate the TF card slot on the side of the camera.
- Align the TF card with the slot, ensuring the metal contacts face the correct direction as indicated by the icon.
- Gently push the TF card into the slot until it clicks into place. A click indicates it is locked.
- To eject the TF card, push it in again until it clicks and springs out.

Detailed steps for inserting and ejecting the TF card.
3. Attaching Accessories
Your camera comes with several accessories to enhance your shooting experience:
- Microphone: Attach the microphone to the camera's hot shoe mount and connect the audio cable to the microphone input port.
- LED Fill Light: Attach the LED fill light to the camera's hot shoe mount. Ensure it is securely fastened.
- Mini Tripod: Screw the mini tripod into the 1/4-inch tripod socket at the bottom of the camera. This can be used for stable shots or as a handheld grip.
- Wide-Angle/Macro Lenses: Screw the desired lens onto the front of the camera's main lens. The macro lens can be separated from the wide-angle lens for close-up photography.
The camera with an external microphone and LED fill light for enhanced audio and illumination.

The camera attached to a retractable tripod, ideal for stable shots or as a handheld extension.
Operating Instructions
1. Power On/Off
Press and hold the power button (usually located on the top or side of the camera) for a few seconds to turn the camera on or off.
2. Basic Controls
Familiarize yourself with the main buttons:
- Shutter Button: Press halfway to focus, fully to take a photo or start/stop video recording.
- Mode Dial/Button: Switch between photo, video, playback, and other special modes.
- Navigation Buttons: Use the directional pad to navigate menus and settings.
- OK/SET Button: Confirm selections in menus.
3. Using Autofocus
The camera features fast autofocus to ensure your subjects are sharp.
- Point the camera at your subject.
- Press the shutter button halfway down. The camera will automatically adjust focus.
- A green focus box indicates the subject is in focus, while a red box indicates it is out of focus.
- Once focused, press the shutter button fully to capture the image or start recording.

Instructions for using the autofocus feature, indicating in-focus and out-of-focus states.
4. Digital Zoom (16x)
Utilize the 16x digital zoom to bring distant subjects closer without physically moving. Use the zoom lever or buttons (often marked 'W' for Wide and 'T' for Telephoto) to adjust the zoom level.

Demonstration of the 16x digital zoom capability, showing increasing magnification.
5. Adjusting Image Quality and Resolution
You can select various image quality and resolution settings for both photos and videos.
- Press the Function (Fn) button to access quick settings.
- Use the navigation buttons to select 'Image Size' for photos or 'Resolution' for videos.
- Press the OK/SET button to confirm your selection.
- Choose from options like 64MP for photos or 8K/5K/4K/2K/1080P/720P for videos, along with various frame rates (e.g., 30fps, 60fps, 120fps). Note that some options may be locked depending on the current shooting mode.

Guide on how to navigate the camera menu to adjust image quality and video resolution settings.
6. Using the 180° Rotatable Screen
The camera's screen can be rotated 180 degrees, making it ideal for selfies, vlogging, and shooting from various angles.
- Gently pull the screen out from the side of the camera body.
- Rotate the screen to your desired angle. For selfies or vlogging, flip it forward to face you.
- The display will automatically adjust its orientation.
7. Wi-Fi Connectivity and App Control
Connect your camera to a smartphone via Wi-Fi for remote control and easy file transfer.
- On the camera, navigate to the Wi-Fi settings in the menu.
- Enable Wi-Fi. The camera will display a Wi-Fi ID (e.g., 8K_WIFI) and password.
- Download the dedicated camera app on your smartphone (scan the QR code displayed on the camera screen or in the manual).
- On your smartphone, go to Wi-Fi settings and connect to the camera's Wi-Fi network using the provided password.
- Open the camera app. You can now control the camera remotely, view live footage, and download photos/videos.

Step-by-step guide for connecting your camera to a smartphone using Wi-Fi. Download the app via this QR code link.
8. Macro and Wide-Angle Lenses
The included 0.45x wide-angle lens expands your field of view up to 120 degrees, perfect for landscapes and group shots. The macro lens, which can be detached from the wide-angle lens, allows for extreme close-up photography of small subjects.
- To use the wide-angle lens, screw it onto the camera's main lens.
- To use the macro lens, unscrew the wide-angle portion from the macro portion and then screw the macro lens onto the camera's main lens.

The camera with its wide-angle and macro lenses, illustrating their distinct photographic capabilities.
9. Applying Filters
Enhance your photos with the included color filters (Green, Orange, Grey).
- Gently screw the desired filter onto the front of your camera's lens (or attached wide-angle/macro lens).
- Experiment with different filters to achieve various creative effects and moods in your images.

Visual representation of how green, orange, and grey filters alter the color and tone of an image.
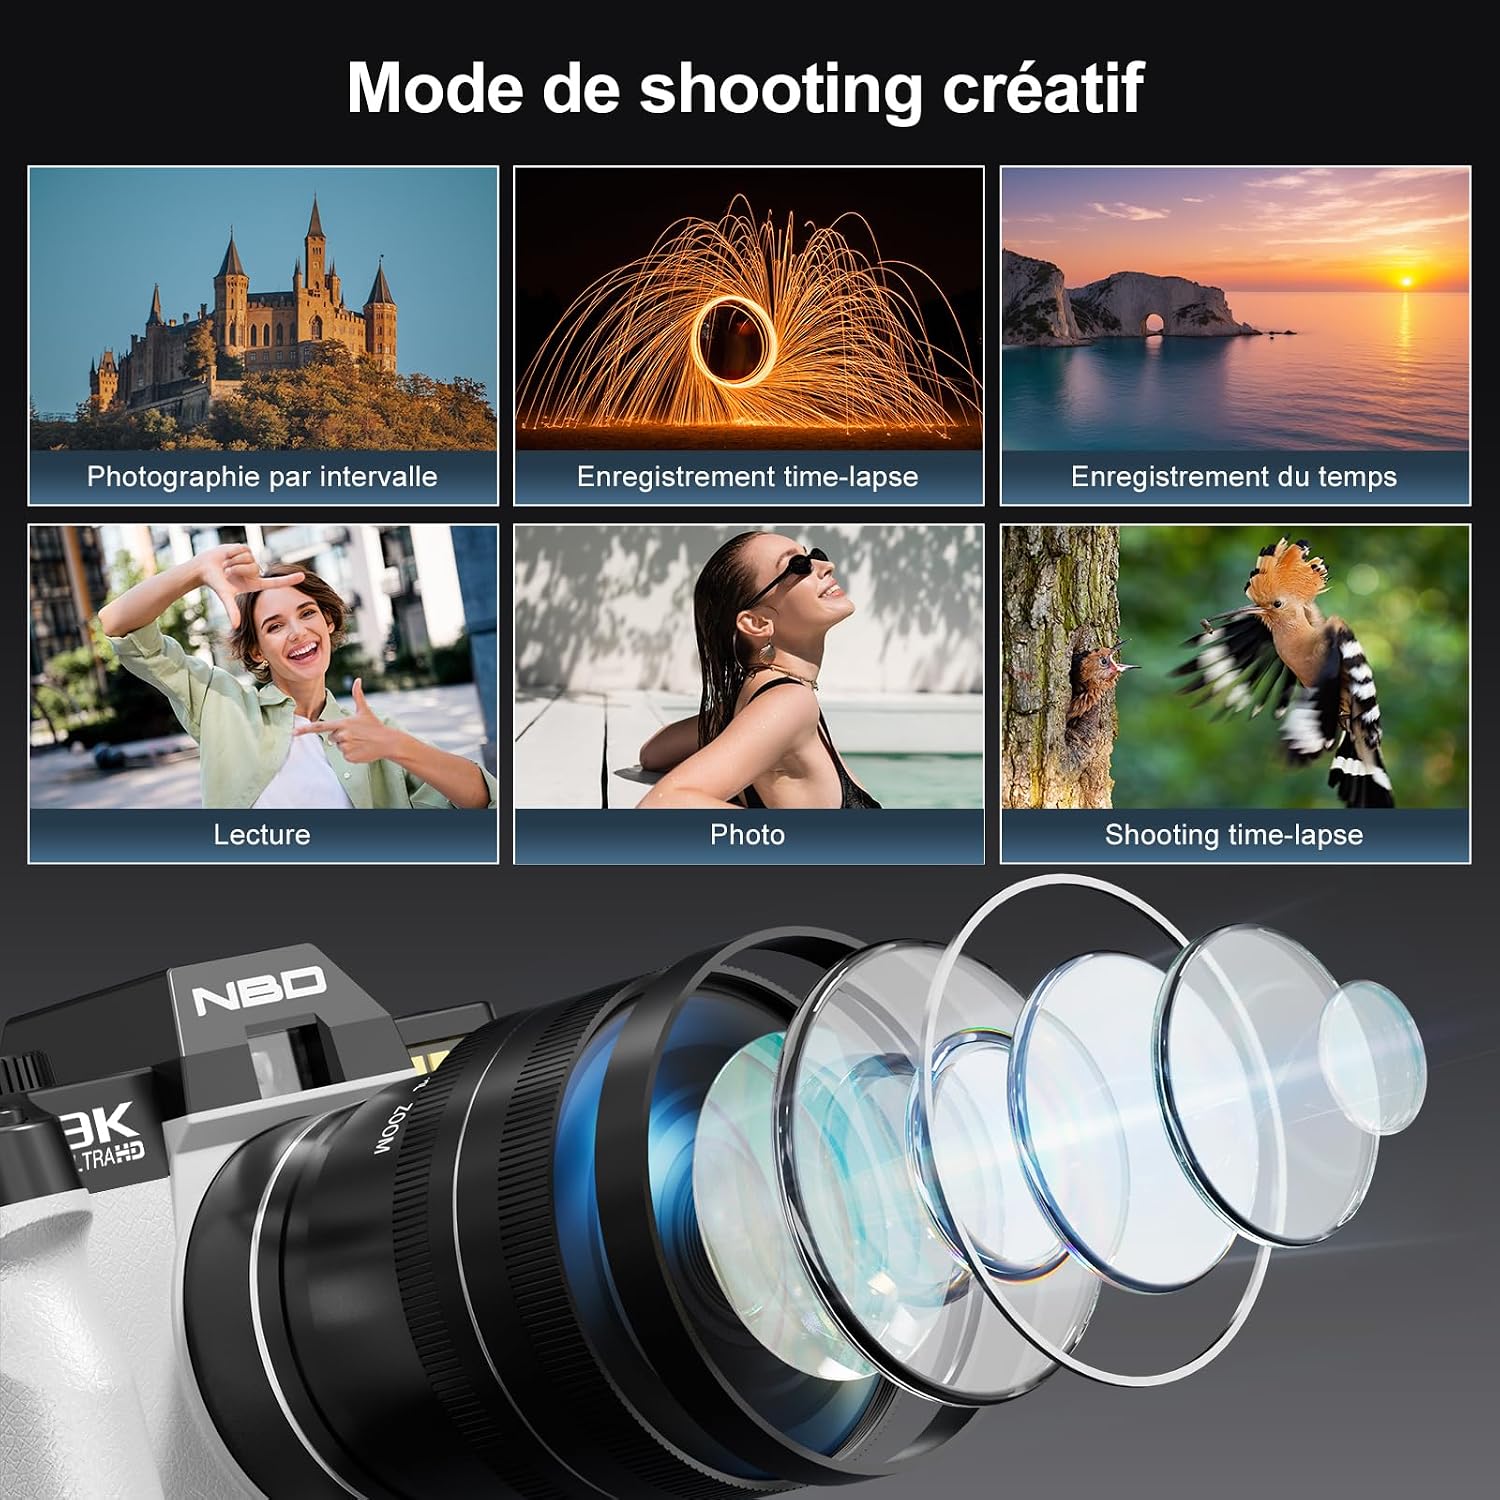
10. Creative Shooting Modes
Explore various shooting modes to unleash your creativity:
- Time-Lapse: Capture a series of photos over time and combine them into a sped-up video.
- Slow Motion: Record videos at a high frame rate to play back in slow motion.
- Self-Timer: Set a delay before taking a photo (2s, 5s, 10s).
- Burst Shooting: Capture multiple photos in quick succession.
- Video Recording: Record high-resolution videos up to 8K.
- Photo Mode: Capture still images up to 64MP.

Examples of different shooting modes available on the camera, such as time-lapse, slow motion, and self-timer.
11. Exposure, ISO, and White Balance Settings
Adjust these settings to control the brightness, sensitivity to light, and color accuracy of your images.
- Exposure Compensation: Adjust the brightness of your photos from -3 to +3 stops.
- ISO Sensitivity: Choose between automatic or manual ISO settings (100, 200, 400, 800, 1600, 3200, 6400) to control light sensitivity.
- White Balance: Select from Auto, Fluorescent, Incandescent, Daylight, or Cloudy presets to ensure accurate color reproduction under different lighting conditions.

Illustrations of exposure compensation, available ISO settings, and different color effects like black and white, natural, and warm tones.
12. Webcam Function
Transform your camera into a high-quality webcam for video calls or live streaming.
- Connect the camera to your computer using the USB-C cable.
- On the camera screen, select 'PC Camera' or 'Webcam Mode' when prompted.
- Your computer should recognize the camera as a webcam. Select it as your video input device in your video conferencing or streaming software.

The NBD camera set up as a webcam, displaying a video conference on a laptop screen.
13. Data Transfer (Type-C)
Transfer your photos and videos to a computer using the provided USB-C cable.
- Connect one end of the USB-C cable to the camera and the other end to your computer.
- On the camera screen, select 'Mass Storage' or 'Data Transfer' when prompted.
- Your computer will recognize the camera as an external drive. You can then access and transfer your files.

The camera connected to a laptop via a Type-C cable for efficient data transfer.
Maintenance
1. Cleaning the Camera
Regular cleaning helps maintain image quality and camera performance.
- Lens: Use the provided lens blower to remove dust and particles. For smudges or fingerprints, use the multi-coated carbon active head or a soft, anti-static brush from the cleaning kit. Wipe gently in a circular motion.
- Camera Body: Wipe the camera body with a soft, dry cloth. Avoid using harsh chemicals or solvents.
- Screen: Use a soft, lint-free cloth specifically designed for electronics screens.

The included cleaning kit, featuring a lens pen with carbon active head and anti-static brush, and a lens blower for dust removal.
2. Battery Care
- Always use the original NBD batteries and charger.
- Avoid exposing batteries to extreme temperatures.
- If the camera will not be used for an extended period, remove the batteries.
3. Storage
Store the camera in a cool, dry place, away from direct sunlight and excessive humidity. Use a camera bag to protect it from dust and physical damage.
Troubleshooting
If you encounter any issues with your camera, please refer to the following common problems and solutions:
| Problem | Solution |
|---|---|
| Camera does not power on. | Ensure the battery is fully charged and correctly inserted. Try using the second battery. |
| Images are blurry. | Check if autofocus is enabled and functioning. Clean the lens. Ensure sufficient lighting. Hold the camera steady or use a tripod. |
| Memory card error. | Ensure the TF card is correctly inserted and not full. Try formatting the card (this will erase all data). Use a compatible TF card (up to 256GB, Class 10 recommended). |
| Wi-Fi connection fails. | Ensure Wi-Fi is enabled on the camera and your smartphone. Double-check the password. Restart both devices. Ensure the camera app is up to date. |
| Camera freezes or becomes unresponsive. | Remove the battery for a few seconds, then reinsert it and restart the camera. If the problem persists, contact customer support. |
Specifications
| Feature | Detail |
|---|---|
| Model Name | NBD-EU-S100-DP |
| Image Sensor Technology | CMOS (1/2.3 inch) |
| Max Image Resolution | 64 Megapixels |
| Video Capture Resolution | 8K/5K/4K/2K/1080P/720P |
| Frame Rate | 30 fps, 60 fps, 120 fps (depending on resolution) |
| Digital Zoom | 16x |
| Autofocus | Yes |
| Image Stabilization | Yes |
| Display Type | Articulated LCD (3 inches) |
| Connectivity | USB, Wi-Fi |
| Lens Type | Macro/Wide-angle (52mm) |
| ISO Range | 100-6400 |
| Shutter Speed | 1/2000 to 1/3 seconds |
| Storage | Supports up to 256GB TF card (64GB included) |
| Battery Type | Lithium-ion (2 included) |
| Dimensions (L x W x H) | 12.6 x 11 x 8.2 cm |
| Weight (Battery) | 28 Grams |
| Microphone Technology | Stereo |
| Self-Timer | 2s, 5s, 10s |
Warranty Information
The NBD 8K 64MP Digital Camera is covered by a 1-year limited warranty from the date of purchase. This warranty covers manufacturing defects and workmanship under normal use. It does not cover damage caused by misuse, accidents, unauthorized modifications, or natural disasters.
Please retain your proof of purchase for warranty claims. For detailed warranty terms and conditions, refer to the official NBD website or contact customer support.
Support
For further assistance, technical support, or service inquiries, please contact NBD customer support through the following channels:
- Email: support@nbd.com (example email, please refer to product packaging for actual contact)
- Website: Visit the official NBD website for FAQs, driver downloads, and additional resources.
- Online Chat: Available on the NBD support page during business hours.
When contacting support, please have your camera model (NBD-EU-S100-DP) and purchase information ready.


