
1. Introduction
This manual provides detailed instructions for the assembly, operation, and maintenance of your BANRIA Handheld Rechargeable Electric Screwdriver and Solder Fume Extractor Kit. This kit is designed for hands-on soldering projects, electronics repair, and DIY assembly, offering both a functional electric screwdriver and an efficient solder fume extractor.
Please read this manual thoroughly before using the product to ensure safe and correct operation.
2. Safety Information
- Always wear appropriate personal protective equipment, such as safety glasses, when soldering or using power tools.
- Ensure adequate ventilation in your workspace, even when using the fume extractor.
- Keep the product away from water and other liquids to prevent electric shock.
- Do not operate the electric screwdriver or fume extractor if any parts are damaged.
- Keep out of reach of children. This product is not a toy.
- Use only the specified power source for charging the electric screwdriver.
- Dispose of used filters and electronic components according to local regulations.
3. Package Contents
Verify that all items listed below are included in your package:
- DIY Electric Screwdriver Kit Components
- DIY Solder Fume Extractor Kit Components
- 1 x Phillips Screwdriver Bit
- 1 x Flat-head Screwdriver Bit
- 1 x USB LED Light
- 1 x Filter Pad (pre-installed or separate)
- Assembly Instructions (this manual)
4. Product Overview
4.1 Electric Screwdriver Components
Familiarize yourself with the main components of the electric screwdriver:
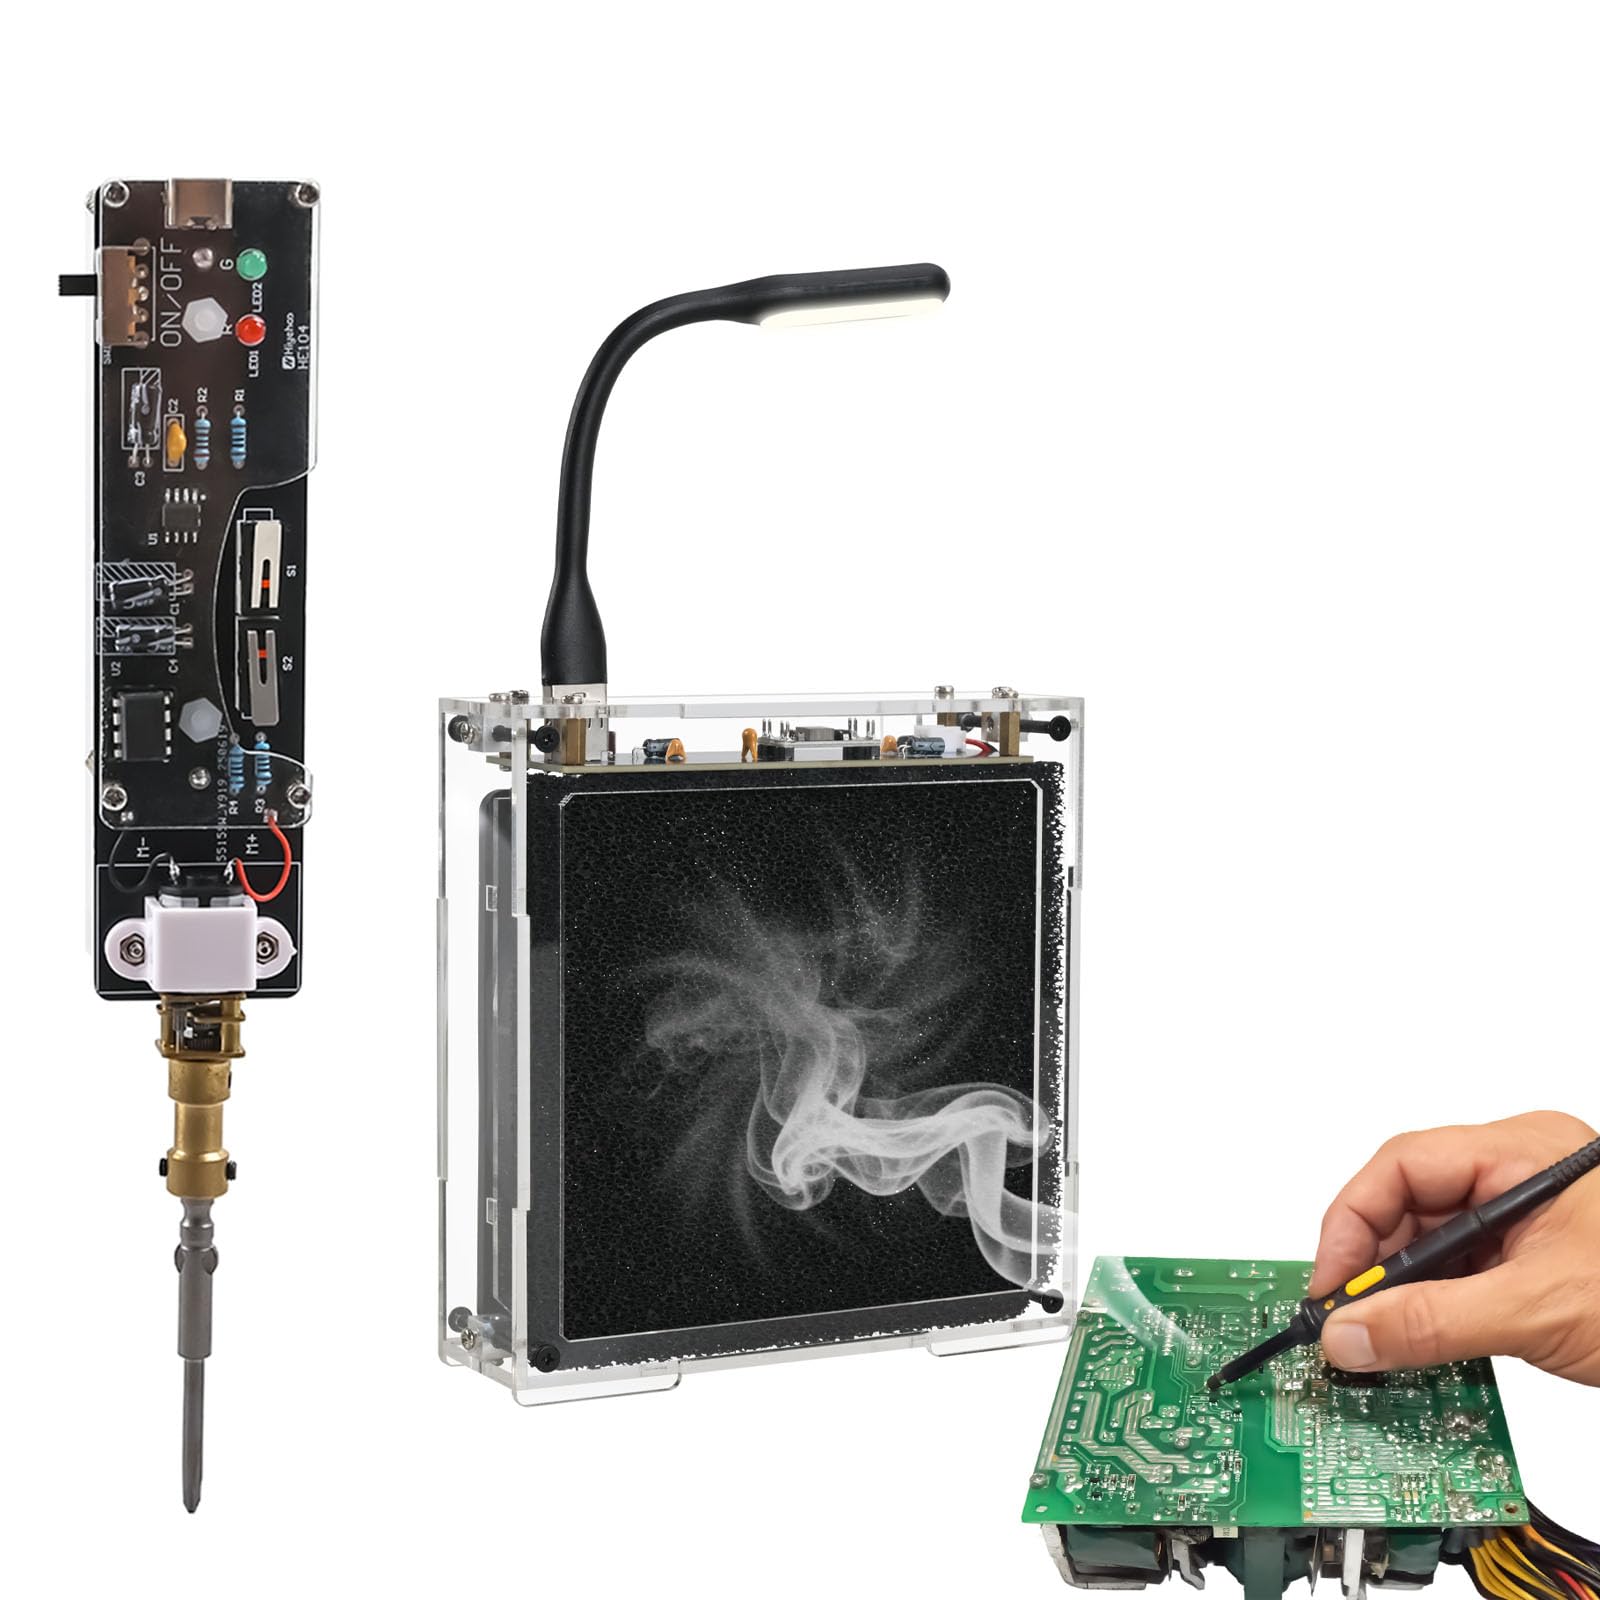
Image 4.1: Electric Screwdriver Component Diagram. This image illustrates the various parts of the electric screwdriver, including the power switch, battery holder (battery not included), Type-C charging port, 801-series screwdriver bit, screw in button, screw out button, and charging indicator. Dimensions are also shown: 7.52 inches length, 1.54 inches width, and 1.38 inches height.
- Power Switch: Turns the screwdriver on or off.
- Battery Holder: Slot for inserting the rechargeable battery (battery not included).
- Type-C Charging Port: For charging the screwdriver's battery.
- 801-series Screwdriver Bit: Interchangeable bit for various screw types.
- Screw In Button (S2): Activates rotation for tightening screws.
- Screw Out Button (S1): Activates rotation for loosening screws.
- Charging Indicator: Light to show charging status.
4.2 Solder Fume Extractor Components
The solder fume extractor is designed to absorb smoke and fumes during soldering:

Image 4.2: Solder Fume Extractor Fan. This image displays the efficient seven-blade fan used in the fume extractor, emphasizing its low noise operation, portability, and strong fume adsorption capabilities.

Image 4.3: Activated Carbon Filter. This image demonstrates the activated carbon filter in action, effectively extracting solder fumes. It also indicates a recommended effective operating distance of 3-6 inches from the soldering point.
- Seven-Blade Fan: Provides efficient and quiet air movement for fume extraction.
- Activated Carbon Filter: Traps fumes and chemical gases, ensuring a cleaner workspace.
- USB LED Light: Provides focused illumination for your soldering area.
5. Assembly Instructions
Both the electric screwdriver and solder fume extractor are DIY kits designed for easy assembly, typically completable within 30 minutes each.
5.1 Electric Screwdriver Assembly

Image 5.1: Electric Screwdriver Kit Assembly. This image shows the process of assembling the electric screwdriver kit, highlighting its nature as a DIY soldering project.
- Unpack all components for the electric screwdriver kit.
- Follow the circuit board markings and included diagrams to solder the electronic components onto the PCB.
- Assemble the mechanical parts, including the motor, gear mechanism, and bit holder.
- Secure the PCB and mechanical assembly within the transparent casing.
- Insert a compatible rechargeable battery into the battery holder (battery not included).
- Insert the desired 801-series screwdriver bit into the bit holder.
5.2 Solder Fume Extractor Assembly

Image 5.2: Solder Fume Extractor Kit Assembly. This image illustrates the assembly of the solder fume extractor kit, emphasizing its through-hole components for easy soldering.
- Unpack all components for the solder fume extractor kit.
- Solder the through-hole components onto the provided circuit board according to the instructions.
- Mount the seven-blade fan into its designated position within the casing.
- Insert the activated carbon filter pad into the filter slot.
- Attach the USB LED light to the designated port.
- Close and secure the casing.
6. Operating Instructions
6.1 Electric Screwdriver Operation

Image 6.1: Electric Screwdriver Dual Working Modes. This image highlights the S1 (screw out) and S2 (screw in) buttons, demonstrating the dual working modes of the electric screwdriver and its 200 RPM rotation speed.
- Charging: Connect a Type-C USB cable to the charging port. The charging indicator will illuminate during charging and turn off or change color when fully charged.
- Inserting Bits: Ensure the screwdriver is off. Firmly insert the desired 801-series screwdriver bit (Phillips or flat-head) into the bit holder.
- Power On/Off: Slide the Power Switch to the 'ON' position to activate the screwdriver. Slide to 'OFF' when not in use.
- Screwing In: Press and hold the Screw In Button (S2) to rotate the bit clockwise for tightening screws.
- Screwing Out: Press and hold the Screw Out Button (S1) to rotate the bit counter-clockwise for loosening screws.
- Applications: This electric screwdriver is suitable for various small electronic equipment repairs, assembly, and disassembly tasks.
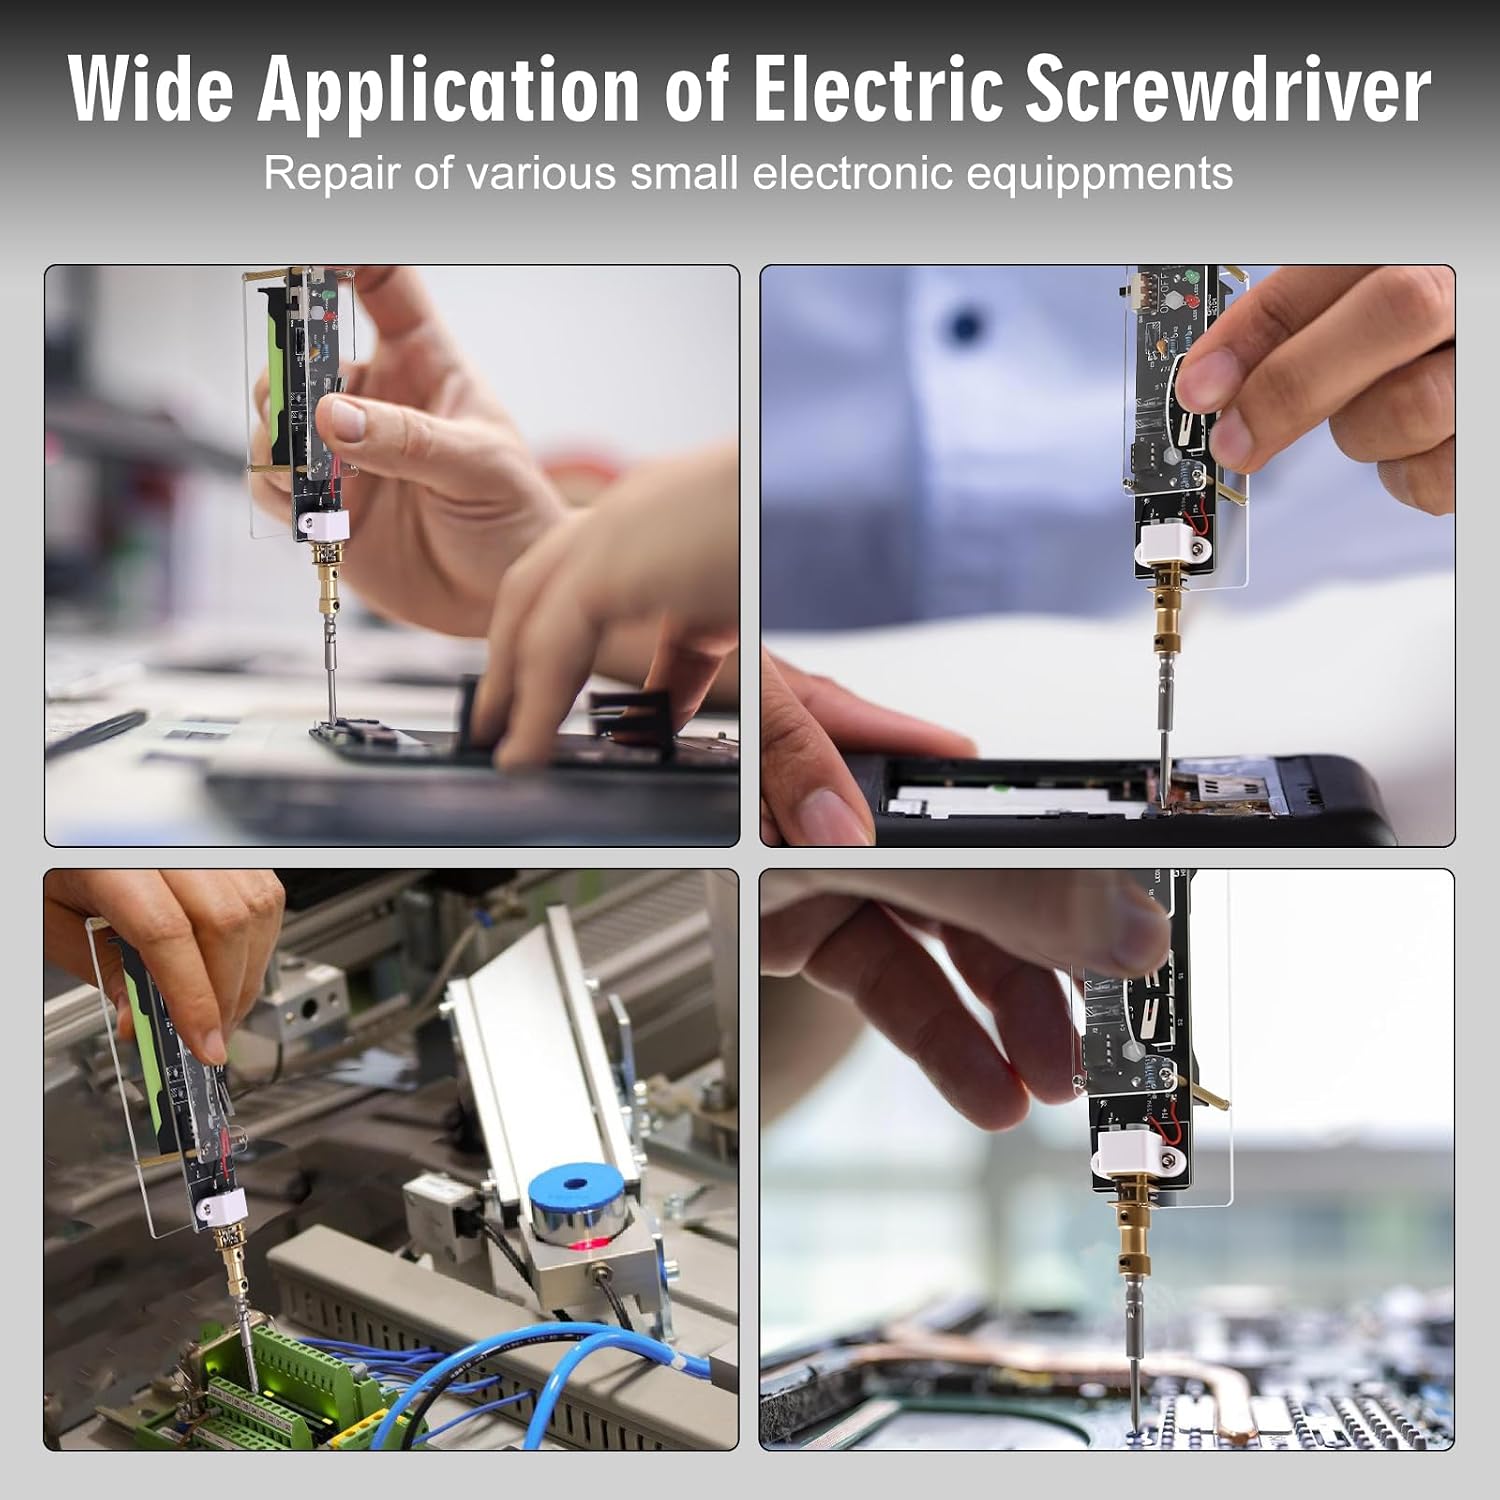
Image 6.2: Wide Application of Electric Screwdriver. This collage shows the electric screwdriver being used in various scenarios, including repairing smartphones, circuit boards, and other small electronic devices.
6.2 Solder Fume Extractor Operation
- Placement: Position the fume extractor near your soldering area. For optimal fume absorption, place the extractor 3-6 inches (7.5-15 cm) from the soldering point.
- Power On: Connect the fume extractor to a suitable USB power source. The fan will begin operating.
- LED Light: If included, connect the USB LED light to the designated port on the fume extractor to illuminate your workspace.
- Operation: The fan will draw in solder smoke and fumes, passing them through the activated carbon filter for purification.
- Power Off: Disconnect the USB power source when finished.
7. Maintenance
7.1 Filter Replacement (Solder Fume Extractor)
The activated carbon filter pad should be replaced periodically, depending on usage, to maintain effective fume absorption.
- Ensure the fume extractor is disconnected from power.
- Open the casing or filter compartment.
- Carefully remove the old filter pad.
- Insert a new activated carbon filter pad, ensuring it fits snugly.
- Close the casing or filter compartment securely.
7.2 Cleaning
- Wipe the exterior of both devices with a soft, dry cloth.
- Do not use abrasive cleaners or solvents.
- Ensure no dust or debris obstructs the fan blades of the fume extractor.
8. Troubleshooting
- Electric Screwdriver Not Turning On:
- Check if the power switch is in the 'ON' position.
- Ensure the battery is correctly inserted and fully charged.
- Screwdriver Bit Not Engaging:
- Ensure the bit is fully inserted and secured in the bit holder.
- Fume Extractor Not Absorbing Effectively:
- Check if the fan is operating.
- Ensure the fume extractor is placed within the recommended 3-6 inch distance from the soldering point.
- Inspect the activated carbon filter for excessive saturation or blockage; replace if necessary.
- LED Light Not Working:
- Ensure the USB LED light is properly connected to the port.
- Check the USB power source for the fume extractor.
9. Specifications
| Feature | Specification |
|---|---|
| Brand | BANRIA |
| Model Number (ASIN) | B0G6L1F7ZK |
| Electric Screwdriver RPM | 200 RPM |
| Screwdriver Bit Compatibility | 801-series (includes 1 Phillips, 1 Flat-head) |
| Fume Extractor Filter Thickness | 0.4 inches (Activated Carbon) |
| Fume Extractor Recommended Distance | 3-6 inches (7.5-15 cm) |
| Charging Port | Type-C USB |
10. Warranty and Support
For warranty information or technical support, please refer to the seller's policies or contact the BANRIA customer service directly through the platform where the product was purchased. Please have your model number (B0G6L1F7ZK) and purchase details ready when contacting support.