
Introduction
This manual provides instructions for the installation, operation, and maintenance of the Generic replacement carburetor designed for Snapper 21-inch 5.5HP walk-behind lawn mowers, including models P21550, P21500, RP21550, and ECP21550V. Proper installation and care will ensure optimal fuel flow, stable engine output, and reliable performance of your lawn mower.
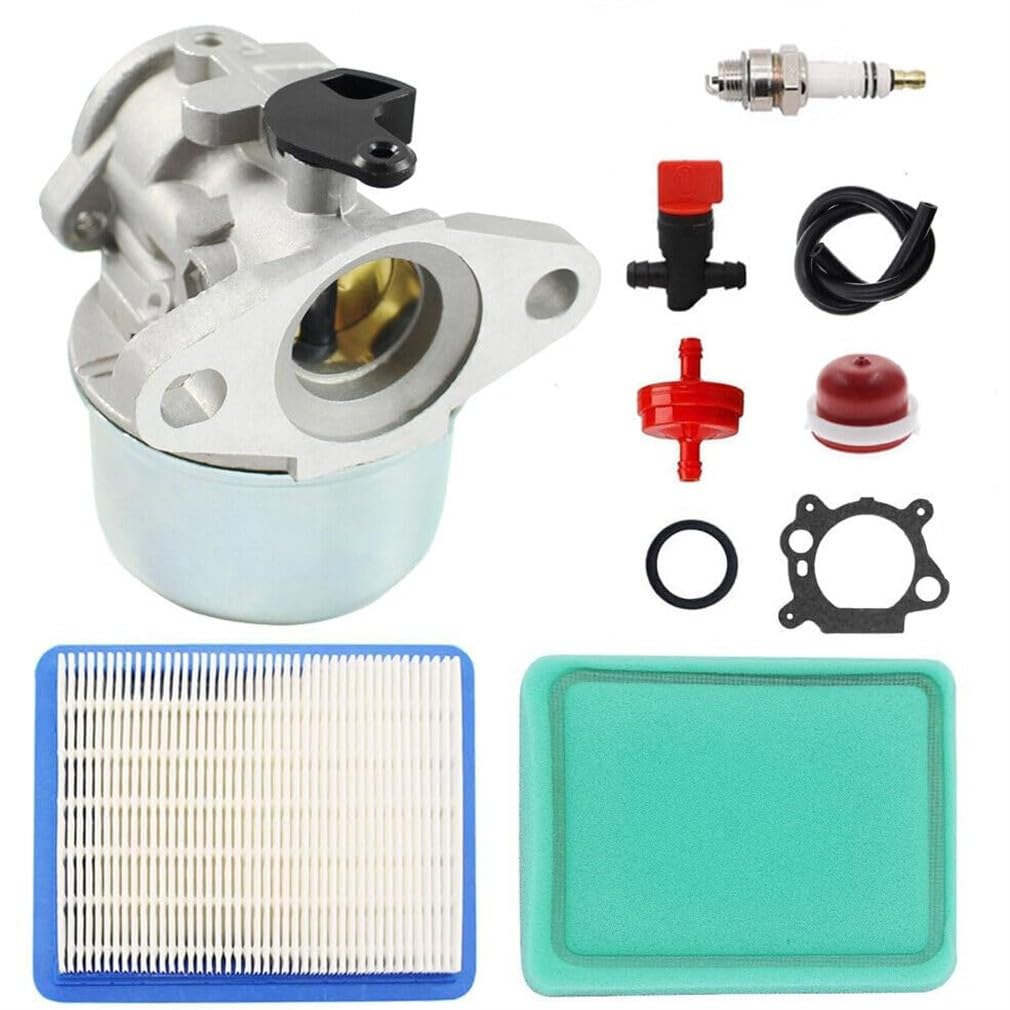
Image: Front-side view of the Generic replacement carburetor, showing fuel inlet and mounting points.
Safety Information
Always observe the following safety precautions when working with fuel systems and internal combustion engines:
- Disconnect the spark plug wire before performing any service or maintenance to prevent accidental starting.
- Work in a well-ventilated area to avoid inhaling fuel fumes.
- Wear appropriate personal protective equipment, such as safety glasses and gloves.
- Handle gasoline with extreme care. It is highly flammable. Store in approved containers.
- Allow the engine to cool completely before working on it to prevent burns.
Setup and Installation
Tools Required
- Wrench set (metric and/or SAE, depending on mower)
- Screwdriver set (flathead and Phillips)
- Pliers
- Fuel line clamps or pinch-off tool
- Container for draining fuel
- New gaskets (if not included with carburetor)
Preparation
- Ensure the lawn mower engine is cool.
- Disconnect the spark plug wire from the spark plug.
- Turn off the fuel supply valve (if equipped) or pinch the fuel line.
- Drain the fuel tank into an approved container or run the engine until it runs out of fuel.
- Clean the area around the carburetor to prevent dirt from entering the engine.
Carburetor Removal
- Remove the air filter housing and air filter.
- Carefully disconnect the fuel line from the carburetor. Be prepared for residual fuel.
- Disconnect any throttle linkages, choke linkages, or governor springs attached to the carburetor. Note their positions for reassembly.
- Unbolt the carburetor from the engine manifold. There are typically two nuts holding it in place.
- Remove the old carburetor and any old gaskets.
Carburetor Installation

Image: Back view of the carburetor, highlighting the mounting points and fuel inlet.
- Ensure the mounting surfaces on the engine and air filter housing are clean.
- Place new gaskets in their correct positions.
- Mount the new carburetor onto the engine manifold, ensuring all linkages and springs are correctly reattached as noted during removal.
- Tighten the mounting nuts evenly to secure the carburetor. Do not overtighten.
- Reconnect the fuel line to the carburetor. Secure with a clamp if necessary.
- Reinstall the air filter and air filter housing.
- Reconnect the spark plug wire.
Operating Instructions
Initial Start-Up
- Fill the fuel tank with fresh, clean gasoline.
- Open the fuel supply valve (if applicable).
- If your mower has a primer bulb, press it 3-5 times until fuel is visible in the bulb or fuel line.
- Set the choke to the "CHOKE" or "START" position.
- Pull the starter rope firmly until the engine starts.
- Once the engine starts, gradually move the choke lever to the "RUN" position as the engine warms up.
Normal Operation
After the engine has warmed up, the carburetor will automatically regulate the air-fuel mixture for optimal performance. Ensure the engine runs smoothly without sputtering or excessive smoke. If issues arise, refer to the Troubleshooting section.
Maintenance
Regular maintenance helps prolong the life of your carburetor and ensures consistent engine performance.
Fuel System Care
- Always use fresh, clean gasoline. Stale fuel can cause carburetor clogging.
- Consider using a fuel stabilizer, especially during storage periods, to prevent fuel degradation.
- Check and replace the fuel filter (if equipped) annually or as needed.
Carburetor Cleaning
Under normal operating conditions with clean fuel, the carburetor should not require frequent cleaning. If performance issues suggest a clogged carburetor, professional cleaning or replacement may be necessary. Avoid disassembling the carburetor unless you have experience with small engine repair, as improper reassembly can cause further issues.
Air Filter
A clean air filter is crucial for proper carburetor function. Check your mower's air filter regularly and clean or replace it according to your mower's manufacturer recommendations.
Troubleshooting
Refer to the table below for common issues and potential solutions related to carburetor performance.
| Problem | Possible Cause | Solution |
|---|---|---|
| Engine won't start |
|
|
| Engine runs rough or stalls |
|
|
| Loss of engine power |
|
|
| Fuel leaks |
|
|
Specifications
| Brand Name | Generic |
| Model Number | DPQ112000129 |
| Manufacturer Part Number | DPQ000129 |
| Manufacturer | DUONGPHUQUOC |
| Compatibility | Snapper P21550, RP21550, P21500, ECP21550V (5.5Hp, 21-inch walk-behind lawn mowers) |
Warranty and Support
Warranty information for this product is not explicitly provided by the manufacturer in the available documentation. For any product-related inquiries, technical assistance, or support, please contact your seller or the point of purchase. They will be able to provide the most accurate and up-to-date information regarding warranty coverage and service options.