
1. Introduction
Thank you for choosing the Generic HC3800PRO Handheld Multi-Purpose Steam Cleaner. This device is designed to provide effective and chemical-free cleaning for a variety of surfaces in your home and vehicle. Utilizing high-temperature steam, it helps to remove dirt, grime, and stains efficiently. Please read this manual thoroughly before operation to ensure safe and proper use.
2. Important Safety Instructions
To reduce the risk of fire, electric shock, or injury, always follow basic safety precautions when using an electrical appliance. Read all instructions before using this steam cleaner.
- Always ensure the appliance is unplugged from the power outlet before filling with water, cleaning, or performing maintenance.
- Do not open the water tank cap while the unit is pressurized or hot. Allow the unit to cool down completely before refilling.
- Keep the steam cleaner and its accessories out of reach of children and pets.
- Use only distilled or demineralized water to prevent mineral buildup and extend the life of the appliance.
- Never direct steam at people, animals, or electrical appliances. Steam is hot and can cause severe burns.
- Do not immerse the appliance in water or any other liquid.
- Do not operate the appliance with a damaged cord or plug. If the appliance is not working as it should, has been dropped, damaged, left outdoors, or dropped into water, return it to a service center.
- Use only manufacturer-recommended attachments.
3. Package Contents
Verify that all items are present in the package:
- HC3800PRO Steam Cleaner Unit
- Power Cord
- Small Round Nozzle
- Small Brass Brush Nozzle
- Small Nylon Brush Nozzle
- Large Nylon Brush Nozzle
- Extension Nozzle
- Fabric Nozzle
- Glass Cleaning Attachment
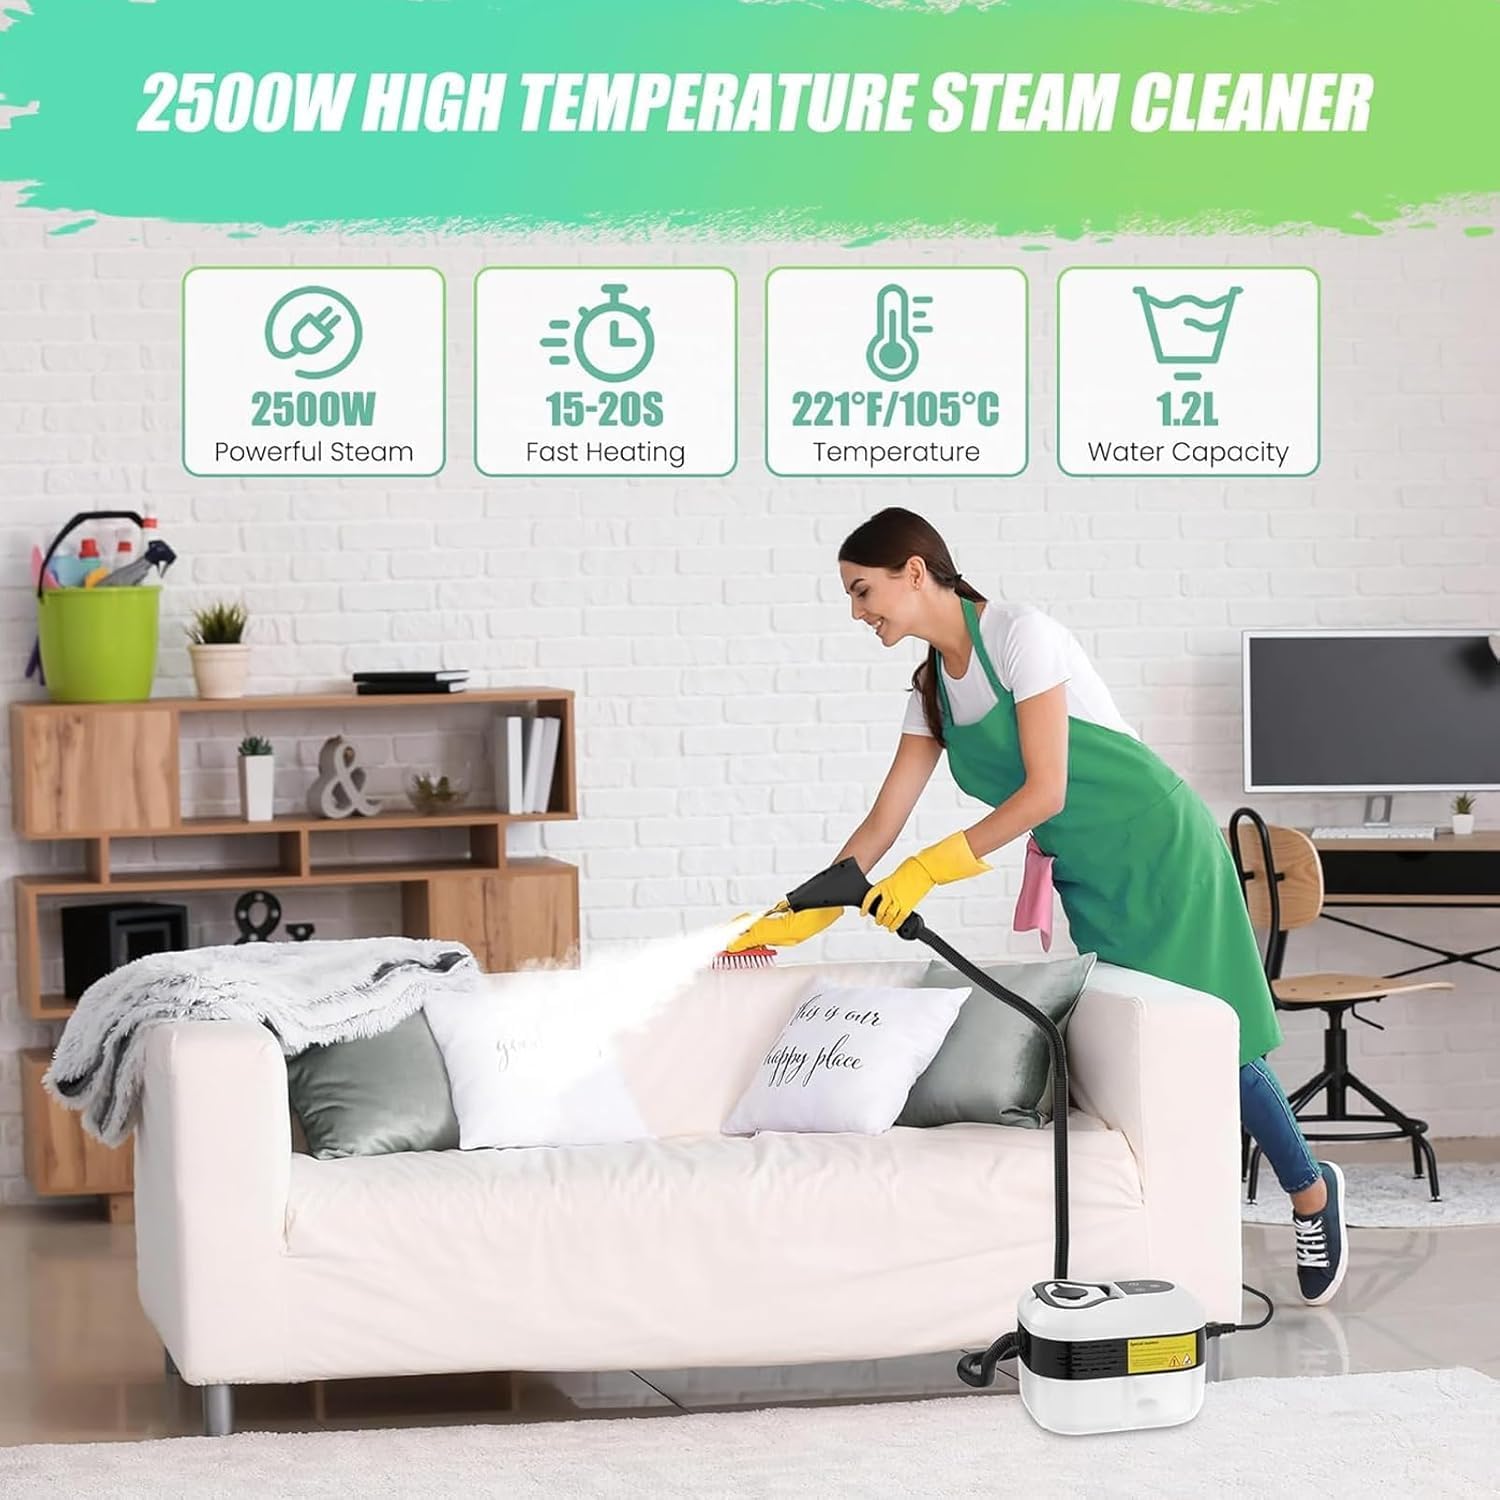
Image 3.1: Included nozzles and attachments for diverse cleaning tasks.
4. Product Diagram and Components
Familiarize yourself with the main parts of your steam cleaner:
- Water Tank: 1200ml capacity with clear scale markings.
- Enlarged Water Inlet: For easy and mess-free refilling.
- Integrated Handle: For effortless portability.
- Steam Output Adjustment: 6 customizable steam gears (1-6).
- Power Button: To turn the unit on/off.
- Steam Gun/Nozzle Connection: Where attachments are secured.

Image 4.1: Main unit with water level indicators and control panel.

Image 4.2: Detail of nozzle connection, highlighting the importance of the black rubber gasket for preventing water leakage and the yellow nozzle for steam function.
5. Setup
- Unpack: Carefully remove all components from the packaging.
- Check Gasket: Ensure the black rubber gasket is properly installed in the nozzle connection area to prevent water leakage. The steam function will only operate correctly with the yellow nozzle installed.
- Fill Water Tank: Unscrew the water inlet cap. Using distilled or demineralized water, fill the 1200ml water tank up to the maximum fill line. The enlarged water inlet facilitates mess-free pouring. Do not overfill. Securely close the water inlet cap.
- Attach Nozzle: Select the appropriate cleaning nozzle for your task and securely attach it to the steam gun.
- Connect Power: Plug the power cord into a grounded electrical outlet (120V-60Hz).
6. Operating Instructions
- Power On: Press the Power Button on the unit. The indicator light will illuminate.
- Heating: Allow the unit approximately 15-20 seconds to heat up and generate steam.
- Adjust Steam Output: Use the steam output adjustment controls (1-6 levels) to select the desired steam intensity.
- Low Gears (1-2): Suitable for delicate items such as upholstery and wooden floors.
- Medium Gears (3-4): Ideal for daily cleaning of countertops and tiles.
- High Gears (5-6): Provides powerful steam for removing tough grease and grime from stovetops, bathroom tiles, and other heavily soiled areas.
- Apply Steam: Direct the nozzle at the surface you wish to clean. Hold the steam gun trigger to release steam. Move the nozzle slowly over the surface for best results.
- Cleaning Tips for Specific Applications:
- Glass Surfaces: Use the glass cleaning attachment for streak-free windows and mirrors.
- Stubborn Dirt/Grime: Attach the small brass brush or nylon brush nozzles to scrub away baked-on grease or tough stains on grills, sinks, and grout.
- Hard-to-Reach Areas: Utilize the extension nozzle to clean ceiling corners, high shelves, or other distant spots.
- Fabrics/Upholstery: Use the fabric nozzle to refresh upholstery, sofas, and mattresses. Test on an inconspicuous area first.
- Car Interior: The various nozzles are effective for cleaning car seats, floor mats, and dashboards.
- Power Off: After cleaning, release the steam trigger, press the Power Button to turn off the unit, and unplug it from the power outlet.

Image 6.1: Examples of the steam cleaner's versatile use in different environments.

Image 6.2: Demonstration of the steam cleaner's effectiveness on kitchen surfaces.
7. Maintenance
Regular maintenance ensures optimal performance and extends the lifespan of your steam cleaner.
- Empty Water Tank: After each use, allow the unit to cool down completely, then carefully open the water inlet cap and empty any remaining water from the tank.
- Clean Water Tank: Periodically clean the water tank to prevent limescale buildup, especially if not using distilled water consistently. The enlarged inlet simplifies this process.
- Clean Nozzles and Attachments: Remove any debris or residue from the nozzles and attachments after use. Rinse them with water and allow them to air dry.
- Exterior Cleaning: Wipe the exterior of the steam cleaner with a soft, damp cloth. Do not use abrasive cleaners or solvents.
- Storage: Store the steam cleaner and its accessories in a cool, dry place, away from direct sunlight and extreme temperatures.
8. Troubleshooting
If you encounter issues with your steam cleaner, refer to the following common problems and solutions:
| Problem | Possible Cause | Solution |
|---|---|---|
| No steam output | Water tank is empty Unit not heated sufficiently Power cord not connected | Refill water tank Allow 15-20 seconds for heating Ensure power cord is securely plugged in |
| Low steam pressure | Low water level Nozzle partially blocked Steam output setting too low | Check water level and refill Clean or replace nozzle Increase steam output level (1-6) |
| Water leakage from nozzle connection | Rubber gasket not installed correctly Nozzle not securely attached | Ensure black rubber gasket is properly seated Re-attach nozzle firmly |
| Unit not turning on | No power supply Faulty power button | Check power outlet and cord Contact customer support if power button is unresponsive |
9. Specifications
- Brand: Generic
- Model: HC3800PRO
- Water Tank Capacity: 1200ml (1.09 qt)
- Wattage: 1500 watts
- Heating Time: 15-20 seconds
- Steam Temperature: 221°F (105°C)
- Steam Output Levels: 6 adjustable levels
- Item Weight: 1.8 pounds
- Power Supply: 120V-60Hz
10. Warranty and Support
For warranty information, please refer to the terms and conditions provided by your retailer at the time of purchase. Keep your proof of purchase for any warranty claims.
For technical support, troubleshooting assistance beyond this manual, or to inquire about replacement parts, please contact the retailer or manufacturer directly through their official website or customer service channels.