
Introduction
This manual provides essential information for the safe and efficient operation, maintenance, and troubleshooting of your SenCre Nugget Ice Maker, Model BXZ002. Please read all instructions carefully before using the appliance and retain this manual for future reference.
Important Safety Instructions
- WARNING: Do not insert hands into the ice outlet to avoid injury.
- WARNING: Do not place the appliance at an angle to prevent water leakage.
- Ensure the ice maker is placed on a stable, level surface away from direct sunlight and heat sources.
- Use only potable water in the ice maker.
- Unplug the appliance before cleaning or performing any maintenance.
- Keep children away from the ice maker during operation.
What's in the Box
Upon unpacking, please ensure all items listed below are present and in good condition:
- Ice Maker x 1
- Ice Scoop x 1
Product Overview
Familiarize yourself with the components of your SenCre Nugget Ice Maker.

Figure 1: Front view of the SenCre Nugget Ice Maker showing the smart touch control panel.
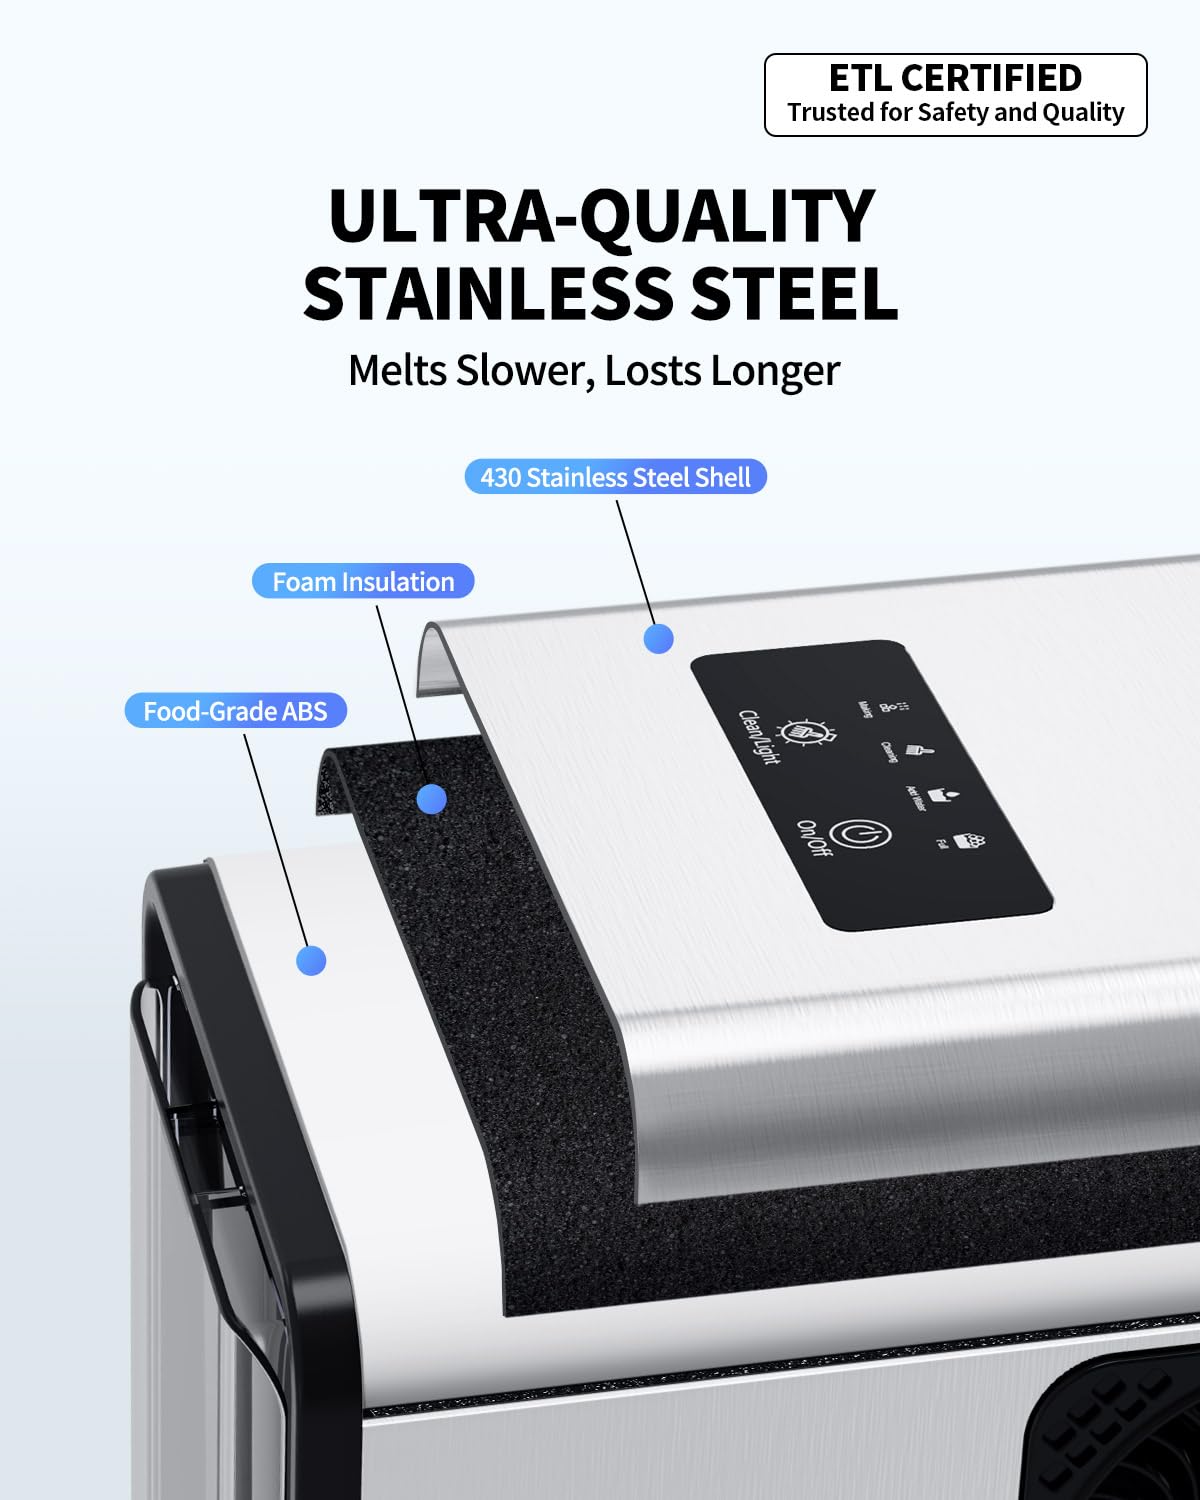
Figure 2: Internal construction highlighting the food-grade stainless steel and foam insulation.
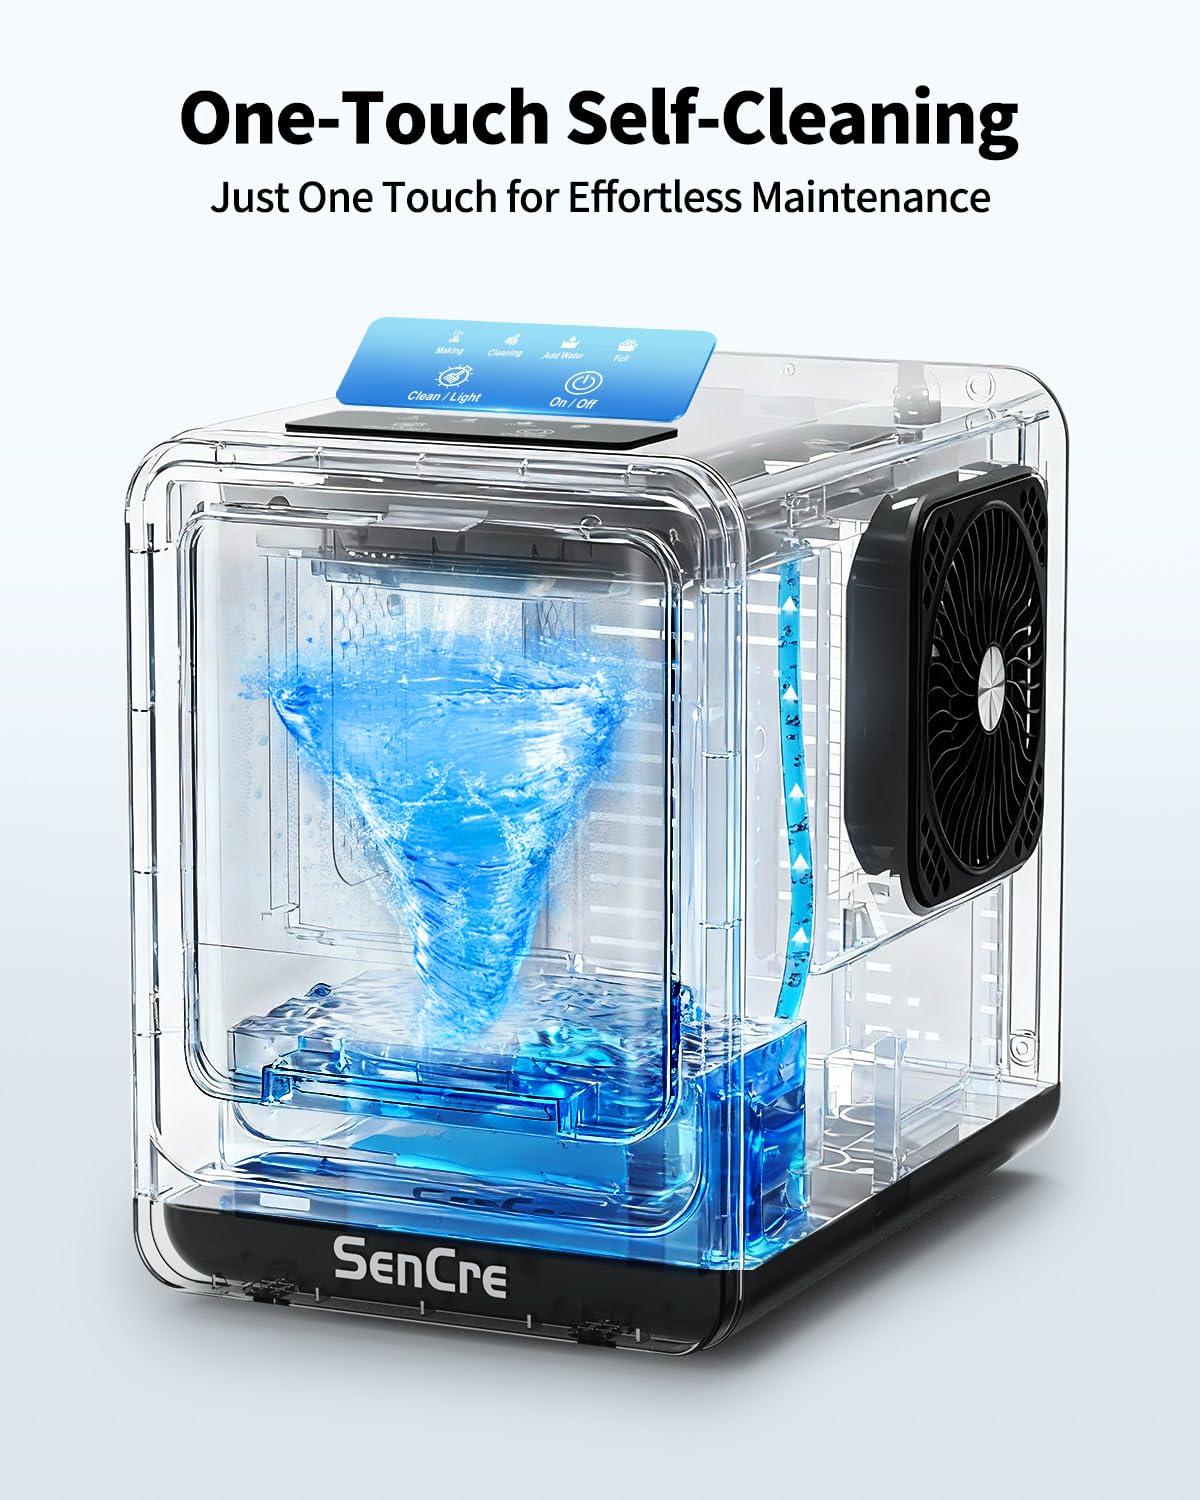
Figure 3: Dimensions of the ice maker: 12.6"D x 8.54"W x 10.35"H.
Setup
1. Placement
Place the ice maker on a flat, stable surface. Ensure there is adequate ventilation around the unit, especially at the back and sides, to allow for proper heat dissipation.
2. Water Supply
Your SenCre Nugget Ice Maker offers two water refill options: manual pour or automatic water refill.
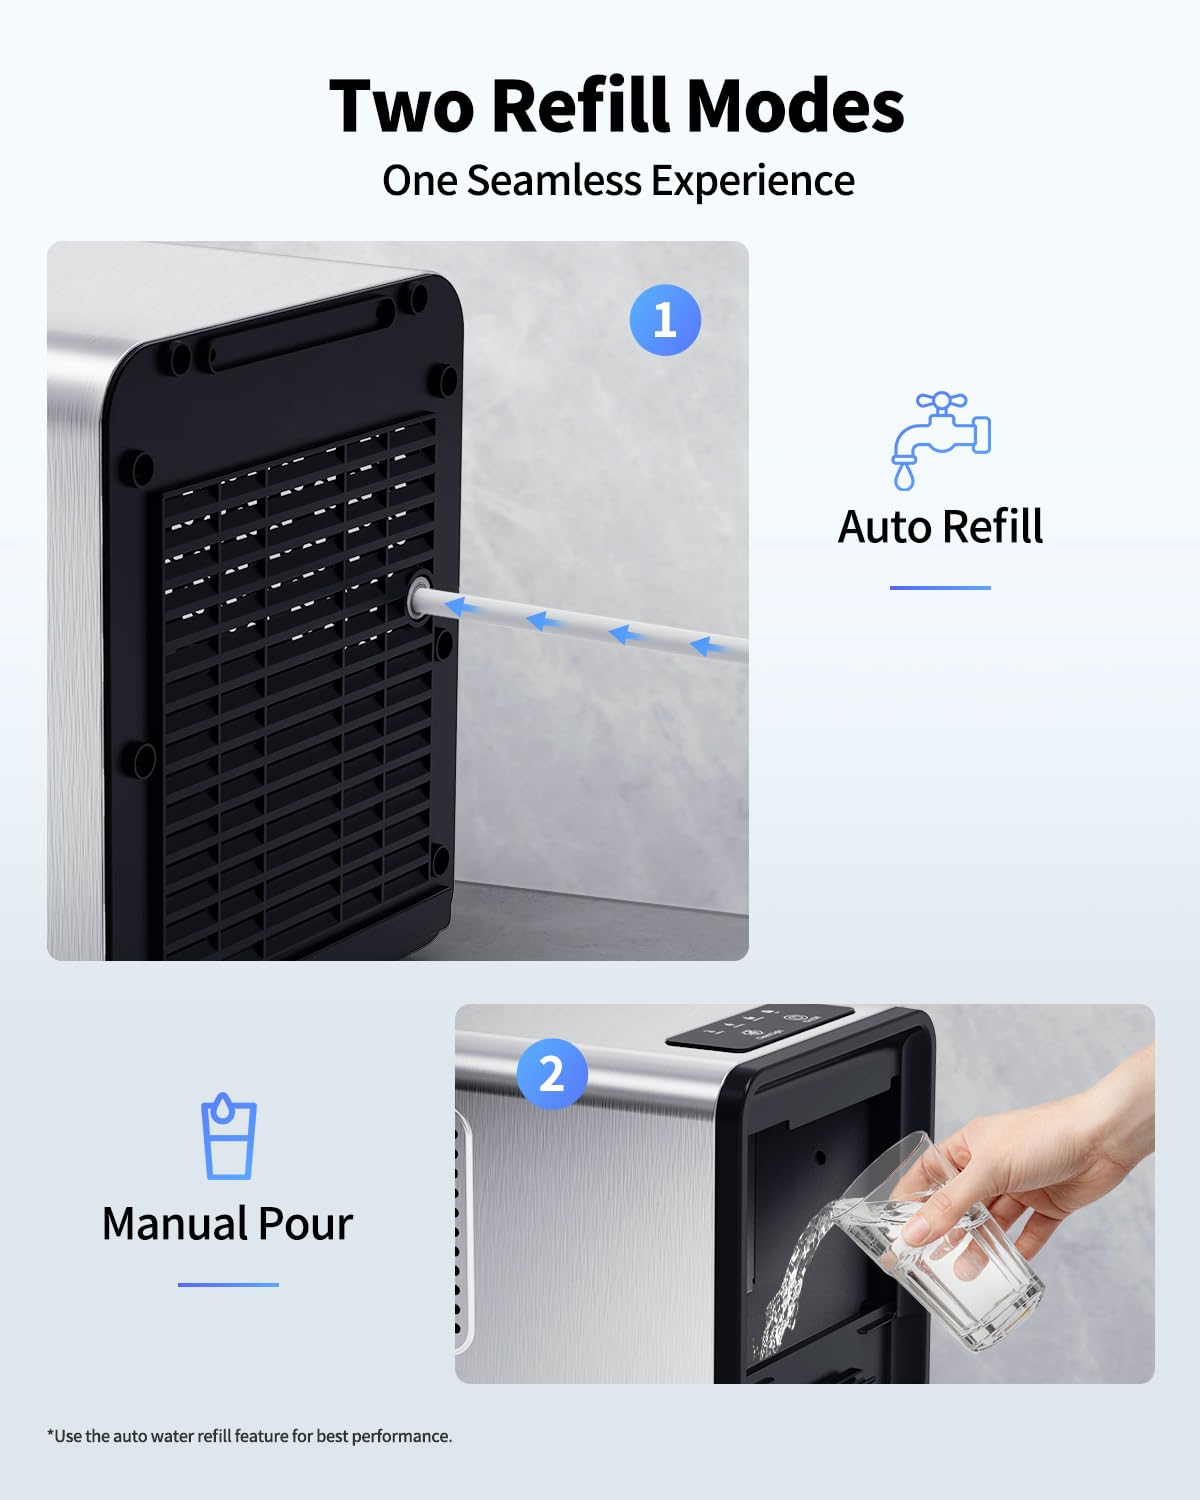
Figure 4: Illustration of the two water refill modes.
Manual Pour:
- Open the top lid of the ice maker.
- Pour potable water directly into the water reservoir up to the "MAX" fill line.
- Close the lid securely.
Automatic Water Refill:
For continuous ice production without manual refilling, connect the ice maker to a direct water source.
- Locate the water inlet at the back of the ice maker.
- Remove the safety cap from the water inlet.
- Connect the provided water hose to the inlet.
- Connect the other end of the water hose to a potable water supply. Ensure all connections are secure to prevent leaks.
Operation
1. Power On
Plug the ice maker into a grounded electrical outlet. The "On/Off" indicator light will illuminate.
2. Start Ice Production
Press the "On/Off" button on the control panel to begin ice making. The "Making" indicator light will turn on. The first batch of ice typically takes approximately 5 minutes.

Figure 5: Smart touch control panel for easy operation.
3. Ice Collection
Once ice production begins, the ice nuggets will drop into the ice basket. The machine will automatically pause when the ice basket is full, indicated by the "Full" light. Remove ice as needed using the provided scoop.

Figure 6: Ice production speed for various applications.
4. Infrared Full-Ice Sensor
The advanced infrared sensor automatically detects when the ice basket is full, pausing production to save energy and prevent overflow. Production resumes automatically once ice is removed.
Maintenance
1. Self-Cleaning Function
The ice maker features a convenient one-touch self-cleaning program to maintain hygiene.
- Ensure the water reservoir is filled with clean water.
- Press and hold the "Clean/Light" button for 3 seconds to activate the self-cleaning cycle. The "Cleaning" indicator light will turn on.
- The cleaning cycle takes approximately 5 minutes. Once complete, the machine will automatically stop.

Figure 7: Visual representation of the automatic self-cleaning process.
2. Draining Water
To drain residual water from the unit, locate the drain plug at the bottom of the ice maker. Place the unit over a sink or basin, remove the plug, and allow all water to drain. Replace the plug securely after draining.
3. Descaling
Regular descaling is important, especially in areas with hard water, to prevent mineral buildup and ensure optimal performance.
- Moderately Hard Water Areas: Descale monthly.
- Hard to Very Hard Water Areas: Descale every two or three weeks.
Consult your local water provider for information on water hardness in your area. Use a food-grade descaling solution following the manufacturer's instructions, or a mixture of water and white vinegar.

Figure 8: Descaling recommendations based on water hardness.
Troubleshooting
If you encounter issues with your ice maker, please refer to the following common problems and solutions before contacting support.
| Problem | Possible Cause | Solution |
|---|---|---|
| Ice maker not producing ice. | No water in reservoir; water line disconnected; power issue. | Fill water reservoir; check water line connection; ensure unit is plugged in and powered on. |
| "Add Water" indicator is on. | Water level is too low. | Refill the water reservoir or check automatic water supply. |
| "Full" indicator is on, but ice basket is not full. | Ice is blocking the sensor. | Gently redistribute the ice in the basket or remove some ice. |
| Ice tastes unusual. | Unit needs cleaning; old water. | Perform a self-cleaning cycle; use fresh, potable water. |
| Loud noises during operation. | Normal operation sounds; unit not level. | Occasional ice-squeezing sounds are normal. Ensure the unit is on a level surface. |
Specifications
| Feature | Detail |
|---|---|
| Brand | SenCre |
| Model Name | BXZ002 |
| Product Dimensions | 12.6"D x 8.54"W x 10.35"H |
| Ice Production Capacity | Up to 42 lbs/day |
| Voltage | 110 Volts |
| Refrigerant | R600a |
| Material | Stainless Steel |
| Item Weight | 18.08 pounds |
Warranty and Support
SenCre provides a 24-month worry-free warranty for this product. For technical assistance, warranty claims, or general inquiries, please contact our customer support team.
- Email: support@mysencre.com
- Website: www.mysencre.com
- Phone: 1 (888) 986-0011 (M-F 9:00-17:00 EST)
- Facebook: facebook.com/mySenCre
Please have your model number (BXZ002) and purchase date available when contacting support.