
1. Introduction
This manual provides essential information for the installation, operation, and maintenance of your LDGSUPH HK.T.RT2874P839 4K WiFi Network TV Motherboard. This motherboard is designed to provide 4K resolution and network connectivity for compatible display equipment. Please read this manual thoroughly before installation and use to ensure proper function and safety.
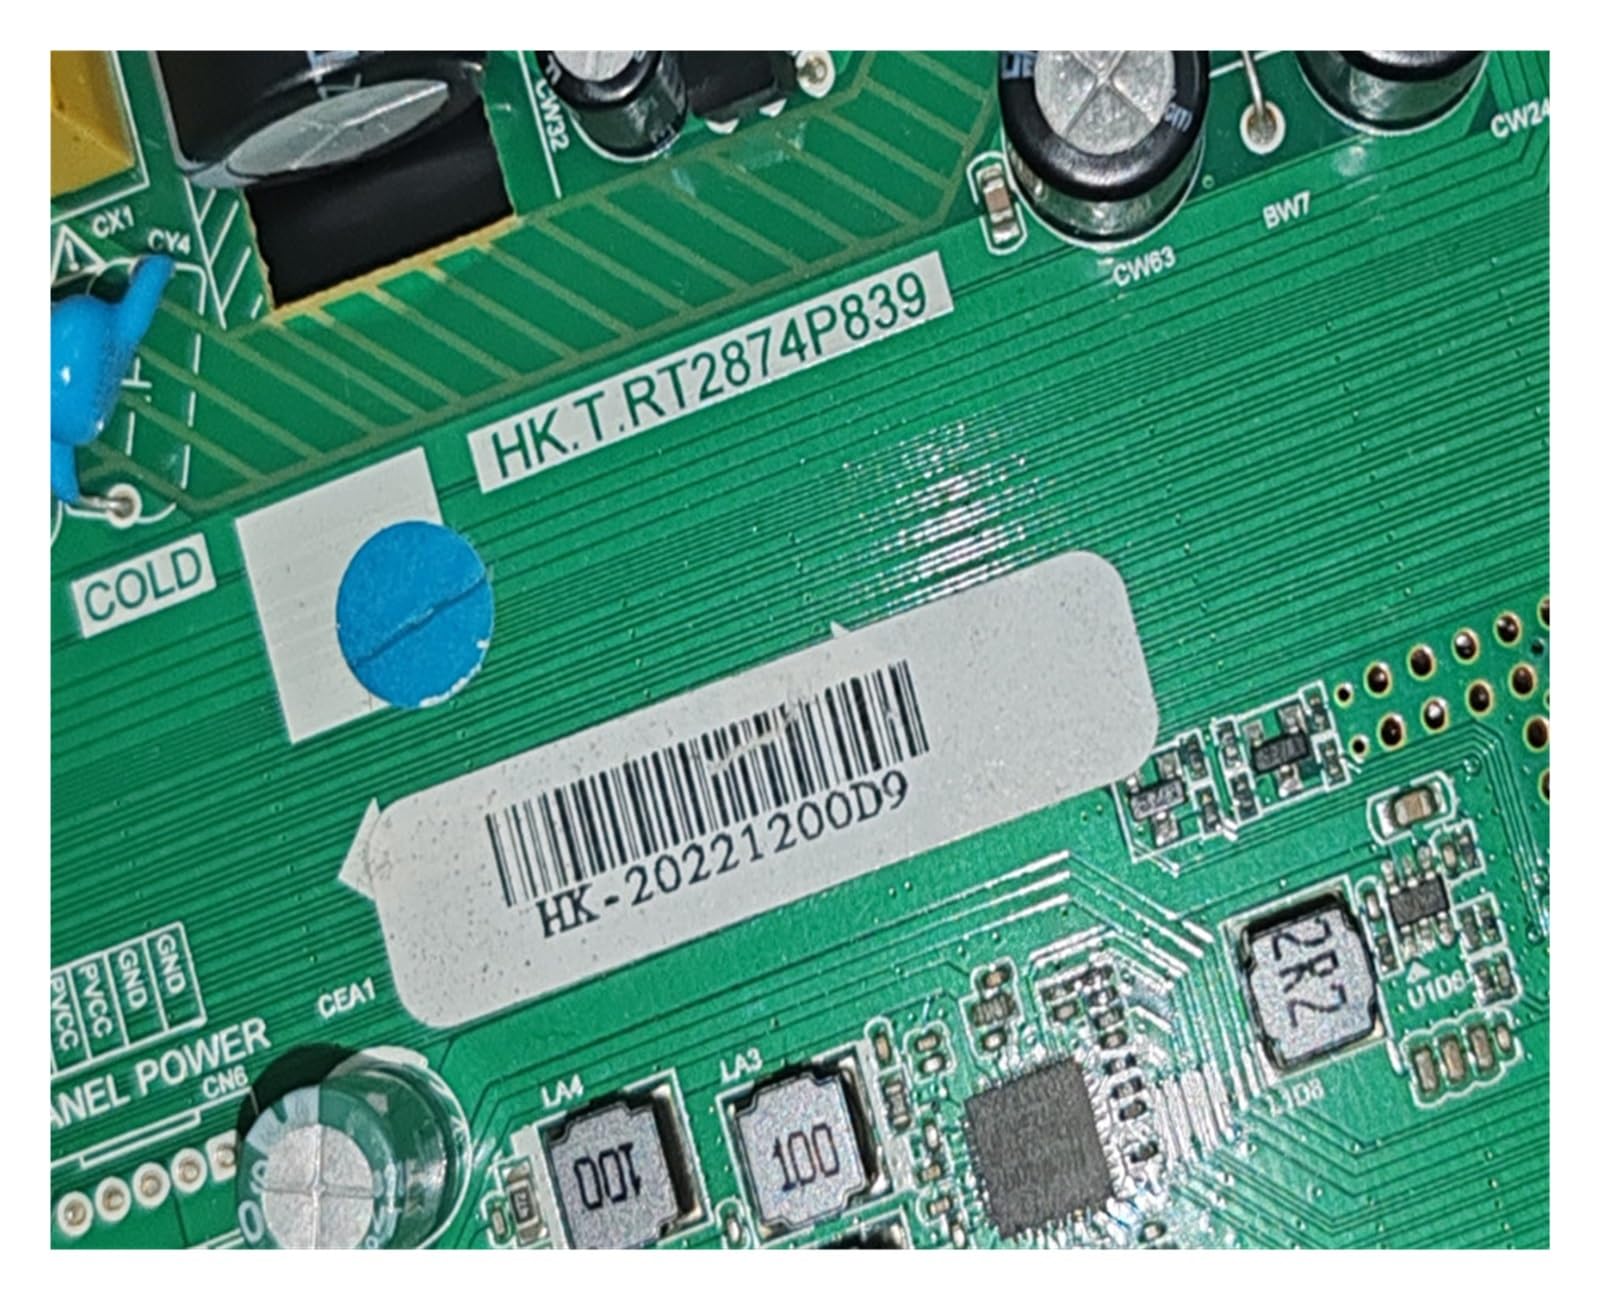
Figure 1: Overview of the HK.T.RT2874P839 4K WiFi Network TV Motherboard. This image displays the main components and layout of the circuit board, including various ports and chips.
2. Safety Information
- Always disconnect power before installing or removing the motherboard.
- Handle the motherboard by its edges to avoid damaging components or static discharge.
- Ensure proper grounding to prevent electrical hazards.
- Do not expose the motherboard to moisture or extreme temperatures.
- Only qualified personnel should perform installation and repair.
3. Setup and Installation
Follow these steps for proper installation of the HK.T.RT2874P839 motherboard into your display equipment.
- Prepare the Display Unit: Disconnect the display unit from all power sources. Open the back panel of the TV or monitor to access the existing motherboard.
- Remove Old Motherboard (if applicable): Carefully disconnect all cables (power, display, input ports) from the old motherboard. Unscrew and remove the old board.
- Install New Motherboard: Align the HK.T.RT2874P839 motherboard with the mounting holes in the display unit chassis. Secure it with appropriate screws.
- Connect Cables:
- Connect the power supply cable to the designated power input on the motherboard.
- Connect the display panel cable (LVDS or eDP) to the corresponding connector. Ensure correct orientation.
- Connect all input/output cables (HDMI, USB, AV, Ethernet, antenna) to their respective ports.
- Connect speaker cables and control panel cables.
- Initial Power-Up: Before closing the back panel, connect the display unit to power and perform a brief test to ensure the motherboard powers on and displays an image.
- Secure Back Panel: Once verified, disconnect power, close the back panel, and secure it with screws.

Figure 2: Detailed view of the motherboard's input/output ports. This image highlights the various connection points for external devices and internal display components.
4. Operating Instructions
After successful installation, follow these guidelines for operating your display unit with the new motherboard.
4.1. Initial Configuration
- Power On: Connect the display unit to a power outlet and press the power button.
- First-Time Setup Wizard: The display may present a first-time setup wizard for language, region, and network settings. Follow the on-screen prompts.
- Network Connection:
- For Wi-Fi: Navigate to Network Settings, select your Wi-Fi network, and enter the password.
- For Wired (Ethernet): Connect an Ethernet cable from your router to the LAN port on the motherboard.
- Input Source Selection: Use the remote control or physical buttons to select the desired input source (HDMI, AV, TV, USB, etc.).
4.2. Key Features
- 4K Resolution Support: Enjoy ultra-high-definition content on compatible 4K displays.
- WiFi Network Connectivity: Access online streaming services and internet content directly.
- Multiple Input Ports: Connect various devices via HDMI, USB, AV, and other available ports.
- Intelligent Power Regulation: Features PFC + LLC architecture for stable voltage output and reduced standby power consumption.
- Anti-Interference Performance: Integrated common-mode inductors and varistors suppress surge currents and lightning interference.
- Lossless Signal Processing: Professional tuners and decoding circuits ensure high fidelity of picture quality for various input signals.
- Comprehensive Safety Protection: Includes overvoltage, overcurrent, and short-circuit protection.
5. Maintenance
Proper maintenance ensures the longevity and optimal performance of your motherboard.
- Cleaning:
- Ensure the display unit is powered off and unplugged before cleaning.
- Use a soft, dry, anti-static cloth to gently wipe dust from the exterior of the display unit.
- If accessing the motherboard internally, use compressed air to remove dust from components, holding the can upright to prevent liquid discharge. Avoid touching components directly.
- Ventilation: Ensure that the display unit's ventilation openings are not blocked to prevent overheating.
- Software Updates: Periodically check for and install any available firmware or software updates for your display unit, as these often include performance improvements and bug fixes.
6. Troubleshooting
This section addresses common issues you might encounter with the motherboard.
| Problem | Possible Cause | Solution |
|---|---|---|
| No Power / No Display |
|
|
| No Network Connection (Wi-Fi/Ethernet) |
|
|
| Poor Picture Quality / Distorted Image |
|
|
7. Specifications
Key technical specifications for the HK.T.RT2874P839 4K WiFi Network TV Motherboard.
- Model Number: HK.T.RT2874P839
- Compatible Equipment Style: Display Equipment
- Power Regulation: PFC + LLC architecture
- Anti-Interference: Integrated common-mode inductors and varistors
- Signal Processing: Professional tuners and signal decoding circuits
- Connectivity: USB Type-C and traditional interfaces (via adapters), Wi-Fi, Ethernet, HDMI, AV
- Safety Features: Overvoltage, overcurrent, short-circuit protection, fuses, optocoupler feedback circuits
- Package Dimensions: 0.39 x 0.39 x 0.39 inches
- Item Weight: 1.76 ounces
- Manufacturer: wjl12
- ASIN: B0G5HXSXKC
- Date First Available: December 3, 2025
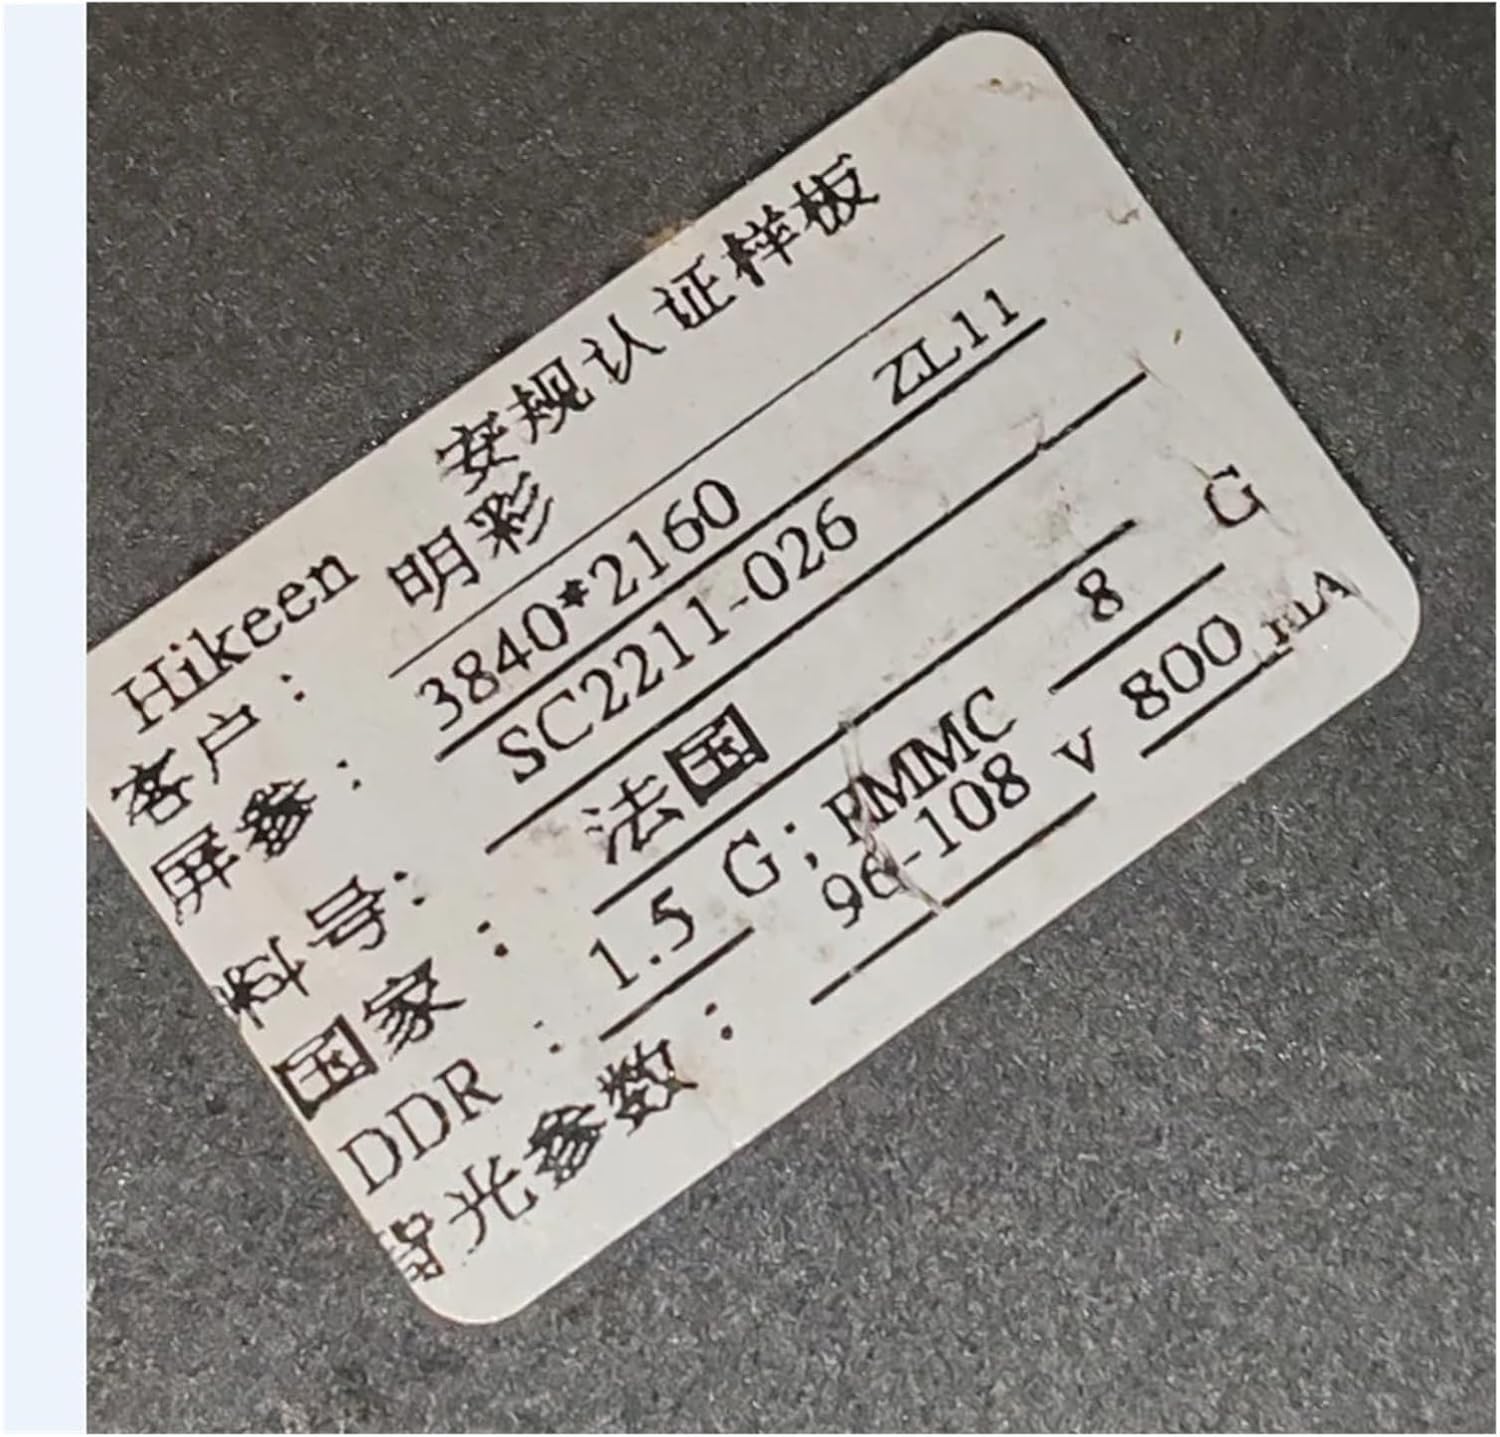
Figure 3: Label detail on the motherboard. This image shows specific model numbers and technical parameters printed on a sticker attached to the board.

Figure 4: Rear view of the motherboard. This image displays the back of the circuit board, often covered by a protective sheet or heatsink, showing solder points and additional components.
8. Warranty and Support
Information regarding product warranty and customer support was not provided in the available product data. Please refer to the seller or manufacturer's official website for details on warranty coverage, return policies, and technical support contacts.