
1. Important Safety Information
Please read and understand this entire manual before attempting to assemble, operate, or install the product. Failure to follow these instructions could result in electric shock, fire, or serious personal injury.
- All electrical connections must be in accordance with local codes, ordinances, or national electrical codes. If you are unfamiliar with electrical wiring, consult a qualified electrician.
- Ensure the installation site is structurally sound and can support the fan's weight (approximately 15 lbs).
- Before installation or servicing, disconnect power by turning off the circuit breakers at the main fuse box.
- Do not operate the fan with damaged blades or any other damaged components.
- Maintain a minimum clearance of 7 feet from the floor to the bottom edge of the fan blades.
- Do not insert objects into the path of the fan blades.
2. Package Contents
Carefully unpack all components and ensure all parts are present before beginning installation. Refer to the diagram below for component identification.

Image: Detailed view of the fan's main components including the canopy, DC motor, fan blades, and LED light kit.
- Ceiling Fan Motor Assembly
- Fan Blades (5 pieces, reversible black/wood finish)
- LED Light Kit
- Remote Control with Wall Mount Holder
- Mounting Bracket
- Hardware Pack (screws, wire nuts, washers)
- Installation Instructions
3. Specifications
| Brand | Surtime |
| Model Number | 8216 |
| Size | 44 inches |
| Product Dimensions | 44"D x 44"W x 11"H |
| Number of Blades | 5 |
| Motor Type | DC Motor (Brushless) |
| Number of Speeds | 6 |
| Noise Level | 30 Decibels |
| Light Kit | Integrated LED, 3 CCT (3000K, 4500K, 6000K), Dimmable |
| Control Method | Remote Control, Smartphone App |
| Timer Function | 2-hour auto-off |
| Installation Type | Flush Mount |
| Indoor/Outdoor Use | Indoor, Outdoor (Damp-rated) |

Image: Illustration highlighting the 75% energy efficiency and noiseless operation of the DC motor.
4. Setup and Installation
This ceiling fan is designed for flush mount installation. It is recommended that installation be performed by a qualified individual. Ensure power is disconnected at the circuit breaker before starting.
4.1 Pre-Installation Checks
- Verify that the electrical box is securely mounted and capable of supporting the fan's weight.
- Ensure all wiring is accessible and meets electrical code requirements.
4.2 Mounting the Fan
- Attach the mounting bracket to the electrical junction box using the provided screws.
- Carefully lift the fan motor assembly and connect the electrical wires according to the wiring diagram in the included installation instructions.
- Secure the fan motor assembly to the mounting bracket.

Image: Visual comparison between angle mount and flush mount installation methods, indicating this fan uses flush mount.
4.3 Attaching the Blades
The fan includes 5 reversible blades with a black finish on one side and a wood finish on the other. Choose the desired finish before attaching.
- Align the chosen side of each blade with the blade arm.
- Secure each blade to the motor assembly using the provided screws. Ensure all screws are tightened securely.

Image: Close-up of the reversible fan blades, illustrating the black and wood grain finish options for customization.
4.4 Installing the Light Kit
- Connect the light kit wires to the corresponding wires from the fan motor assembly.
- Attach the light kit to the bottom of the fan motor assembly, ensuring it is securely fastened.
For detailed visual guidance, refer to the installation videos available on the product page or the manufacturer's website.
5. Operating Instructions
Your Surtime ceiling fan can be controlled using the included remote control or a dedicated smartphone application.

Image: The remote control with labeled buttons and a smartphone displaying the control app. A QR code is visible for app download.
5.1 Remote Control Functions
The remote control allows for convenient operation of all fan and light features.
- Light On/Off: Toggles the light on or off.
- All Off: Turns off both the fan and the light.
- Color Temperature Change: Cycles through Warm White (3000K), Natural Light (4500K), and White Light (6000K).
- Night Light Mode: Activates a gentle, low-brightness light setting.
- Brightness +/-: Adjusts the light intensity.
- Fan Speed (1-6): Selects one of six fan speeds.
- Forward/Reverse: Changes the direction of blade rotation.
- 2H Timer: Sets the fan to automatically turn off after 2 hours.
- Natural Wind Mode: Simulates a natural breeze by varying fan speed.
5.2 Smartphone App Control
Download the dedicated smartphone app for additional control options. Scan the QR code provided on the remote control image or visit https://www.jasonghost.com/fanlamppro/ to download the app for iOS and Android devices. Follow the in-app instructions for pairing your fan.
5.3 Fan Speed Settings
The fan offers 6 adjustable speeds to suit various comfort levels.
- Speeds 1-2 (Soft Wind): Ideal for sleeping or gentle air circulation.
- Speeds 3-4 (Natural Wind): Suitable for normal daily activities.
- Speeds 5-6 (Cool Wind): Provides strong airflow for exercise or rapid cooling.
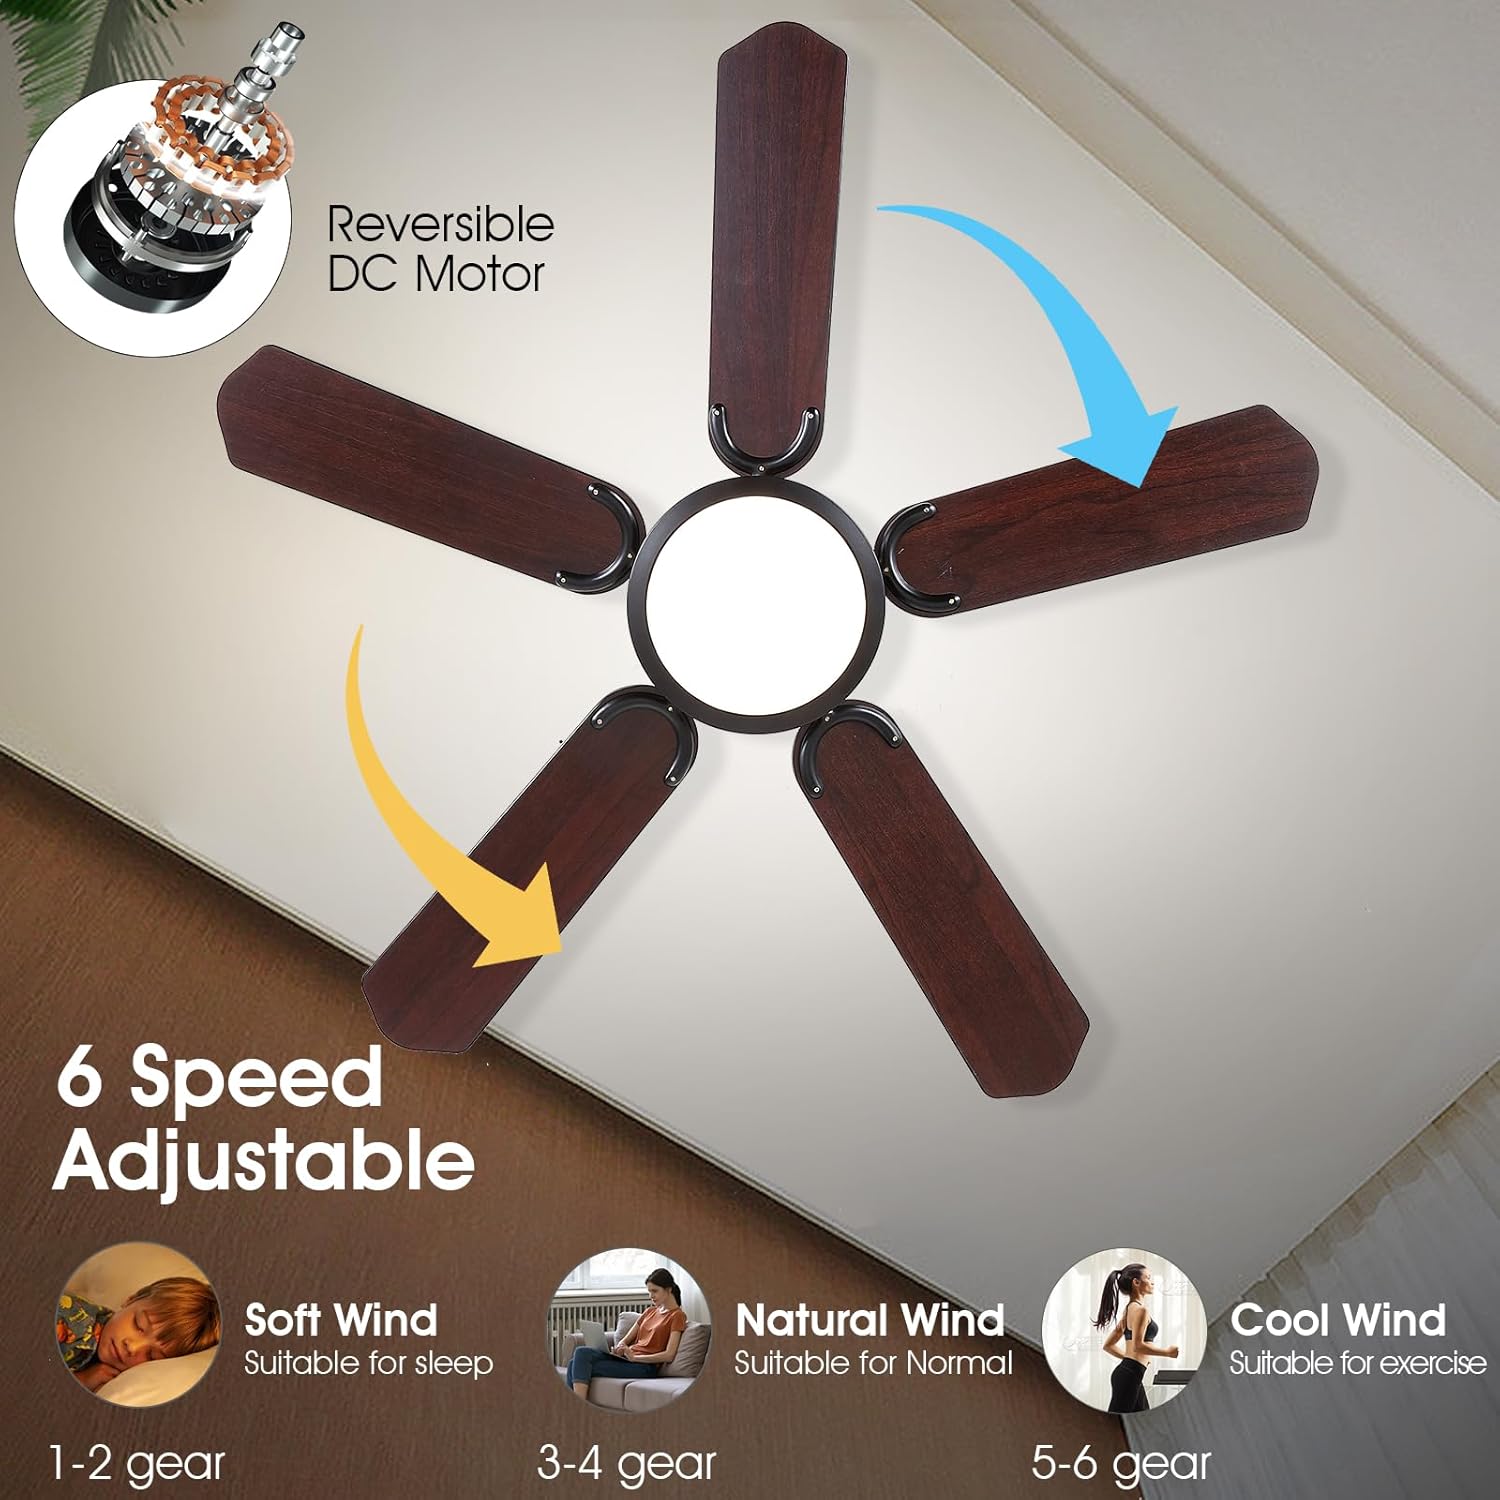
Image: Visual guide to the 6 fan speeds, categorizing them as Soft Wind, Natural Wind, and Cool Wind with suggested scenarios.
5.4 Light Control and Memory Function
The integrated LED light offers three color temperatures and dimming capabilities.
- Color Temperatures: Choose between 3000K (Warm Light), 4500K (Natural Light), and 6000K (White Light).
- Dimming: Adjust brightness from 0% to 100%.
- Memory Function: The light will automatically recall your last brightness and color temperature setting when turned on again.

Image: Display of the customizable light feature, showing 3000K Warm Light, 4500K Natural Light, and 6000K White Light options, along with a dimming scale.
5.5 Reversible Motor Function
The reversible DC motor allows for year-round comfort.
- Downdraft Mode (Summer): Blades rotate counter-clockwise to create a cooling breeze.
- Updraft Mode (Winter): Blades rotate clockwise to recirculate warm air trapped near the ceiling, improving heating efficiency.

Image: Graphic representation of the fan's downdraft mode (cooling breeze) and updraft mode (warm air circulation).
5.6 Night Light Mode
Activate the night light mode for a soft, ambient glow, ideal for nighttime use without harsh brightness.

Image: A bedroom scene illustrating the soft, warm glow emitted by the fan's night light feature, suitable for relaxation.
6. Maintenance
Regular maintenance ensures optimal performance and longevity of your ceiling fan.
- Cleaning: To avoid scratching the finish, clean the fan with a soft, damp cloth. Do not use abrasive cleaners or solvents.
- Blade Care: Periodically check blade screws for tightness. Loose blades can cause wobbling and noise.
- Light Kit: The integrated LED light source is designed for long life and typically does not require replacement.
- Motor: The DC motor is sealed and requires no lubrication.
Always ensure power is disconnected before performing any cleaning or maintenance.
7. Troubleshooting
If you experience issues with your ceiling fan, refer to the following common problems and solutions:
| Problem | Possible Cause | Solution |
|---|---|---|
| Fan does not start | No power to the fan; Loose wire connections; Remote control battery low. | Check circuit breaker; Verify all wire connections are secure; Replace remote control batteries. |
| Fan wobbles | Loose blade screws; Unbalanced blades; Loose mounting bracket. | Tighten all blade screws; Ensure blades are installed correctly; Check mounting bracket for secure attachment. |
| Light does not work | Loose wire connection to light kit; Light kit malfunction. | Check light kit wiring; If problem persists, contact customer support. |
| Remote control not working | Low battery; Remote not paired with fan. | Replace batteries; Refer to the remote control pairing instructions in the full manual. |
| Fan makes unusual noise | Loose screws; Internal component issue. | Check and tighten all screws; If noise persists, discontinue use and contact customer support. |
8. Warranty and Support
Surtime provides a worry-free 1-year warranty on quality-related issues for this product. This warranty covers defects in materials and workmanship under normal use.
If you encounter any problems or have questions regarding your Surtime ceiling fan, please do not hesitate to contact our customer support team. Provide your model number (8216) and purchase details for faster assistance.
Customer Support: Please refer to the contact information provided on your purchase receipt or the official Surtime website.


