
1. Introduction
This manual provides essential information for the safe and effective installation, operation, and maintenance of your Generic Pro-Form PFTL12820.0 Treadmill Console Brushless DC Fan. This fan is designed as a replacement part for compatible Pro-Form treadmill models. Please read these instructions thoroughly before proceeding with installation or use.
2. Safety Information
Always prioritize safety when working with electrical components and fitness equipment. Failure to follow these safety guidelines may result in electric shock, injury, or damage to the equipment.
- Disconnect Power: Before attempting any installation, maintenance, or repair, always unplug the treadmill from the electrical outlet to prevent electric shock.
- Qualified Personnel: If you are unsure about any step, consult a qualified technician.
- Handle with Care: Electronic components can be delicate. Handle the fan and associated wiring carefully to avoid damage.
- Inspect Components: Before installation, visually inspect the fan for any signs of damage during shipping. Do not install if damaged.
- Proper Tools: Use appropriate tools for disassembly and reassembly to prevent stripping screws or damaging parts.
3. Setup and Installation
This section outlines the general procedure for replacing the console fan on a compatible Pro-Form treadmill. Specific steps may vary depending on your treadmill model. Refer to your treadmill's original service manual for detailed disassembly instructions.
3.1 Required Tools
- Screwdriver set (Phillips and/or flathead, as needed)
- Needle-nose pliers (optional, for connectors)
3.2 Installation Steps
- Disconnect Power: Unplug the treadmill's power cord from the wall outlet.
- Access Console: Carefully disassemble the treadmill console to gain access to the existing fan. This typically involves removing screws from the console casing.
- Locate Old Fan: Identify the fan unit within the console.
- Disconnect Wiring: Gently disconnect the electrical connector(s) attached to the old fan. Note the orientation of the wires if there are multiple.
- Remove Old Fan: Unscrew and remove the old fan from its mounting bracket or housing.
- Install New Fan: Position the new PFTL12820.0 fan in the same location as the old one. Secure it using the original screws or mounting hardware.
- Reconnect Wiring: Connect the electrical connector(s) from the treadmill console to the new fan. Ensure a secure and correct connection.
- Reassemble Console: Carefully reassemble the treadmill console, ensuring all screws are tightened and no wires are pinched.
- Restore Power: Plug the treadmill's power cord back into the electrical outlet.

Figure 1: Top view of the PFTL12820.0 fan, showing the main body and connection point. This view helps in identifying the fan's orientation during installation.

Figure 2: Side view of the PFTL12820.0 fan, highlighting the wiring connection. Ensure wires are connected securely and correctly.
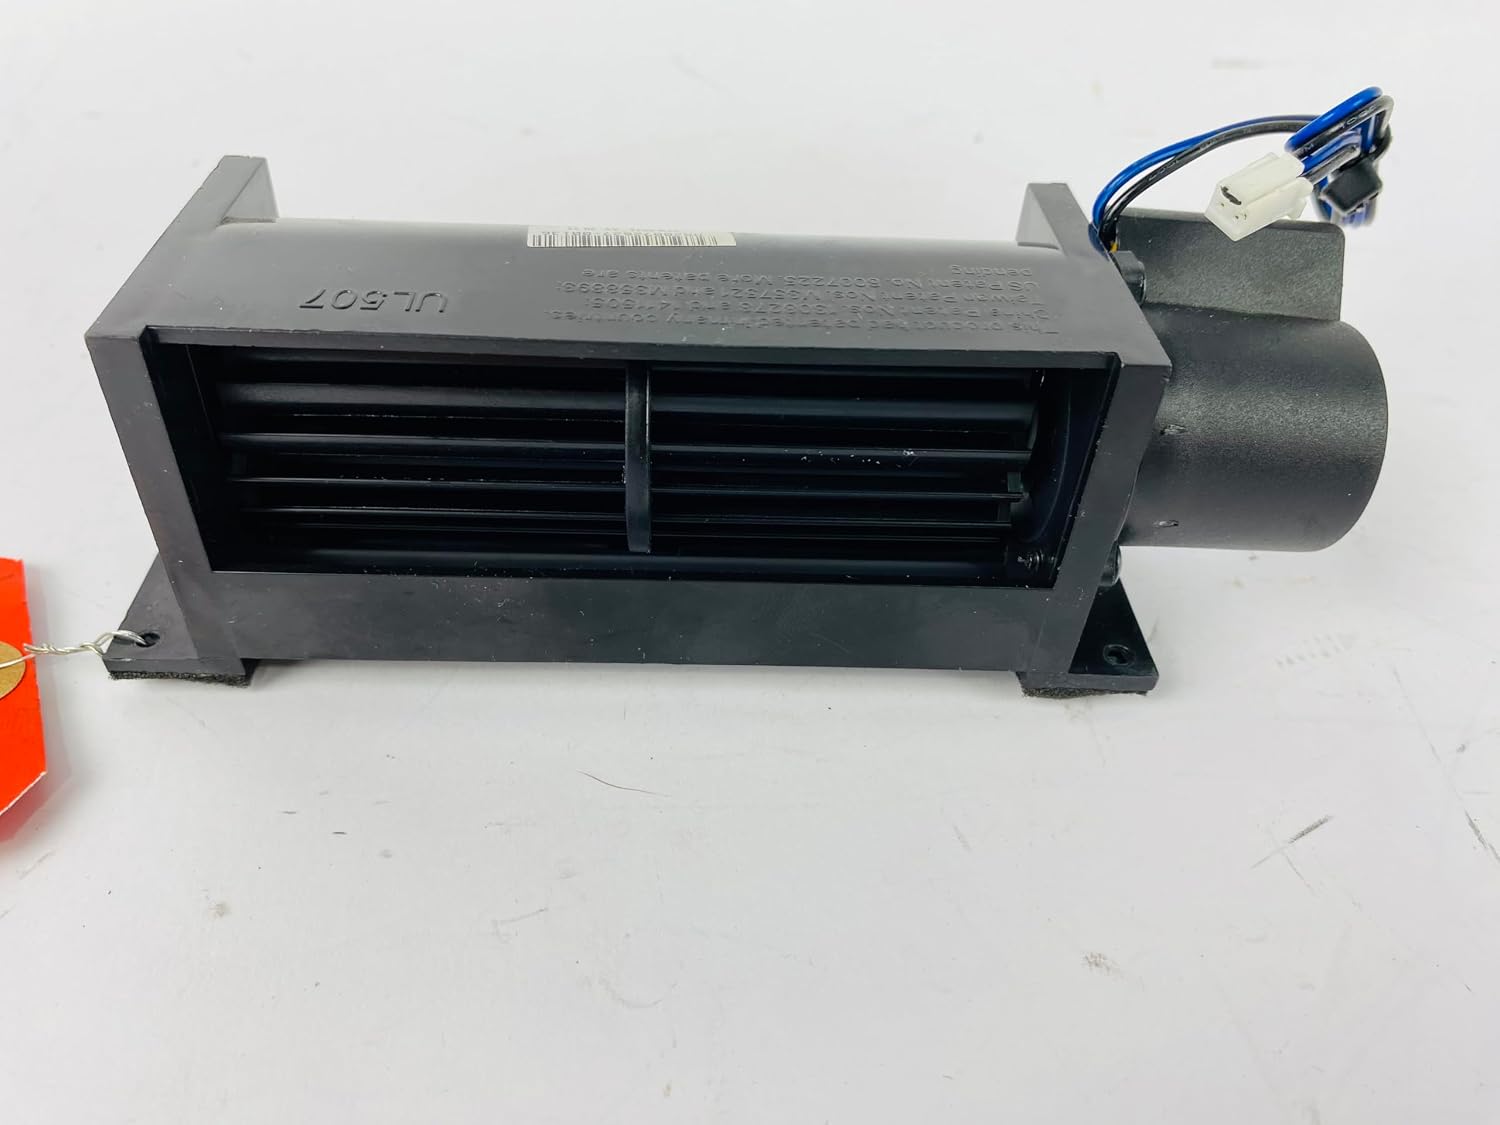
Figure 3: Front view of the PFTL12820.0 fan, displaying the air intake grille. Ensure this area is clear of obstructions for proper airflow.
4. Operating Instructions
The PFTL12820.0 Console Brushless DC Fan is designed to operate automatically in conjunction with your treadmill's console. Once properly installed, the fan will activate and provide cooling airflow as intended by the treadmill's manufacturer.
- Turn on your treadmill as you normally would.
- The fan should begin to operate, providing airflow to the user or cooling internal components as designed by the treadmill's console.
5. Maintenance
Regular maintenance helps ensure the longevity and optimal performance of your fan.
- Cleaning: Periodically, with the treadmill unplugged, gently clean any dust or debris from the fan blades and grille using a soft brush or compressed air. Ensure no foreign objects obstruct the fan's operation.
- Inspection: Occasionally inspect the fan and its wiring for any signs of wear, damage, or loose connections.
6. Troubleshooting
If the fan is not operating correctly after installation, consider the following troubleshooting steps:
- Fan Not Working:
- Ensure the treadmill is plugged in and powered on.
- Verify that the fan's electrical connector is securely attached to the console's wiring.
- Check for any visible damage to the fan or its wiring.
- Confirm that the fan is correctly installed and not obstructed.
- Unusual Noise:
- Disconnect power and inspect the fan for any debris caught in the blades.
- Ensure the fan is securely mounted and not vibrating against other components.
If problems persist after attempting these steps, contact customer support or a qualified technician.
7. Specifications
| Brand | Generic |
| Model Name | PFTL12820.0 (Works with Pro-Form) |
| Material | Plastic |
| Included Components | Pro PFTL12820.0 Treadmill Console Brushless DC Fan |
| ASIN | B0G4RLN57T |

Figure 4: Bottom view of the PFTL12820.0 fan, displaying product identification labels.
8. Support and Returns
For additional information, technical assistance, or inquiries regarding this product, please contact the seller directly.
Please note the following regarding returns:
- A 25% restocking fee may be charged for all returns.
- Ensure the product is returned in its original condition.


