
Introduction
This manual provides instructions for the safe and efficient operation, maintenance, and troubleshooting of your Greenvelly Portable Washing Machine. Please read this manual thoroughly before using the appliance and retain it for future reference.
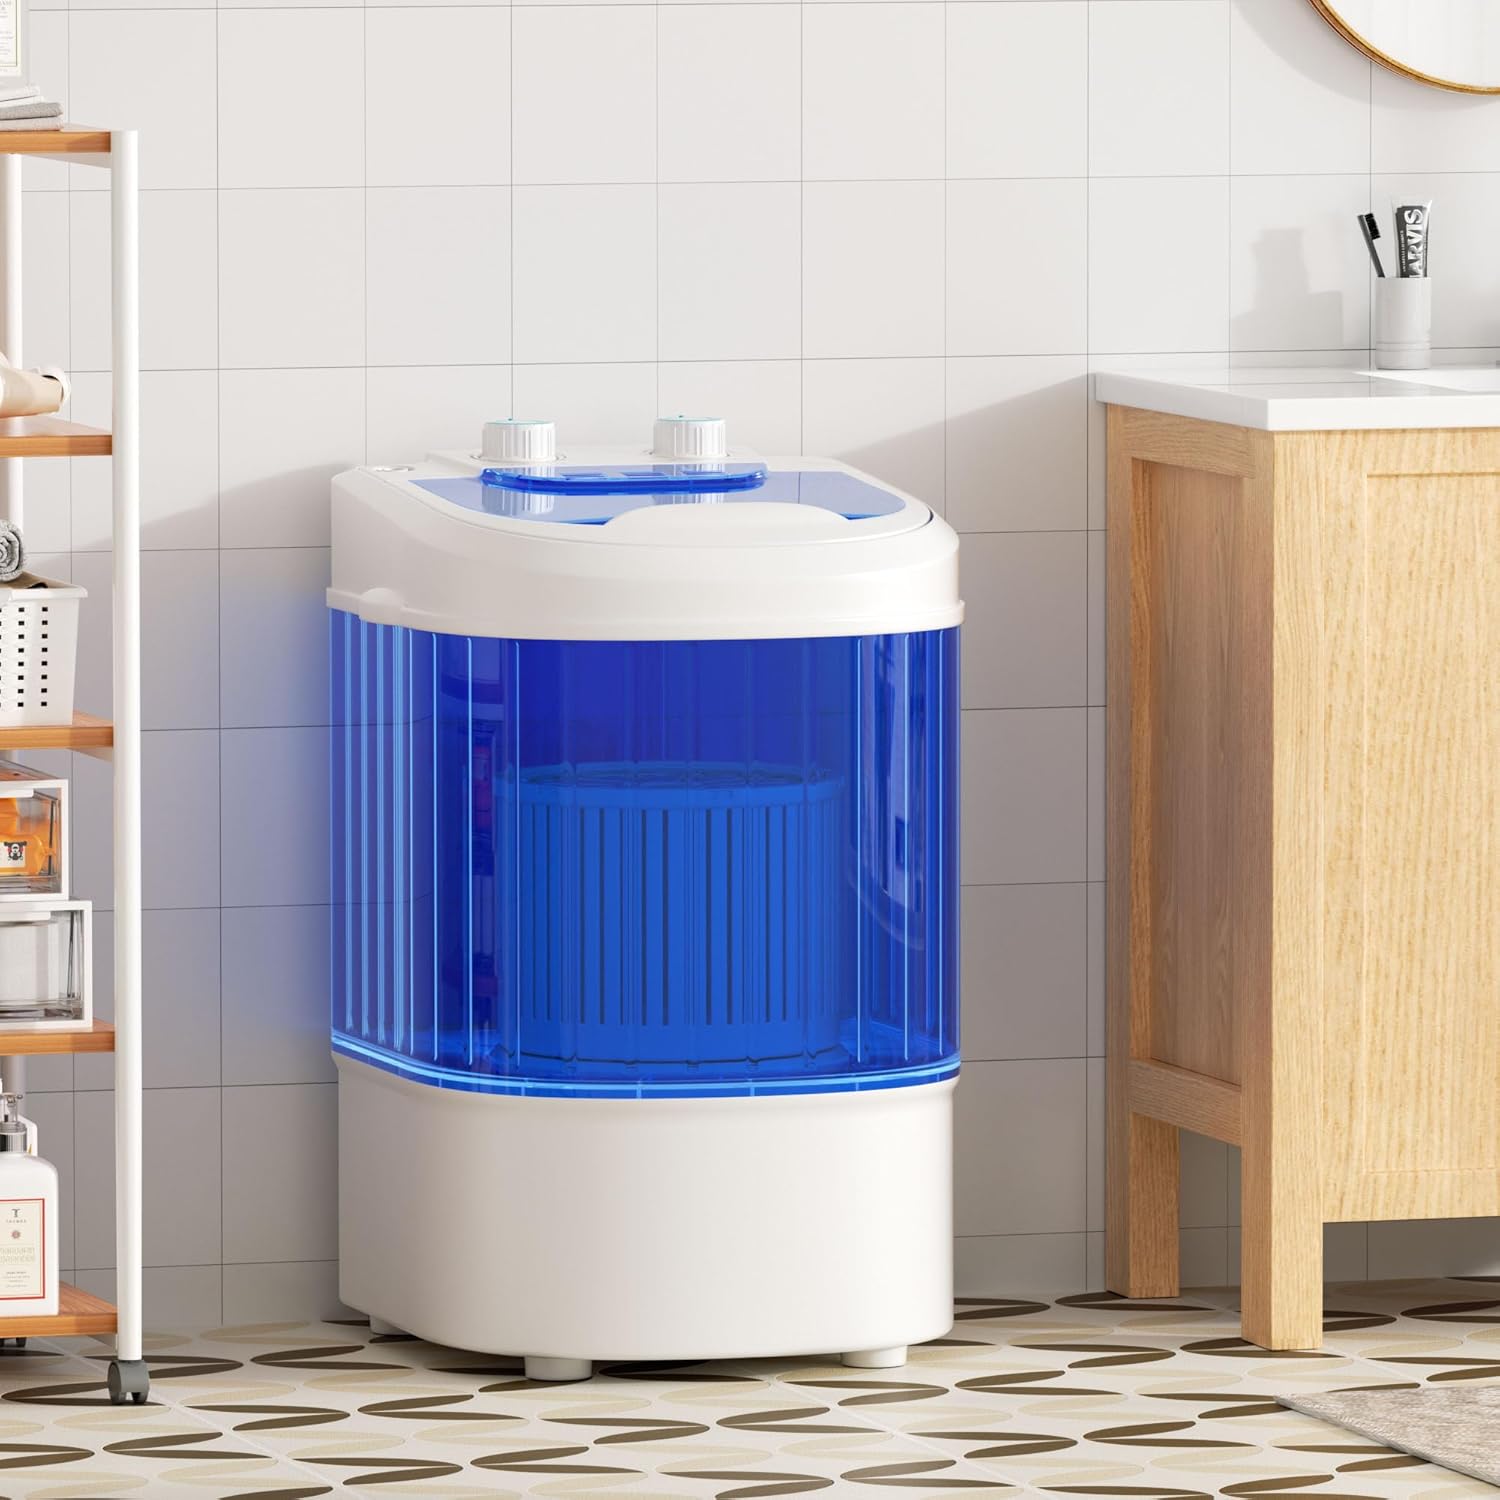
Image: The Greenvelly Portable Washing Machine, blue and white, positioned in a modern bathroom next to a sink and wooden cabinet.
Safety Instructions
To reduce the risk of fire, electric shock, or injury, observe the following basic precautions:
- Read all instructions before using the appliance.
- Do not operate any appliance with a damaged cord or plug.
- Do not immerse the appliance, cord, or plug in water or other liquids.
- Supervise children closely when the appliance is in use.
- Ensure the appliance is placed on a stable, level surface.
- Do not wash items that are soiled with gasoline, dry-cleaning solvents, or other flammable or explosive substances.
- Unplug the appliance from the outlet when not in use and before cleaning.
Product Components
Familiarize yourself with the parts of your portable washing machine:
- Wash/Spin Timer Knob: Controls the duration of wash or spin cycles.
- Programme Selector Knob: Switches between Wash, Off, and Spin modes.
- Washing Tub: Main compartment for washing clothes.
- Spin Basket: Detachable basket for dehydration.
- Water Inlet: Connection point for the water supply hose.
- Drain Hose: For expelling used water.

Image: A detailed view of the two control knobs on the top of the washing machine, labeled "Wash/Spin Timer" and "Programme Selector".

Image: An illustration highlighting key design features: an extended hose for water input/drainage, the built-in dehydration basket, and the high-power motor.
Setup
- Unpacking: Carefully remove the washing machine from its packaging. Inspect for any damage.
- Placement: Place the washing machine on a firm, level surface to prevent vibration and noise during operation. Ensure it is near a water source and a drain.
- Water Inlet Connection: Connect the water inlet hose to the water inlet on the machine and to a water faucet. Ensure connections are secure to prevent leaks.
- Drain Hose Positioning: Position the drain hose to direct wastewater into a sink or drain. Ensure the hose is securely placed and will not fall during draining.
- Power Connection: Plug the power cord into a grounded electrical outlet.
Operating Instructions
Washing Cycle
- Load Clothes: Open the lid and place clothes into the washing tub. Do not exceed the maximum washing capacity of 5.5 pounds.
- Add Water and Detergent: Fill the tub with water to the desired level. Add an appropriate amount of detergent. Avoid overfilling to prevent splashing.
- Select Wash Mode: Turn the Programme Selector knob to "Wash".
- Set Wash Timer: Turn the Wash/Spin Timer knob to the desired wash time (up to 15 minutes for soaking wash, or 0-9 minutes for quick wash). The machine will start washing.
- Drain Water: Once the wash cycle is complete, turn the Programme Selector knob to "Drain" to empty the water.
Spin Cycle (Dehydration)
- Transfer Clothes: After draining the wash water, transfer the wet clothes into the spin basket. Ensure clothes are evenly distributed. Do not exceed the maximum dehydration capacity of 1.1 pounds.
- Insert Spin Basket: Place the spin basket securely into the washing tub.
- Select Spin Mode: Turn the Programme Selector knob to "Spin".
- Set Spin Timer: Turn the Wash/Spin Timer knob to the desired spin time (0-5 minutes). The machine will begin the spin cycle.
- Remove Clothes: Once the spin cycle is complete, remove the clothes.
Image: A visual guide indicating the approximate number of items that can be washed, such as 15-20 socks, 4-6 baby suits, 2-5 t-shirts, and 2-3 jeans.
Maintenance
- Cleaning the Tub: After each use, wipe the inside of the tub with a soft cloth to remove any residue.
- Exterior Cleaning: Clean the exterior of the machine with a damp cloth. Do not use abrasive cleaners.
- Drain Hose: Ensure the drain hose is clear of blockages.
- Storage: If storing for an extended period, ensure the machine is completely dry. Store in a cool, dry place.
Troubleshooting
| Problem | Possible Cause | Solution |
|---|---|---|
| Machine does not start. | Power cord unplugged; timer not set; lid not closed properly. | Check power connection; set timer; ensure lid is fully closed. |
| Water splashes out during wash. | Overfilling with water; insufficient clothes in tub. | Reduce water level; ensure adequate load size to prevent excessive splashing. |
| Clothes are too wet after spin cycle. | Spin cycle RPMs too slow; clothes unevenly distributed in spin basket; spin time too short. | Ensure clothes are evenly distributed; increase spin time; check for proper spin basket installation. |
| Drain hose detaches easily. | Hose not securely positioned. | Secure the drain hose firmly to the drain area. |
| Motor gets hot after continuous use. | Extended operation without cool-down. | Allow the machine to cool down for 5-20 minutes between multiple consecutive loads. |
| Wash/Drain setting does not function correctly. | Dial malfunction or internal issue. | Ensure the dial is fully engaged in the desired position. If the issue persists, contact customer support. |
Specifications
- Model: B0G4CV8PLJ
- Brand: Greenvelly
- Product Dimensions (D x W x H): 14.5" x 14.9" x 21.6"
- Washing Capacity: 6.6 Pounds (approx. 5.5 lbs for washing)
- Dehydration Capacity: 1.1 Pounds
- Motor Speed: 1300 RPM (revolutions per minute)
- Material: Plastic
- Controls Type: Knob
- Operation Mode: Semi-Automatic
- Installation Type: Freestanding
- Color: Blue

Image: A diagram illustrating the dimensions of the Greenvelly Portable Washing Machine (Height: 21.6", Length: 14.9", Depth: 14.5") and its separate spin basket (Height: 5.91", Width: 7.48").
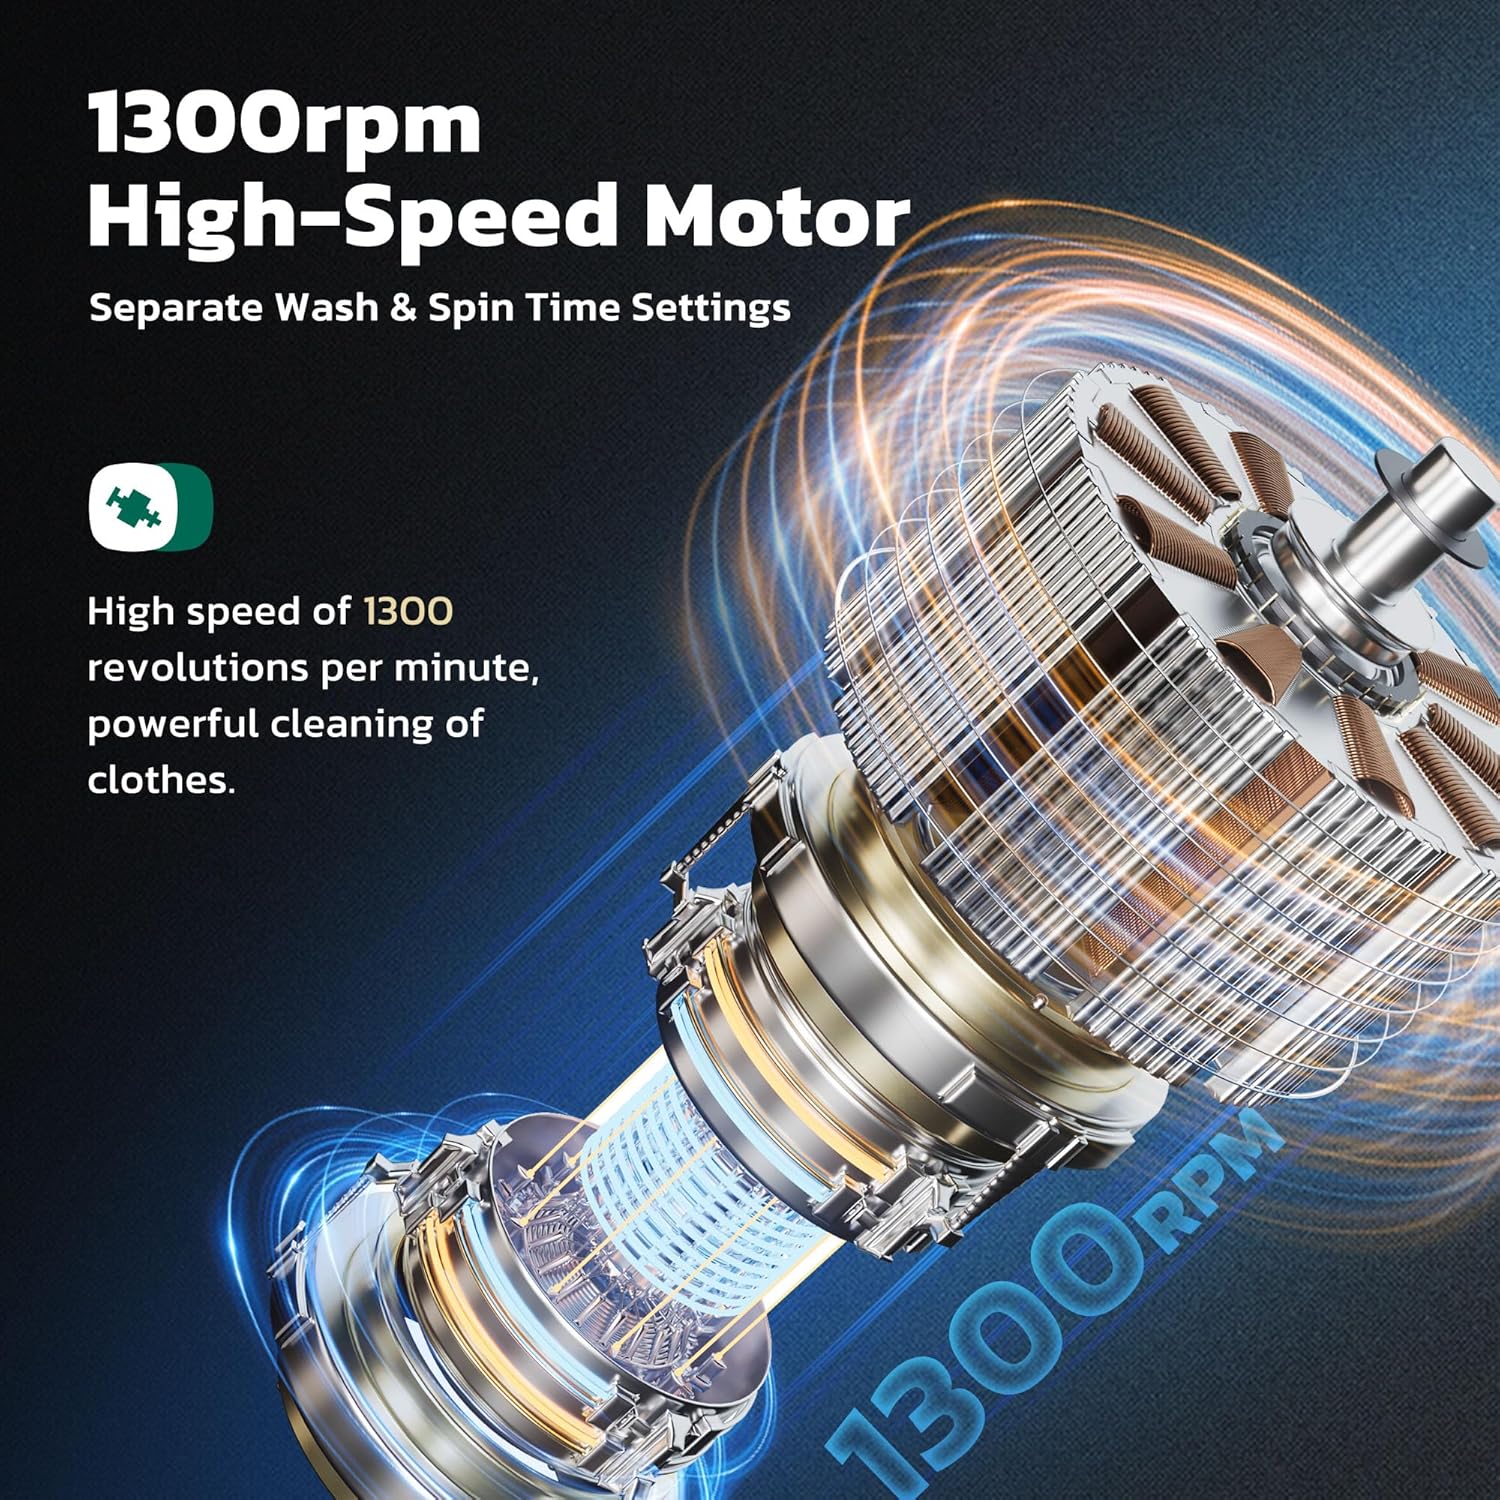
Image: An artistic rendering of the washing machine's internal high-speed motor, highlighting its 1300 RPM capability for efficient washing and spinning.
Warranty and Support
For warranty information, please refer to the documentation provided with your purchase or contact the retailer. For technical support or service inquiries, please contact Greenvelly customer service.
Greenvelly Customer Service: Visit the Greenvelly Store on Amazon