
Introduction
This manual provides instructions for the setup, operation, and maintenance of your ASHATA Silent Non-Ticking Alarm Clock. Please read this manual thoroughly before using the product to ensure proper function and longevity.
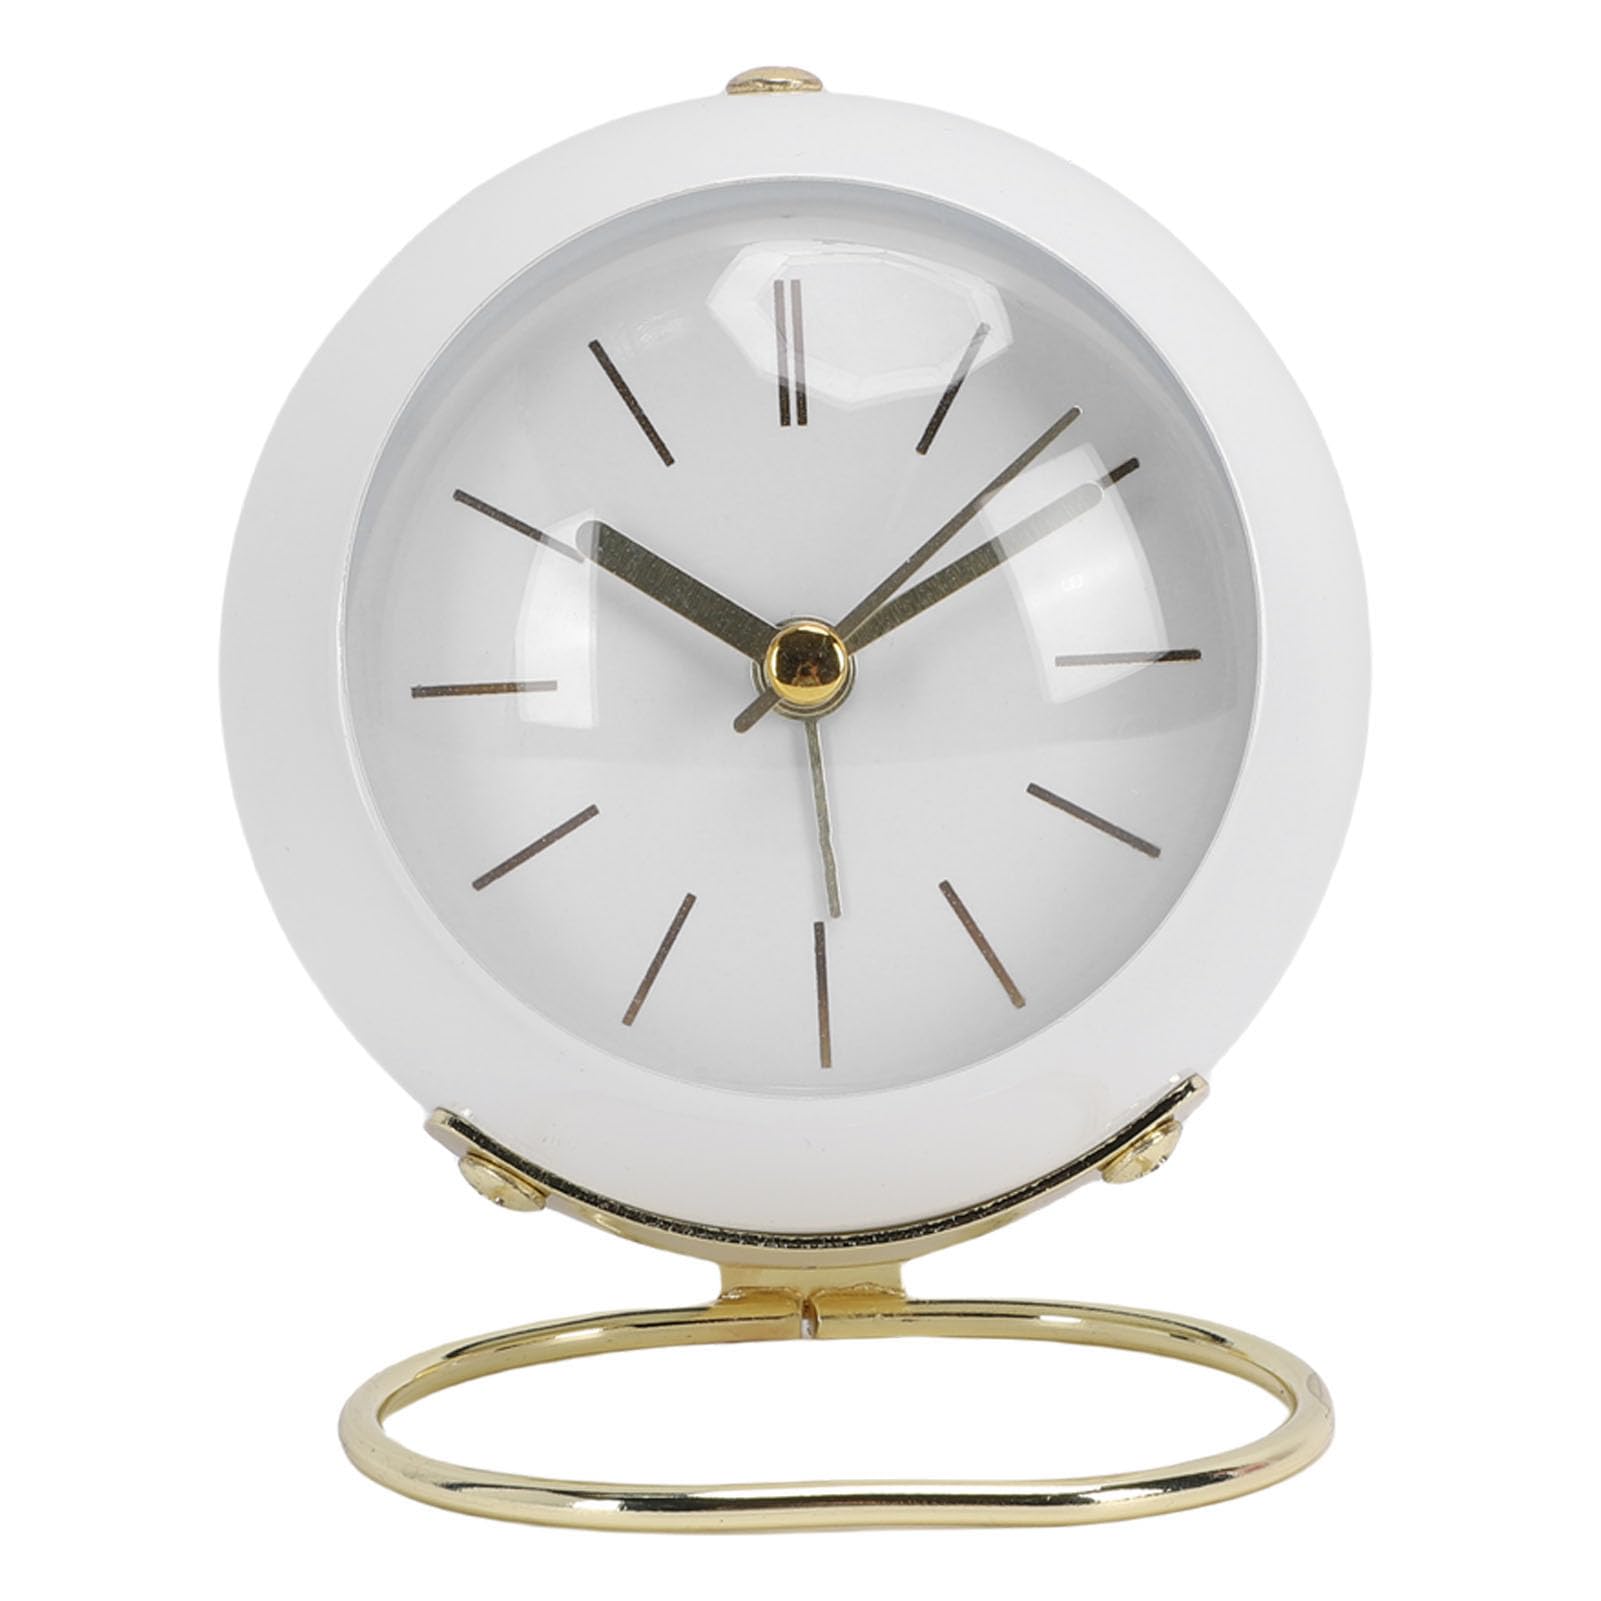
Image: Front view of the ASHATA Silent Non-Ticking Alarm Clock. The clock features a white spherical body with a clear face, gold hands, and a gold base.
Package Contents
Verify that all items are present in the package:
- 1 x ASHATA Desk Alarm Clock
- 1 x AA Battery
- 1 x Instruction Manual (this document)
Specifications
| Brand | ASHATA |
| Model Number | ASHATA1gtyepdkxi-11 |
| Dimensions (L x W x H) | 12 x 11 x 8.3 cm (4.72 x 4.33 x 3.27 inches) |
| Power Source | 1 x AA Battery |
| Display Type | Analog |
| Special Features | Silent Non-Ticking Movement, Soft Night Light |
Setup
- Battery Installation:
Locate the battery compartment on the back of the clock. Open the cover and insert one AA battery, ensuring the polarity (+/-) matches the indicators inside the compartment. Close the battery cover securely.

Image: Rear view of the clock, highlighting the battery compartment.
- Identify Controls:
Familiarize yourself with the control knobs and buttons located on the back of the clock. Refer to the diagram below:

Image: Detailed diagram of the clock's back panel, labeling the Night Light Button, Electronic Speaker, Alarm On/Off switch, Time Adjustment knob, Alarm Clock Adjustment knob, Battery Compartment, and Electroplated Gold Base.
Operating Instructions
- Setting the Current Time:
Rotate the Time Adjustment knob (refer to the diagram in the Setup section) clockwise or counter-clockwise until the hour and minute hands indicate the correct current time.
- Setting the Alarm Time:
Rotate the Alarm Clock Adjustment knob (refer to the diagram) clockwise or counter-clockwise until the alarm hand points to your desired alarm time.
- Activating/Deactivating the Alarm:
Slide the Alarm On/Off switch (refer to the diagram) to the "ON" position to activate the alarm. Slide it to the "OFF" position to deactivate the alarm.
- Using the Night Light:
Press and hold the Night Light Button (refer to the diagram) to illuminate the clock face with a soft glow. Release the button to turn off the light.
Maintenance
- Cleaning:
Wipe the clock's surface with a soft, dry cloth. Do not use abrasive cleaners or solvents, as these may damage the finish.
- Battery Replacement:
When the clock's movement slows down or the alarm sound weakens, it is time to replace the AA battery. Follow the battery installation steps outlined in the Setup section.
- Storage:
If storing the clock for an extended period, remove the battery to prevent leakage and potential damage to the device.
Troubleshooting
| Problem | Possible Cause | Solution |
|---|---|---|
| Clock not working / Hands not moving | Dead or incorrectly installed battery. | Replace the AA battery, ensuring correct polarity. |
| Alarm not sounding | Alarm switch is OFF; alarm time not set correctly; low battery. | Ensure the Alarm On/Off switch is ON. Verify the alarm time is set. Replace the battery if needed. |
| Night light not working | Low battery. | Replace the AA battery. |
Warranty and Support
This product comes with a standard manufacturer's warranty. For specific warranty details, please refer to the documentation provided at the time of purchase or contact ASHATA customer support.
For technical support or further assistance, please contact your retailer or the ASHATA customer service department.