1. Introduction
Welcome to the instruction manual for your Parrot Uncle 52-Inch Gold Ceiling Fan with Light and Remote. This manual provides important information for the safe installation, operation, and maintenance of your ceiling fan. Please read it thoroughly before installation and keep it for future reference.
Safety Warnings: Always disconnect power at the circuit breaker before installation or servicing. Ensure all wiring connections comply with local electrical codes. Consult a qualified electrician if you are unsure about any part of the installation. Do not operate the fan with damaged blades or housing. Ensure the fan is securely mounted to a ceiling junction box capable of supporting at least 35 lbs (15.9 kg).

This image shows the Parrot Uncle 52-inch gold ceiling fan with light installed in a contemporary living room setting, providing both illumination and air circulation.
2. What's Included
Carefully unpack all components and ensure you have received all items listed below. If any parts are missing or damaged, contact customer support before proceeding with installation.
- Fan Motor Assembly
- Fan Blades (4)
- Downrod (4.5 inches)
- Canopy
- Mounting Bracket
- Remote Control
- Remote Receiver
- Light Kit with Integrated LED Module
- Hardware Pack (screws, washers, wire nuts)

This image illustrates the overall dimensions of the fan and highlights its core components: the robust motor, the four walnut plywood blades, and the integrated LED light module.
3. Setup (Installation)
Follow these steps for proper installation. It is recommended to have two people for installation.
3.1. Pre-Installation
- Turn off power at the main circuit breaker to prevent electrical shock.
- Ensure the ceiling junction box is securely mounted and capable of supporting the fan's weight (at least 35 lbs / 15.9 kg).
3.2. Mounting Bracket Installation
- Attach the mounting bracket to the ceiling junction box using the provided screws and washers. Ensure it is firmly secured.
3.3. Downrod Assembly
- Route the fan motor wires through the downrod.
- Secure the downrod to the fan motor assembly with the provided pin and screw.
3.4. Hanging the Fan
- Carefully lift the fan assembly and hang it on the hook of the mounting bracket.
3.5. Wiring
- Install the remote receiver in the canopy.
- Connect the receiver wires to the fan and household wires using the provided wire nuts. Typically, connect black to black (live), white to white (neutral), and green/bare copper to green/bare copper (ground). Refer to the detailed wiring diagram in the included printed manual for specific connections.
3.6. Blade Attachment
- Attach the four fan blades to the motor housing using the provided screws. Ensure all screws are tightened securely to prevent wobbling.
3.7. Light Kit Installation
- Connect the light kit wires to the fan motor assembly wires.
- Secure the light kit to the fan motor housing.
3.8. Canopy Installation
- Slide the canopy up and secure it to the mounting bracket with the canopy screws.

This diagram shows how the fan can be mounted using the included 4.5-inch downrod, as well as options for extended downrods and sloped ceilings up to 15 degrees.
4. Operating Instructions
Your Parrot Uncle ceiling fan is controlled by the included remote control. Ensure the remote has a working battery installed.
4.1. Remote Control Functions

The remote control allows for convenient adjustment of fan speed, light brightness, and timer settings.
- Power Button: Turns the fan and light ON/OFF.
- Fan Speed Buttons (1-6): Adjusts fan speed from low (1) to high (6).
- Light ON/OFF Button: Toggles the light ON/OFF.
- Dimming Buttons: Adjusts the brightness of the integrated LED light. Press and hold to dim, or short press for ON/OFF.
- Timer Buttons (1H, 3H, 6H, 8H): Sets the fan to automatically turn off after the selected duration.
4.2. Dimmable LED Light
The integrated 18W LED module provides 3000K warm light with 1500 lumens output. Use the dimming buttons on the remote to adjust the light intensity to your preference.
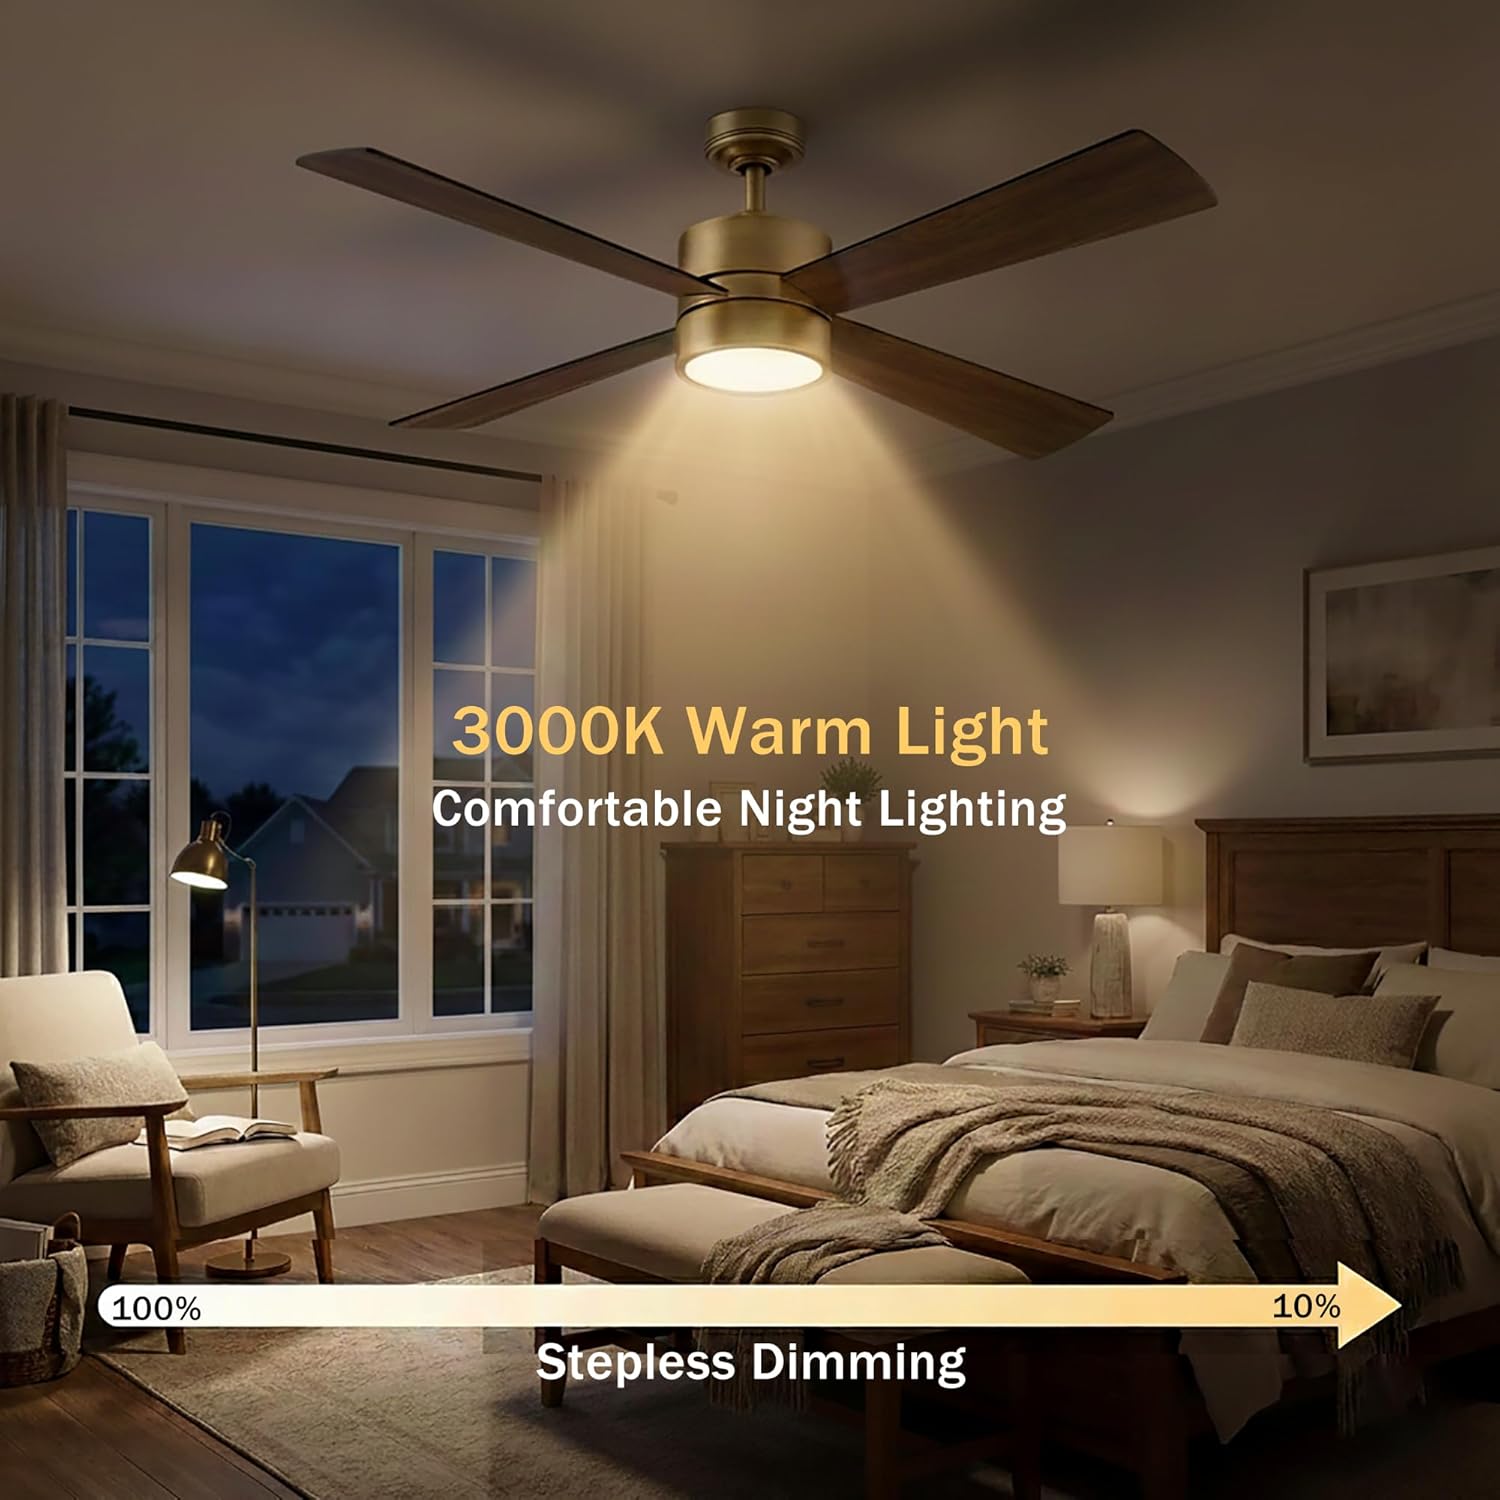
The fan's integrated LED light offers stepless dimming from 100% to 10% brightness, providing comfortable night lighting.
4.3. Reversible Motor (Summer/Winter Mode)
The fan features a reversible AC motor to optimize comfort year-round. Locate the reverse switch on the fan motor housing (usually a small slide switch).
- Summer Mode (Downward Airflow): Set the switch for downward airflow. This creates a direct breeze, providing a cooling effect.
- Winter Mode (Upward Airflow): Set the switch for upward airflow. This circulates warm air near the ceiling, helping to distribute heat more evenly throughout the room.

This image explains how to utilize the reversible motor function to optimize air circulation for both cooling in summer and warming in winter.
5. Maintenance
Regular maintenance helps ensure the longevity and optimal performance of your ceiling fan.
5.1. Cleaning
- Always turn off the power at the circuit breaker before cleaning your fan.
- Periodically clean the fan blades and motor housing with a soft, damp cloth.
- Do not use abrasive cleaners, solvents, or harsh chemicals, as these can damage the finish and electrical components.
5.2. Blade Care
- Check blade screws periodically to ensure they are tight. Loose blades can cause wobbling and noise.
5.3. Light Module
- The LED light module is integrated and not user-replaceable. If the light module fails, contact customer support for assistance.
6. Troubleshooting
If you experience issues with your ceiling fan, refer to the following common problems and solutions:
6.1. Fan Does Not Start
- Check that power is supplied to the fan at the circuit breaker.
- Ensure all wire connections are secure and correctly made.
- Verify the remote control battery is functional and correctly inserted.
6.2. Fan Wobbles
- Ensure all blade screws are tightened.
- Check that the mounting bracket is securely fastened to the ceiling box.
- Verify the downrod is properly seated and secured.
- Ensure blades are not warped or damaged.
6.3. Light Does Not Work
- Check wire connections to the light kit.
- Ensure power is supplied to the fan.
- Confirm the remote control battery is functional and the light button is pressed.
6.4. Excessive Noise
- Check for loose screws on the blades or motor housing.
- Ensure the canopy is not vibrating against the ceiling.
- Verify the fan is properly balanced.
7. Specifications
Technical details for the Parrot Uncle 52-Inch Gold Ceiling Fan (Model BBCPS1268-A4-NBR):
| Brand | Parrot Uncle |
| Model Name | 52 Inch Ceiling Fans with Lights (BBCPS1268-A4-NBR) |
| Product Dimensions | 52"L x 52"W x 12.9"H |
| Material | Iron (housing), Walnut Plywood (blades) |
| Motor Type | AC Motor |
| Speeds | 6 |
| Airflow | 3325 CFM |
| Noise Level | 30 dB (whisper-quiet) |
| Light Source | Integrated 18W LED Module |
| Color Temperature | 3000K Warm Light |
| Light Output | 1500 Lumens |
| Voltage | 110 Volts |
| Control Method | Remote Control |
| Indoor/Outdoor Usage | Indoor, Outdoor |
| Special Features | Dimmable, LED Light, Remote Controlled, Reversible Airflow, Timer |
| Item Weight | 14 Pounds |

This Energy Guide provides information on the fan's estimated yearly energy cost and airflow efficiency.
8. Warranty & Support
8.1. Warranty Information
This Parrot Uncle ceiling fan comes with a limited warranty. Please refer to the original purchase documentation or contact Parrot Uncle customer service for specific terms and conditions regarding your warranty coverage.
8.2. Customer Support
For technical assistance, replacement parts, or warranty inquiries, please contact Parrot Uncle customer service. Contact details can typically be found on the product packaging, the official Parrot Uncle website, or through your retailer.


