
1. Introduction
This manual provides essential information for the safe and effective operation of your Micsig MHO14-200N Digital Oscilloscope. Please read this manual thoroughly before using the device and retain it for future reference. The MHO14-200N is a high-resolution tablet oscilloscope designed for precision measurement in various engineering and diagnostic tasks.
2. Safety Information
Observe the following safety precautions to prevent injury and avoid damage to the instrument or any products connected to it.
- Power Source: Use only the power adapter supplied with the instrument. Ensure the power voltage is within the specified range.
- Grounding: Ensure the oscilloscope is properly grounded to prevent electric shock.
- Probe Safety: Always connect the probe ground lead to earth ground before connecting the probe input to the circuit under test.
- Environmental Conditions: Do not operate the oscilloscope in wet or damp conditions. Avoid operating in explosive atmospheres.
- Maintenance: Refer all servicing to qualified service personnel. Do not attempt to repair the unit yourself.
3. Package Contents
Verify that all items listed below are included in your package. If any items are missing or damaged, contact your supplier.
- Micsig MHO1 Oscilloscope x 1
- Passive probes x 4
- Power Adapter x 1
- Quick Guide Collection x 1

Image 3.1: Micsig MHO14-200N Oscilloscope with its standard accessories, including passive probes, power adapter, power cable, and quick guide.
4. Product Overview
The Micsig MHO14-200N is a high-performance digital oscilloscope featuring a 12-bit vertical resolution, 200MHz bandwidth, and a 1GSa/s sampling rate. It includes 4 analog channels and 110Mpts memory depth, all integrated into an 8-inch high-resolution tablet design.
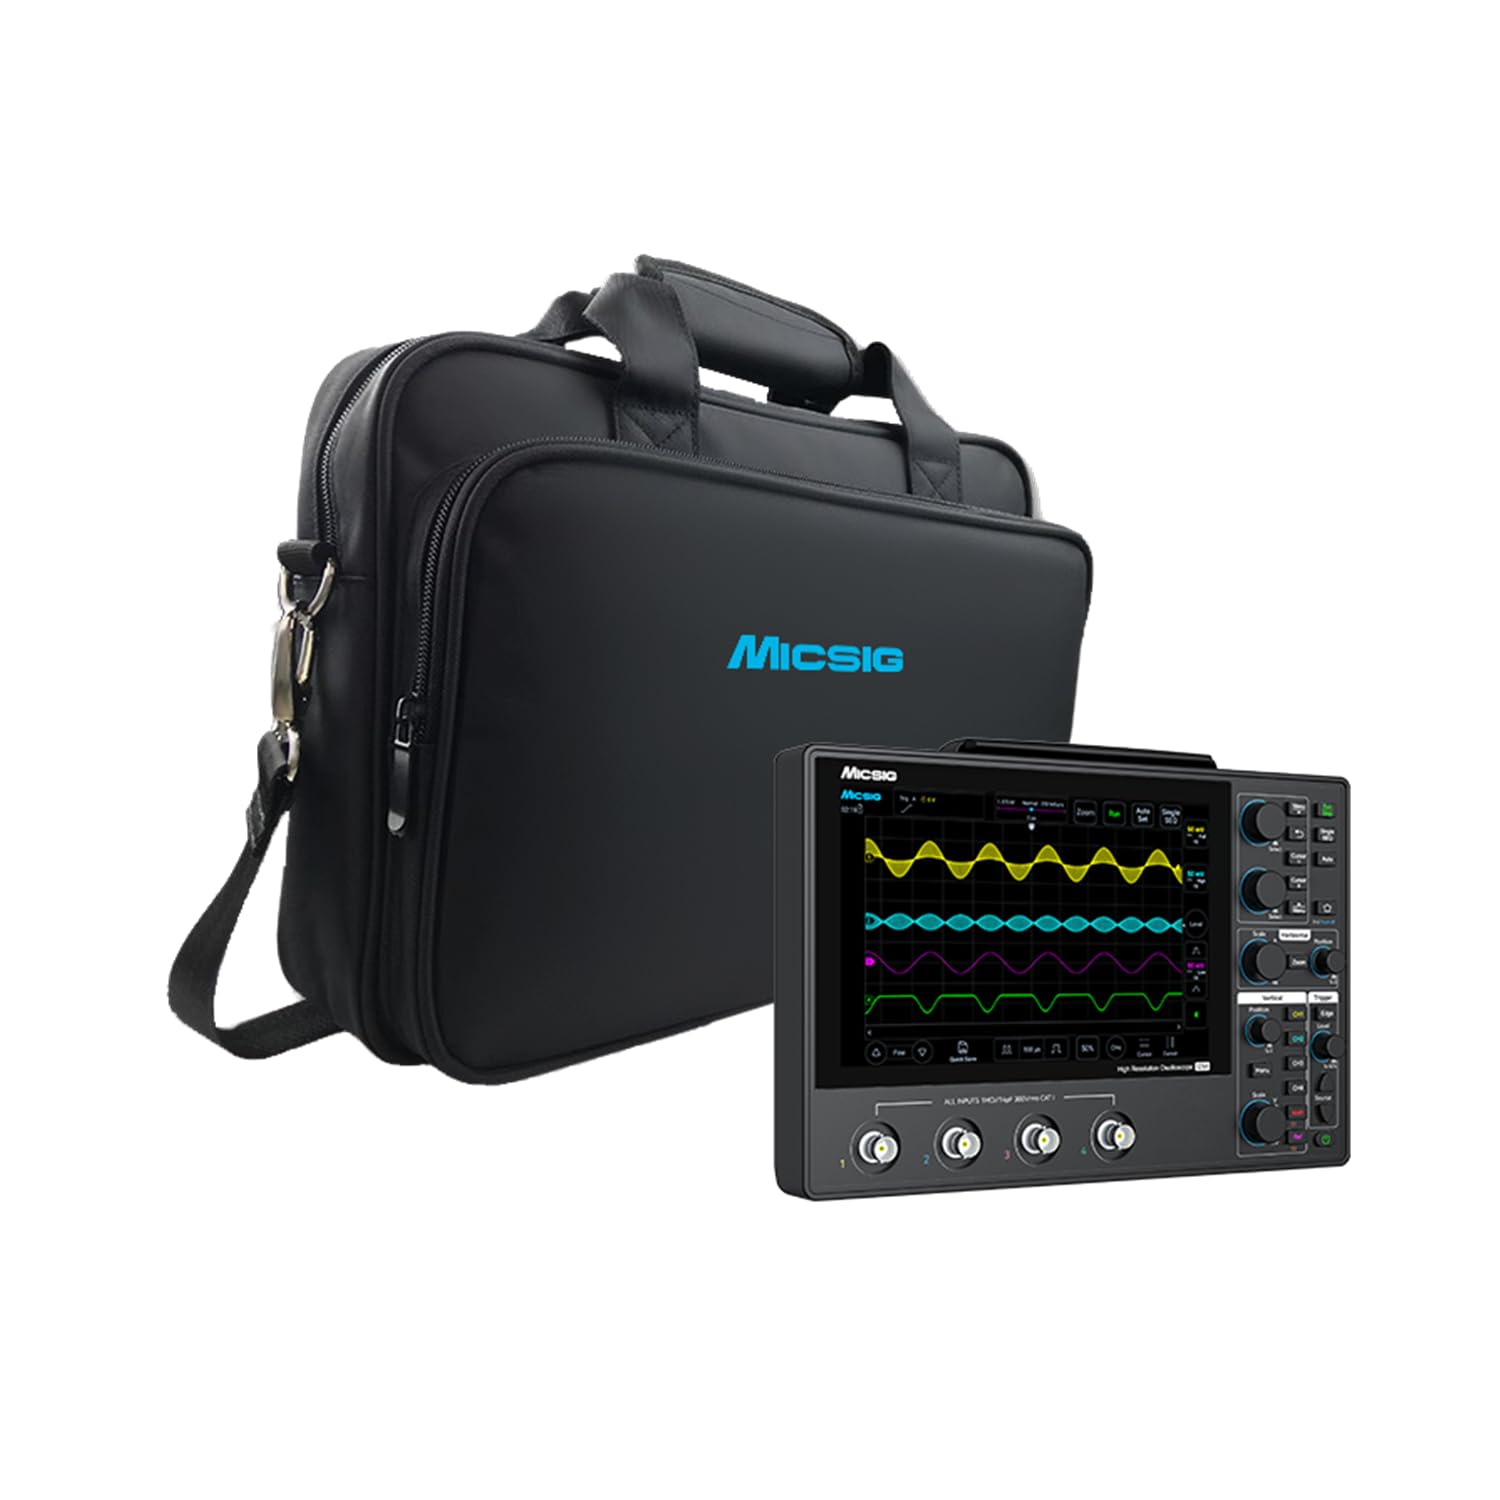
Image 4.1: Front view of the Micsig MHO14-200N Digital Oscilloscope, showcasing its large display and control panel.
Key Features:
- High Resolution: 12-bit vertical resolution captures subtle signal details with enhanced precision.
- Performance: 200MHz bandwidth and 1GSa/s sampling rate for accurate signal acquisition.
- Memory Depth: 110Mpts memory allows for extended waveform capture and detailed analysis.
- Channels: Four analog channels for multi-signal analysis.
- Display: 8-inch HD touchscreen with 1280x800 resolution, anti-glare, anti-fingerprint, and scratch-resistant properties.
- Portability: Ultra-slim 3.1cm profile and integrated 16000mAh lithium-ion battery for extended field use.
- Connectivity: Supports SCPI, mobile apps (Android, iOS), PC-based remote control, and direct HDMI connection.
- Storage: Deep segmented storage for efficient capture and analysis of multiple trigger events.

Image 4.2: The oscilloscope display showing key specifications such as 12-bit vertical resolution, 200MHz bandwidth, 1GSa/s sampling rate, 4 analog channels, and 110Mpts memory depth.

Image 4.3: The slim design of the MHO14-200N, measuring 3.1cm in thickness, highlighting its portability.

Image 4.4: A user interacting with the 8-inch HD touchscreen, emphasizing its robust display features.

Image 4.5: The universal connectivity hub on the rear of the oscilloscope, detailing available ports for various connections.

Image 4.6: A visual comparison demonstrating the enhanced detail captured by 12-bit vertical resolution compared to 8-bit.

Image 4.7: The oscilloscope interface displaying a range of smart software features for comprehensive signal analysis.
5. Setup
5.1 Initial Power-Up
- Unpack the oscilloscope and all accessories.
- Connect the power adapter to the DC 12V input port on the rear of the oscilloscope.
- Plug the power adapter into a suitable AC power outlet.
- Press the power button located on the side or front panel to turn on the device.
5.2 Probe Connection
- Connect the BNC connector of a passive probe to one of the analog input channels (CH1-CH4) on the front panel.
- Attach the probe ground clip to the ground reference of your circuit.
- Connect the probe tip to the test point in your circuit.
5.3 Remote Control Setup (Optional)
The MHO14-200N supports various remote control methods:
- SCPI: For programmatic control, refer to the SCPI programming manual for detailed commands.
- Mobile Apps: Download the Micsig app from your device's app store (Android/iOS). Connect the oscilloscope to your network via LAN or Wi-Fi (if available) and follow the app's instructions for pairing.
- PC Remote Control: Connect the oscilloscope to a PC via USB or LAN. Install the necessary PC software from the manufacturer's website and follow the instructions for remote operation.
6. Operating Instructions
The MHO14-200N features an intuitive touchscreen interface complemented by physical knobs and buttons for efficient operation.
6.1 Basic Waveform Display
- Ensure probes are connected correctly.
- Press the Auto Set button to automatically adjust vertical, horizontal, and trigger settings for a stable waveform display.
- Use the Vertical Scale and Horizontal Scale knobs to manually adjust the waveform's amplitude and time base.
- Drag on the touchscreen to pan waveforms or pinch to zoom.
6.2 Triggering
The trigger system stabilizes repetitive waveforms and captures single-shot events.
- Tap the Trigger menu on the touchscreen or use the dedicated trigger controls.
- Select the desired trigger type (e.g., Edge, Pulse Width, Logic, Video).
- Adjust the trigger level using the Level knob or by dragging the trigger indicator on the screen.
- For single-shot events, press the Single SEQ button.
6.3 Measurements and Analysis
The oscilloscope offers various measurement and analysis tools.
- Automatic Measurements: Tap the Measure menu to select and display automatic measurements such as frequency, period, Vpp, Vrms, etc.
- Cursors: Use the Cursor function to manually measure voltage and time differences on the waveform.
- Mathematical Operations: Access the Math menu to perform operations like addition, subtraction, multiplication, division, and FFT on waveforms.
- Segmented Storage: Utilize segmented memory to capture and analyze multiple trigger events efficiently without capturing dead time between events.
7. Maintenance
7.1 Cleaning
To clean the instrument, use a soft cloth dampened with a mild detergent and water. Do not use abrasive cleaners or solvents that could damage the casing or screen. Ensure the device is powered off and disconnected from all power sources before cleaning.
7.2 Battery Care
The integrated 16000mAh lithium-ion battery provides extended runtime. To maximize battery life:
- Avoid fully discharging the battery frequently.
- Store the device with a partial charge (around 50%) if not used for extended periods.
- Recharge via the Type-C port or DC 12V input. Power bank charging is also supported for field portability.
7.3 Storage
When storing the oscilloscope, especially for long periods, ensure it is kept in a cool, dry place away from direct sunlight and extreme temperatures. Use the dedicated carry bag (if included in your kit) for protection during transport and storage.
8. Troubleshooting
This section addresses common issues you might encounter with your MHO14-200N oscilloscope.
8.1 No Power
- Check Power Connection: Ensure the power adapter is securely connected to the oscilloscope and the power outlet.
- Verify Outlet: Test the power outlet with another device to confirm it is functional.
- Battery Charge: If operating on battery, ensure the battery is charged. Connect the power adapter and allow it to charge for a while before attempting to power on again.
8.2 No Waveform Display
- Probe Connection: Ensure probes are correctly connected to both the oscilloscope and the circuit under test.
- Ground Connection: Verify the probe ground clip is securely connected to the circuit's ground.
- Input Signal: Confirm there is an actual signal present at the test point.
- Settings: Press the Auto Set button. Adjust vertical scale (V/div) and horizontal scale (s/div) manually. Check trigger settings (level, source, type).
8.3 Unresponsive Touchscreen
- Restart Device: Power off the oscilloscope and restart it.
- Clean Screen: Ensure the screen is clean and free of debris or moisture.
- Firmware: Check the manufacturer's website for any available firmware updates that might address touchscreen issues.
For issues not covered here, please contact XEAST customer support.
9. Specifications
The following table outlines the key technical specifications for the Micsig MHO14-200N Digital Oscilloscope.

Image 9.1: A comparison of specifications between the MHO14-100N and MHO14-200N models, highlighting the 200MHz bandwidth of the MHO14-200N.
| Feature | Specification |
|---|---|
| Model Number | MHO14-200N |
| Vertical Resolution | 12-bit |
| Bandwidth | 200 MHz |
| Analog Channels | 4 |
| Maximum Sample Rate | 1 GSa/s |
| Memory Depth | 110 Mpts |
| Display | 8-inch HD Touchscreen (1280x800) |
| Battery Capacity | 16000 mAh Lithium-ion |
| Product Dimensions | 10.4 x 6.8 x 1.2 inches (26.5 x 17.4 x 3.1 cm) |
| Item Weight | 8.58 pounds |
| Manufacturer | XEAST |
10. Warranty and Support
For warranty information, technical support, or service inquiries, please contact the manufacturer, XEAST, or your authorized dealer. Refer to the official XEAST website for the most current support contact details and warranty terms.