
1. Introduction
This manual provides detailed instructions for the installation, operation, and maintenance of your Oskkude Car Stereo Upgrade. This unit is designed specifically for Nissan 350Z models from 2003 to 2009, offering a 7-inch touch screen with Android 14 operating system, wireless CarPlay, and Android Auto capabilities.
Please read this manual thoroughly before installation and use to ensure proper function and to avoid damage to the unit or your vehicle.

Image 1.1: Oskkude 7-inch Car Stereo Unit
2. Package Contents
Verify that all items listed below are included in your package. If any items are missing or damaged, please contact customer support.
- Oskkude Car Stereo Unit (7-inch touch screen)
- Power Cables (various types)
- 2USB Cable
- Camera Input Cable
- GPS Antenna
- RCA Input/Output Cables
- Fixed Brackets
- Instruction Manual (this document)
- External Microphone
- Backup Camera

Image 2.1: Included Components
3. Setup and Installation
Important Note: This car stereo is NOT a plug-and-play unit for the Nissan 350Z (2003-2009). Installation requires cutting and splicing wires to integrate with your vehicle's electrical system. Professional installation is highly recommended to ensure correct wiring and prevent damage to the unit or your vehicle.
3.1 Pre-Installation Checklist
- Ensure the vehicle's battery is disconnected before starting installation.
- Gather necessary tools (wire strippers, crimpers, electrical tape, multimeter, etc.).
- Review your vehicle's specific wiring diagrams for the Nissan 350Z (2003-2009).
3.2 General Installation Steps
- Remove Existing Stereo: Carefully remove the factory car stereo and trim panels from your Nissan 350Z.
- Wire Connection: Identify the corresponding wires from the car stereo's harness and your vehicle's wiring. This will involve connecting power (constant 12V, accessory 12V), ground, speaker wires, and other signal wires (e.g., reverse trigger, steering wheel control). Refer to the wiring diagram provided with the unit and your vehicle's service manual.
- GPS Antenna Installation: Connect the GPS antenna and mount it in a location with a clear view of the sky, typically on the dashboard or under the windshield.
- USB Cable Connection: Connect the USB cables for external devices or data transfer. Route them to a convenient location, such as the glove compartment.
- Backup Camera Installation: If installing the backup camera, route the camera cable from the rear of the vehicle to the stereo unit. Connect the video signal and power wires according to the camera's instructions.
- Test Connections: Before fully reassembling, temporarily reconnect the vehicle battery and test the basic functions of the stereo (power on/off, audio, touch screen, GPS signal, backup camera).
- Secure Unit: Use the provided fixed brackets to secure the car stereo into the dashboard opening.
- Reassemble: Reinstall all trim panels and ensure all connections are secure and tidy.

Image 3.1: Rear Wiring Connections
4. Operating Instructions
4.1 Power On/Off
- Power On: Turn your vehicle's ignition to the ACC or ON position. The unit will power on automatically.
- Power Off: Turn your vehicle's ignition to the OFF position. The unit will power off automatically.
4.2 Wireless CarPlay and Android Auto
This unit supports both wireless CarPlay for iOS devices and wireless Android Auto for Android devices, allowing seamless integration of your smartphone's features.
- Ensure Bluetooth and Wi-Fi are enabled on your smartphone.
- On the car stereo, navigate to the CarPlay or Android Auto application.
- Follow the on-screen prompts to pair your phone via Bluetooth. Once paired, the system will establish a Wi-Fi connection for wireless CarPlay/Android Auto.
- You can now access navigation, make calls, send messages, and listen to music using voice commands or the touch screen.
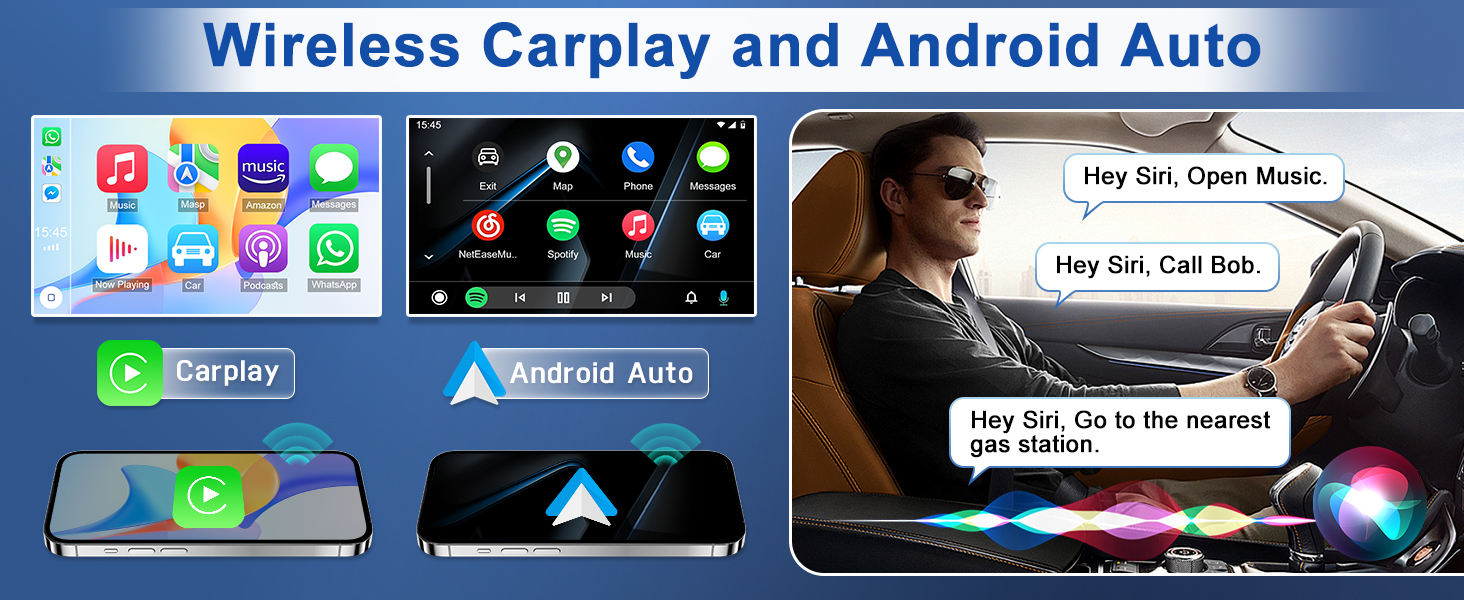
Image 4.1: Wireless CarPlay and Android Auto Interface
4.3 GPS Navigation & WiFi
The unit features a built-in WiFi module and supports both online and offline navigation applications. It comes with pre-installed offline maps for North America.
- Offline Navigation: Access the pre-installed navigation app to use offline maps without an internet connection.
- Online Navigation: Connect the unit to a Wi-Fi hotspot (e.g., from your smartphone) to use online navigation apps and receive real-time traffic updates.
- App Installation: You can install or delete Android apps from the application store, similar to a smartphone, when connected to Wi-Fi.
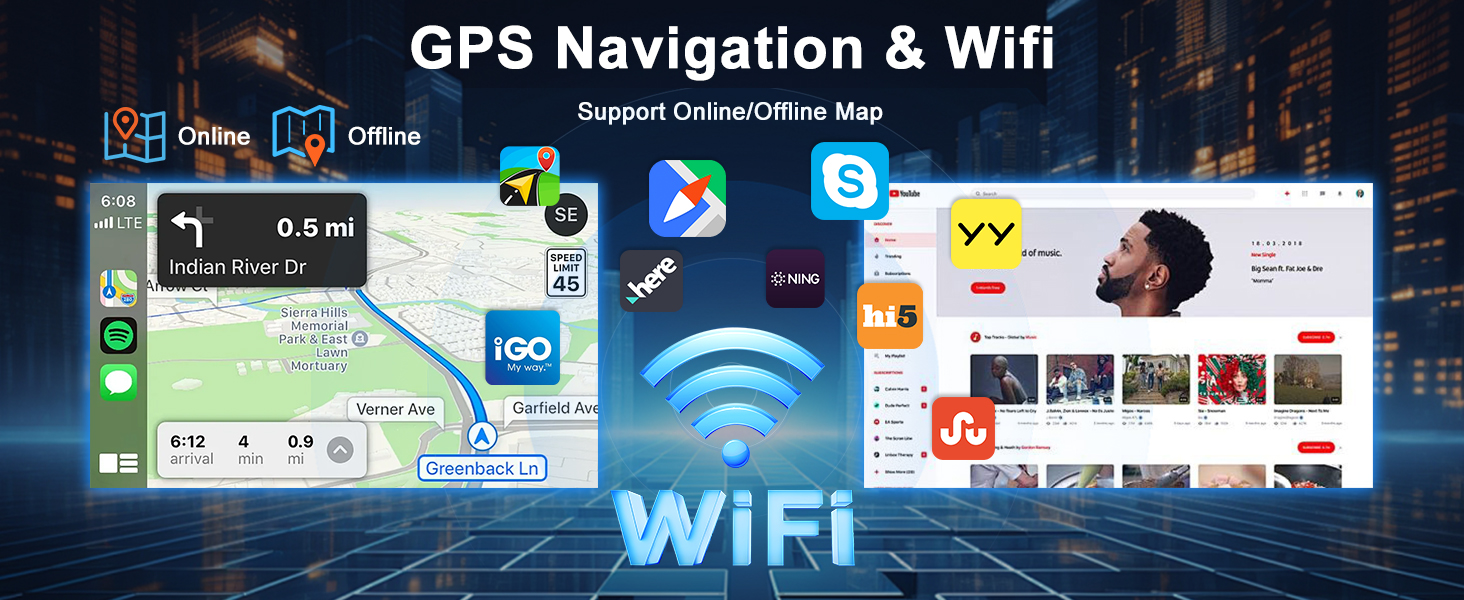
Image 4.2: GPS Navigation and WiFi Functionality
4.4 Bluetooth Connectivity
The built-in Bluetooth module allows for hands-free calling and audio streaming.
- Enable Bluetooth on your smartphone.
- On the car stereo, go to the Bluetooth settings and search for available devices.
- Select your phone from the list and confirm the pairing code.
- Once connected, you can make/receive calls and play music wirelessly through the car's speakers.
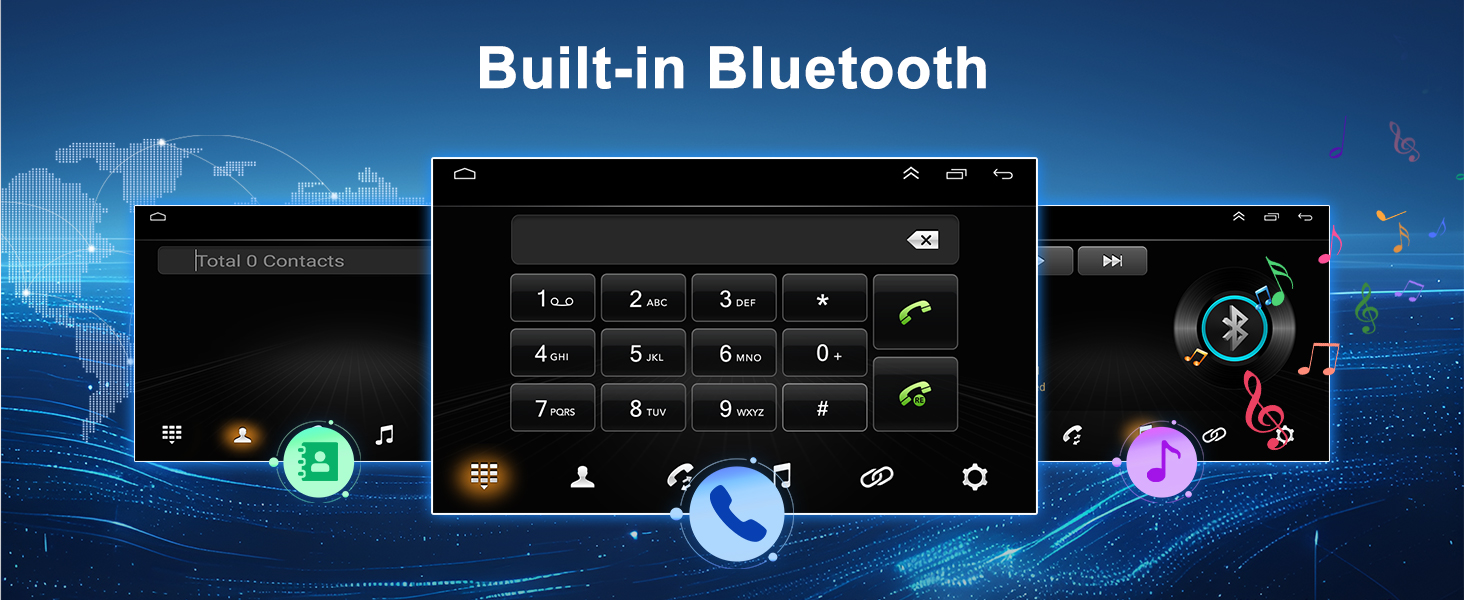
Image 4.3: Built-in Bluetooth Interface
4.5 Steering Wheel Control (SWC)
The unit supports your vehicle's existing steering wheel controls, allowing you to manage media and apps safely.
- After installation, access the 'Steering Learn' or 'SWC Settings' menu in the unit's settings.
- Follow the on-screen instructions to program each button on your steering wheel to its corresponding function on the stereo (e.g., volume up/down, track skip, mode).
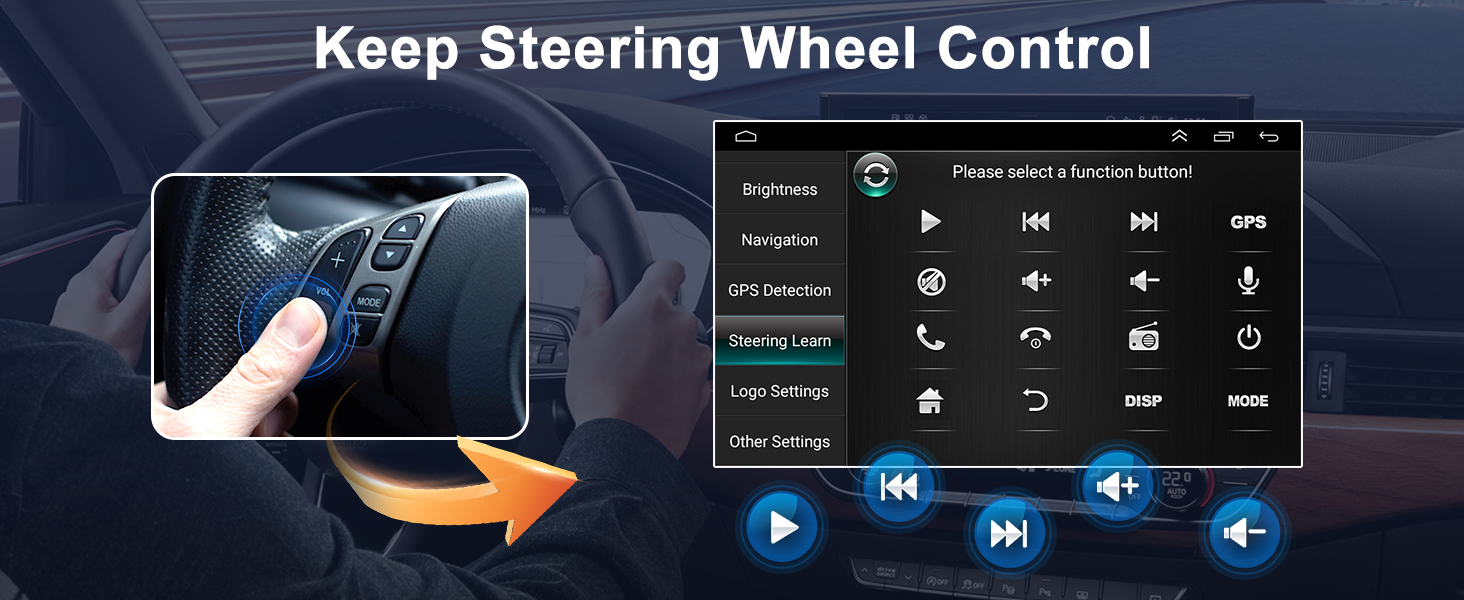
Image 4.4: Steering Wheel Control Setup
4.6 AHD Backup Camera
The included AHD backup camera provides clear rear-view images, automatically displaying when the vehicle is in reverse gear.
- Ensure the backup camera is correctly installed and connected to the 'Camera Input' on the stereo.
- When you shift your vehicle into reverse, the stereo screen will automatically switch to the camera view.
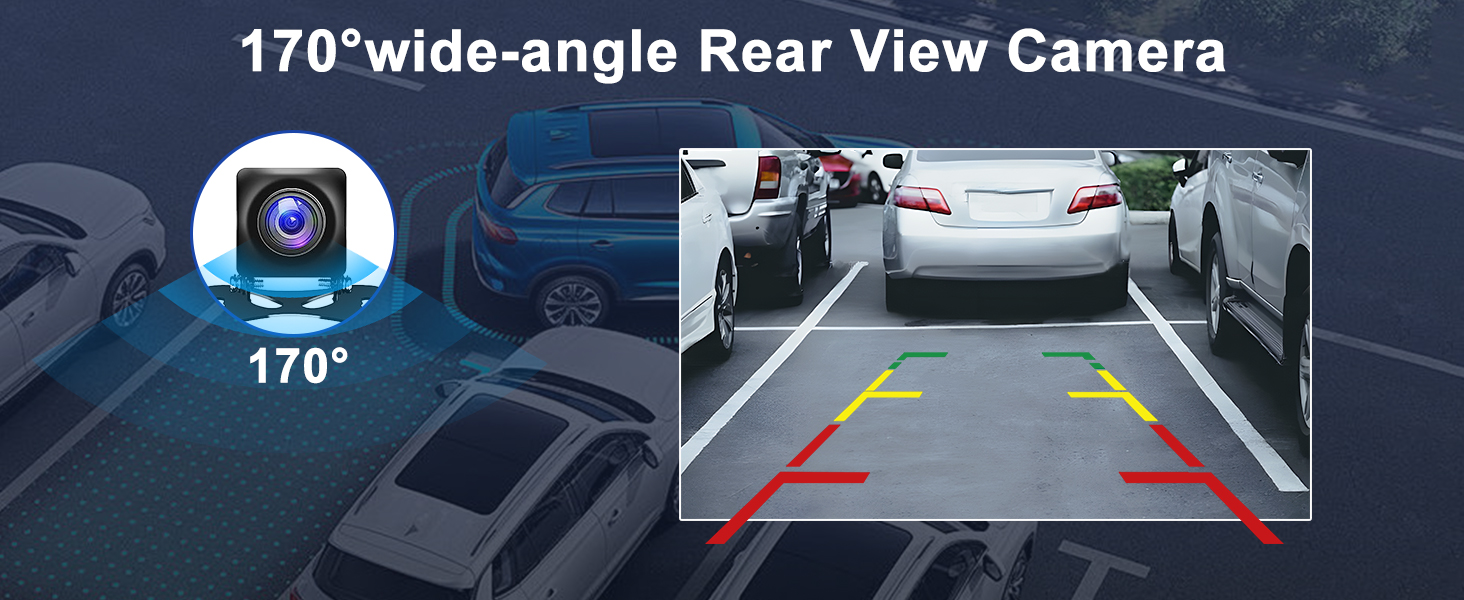
Image 4.5: Rear View Camera Display
4.7 Split Screen Functionality
The split-screen feature allows you to run two applications simultaneously, such as navigation and music playback.
- To activate split screen, open an application, then long-press the recent apps button or drag from the side of the screen (depending on the Android version) to select a second application.
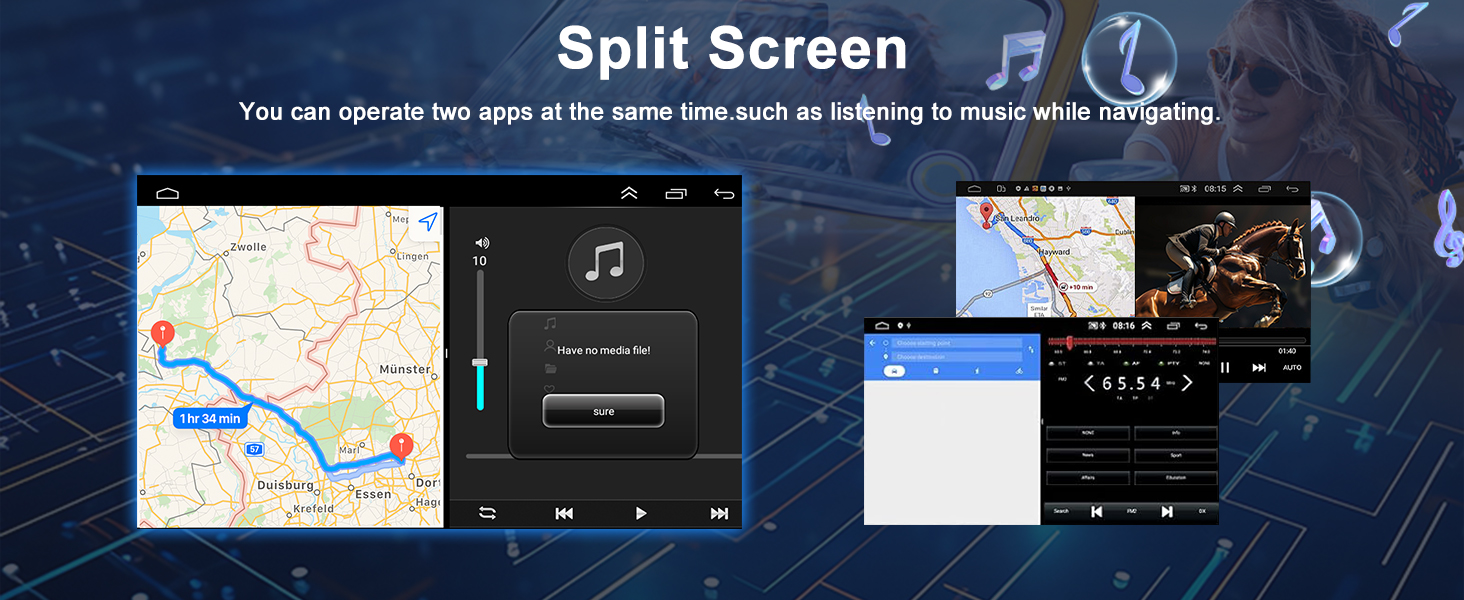
Image 4.6: Split Screen Mode
4.8 FM/RDS Radio
The unit supports FM radio with RDS (Radio Data System) for automatic or manual station searching.
- Access the 'Radio' application from the main menu.
- Use the on-screen controls to scan for stations, manually tune, or save your favorite frequencies.
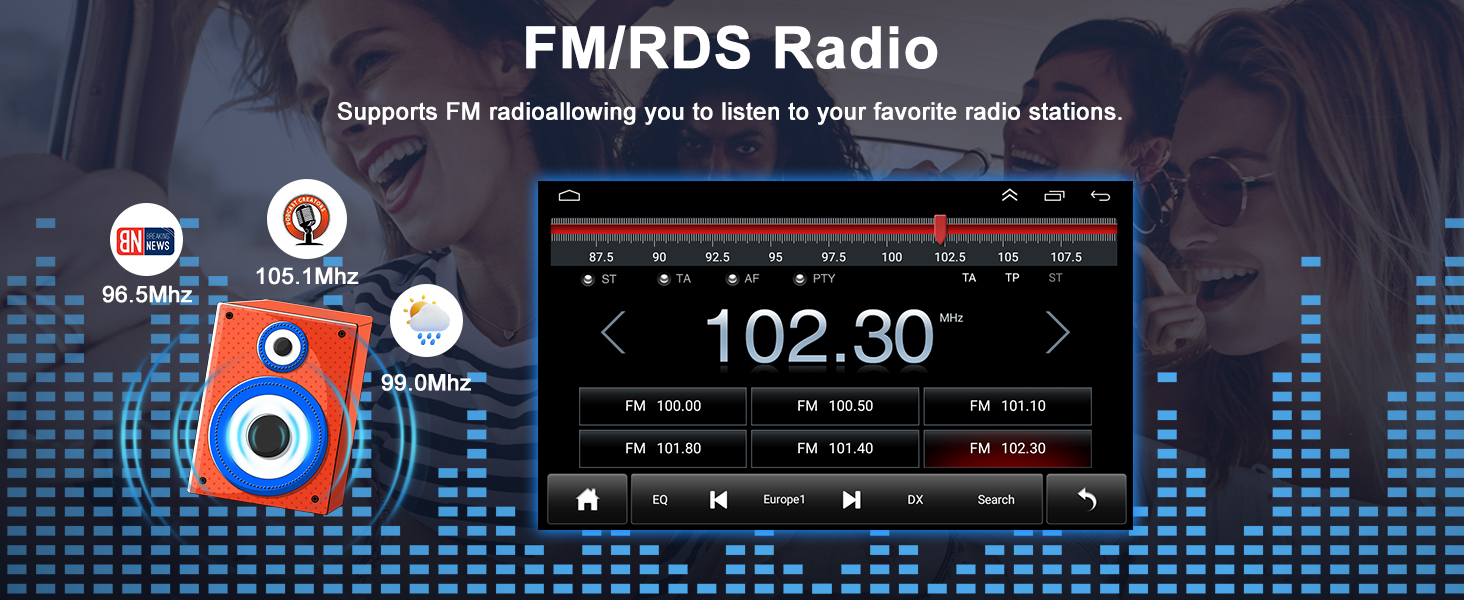
Image 4.7: FM/RDS Radio Interface
4.9 Mirror Link
Mirror Link allows you to display your smartphone screen directly onto the car stereo, enabling you to use phone apps, navigation, and media on the larger display.
- Access the 'Mirror Link' application on the car stereo.
- Follow the instructions to connect your smartphone, typically via USB or Wi-Fi, to mirror its screen.
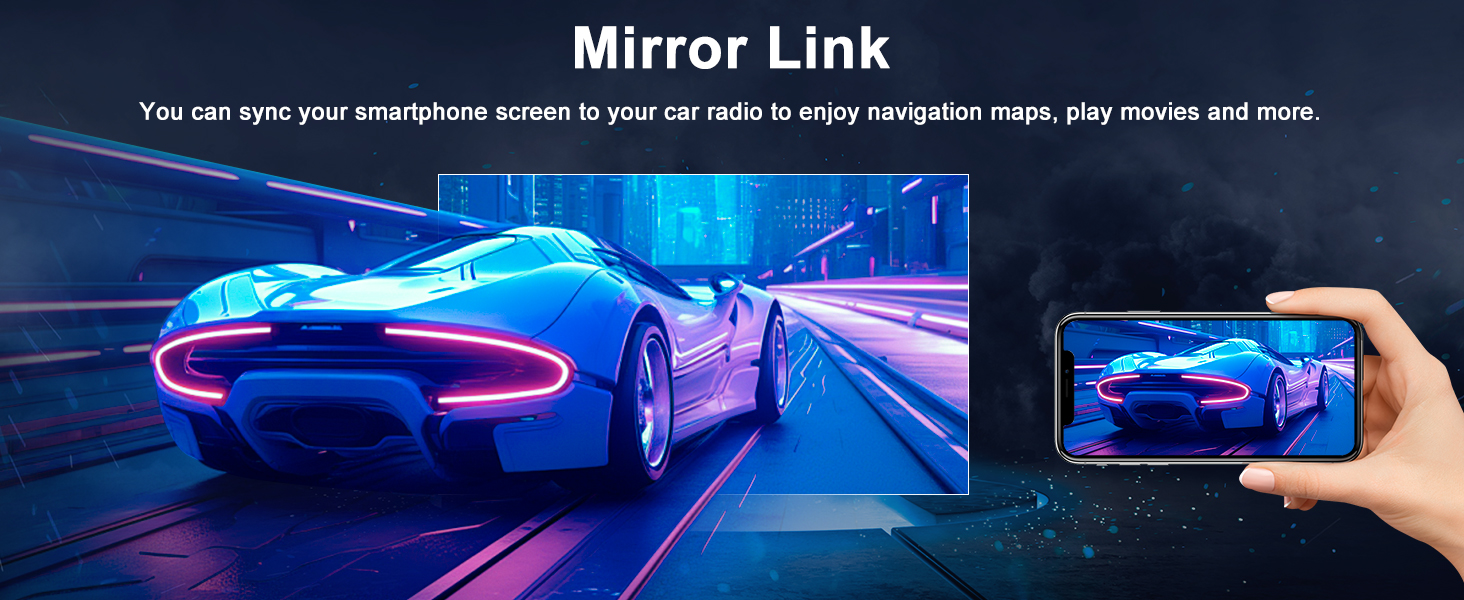
Image 4.8: Mirror Link Functionality
4.10 HD IPS Touchscreen
The unit features an HD IPS touchscreen for clear visuals and responsive interaction.
- Operate the unit by touching and swiping on the screen, similar to a tablet or smartphone.
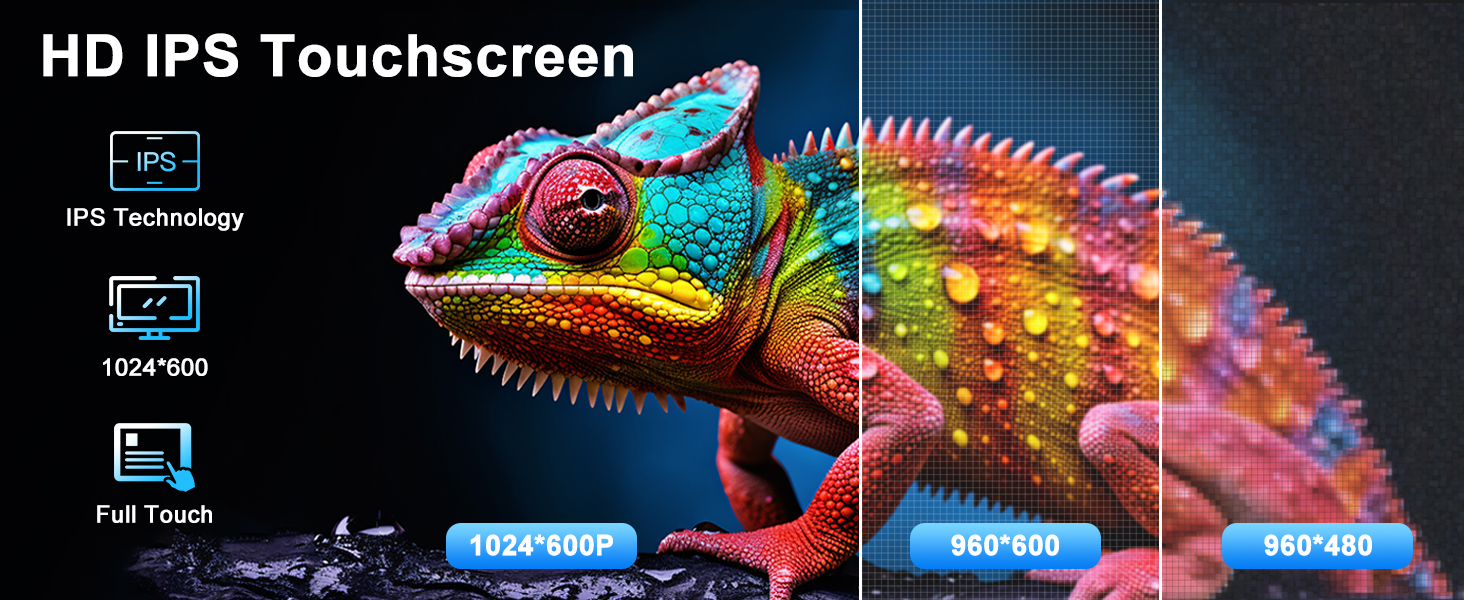
Image 4.9: HD IPS Touchscreen Display
5. Maintenance
Proper maintenance ensures the longevity and optimal performance of your car stereo.
- Cleaning the Screen: Use a soft, lint-free cloth to gently wipe the touchscreen. For stubborn smudges, slightly dampen the cloth with water or a screen-safe cleaner. Avoid harsh chemicals or abrasive materials.
- Software Updates: Periodically check for software updates through the unit's settings menu (requires Wi-Fi connection) to ensure you have the latest features and bug fixes.
- Environmental Conditions: Avoid exposing the unit to extreme temperatures, direct sunlight for prolonged periods, or excessive moisture.
6. Troubleshooting
If you encounter issues with your car stereo, refer to the following common problems and solutions:
| Problem | Possible Cause | Solution |
|---|---|---|
| Unit does not power on. | Incorrect wiring, blown fuse, vehicle ignition off. | Check power and ground connections. Inspect vehicle fuses. Ensure ignition is on. |
| No sound from speakers. | Incorrect speaker wiring, volume too low, mute activated. | Verify speaker connections. Increase volume. Check if mute is active. |
| GPS signal is weak or unavailable. | GPS antenna improperly placed or disconnected. | Ensure GPS antenna is connected and has a clear view of the sky. |
| Bluetooth connection issues. | Phone not discoverable, incorrect pairing, interference. | Ensure phone's Bluetooth is on and discoverable. Delete previous pairings and re-pair. |
| CarPlay/Android Auto not connecting wirelessly. | Wi-Fi or Bluetooth issues, phone compatibility. | Check phone's Wi-Fi and Bluetooth. Ensure phone OS is compatible. Re-pair. |
| Backup camera not displaying. | Camera not connected, reverse trigger wire not connected. | Verify camera video and power connections. Check reverse trigger wire connection. |
If these solutions do not resolve the issue, please contact Oskkude customer support.
7. Specifications
| Feature | Detail |
|---|---|
| Model | 2G+32G |
| Operating System | Android 14 |
| RAM | 2GB |
| ROM | 32GB |
| Screen Size | 7 Inches |
| Display Type | IPS Touchscreen |
| Connectivity | Bluetooth, USB, Wi-Fi |
| Special Features | Wireless CarPlay, Wireless Android Auto, Steering Wheel Control, GPS Navigation, Split Screen, AHD Backup Camera, FM/AUX, AV IN, RCA, RLV |
| Map Type | North America (Offline) |
| Audio Output Mode | Stereo |
| Mounting Type | Dashboard Mount |
| Item Weight | 3.52 ounces |
| Package Dimensions | 0.39 x 0.39 x 0.39 inches |
8. Warranty and Support
8.1 Return Policy
This product is eligible for a refund or replacement within 30 days of purchase, in accordance with the seller's return policy.
8.2 Customer Support
For technical assistance, warranty claims, or any other inquiries, please contact Oskkude customer support. You can find more information and contact details by visiting the Oskkude Store on Amazon.