
1. Introduction
Thank you for choosing the Hasuit Queen Corner Bed Frame. This manual provides essential instructions for the safe assembly, operation, and maintenance of your new bed frame. Featuring integrated storage drawers, smart LED lighting, and a convenient charging station, this bed frame is designed for comfort and functionality. Please read this manual thoroughly before beginning assembly and retain it for future reference.
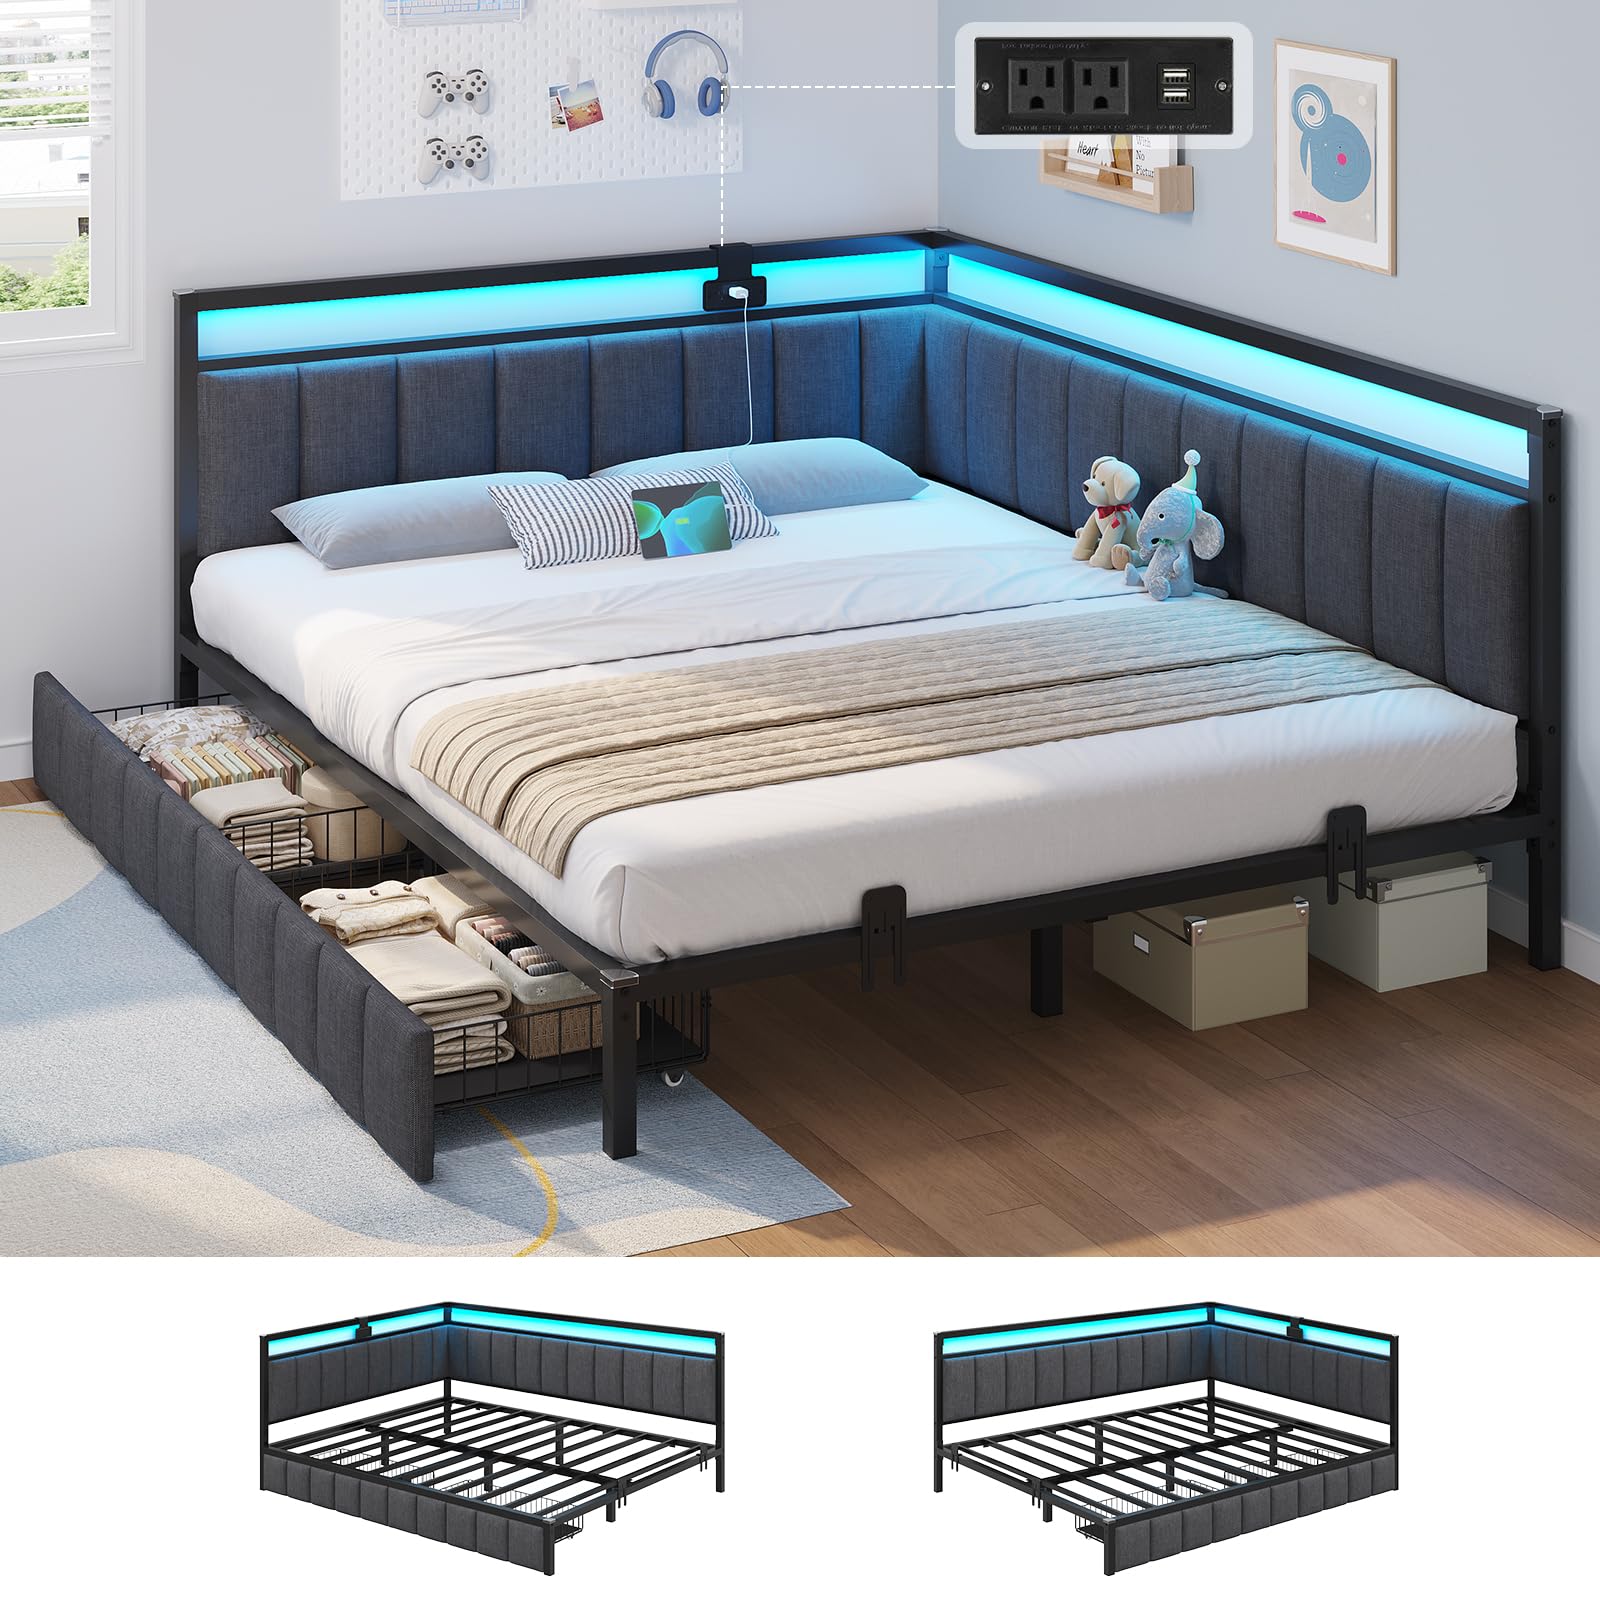
Figure 1: Hasuit Queen Corner Bed Frame with LED lights and storage drawers.
2. Safety Information
Please observe the following safety guidelines to prevent injury or damage to the product:
- Weight Capacity: Do not exceed the maximum weight capacity of 1200 LBS (544 kg) for the bed frame.
- Low Floor Height: Be cautious of the low floor height (9.8 inches) to prevent tripping.
- Sharp Edges: Handle with care around metal edges and corners during assembly. Ensure all plastic corner protectors are installed.
- Assembly: Assembly should ideally be performed by two adults. Ensure all parts are correctly aligned and fasteners are tightened securely.
- Electrical Components: Ensure the charging station and LED lights are properly installed and connected to a suitable power source. Do not overload the charging station.
- Children: Keep small parts and packaging materials away from children during assembly.
- Mattress: Use a mattress with a recommended thickness of 6-8 inches for optimal fit and safety.
3. Package Contents
Before assembly, verify that all components listed below are present and undamaged. If any parts are missing or damaged, please contact Hasuit customer service.
- Platform Bed Frame Components (Metal and Line Fabric)
- Upholstered Headboard Sections
- 2 Under Bed Storage Drawers with Easy-Glide Casters
- LED Strip Light Kit (with APP/Key Control)
- Integrated Charging Station (2 AC Outlets + 2 USB Ports)
- 2 Mattress Slide Stoppers
- 4 Plastic Corner Protectors
- Assembly Hardware (screws, bolts, washers)
- Assembly Tools (Allen wrench, screwdriver)
- Instruction Manual

Figure 2: Product dimensions and key components. The bed frame measures 80.71"L x 60.81"W x 31.5"H. The drawers are 40.4"L x 15.4"W x 7.1"H.
4. Assembly Instructions
Follow these steps carefully for proper assembly. An assembly video is available for visual guidance.
- Preparation: Clear a spacious area for assembly. Lay out all components and hardware. Refer to the parts list to identify each piece.
- Frame Construction: Begin by assembling the main metal frame sections. Ensure all connections are secure but do not fully tighten bolts until the frame is complete.
- Headboard Installation: Attach the upholstered headboard sections to the frame. Note that the corner design is reversible, allowing you to choose a left-hand or right-hand configuration to suit your room layout.
- Slat Installation: Install the steel bed slats into the U-channels. These are designed for easy installation and removal, ensuring stability and reducing noise.
- Final Tightening: Once all frame components are in place, fully tighten all bolts and screws.

Figure 3: Easy installation of steel bed slats into U-channels.

Figure 4: The bed frame can be assembled in either a left-hand or right-hand corner configuration.
Assembly Video
Video 1: Official Hasuit assembly and feature overview for the Queen Corner Bed Frame.
5. Setup
5.1 LED Light Installation
- Carefully peel the adhesive backing from the LED light strip.
- Adhere the strip along the designated channel on the headboard. Ensure it is firmly pressed for good adhesion.
- Connect the LED strip to the power adapter and plug it into a wall outlet.
5.2 Charging Station Installation
- Locate the designated slot on the headboard for the charging station.
- Insert the charging station into the slot and secure it using the provided screws. Ensure it is flush and stable.
- Plug the charging station's power cord into a wall outlet.

Figure 5: The integrated charging station provides 2 AC outlets and 2 USB ports.
5.3 Storage Drawers
- Assemble the storage drawers according to the instructions, attaching the easy-glide casters to the bottom.
- Slide the assembled drawers under the bed frame. Each drawer includes a closing buckle to prevent unintentional opening.

Figure 6: Two underbed storage drawers with easy-glide casters for convenient access.
5.4 Mattress Slide Stoppers & Corner Protectors
- Attach the two mattress slide stoppers to the bed frame as shown in the diagram. These prevent the mattress from shifting.
- Apply the plastic corner protectors to the exposed iron corners of the bed frame to reduce potential damage from bumping.

Figure 7: Mattress slide stoppers keep your mattress securely in place.
6. Operating Instructions
6.1 Smart LED Lights
The integrated LED lights offer customizable ambiance for your room.
- Control Methods: The LED lights can be controlled via a dedicated mobile application (APP) or the included key control remote.
- Features: The APP allows access to over 60,000 colors, music sync, mic mode, timing functions, brightness adjustment, and various dynamic modes.
- Initial Use: Upon first plug-in, the lights may turn on automatically. Refer to the LED light kit's specific instructions for APP download and pairing.

Figure 8: Control your RGB LED lights with the APP or key remote for various modes and colors.
6.2 Charging Station
The charging station provides convenient power access directly from your bed.
- AC Outlets: Use the two 120V/12A AC outlets for powering devices such as laptops, lamps, or other electronics.
- USB Ports: Use the two 5V/2A USB ports for charging smartphones, tablets, headphones, and other USB-powered devices.
- Power Cord: The charging station features a 5.2-foot power cord for flexible placement.
6.3 Storage Drawers
The two underbed drawers offer ample storage space.
- Access: Gently pull the drawers out using the integrated handles. The easy-glide casters ensure smooth movement.
- Security: Utilize the closing buckle on each drawer to keep them securely closed when not in use, preventing them from rolling out unintentionally.
- Capacity: Store bedding, clothes, books, or other personal items.
7. Maintenance
Regular maintenance will help prolong the life and appearance of your bed frame.
- Cleaning the Frame: Wipe metal surfaces with a soft, damp cloth. Avoid abrasive cleaners.
- Cleaning the Fabric: For the upholstered headboard and drawer fronts, use a soft brush or vacuum cleaner to remove dust. For spills, blot immediately with a clean, damp cloth. Do not rub vigorously. Test any cleaning solution on an inconspicuous area first.
- LED Lights: Keep the LED strip clean and free of dust. If the adhesive weakens, re-secure with appropriate adhesive tape.
- Hardware Check: Periodically check all bolts and screws to ensure they remain tight. Retighten as necessary to maintain stability and prevent squeaking.
- Non-noise Strip: Inspect the non-noise strip on the slats for wear and tear. This strip helps reduce friction and noise.

Figure 9: The non-noise strip on the bed frame slats helps reduce friction and noise.
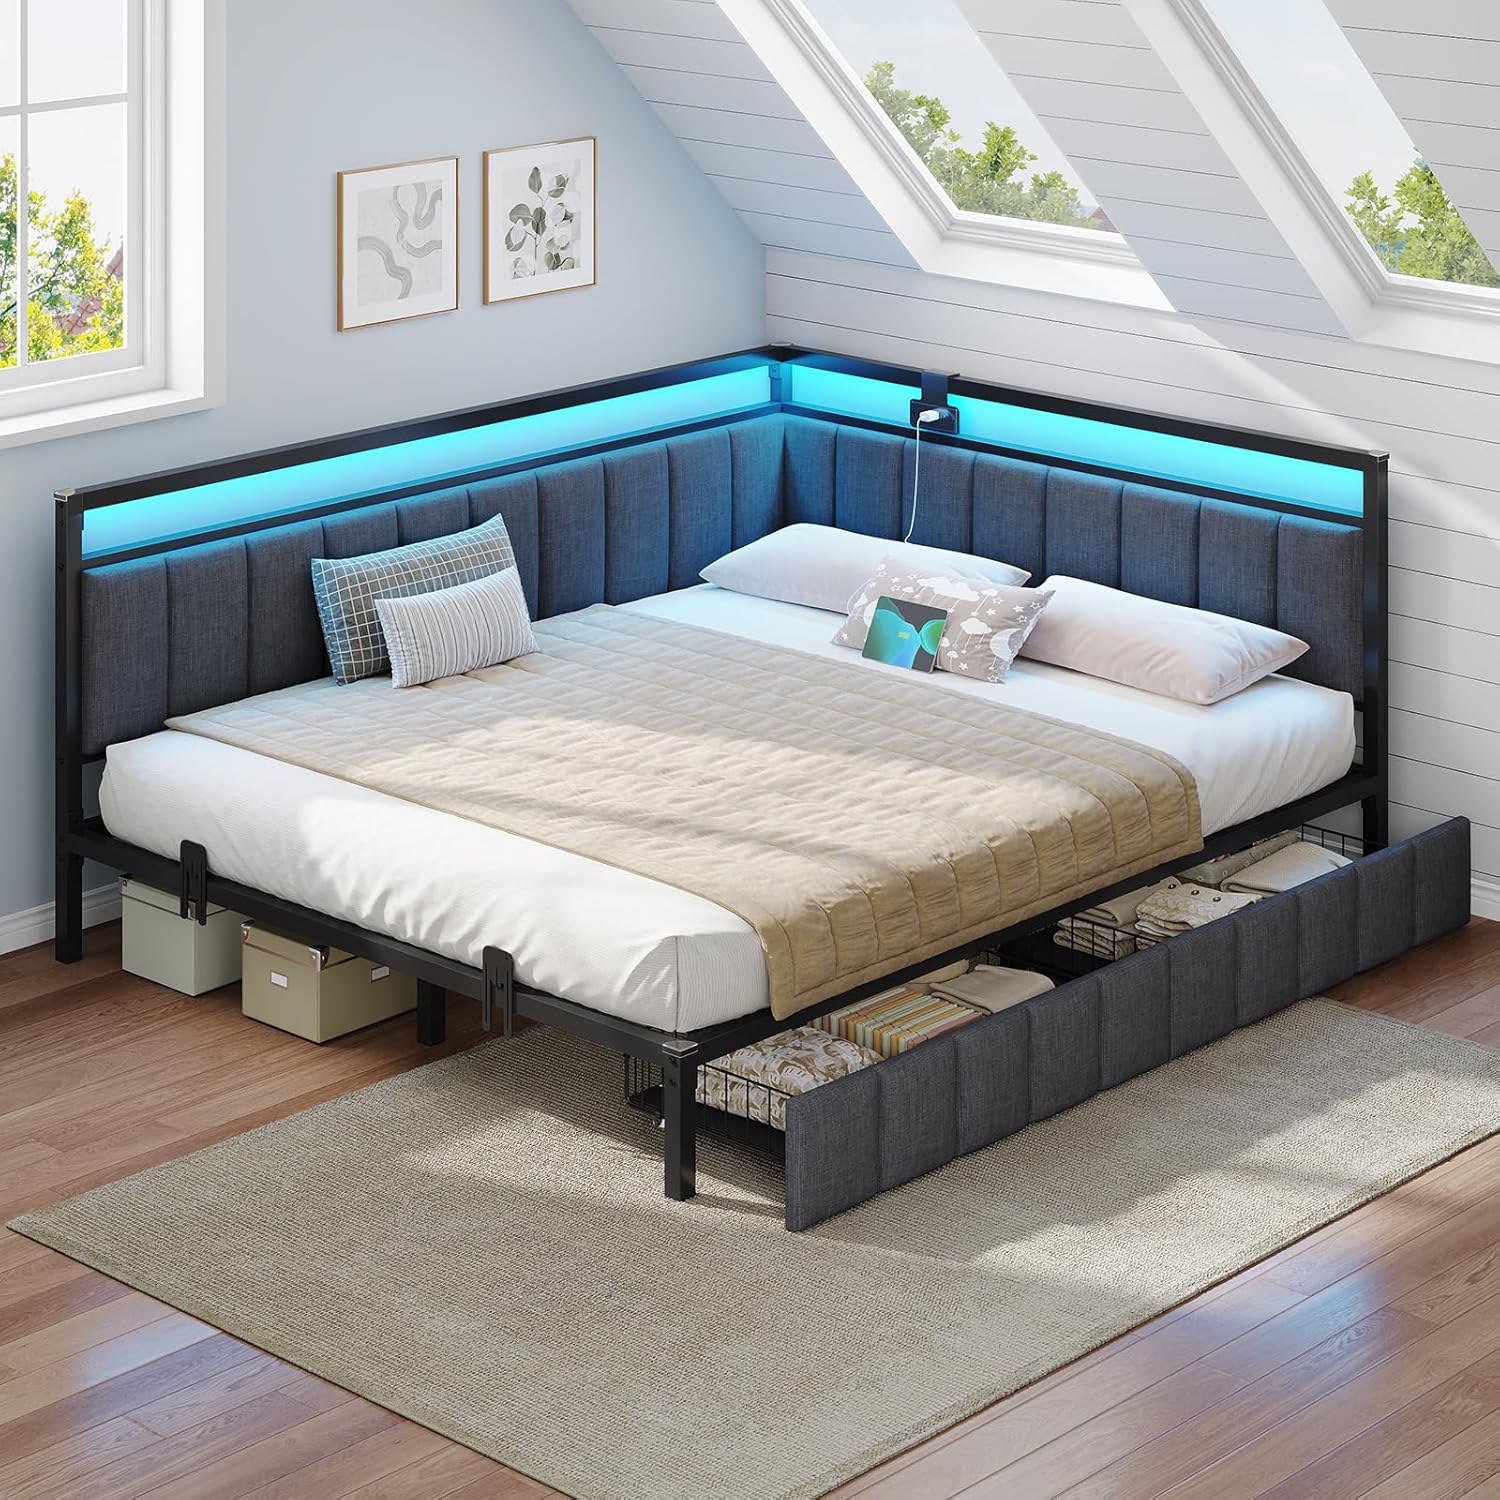
Figure 10: The comfortable upholstered headboard features quality, skin-friendly, breathable fabric and high-density supportive foam.
8. Troubleshooting
If you encounter any issues, refer to the following common problems and solutions:
| Problem | Possible Cause | Solution |
|---|---|---|
| LED lights not working or not sticking. | Loose connection, faulty strip, weak adhesive. | Check all power connections. Ensure the strip is firmly pressed onto the surface. If adhesive is weak, use additional strong adhesive tape. If lights still don't work, contact customer support. |
| Parts do not align during assembly. | Incorrect orientation of parts, bolts not fully loosened. | Review the instruction manual and assembly video carefully. Ensure all bolts are loose before attempting to align parts. Do not force parts together. |
| Drawers slide too easily on smooth floors. | Lack of friction on floor surface. | Consider placing a rug under the bed or adding non-slip pads to the bottom of the drawer casters. Ensure the closing buckle is engaged. |
| Missing parts or damaged components. | Shipping error or manufacturing defect. | Immediately contact Hasuit customer service with your purchase details and a description of the missing/damaged parts. |
| Bed frame is squeaking. | Loose connections, friction between metal parts. | Tighten all bolts and screws. Ensure the non-noise strip is properly installed on the slats. |
9. Specifications
Key specifications for the Hasuit Queen Corner Bed Frame (Model CBF-01):
| Feature | Detail |
|---|---|
| Model Number | CBF-01 |
| Size | Queen (U.S. Standard) |
| Product Dimensions (L x W x H) | 80.71" x 60.81" x 31.5" |
| Material | Line Fabric, Metal |
| Color | Gray&black |
| Maximum Weight Recommendation | 1200 pounds (544 kg) |
| Number of Drawers | 2 |
| Charging Station | 2 AC Outlets (120V/12A), 2 USB Ports (5V/2A) |
| LED Lights | RGB, APP/Key Control, Music Sync, Timing Function |
| Floor Height | 9.8 inches |
| Recommended Mattress Thickness | 6-8 inches |
| Item Weight | 77 pounds (35 kg) |
10. Warranty and Customer Support
Hasuit is committed to providing quality products and excellent customer service. If you have any questions, concerns, or require assistance with your bed frame, please do not hesitate to contact us.
Please refer to your purchase documentation or the retailer's website for specific warranty details and contact information. When contacting support, please have your model number (CBF-01) and purchase date ready.