
Preciva CS16301S
Preciva 40W Wood Burning Kit Instruction Manual
Model: CS16301S
Introduction
Thank you for choosing the Preciva 40W Wood Burning Kit. This professional pyrography tool is designed for precision and versatility in wood and leather crafting. Featuring adjustable temperature control, a digital display, and a heat-resistant handle, it provides stable and even heat for various artistic projects. Please read this manual thoroughly before use to ensure safe and optimal operation.
Important Safety Information
- Always operate the wood burning tool in a well-ventilated area to avoid inhaling fumes.
- Wear appropriate safety glasses to protect your eyes from sparks or debris.
- Ensure the tool is placed on a heat-resistant surface during use and cooling.
- Do not touch the hot tip or metal parts of the pen. They can reach temperatures up to 1382°F (750°C) and cause severe burns.
- Keep out of reach of children and pets.
- Unplug the tool when not in use, when changing tips, or before cleaning.
- Never leave the tool unattended while it is powered on or hot.
- Use only on materials suitable for pyrography, such as wood, leather, or gourds. Avoid plastics or other materials that may release toxic fumes.
- If the power cord is damaged, it must be replaced by the manufacturer or a qualified service agent to avoid hazards.
Package Contents
Your Preciva Wood Burning Kit includes the following items:
- 1 x Preciva 40W Pyrography Station
- 2 x Heat-Resistant Pyrography Pens (Handles)
- 20 x Interchangeable Pyrography Tips (various shapes)
- 1 x Custom Screwdriver for tip replacement
- 1 x Pen Holder with cleaning sponge
- Additional accessories may include: wood blocks, carbonless paper, pencil, pyrography modules (stencils).
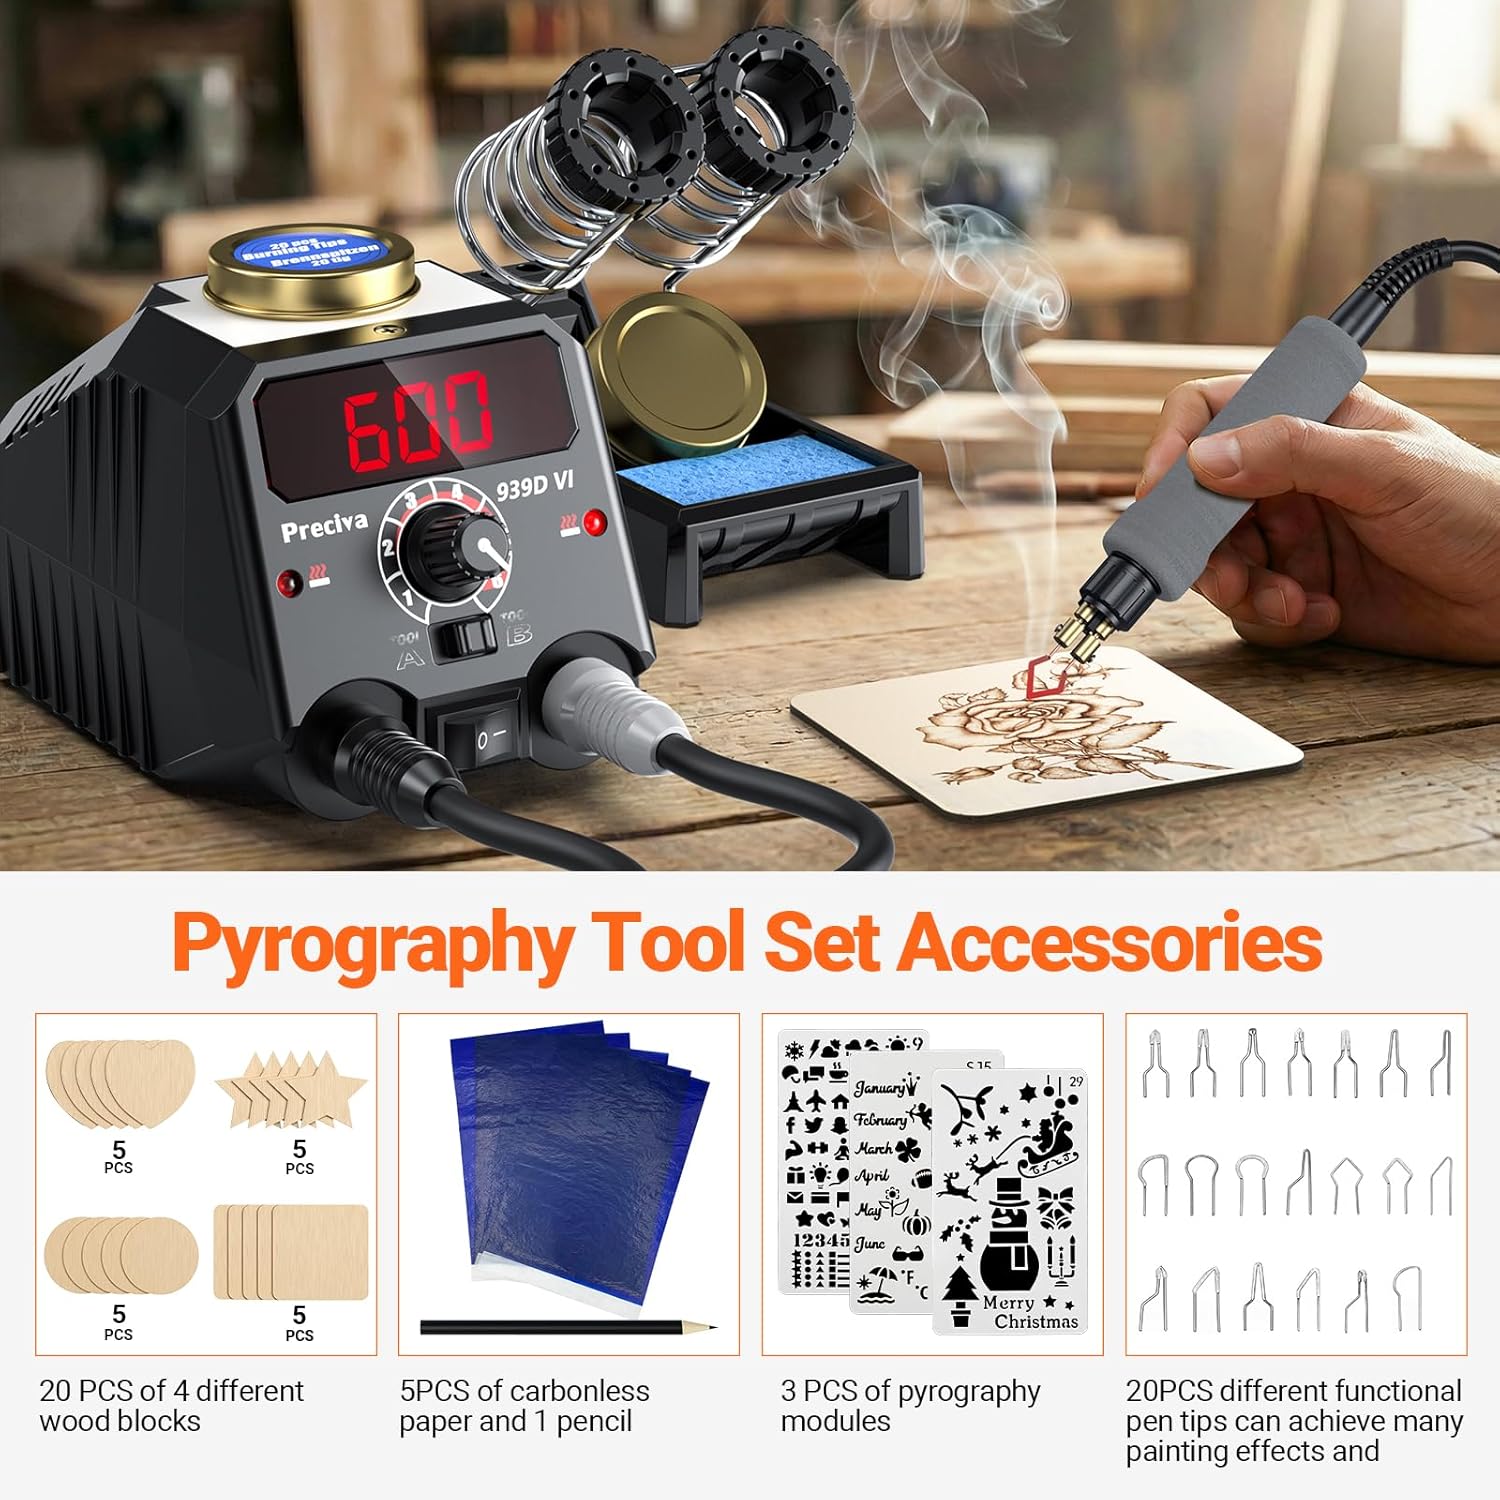
Image: Overview of the Preciva Wood Burning Kit accessories, including the pyrography station, pens, various tips, wood blocks, carbonless paper, and stencils.
Setup Instructions
- Unpack Components: Carefully remove all items from the packaging and inspect for any damage.
- Position the Station: Place the pyrography station on a stable, heat-resistant, and well-ventilated surface. Ensure there is enough space around the unit for proper airflow.
- Connect the Handles: Plug the pyrography pen handles into the designated ports (Tool A and Tool B) on the front of the station. Ensure they are securely connected.
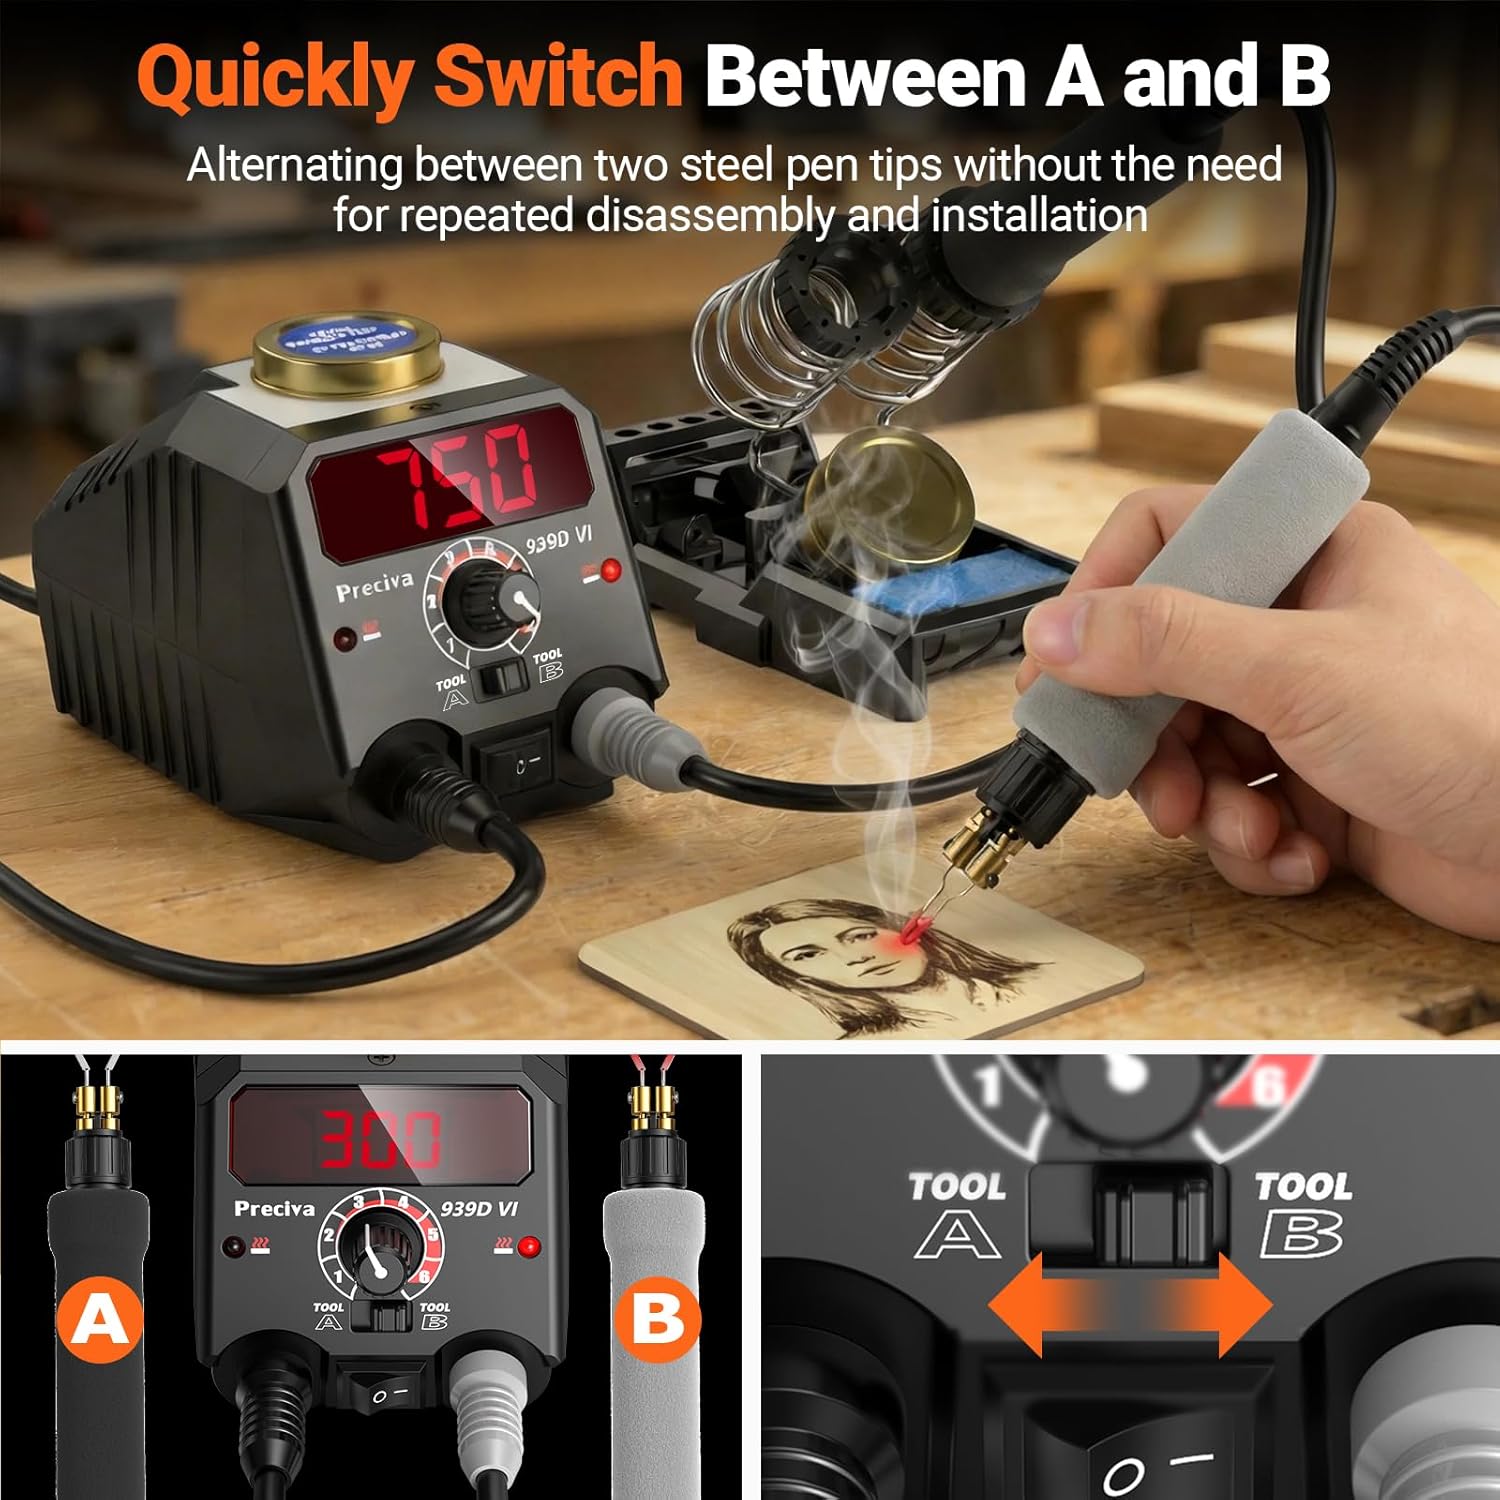
Image: Close-up of the Preciva wood burning station showing the two ports labeled 'Tool A' and 'Tool B' for connecting the pyrography pen handles.
- Insert a Tip: Using the provided screwdriver, loosen the screws on the pen handle. Carefully insert your desired pyrography tip into the pen, ensuring it is seated correctly. Tighten the screws to secure the tip. Warning: Ensure the tool is unplugged and cool before changing tips.

Image: Diagram illustrating the correct method for inserting a pyrography tip into the pen handle, showing proper alignment and secure fastening.
- Connect Power: Plug the power cord into a suitable electrical outlet.
Operating Instructions
- Power On: Flip the main power switch on the front of the station to the 'ON' position. The digital display will illuminate.
- Select Tool: If using two handles, use the 'TOOL A/B' switch to select which pen you wish to activate. Only one pen can be active at a time.
- Adjust Temperature: Turn the temperature control knob to set your desired temperature. The digital display will show the current temperature, which can be adjusted from 482°F (250°C) to 1382°F (750°C). Allow approximately 10 seconds for the tip to reach the set temperature.

Image: A user operating the Preciva wood burning tool, with the digital display showing the real-time temperature and the temperature adjustment knob visible.
- Begin Pyrography: Once the desired temperature is reached, carefully begin your pyrography work on your chosen material. Experiment with different temperatures and tips to achieve various effects.
- Using Stencils and Transfer Paper: For precise designs, use the included carbonless paper to transfer patterns onto your material before burning. Stencils can also guide your work.

Image: A person using a pencil to trace a design through a stencil onto a wooden surface, demonstrating pattern transfer for pyrography.
- Cool Down: When finished, turn the temperature knob to the lowest setting, then switch off the main power. Place the hot pen in its holder and allow it to cool completely before storing or changing tips.
Maintenance
- Tip Cleaning: Regularly clean the pyrography tips using the cleaning sponge provided in the pen holder. Dampen the sponge slightly (do not soak) and gently wipe the hot tip to remove carbon buildup. This helps maintain tip efficiency and longevity.
- Station Cleaning: Ensure the station is unplugged and cool. Wipe the exterior of the station with a soft, dry cloth. Do not use abrasive cleaners or immerse the unit in water.
- Storage: Store the kit in a dry, safe place, away from dust and moisture, and out of reach of children.
Troubleshooting
| Problem | Possible Cause | Solution |
|---|---|---|
| Tool not heating up. |
|
|
| Inconsistent heat or poor burning. |
|
|
| Digital display not working. |
|
|
Specifications
| Feature | Detail |
|---|---|
| Model Number | CS16301S |
| Power | 40W |
| Temperature Range | 482°F - 1382°F (250°C - 750°C) |
| Heat-up Time | Approx. 10 seconds |
| Product Dimensions | 11.6 x 6.89 x 4.13 inches |
| Item Weight | 4.11 pounds |
| Manufacturer | Preciva |
Warranty and Support
For warranty information, technical support, or any questions regarding your Preciva Wood Burning Kit, please contact Preciva customer service. Refer to the product packaging or the official Preciva website for contact details.
Ask a question about this manual
Ask about setup, troubleshooting, compatibility, parts, safety, or missing instructions. Manuals+ will review the question and use this page’s manual context to help answer it.