
Introduction
This manual provides essential information for the safe and efficient operation of your Ocean Built-in Gas Oven, Model 65 IECF2 SV. Please read these instructions carefully before installation, use, or maintenance to ensure proper functioning and to prevent injury or damage. Keep this manual for future reference.
Safety Information
Your safety and the safety of others are paramount. Always adhere to the following safety precautions:
- Gas Safety: Ensure proper ventilation. In case of a gas leak, do not operate electrical switches, open windows and doors, and contact your gas supplier immediately.
- Electrical Safety: Ensure the oven is correctly earthed. Do not use extension cords. Disconnect power before cleaning or maintenance.
- Burn Hazard: The oven and its accessories become very hot during operation. Use oven gloves when handling hot items. Keep children away from the appliance.
- Flammable Materials: Do not store flammable materials in or near the oven.
- Supervision: Never leave the oven unattended during operation, especially when grilling or using the rotisserie.
- Cleaning: Use only recommended cleaning agents. Ensure the oven is cool before cleaning.
Product Overview
The Ocean 65 IECF2 SV is a 60 cm built-in gas oven featuring a stainless steel finish and a black glass door. It is equipped with a digital LED display and multiple cooking functions.
Main Components
- Control Panel with Digital LED Display
- Function Selector Knob
- Temperature Control Knob
- Oven Door (Triple-layered low-E glass)
- Oven Cavity with Interior Light
- Gas Burner
- Cooling Fan
Included Accessories
- Standard Oven Tray
- Basic Wire Rack
- Air Fryer Tray
- Rotisserie Set
- Oven Glove
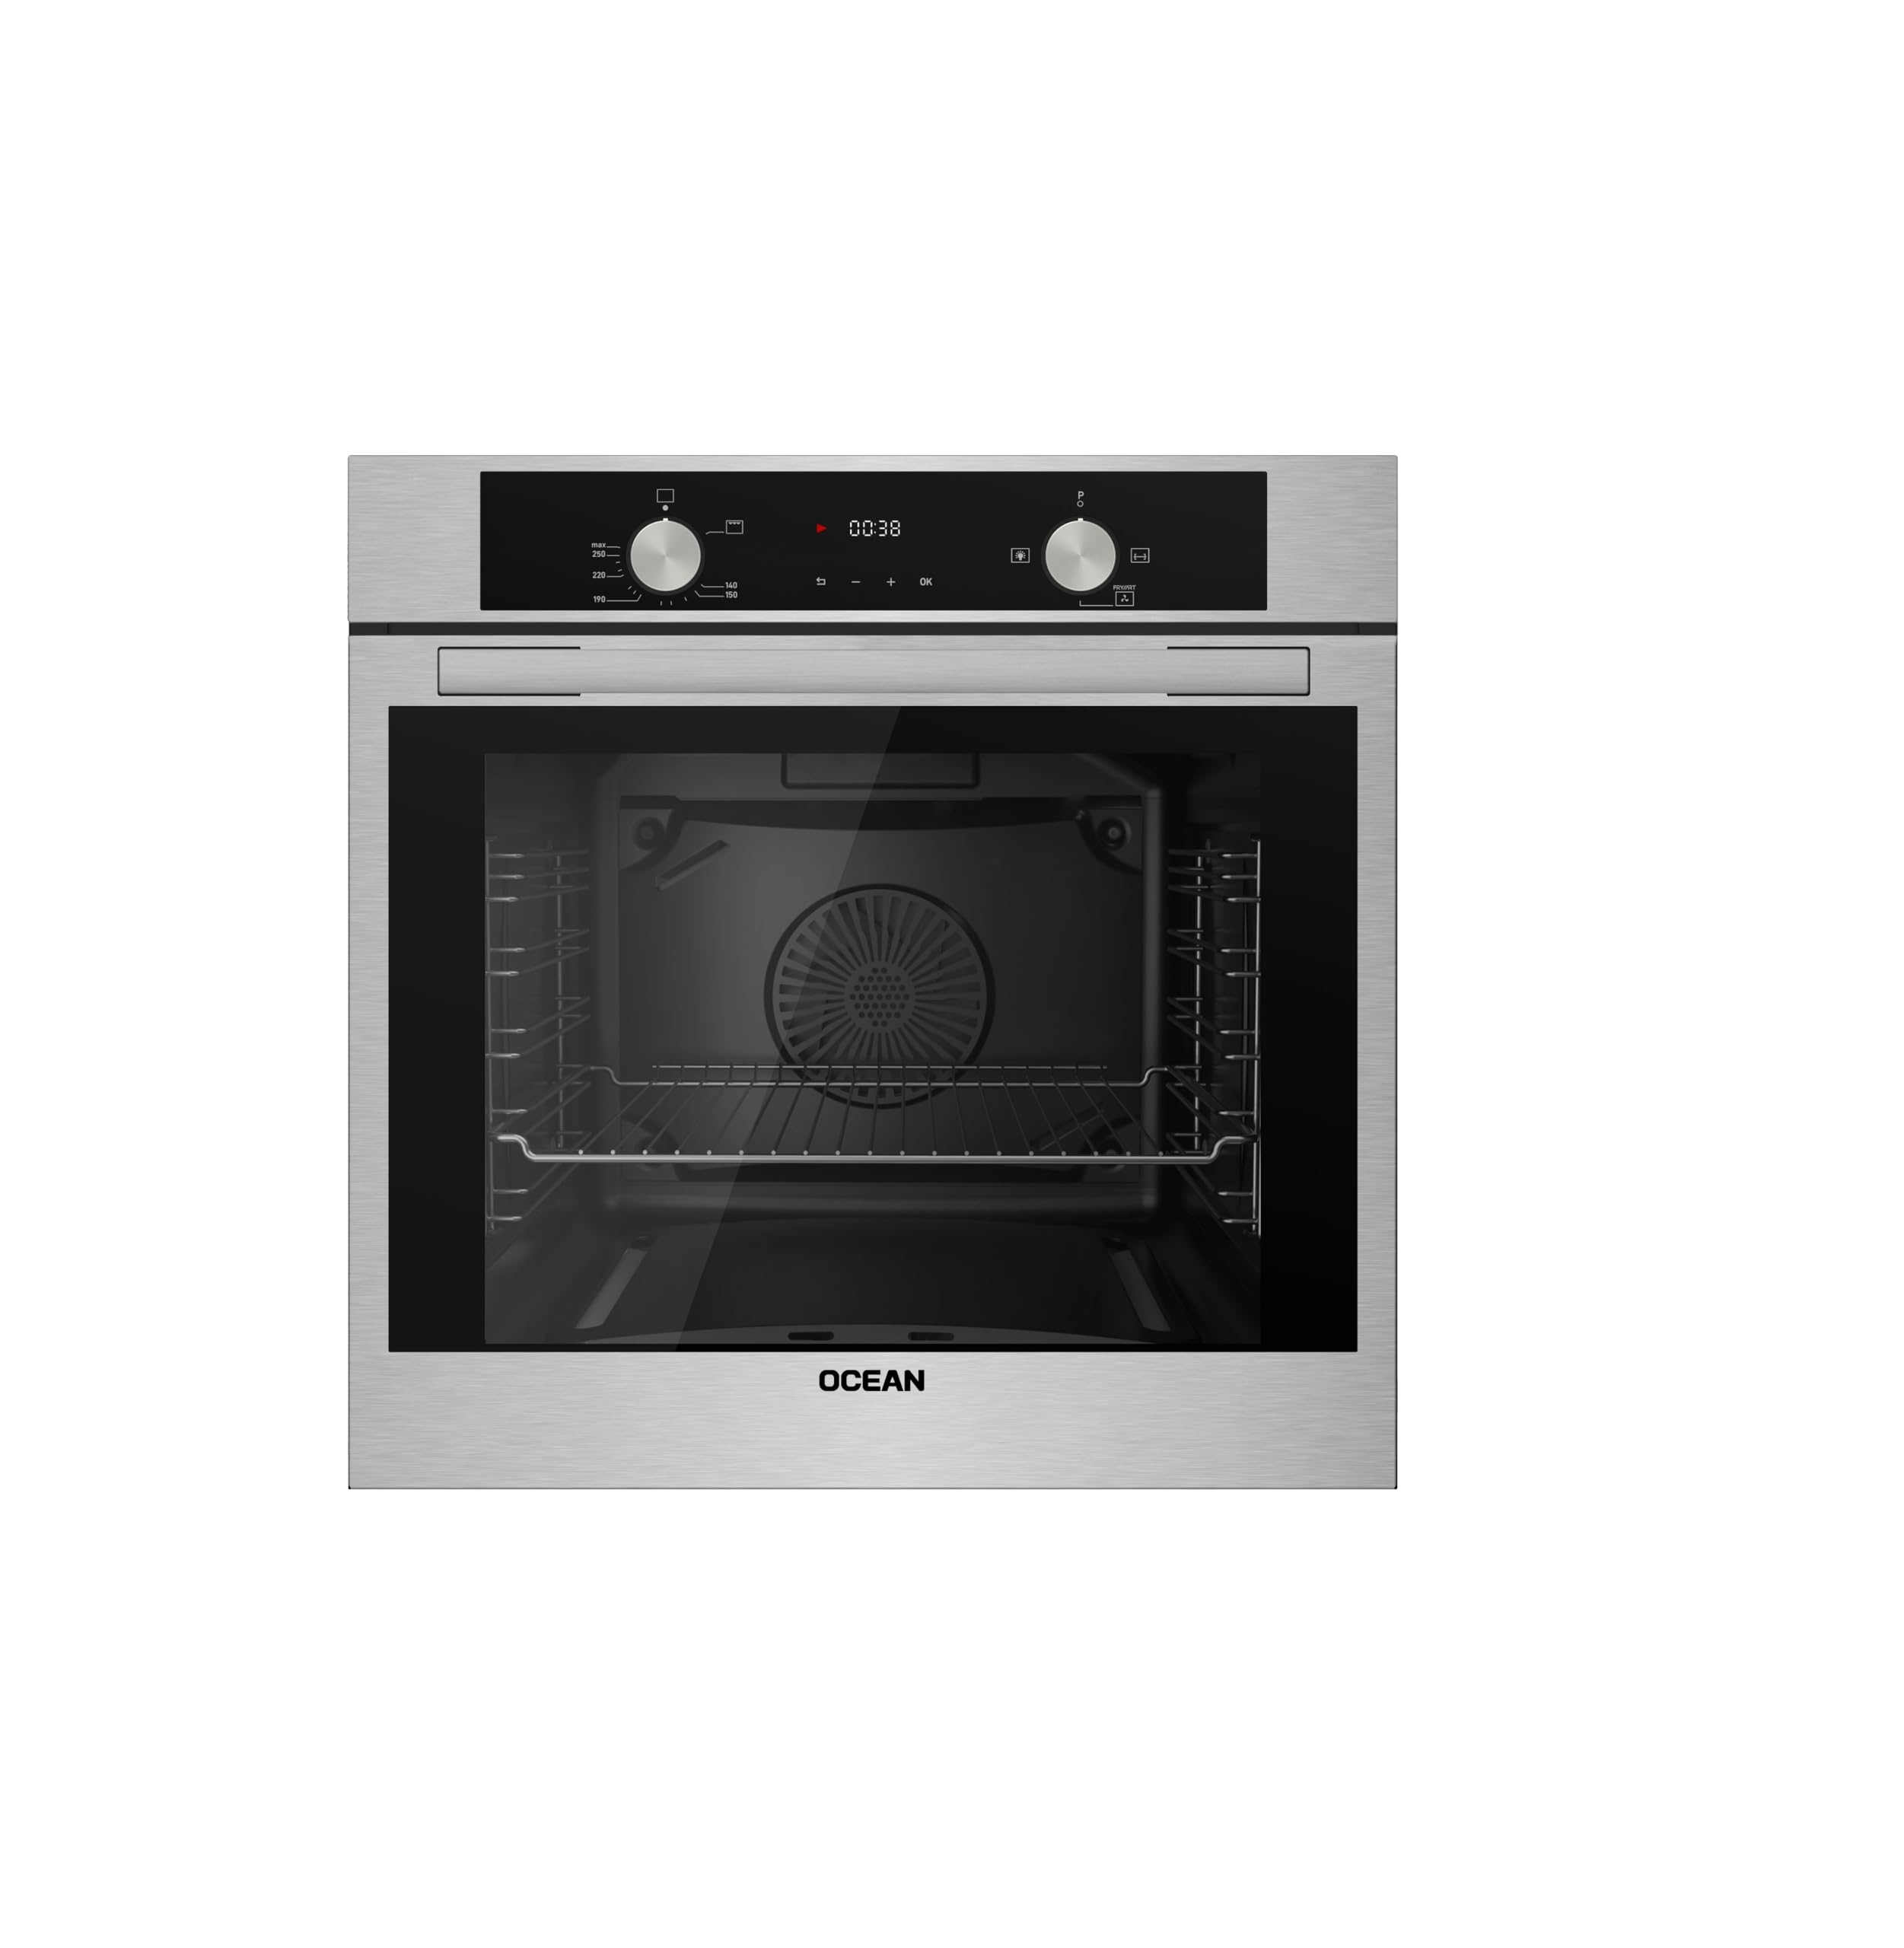
Figure 1: Front view of the Ocean Built-in Gas Oven 65 IECF2 SV, showcasing the control panel, digital display, and oven door.

Figure 2: The Ocean Built-in Gas Oven 65 IECF2 SV integrated into a modern kitchen cabinet, highlighting its sleek design.
Setup and Installation
Installation should only be performed by a qualified technician in accordance with local regulations and safety standards.
Pre-Installation Checks
- Verify that the gas supply type (Natural Gas or LPG) matches the oven's specifications.
- Ensure the electrical supply meets the oven's requirements and is properly earthed.
- Confirm the cabinet dimensions are suitable for a 60 cm built-in oven.
Installation Steps (Summary for Qualified Personnel)
- Prepare the cabinet opening according to the provided dimensions.
- Connect the gas supply line, ensuring all connections are leak-free.
- Connect the electrical power supply.
- Slide the oven into the cabinet opening and secure it with screws.
- Perform a functional test of all oven features.
First Use
- Remove all packaging materials and accessories from the oven cavity.
- Clean the interior with a damp cloth.
- Heat the empty oven at maximum temperature for approximately 30 minutes to burn off any manufacturing residues. Ensure good ventilation during this process.
Operating Instructions
Familiarize yourself with the control panel and cooking functions before use.
Control Panel
- Function Selector Knob: Used to select the desired cooking mode.
- Temperature Control Knob: Used to set the oven temperature.
- Digital LED Display: Shows time, temperature, and selected functions.
Cooking Functions
The oven offers 4 cooking functions:
| Function | Description | Recommended Use |
|---|---|---|
| Defrost Fan | Circulates air at room temperature to gently defrost food. | Defrosting delicate foods like cakes or bread. |
| Fan Cooking | Distributes heat evenly throughout the oven cavity using a fan. | Baking, roasting multiple dishes simultaneously. |
| Rotisserie | Rotates food on a spit for even browning. | Roasting poultry or large cuts of meat. |
| Rotisserie Fan | Combines rotisserie with fan-assisted heat for faster, more even cooking. | Achieving crispy skin on roasted items. |
| Gas Grill | Direct top heat for grilling. | Grilling steaks, sausages, or toasting bread. |
| Air Fryer Function | Uses high-speed hot air circulation for crispy results with less oil. | Frying chips, chicken wings, or vegetables. |
Setting the Oven
- Turn the Function Selector Knob to the desired cooking mode.
- Turn the Temperature Control Knob to set the desired temperature.
- The digital display will show the selected settings.
- Preheat the oven if required by the recipe.
- Place food inside using appropriate ovenware and accessories.
- Monitor cooking progress through the oven door and interior light.
- When cooking is complete, turn both knobs to the 'OFF' position.
Maintenance and Cleaning
Regular cleaning and maintenance ensure the longevity and hygiene of your oven.
General Cleaning
- Always ensure the oven is cool and disconnected from the power supply before cleaning.
- Clean the exterior surfaces with a soft cloth and mild detergent. Avoid abrasive cleaners.
- For the interior, wipe spills immediately after the oven cools. Use a specialized oven cleaner for stubborn stains, following product instructions.
- The triple-layered low-E glass door can be cleaned with glass cleaner.
- Removable accessories (trays, racks) can be washed in warm soapy water.
Catalytic Self-Cleaning
This oven features three-sided catalytic self-cleaning panels. These panels absorb grease and food residue during normal cooking at high temperatures. For optimal performance, occasionally run the oven empty at maximum temperature for 30-60 minutes to burn off accumulated residue. The panels should be replaced if their effectiveness diminishes over time.
Troubleshooting
Before contacting customer service, refer to the following table for common issues and solutions.
| Problem | Possible Cause | Solution |
|---|---|---|
| Oven does not heat | No gas supply; Power outage; Incorrect settings. | Check gas valve; Check circuit breaker; Verify function and temperature knobs are set correctly. |
| Uneven cooking | Improper rack position; Overcrowding; Fan malfunction. | Use recommended rack positions; Avoid overcrowding; Contact service if fan is not working. |
| Gas smell | Gas leak. | Immediately turn off gas supply, open windows, do not operate electrical switches, and contact a qualified technician or gas company. |
| Digital display not working | Power issue; Faulty display. | Check power supply; If problem persists, contact customer service. |
If the problem persists after attempting these solutions, please contact Ocean customer support.
Specifications
Technical details for the Ocean Built-in Gas Oven, Model 65 IECF2 SV:
| Feature | Detail |
|---|---|
| Brand Name | Ocean |
| Model Number | OOGR 65 IECF2 SV (Stainless) |
| Product Type | Built-In Gas Oven |
| Size | 60 cm |
| Color | Silver/Black |
| Finish Type | Stainless Steel |
| Installation Type | Built-In |
| Product Dimensions (D x W x H) | 59 cm x 69 cm x 60 cm |
| Item Weight | 10 kg |
| Capacity | 69 Liters |
| Special Features | Light indicator, Digital LED Display, Cooling Fan, Catalytic Self-Cleaning |
| Cooking Functions | Defrost Fan, Fan Cooking, Rotisserie, Rotisserie Fan, Gas Grill, Air Fryer Function |
| Country of Origin | Turkey |
Warranty and Support
Warranty Information
This Ocean Built-in Gas Oven, Model 65 IECF2 SV, comes with a 5-year warranty from the date of purchase. The warranty covers manufacturing defects and malfunctions under normal use. Please retain your proof of purchase for warranty claims. The warranty does not cover damage caused by improper installation, misuse, accidents, or unauthorized repairs.
Customer Support
For technical assistance, service requests, or to inquire about spare parts, please contact Ocean customer support. You can find contact details on the official Ocean website or through your local retailer.
Online Resources: Visit the official Ocean website for FAQs, product registration, and additional support materials. www.oceanappliances.com (Example link, replace with actual if available)
