
Introduction
Thank you for purchasing the AKCISOT Atomic Wall Clock. This clock is designed to provide accurate timekeeping through atomic synchronization and features a silent sweep second hand for a peaceful environment. Please read this manual carefully before use to ensure proper operation and longevity of your clock.
Safety Information
- Do not expose the clock to extreme temperatures, direct sunlight, or high humidity.
- Avoid dropping the clock or subjecting it to strong impacts.
- Use only the specified battery type (1 AA alkaline battery).
- Dispose of used batteries properly according to local regulations.
- Keep out of reach of children.
Package Contents
- AKCISOT Atomic Wall Clock (12-inch)
- Instruction Manual (this document)
Note: One AA alkaline battery is required and not included.
Product Overview
Familiarize yourself with the components of your AKCISOT Atomic Wall Clock.

Figure 1: Front View of the Clock
This image displays the clock's face with clear, bold numbers and a silent sweep second hand.

Figure 2: Back View and Control Buttons
This image highlights the battery compartment, easy mounting hanging hole, and the control buttons for setting the clock: RESET, M.SET (Manual Time Adjustment), REC (Manual Forced Reception), DST (Daylight Saving Time toggle), and ZONE (Time Zone selection).
Setup
- Install Battery: Open the battery compartment cover on the back of the clock. Insert one new AA alkaline battery, ensuring the correct polarity (+ and -). Close the battery compartment cover.
- Initial Synchronization: After battery installation, the clock will automatically attempt to synchronize with the atomic time signal. This process may take several minutes to several hours, depending on your location and signal strength. Place the clock near a window for better reception.
- Manual Time Zone Setting: Use the "ZONE" button on the back of the clock to select your desired time zone. Available options typically include PT (Pacific Time), MT (Mountain Time), CT (Central Time), and ET (Eastern Time).
- Daylight Saving Time (DST): If your region observes Daylight Saving Time, you can manually enable or disable it using the "DST" button.
- Mounting: Use the integrated hanging hole on the back of the clock to securely mount it on a wall.
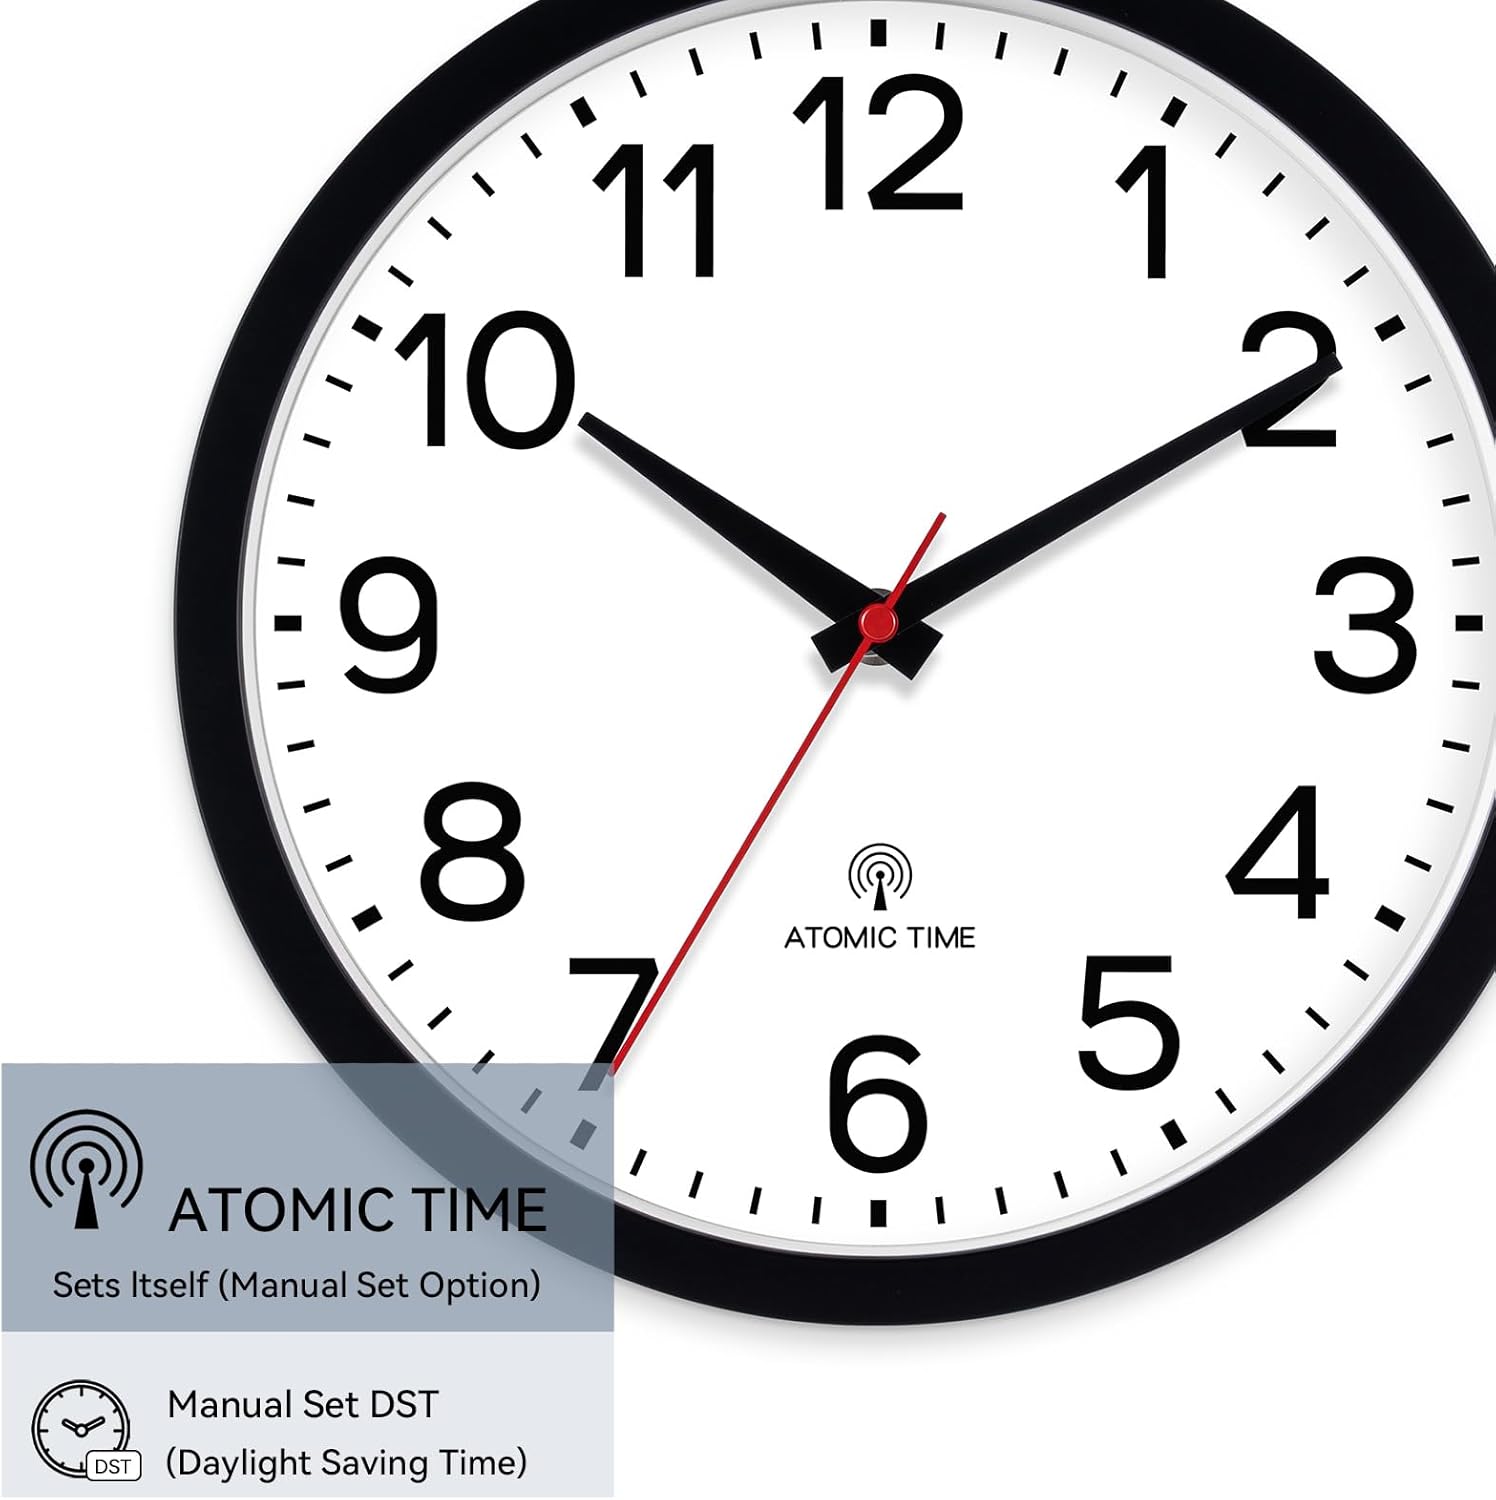
Figure 3: Atomic Time and DST Features
This image illustrates the clock's atomic time synchronization capability and the option for manual Daylight Saving Time adjustment.
Operating Instructions
Your AKCISOT Atomic Wall Clock is designed for automatic operation, but manual adjustments are possible.
Automatic Time Synchronization
The clock automatically receives atomic time signals to maintain precise accuracy. This synchronization typically occurs daily. If the signal is lost, the clock will continue to keep time using its internal quartz movement until the signal is re-established.
Manual Time Adjustment (M.SET)
In rare cases, if the clock does not synchronize or if you need to set the time manually:
- Press and hold the "M.SET" button. The hands will start moving.
- Release the "M.SET" button when the hands reach the desired time.
- The clock will then attempt to resynchronize with the atomic signal.
Manual Forced Reception (REC)
To manually initiate an atomic time signal reception:
- Press the "REC" button.
- The clock will attempt to receive the atomic signal. This process can take several minutes.
- During reception, the second hand may stop or move to a specific position to indicate signal status.
Time Zone Selection (ZONE)
To change the time zone:
- Press the "ZONE" button repeatedly to cycle through the available time zones: PT (Pacific), MT (Mountain), CT (Central), ET (Eastern).
- Stop pressing when your desired time zone is displayed or selected.
Daylight Saving Time (DST) Toggle
To manually enable or disable Daylight Saving Time:
- Press the "DST" button to toggle the DST function on or off.
- The clock hands will adjust forward or backward by one hour accordingly.
Maintenance
Battery Replacement
When the clock hands stop moving or the time becomes inaccurate, it's time to replace the battery.
- Remove the old AA alkaline battery from the compartment.
- Insert a new AA alkaline battery, observing the correct polarity.
- The clock will then attempt to resynchronize with the atomic time signal.
Cleaning
Wipe the clock's surface with a soft, dry cloth. Do not use abrasive cleaners or chemical solvents, as these may damage the finish.
Troubleshooting
| Problem | Possible Cause | Solution |
|---|---|---|
| Clock hands do not move or display incorrect time. | Low battery; poor atomic signal reception; incorrect time zone setting. | Replace the battery. Move the clock closer to a window or to a different location. Ensure the correct time zone is selected using the "ZONE" button. Perform a manual forced reception using the "REC" button. |
| Clock is not synchronizing with atomic time. | Weak signal due to location (e.g., basement, near large metal objects); interference from electronic devices. | Relocate the clock to an area with better signal reception, ideally near a window and away from electronic interference. Perform a manual forced reception (REC). Allow up to 24 hours for initial synchronization. |
| Daylight Saving Time is incorrect. | DST setting is incorrect. | Use the "DST" button to manually toggle Daylight Saving Time on or off as required for your region. |
Specifications
| Feature | Detail |
|---|---|
| Brand | AKCISOT |
| Model Number | AKCISOT696 |
| Display Type | Analog |
| Power Source | 1 x AA Alkaline Battery (not included) |
| Special Features | Atomic Time Synchronization, Silent Sweep Second Hand, Manual DST Adjustment, Time Zone Selection |
| Dimensions (W x H) | 30.5 cm x 4.6 cm (approximately 12 inches diameter) |
| Material | Plastic (Frame) |
| Indoor/Outdoor Use | Indoor |

Figure 4: Product Size Detail
This image confirms the 12-inch diameter of the clock.
Warranty and Support
For any questions, issues, or support needs regarding your AKCISOT Atomic Wall Clock, please refer to the retailer's return policy or contact AKCISOT customer service through the platform where the product was purchased. Please retain your proof of purchase for warranty claims.